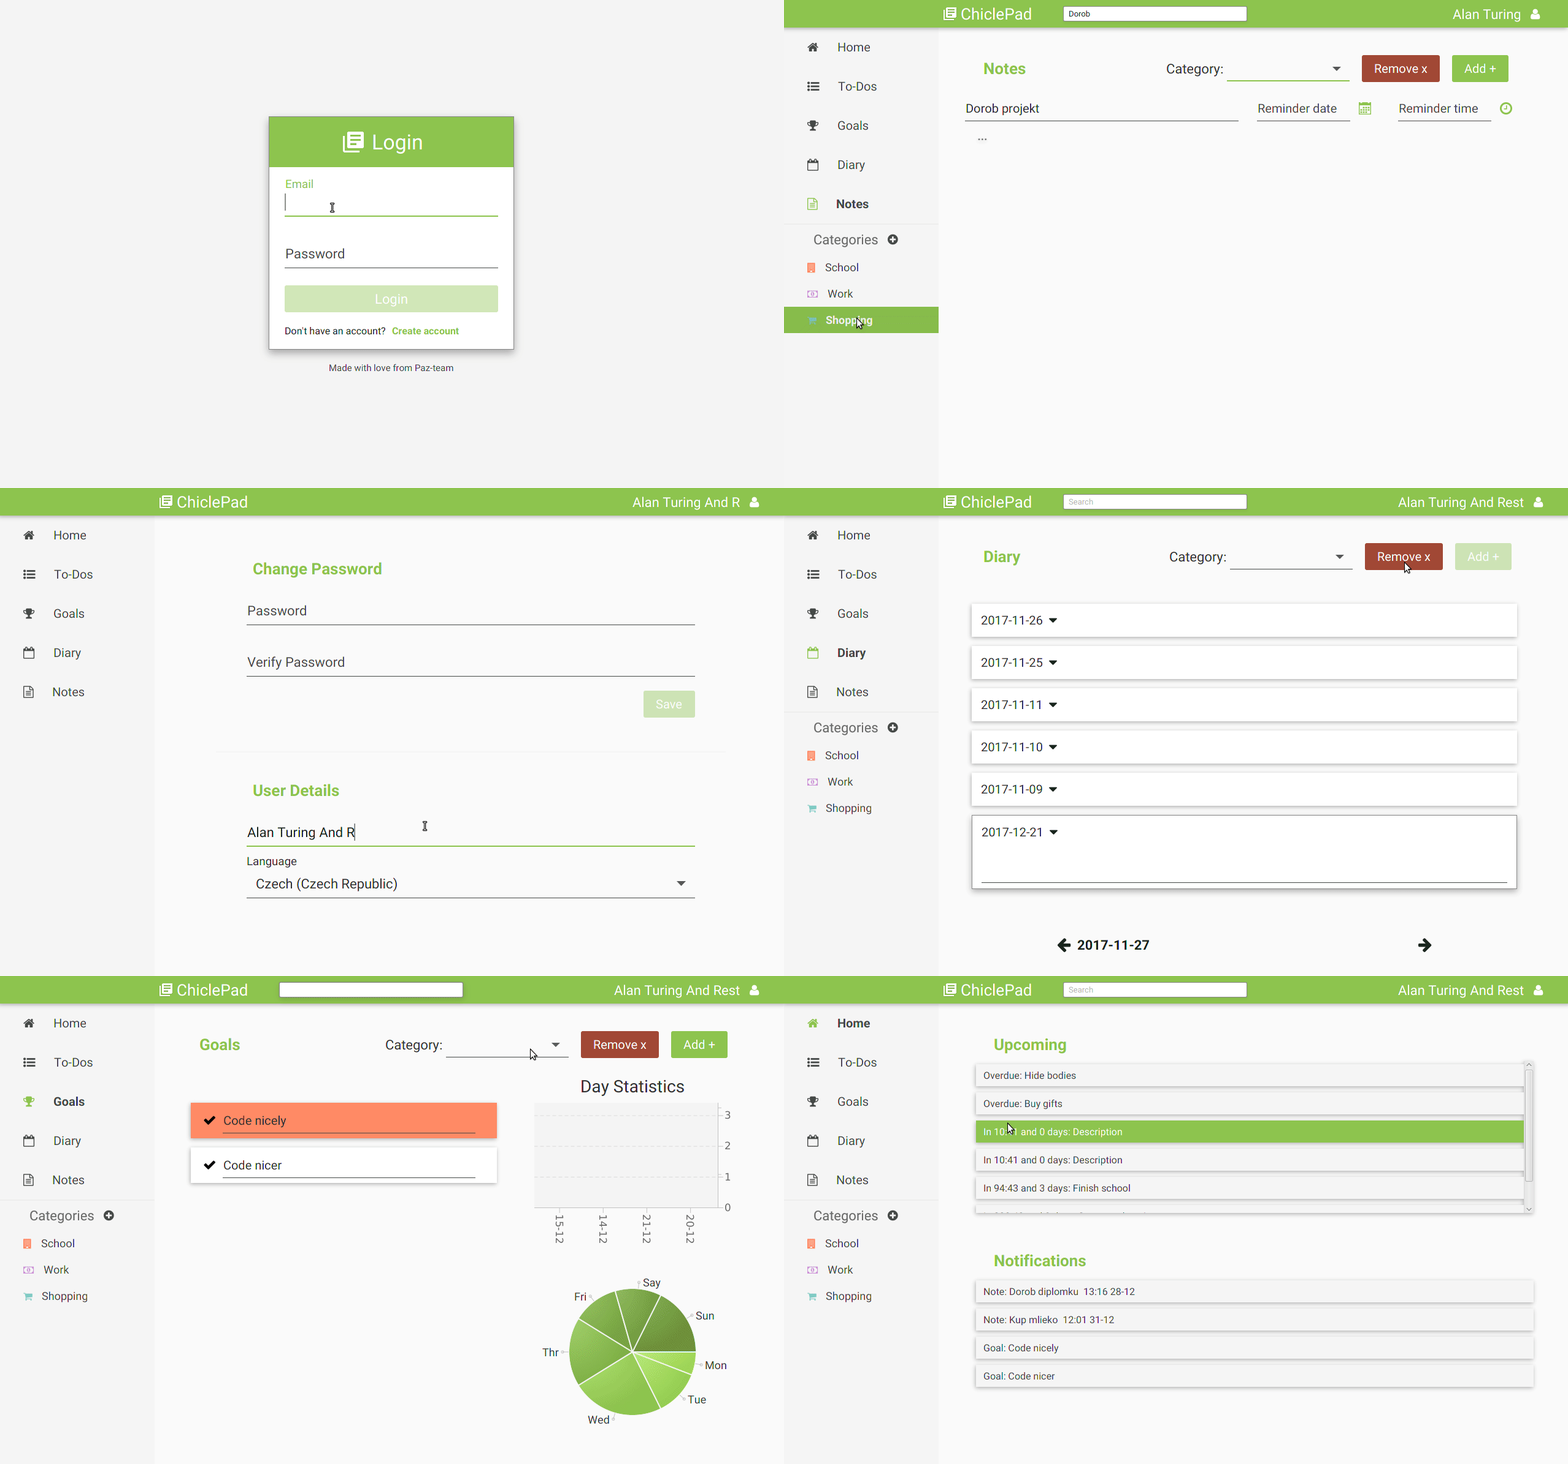
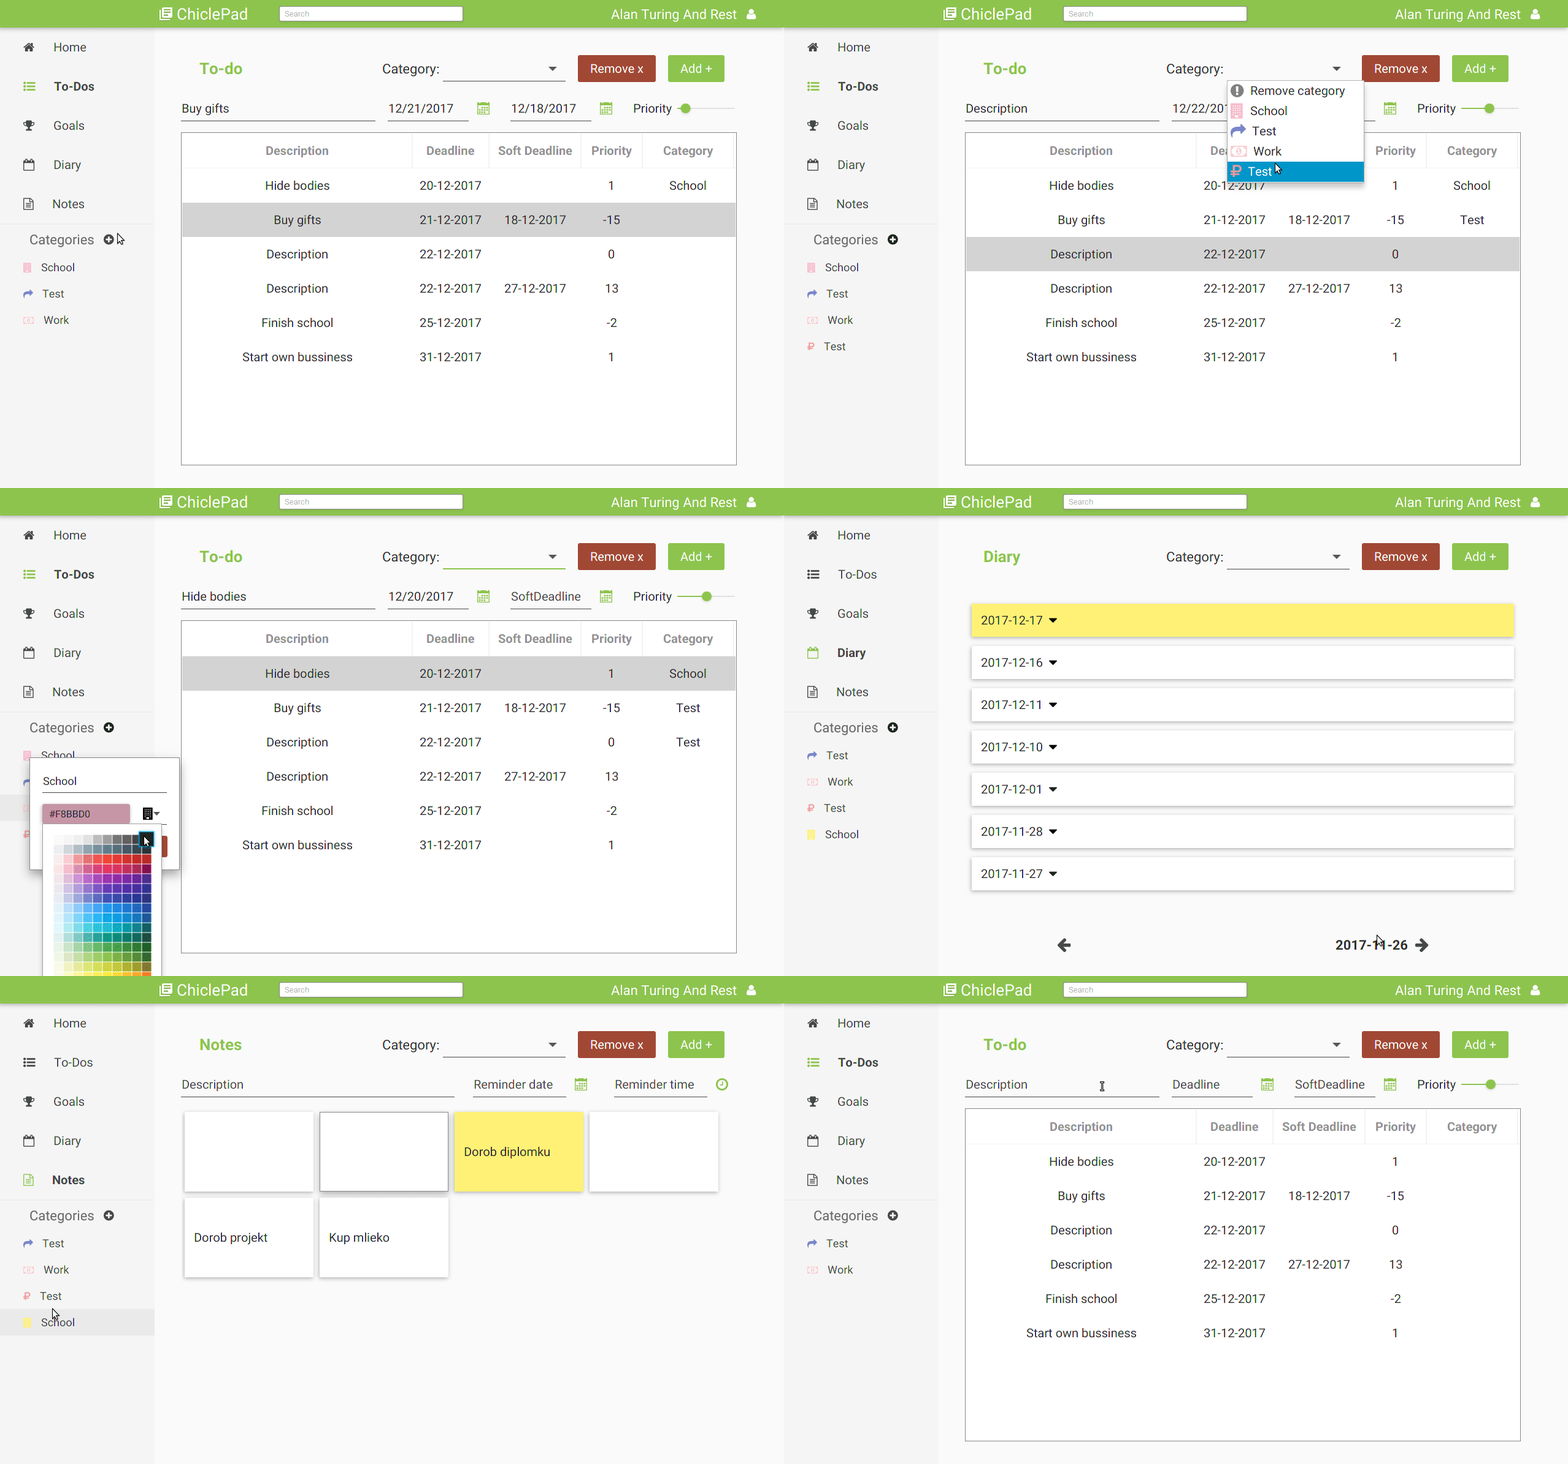
Java backend for the ChiclePad application.
In order to run the backend you need these:
And some knowledge of JUnit 5 and
JavaFX is required.
Additional dependencies can be found in pom.xml file. Such as
AssertJ, Spring,
JFoenix.
Install dependencies on your system:
Oracle Java 9
$ sudo add-apt-repository ppa:webupd8team/java
$ sudo apt update
$ sudo apt install oracle-java9-installer
Maven
$ sudo apt install mavenAnd then install dependencies in your project
$ mvn install:install-file -Dfile=src/main/resources/jfoenix-9.0.0.jar -DgroupId=com.jfoenix -DartifactId=jfoenix -Dversion=9.0.0 -Dpackaging=jar -DgeneratePom=true
$ mvn install
PostgreSQL
$ sudo apt install postgresql
$ sudo -u postgres psql

postgres=# CREATE DATABASE chiclepad;
postgres=# \connect chiclepad
chiclepad=# CREATE SCHEMA public;
chiclepad=# ALTER SCHEMA public OWNER to postgres;
Execute schema.sql script from /backend/postgress folder to initialize the schema.
chiclepad=# \q
- Until a new version of postgresql driver is out, the project has to be run with a
--illegal-access=warnVM flag to take reflection errors introduced in java 9 as warnings. - Configure
/postgress/connection.propertiesfile to match your database credentials.
- For database manager tests to pass a dummy database using default properties is needed. (the properties are set to default for postgresql so no configuration should be needed)
host=localhost
port=5432
database=chiclepad
username=postgres
password=root- Fork the repository
- Create new branch
$ git chceckout -b my_new_branch - Commit your changes
$ git add *$ git commit - Make sure you're up to date
$ git pull -r upstream devel(where upstream is the main repository) - Upload to your fork
$ git push -u origin my_new_branch - Submit a Pull Request


