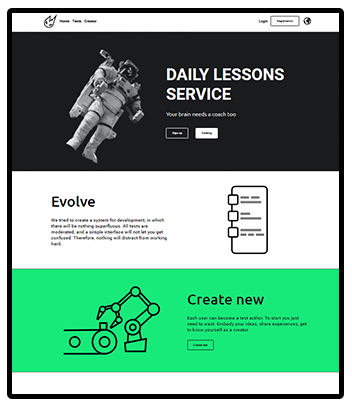
Raise is a service aimed to improve everyday user experience in the sphere of studying and knowledge acquisition.
Raise is a service where you can either create or pass tests. Community created content is being moderated, so you won't see any obscene content. Also, there are comment sections for each test, so you can share your opinion with other users.
Each test is specified by an arbitrary set of four characteristics:
- Memory
- Logic
- Calculations
- Reaction
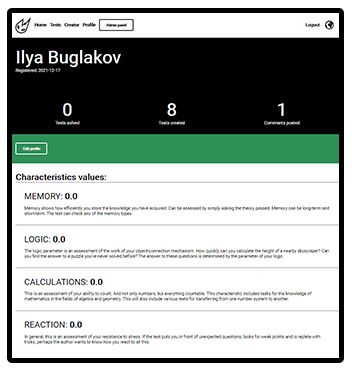
So, when you pass the test, result will affect the performance of your personal characteristics set. This is how statistics are kept. Statistics cen be viewed in user profile.
Time for passing the test is not limited. After the end of testing user will see its result and questions, where he made a mistake. Even semi-correct answers can bring points.
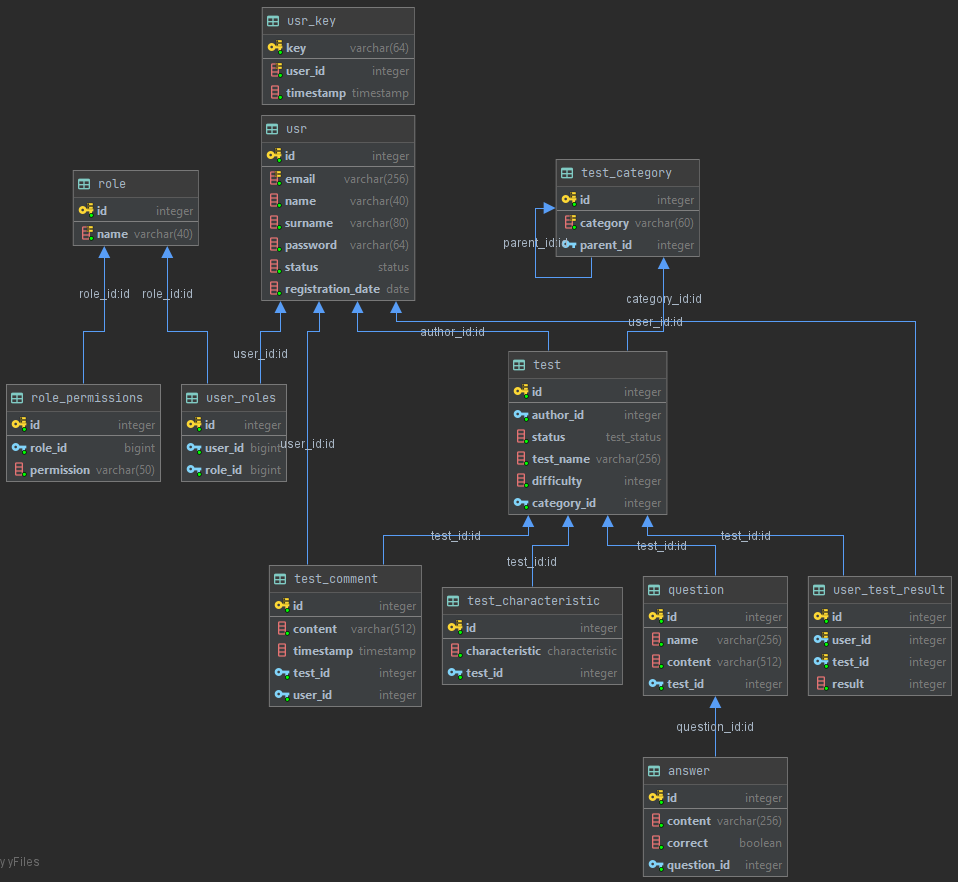
Subject rights in applications are specified by the set of permissions. For example, to confirm the test, you must have "confirm:test" permission. Subject permissions set is known from subjects roles set. Each role has specified suite of permissions.
- Guest
- Can pass tests, but result won't be saved.
- Can view comments and user profiles.
- Can log in or register anytime.
- Don't have access to test creator.
- User
- Сan pass test, result will be saved. Each time when user passes the same test, new result will be saved only if it's greater than previous.
- Сan write comments.
- Сan see other users profiles and edit his own profile.
- Have access to test creator. After adding the test is sent for moderation. Maximum user can have 3 unapproved tests simultaneously.
- Admin
- Has all permissions in application.
- Can ban comments.
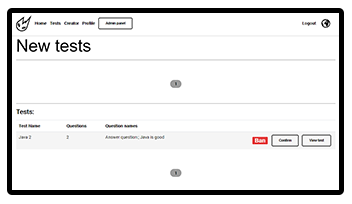
- Has access to 'admin panel', where he can see all new tests and confirm or ban them.
- Status of test created by an admin is 'CONFIRMED' by default.
To run this project you will need:
- JDK 14 or higher
- PostgreSQL database
- Maven - for building sources
- Tomcat - for starting server
Other dependencies will be downloaded by maven
First you need to install and start PostgreSQL server. Then you should run sql scripts
from /sql folder:
1_drop_database.sql- will dropraise_dbif it exists2_create_database.sql- will create theraise_db3_create_tables.sql- will fillraise_dbwith tables and enums4_init_tables.sql- will fillraise_dbtables with some content, such as superuser, test categories and directly by tests.5_create_user.sql- will createraise_userand grant permissions to it
For build, you should start maven in project root directory and build war file
using maven war plugin. This plugin dependency is specified in pom.xml: <packaging>war</packaging>.
mvn compile war:war
Now raise.war will appear in project target directory. You should move that
archive to the Tomcat /webapps folder.
After that, you need to start application server using Tomcat and access it through web browser.
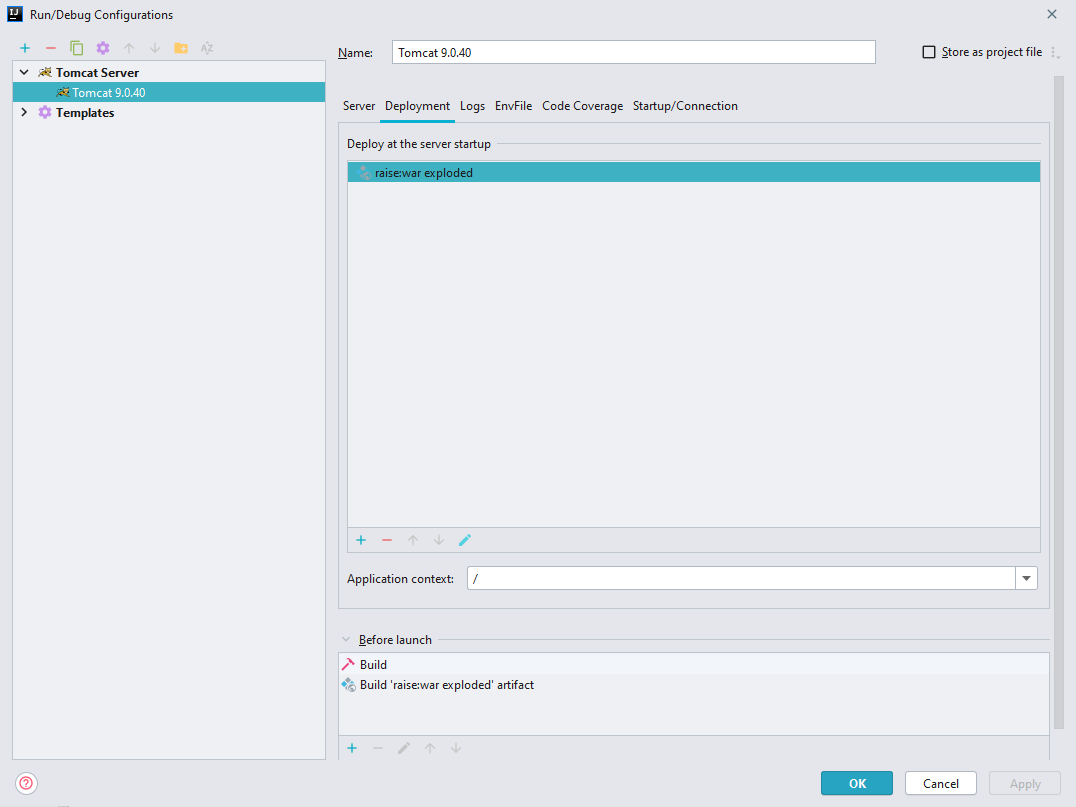
After clone from github, create Tomcat 9.0.40 configuration.
Click fix button and choose raise_war_exploded.
Note that application path should be /. To do so in IntelliJ IDEA go to Edit configuration
And at then, in deployment, change application context.
If application can't run, check if all dependencies are downloaded and libraries are added to lib folder.
You can check that at Project structure -> Artifacts -> raise:war exploded -> Available Elements (on the right)
Some tests require test database. So, if you need to run project tests, create
raise_test_db by scripts from /sql/test_db folder. Run them in order of their names.
After creating and filling this database, nothing can stop you from running tests.
After running webapp in Tomcat container, you can start using application.
To start, you can register or try to pass tests without authorization. If you choose
to register, then click on Sign up button at the top-right corner and fill up the
registration form. After sending a form, you must confirm your email. Todo so, follow
the link from your email inbox. Maybe check spam folder. After that, simply login in
to your new account.
If you don't want to register, you can log in to any of prepared accounts.
To log in
as admin try email: admin@gmail.com with password: 121212.
To log in as simple user,
try email:user@gmail.com and password:121212.
Raise application is localized to English US, Russian and Swedish. You can change locale anytime by clicking on the globe button at right side of navbar. Then choose preferred language in the modal window.
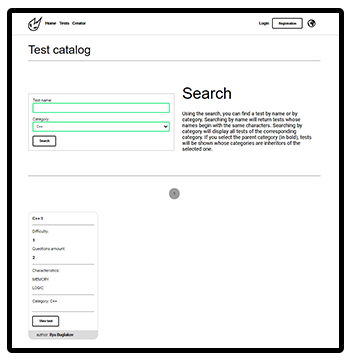
To past the test you first need to choose it. You can view all the tests in the catalog.
Link to catalog is signed as Tests at the navbar. When choose a test,
first you will see test preview there are described some test parameters and comment
section also will be here. To start testing, click Start testing button.
After finishing the test, you will see test result page. If you are authenticated, your results also will be saved.
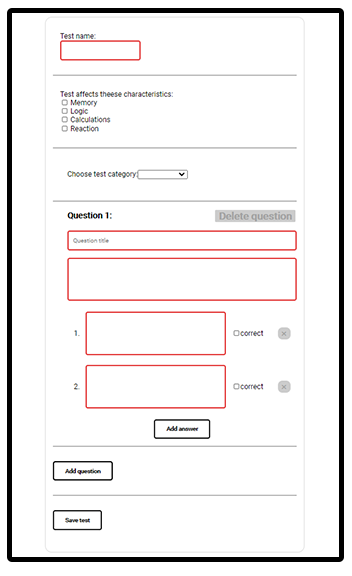
To create test, follow to the constructor by clicking Constructor link at the navbar.
There you can dynamically form test. When test is complete, submit it and wait until
an admin confirm it.
If you have admin permissions, then Admin panel button will appear at your nav. At the
admin panel page you can confirm or ban new tests. Admin panel provides some information
about each test, such as questions amount and questions names.
You also can view each test to check all the information.
There is list of technologies used in project:
- JDK 14
- Maven - Project build tool
- Java EE - Java Servlet, JSP(Java server pages)
- Tomcat - Servlet container
- PostgreSQL - OpenSource SQL database
- JDBC - Java Database Connectivity API
- JSTL - Library for JSP
- TestNG - Test framework
- Mockito - Mocks framework, useful for testing
- Apache Shiro - Simple permission-based authentication framework
- JavaMail - Java mail API
- GSON - Google JSON parser
- Lombock - Library for data class simplification and more
- Log4j2 - Logging library
