- MUST READ: Submission requirements
- Entry form template
Best Module for XM/XP or XM Cloud
This is an XM Cloud Module to provide a dashboard for non-technical users to trigger automation flows via Webhooks to systems like Sitecore Connect.
There are three components to this submission:
- Sitecore data
- NextJS Dashboard App
- /src/datasyncapp
- Uses Sitecore Blok
- Sitecore Connect Recipes
- Import CSV Job
- Export CSV Job
- Sitecore XM Cloud
- Sitecore Connect
- Node.js 18+
The /src/datasyncapp/.env file needs two values:
- GraphQL Endpoint
- XM Cloud Access Token
To get the GraphQL Endpoint, visit this URL: https://deploy.sitecorecloud.io
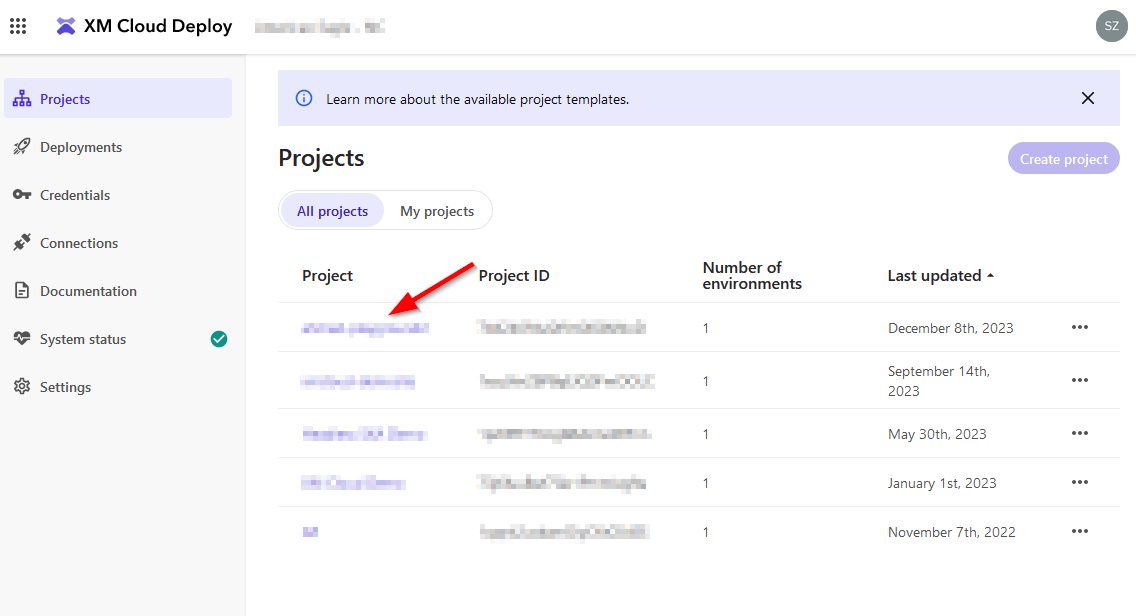
Then, click on the name of your project under the "Environments tab"

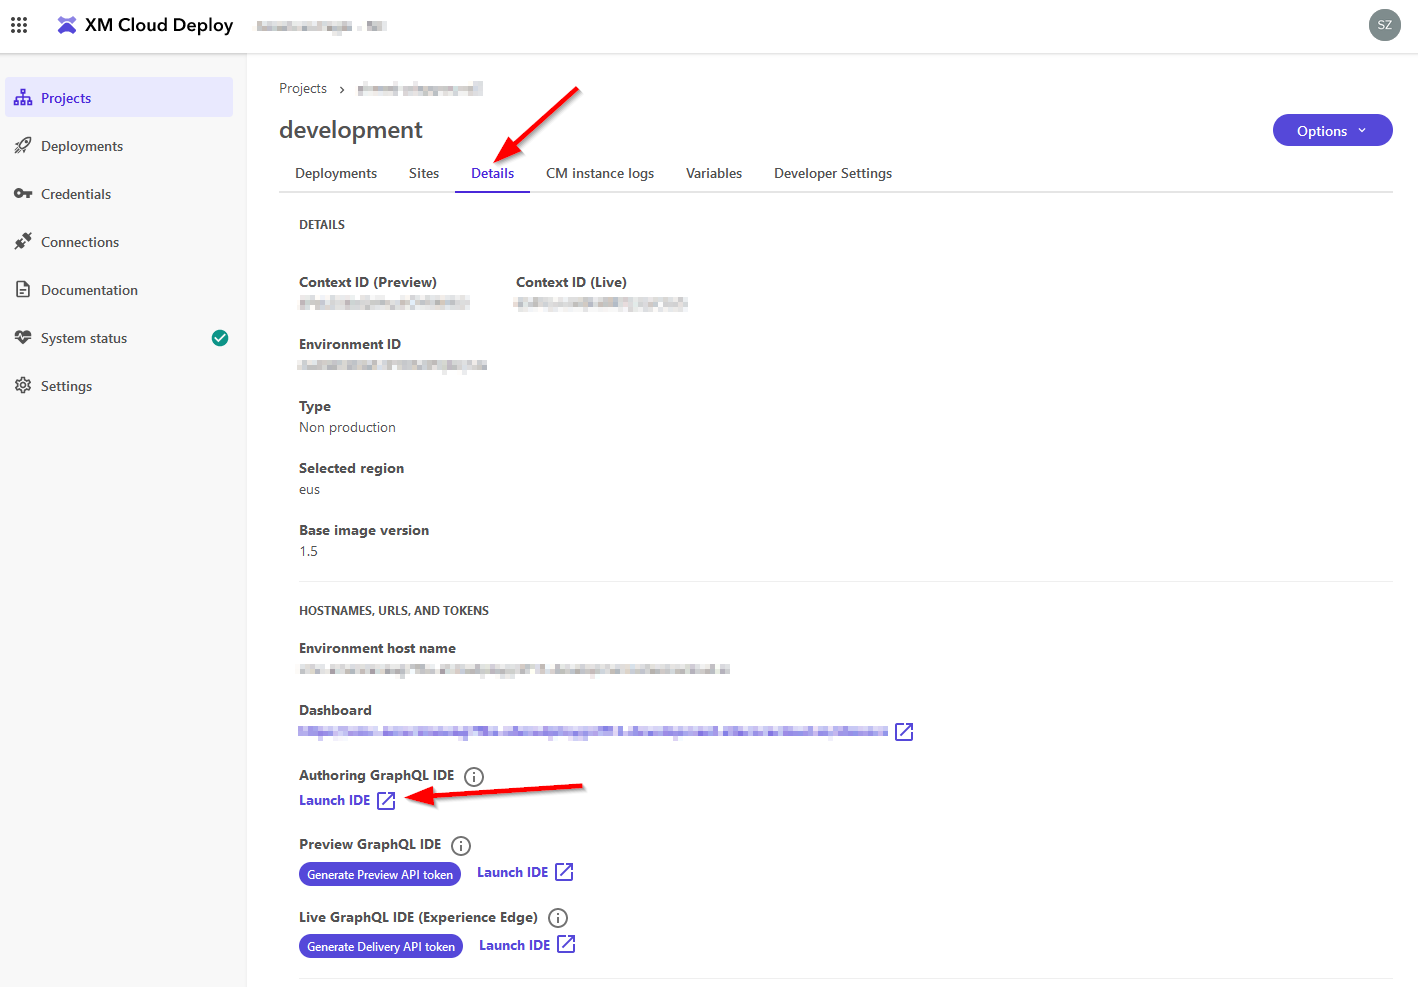
Finally, click on the "Details" tab and copy the link from the bottom, where it says "Authoring GraphQL IDE". This is your GraphQL Endpoint.

To get your XM Cloud Access Token, follow these instructions: https://doc.sitecore.com/xmc/en/developers/xm-cloud/walkthrough--enabling-and-authorizing-requests-to-the-authoring-and-management-api.html#obtain-an-access-token
Add both the GraphQL Endpoint and the XM Cloud Access Token into your /src/datasyncapp/.env file
Install the CloudSurfersDataPack-1.0.zip Sitecore package within the XM Cloud environment
This data package adds items to these locations:
- /templates/Modules/DataSync
- /templates/Project/Hackaton
- /system/Modules/DataSync
*See Appendix for manually syncing data
Open up a command prompt and navigate to the root of the project.
Run: cd ./src/datasyncapp
Within this directory, run:
npm install
Then run:
npm run dev
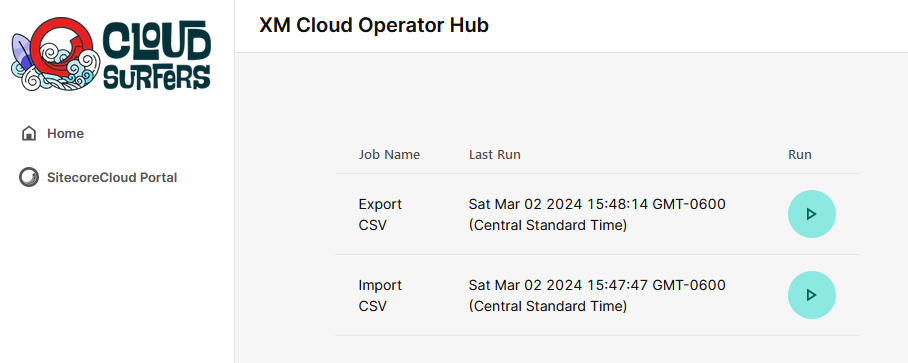
You will be greeted by this dashboard

This tool lets you file any webhook registered to the dashboard.
We have included two examples:
- Import data from a CSV into XM Cloud
- Export that data from XM Cloud to a CSV which we've uploaded to Sitecore's Media Library
This tool also notifies you if the job has run successfully, as well as let you know the Last Run time.
-
Look up your project ID in XM Cloud portal
-
Use it to list your environment ids: (from top level solution root)
dotnet sitecore cloud environment list --project-id <YOUR-PROJECT-ID> -
Use your environment id to connect:
dotnet sitecore cloud environment connect --environment-id <YOUR-ENVIRONMENT-ID> -
Edit your .sitecore/user.json
Set"allowWrite":truefor your desired endpoint -
Run data push:
dotnet sitecore serialization push -n development -
Similary, to serialize from XM Cloud:
dotnet sitecore serialization pull -n development


