A travel diary mobile app made with Ionic and Angular.
Log My Day is mobile webapp made in the DevMobile course at HEIG-VD.
The app allows to :
- Create a trip
- Create multiple places with picture and coordinates (from the device)
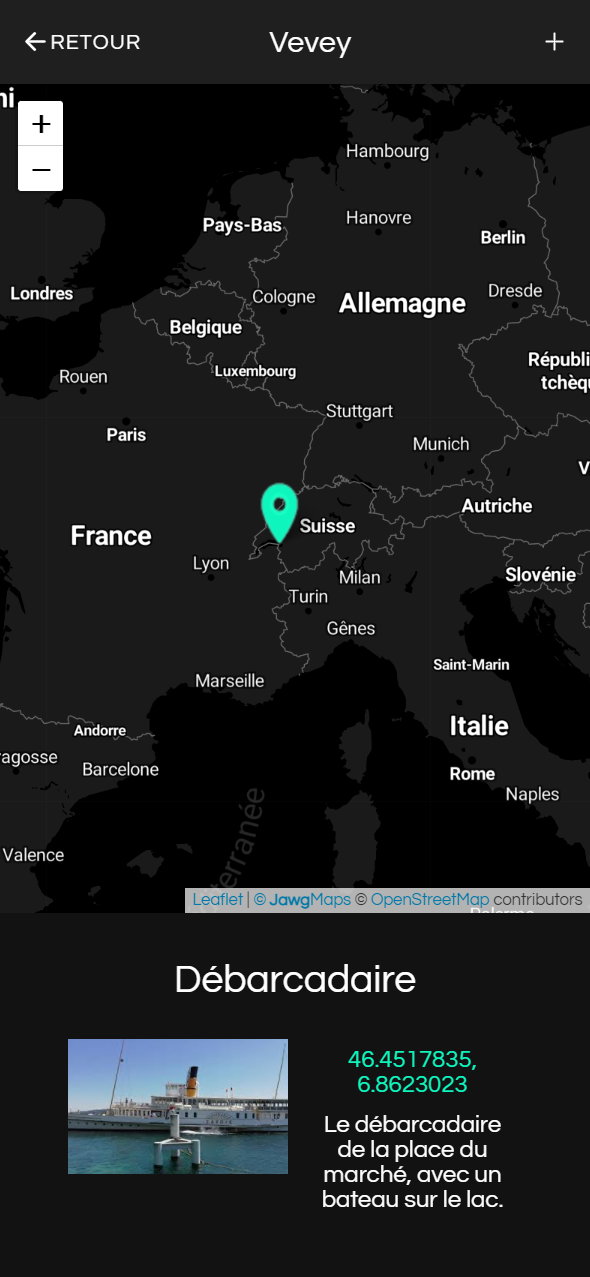
- Show places in an interactive map for each trip
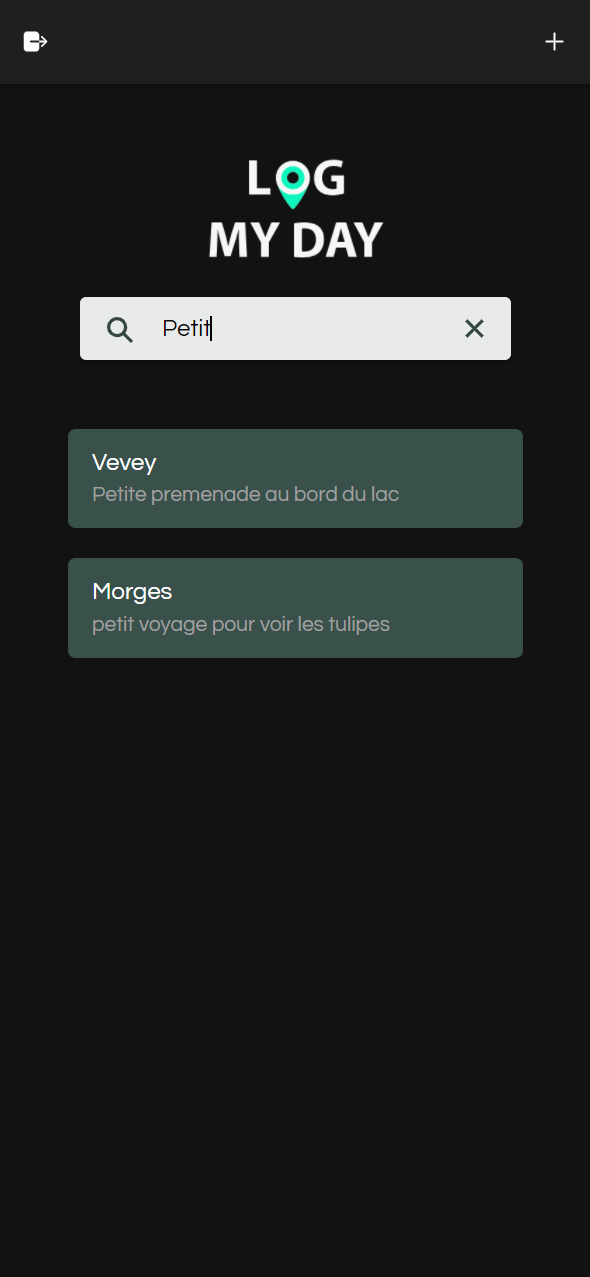
- List and search trips
The app backend is based on the travel-log API and made with Node.js et Express.
The app frontend is made with Angular and Ionic frameworks, to combine web and native mobile functionnalities. The result can be used as a web app as well as a native mobile application.
First, install Node.js
Then Angular
npm install -g @angular/cli
And finally Ionic
npm install -g @ionic/cli
git clone https://github.com/Smettraux/travel-log.git
npm install
In the project, go to your src/environments/ directory.
Create environment.ts and paste the environment.sample.ts content inside (with your own urls).
ionic serve
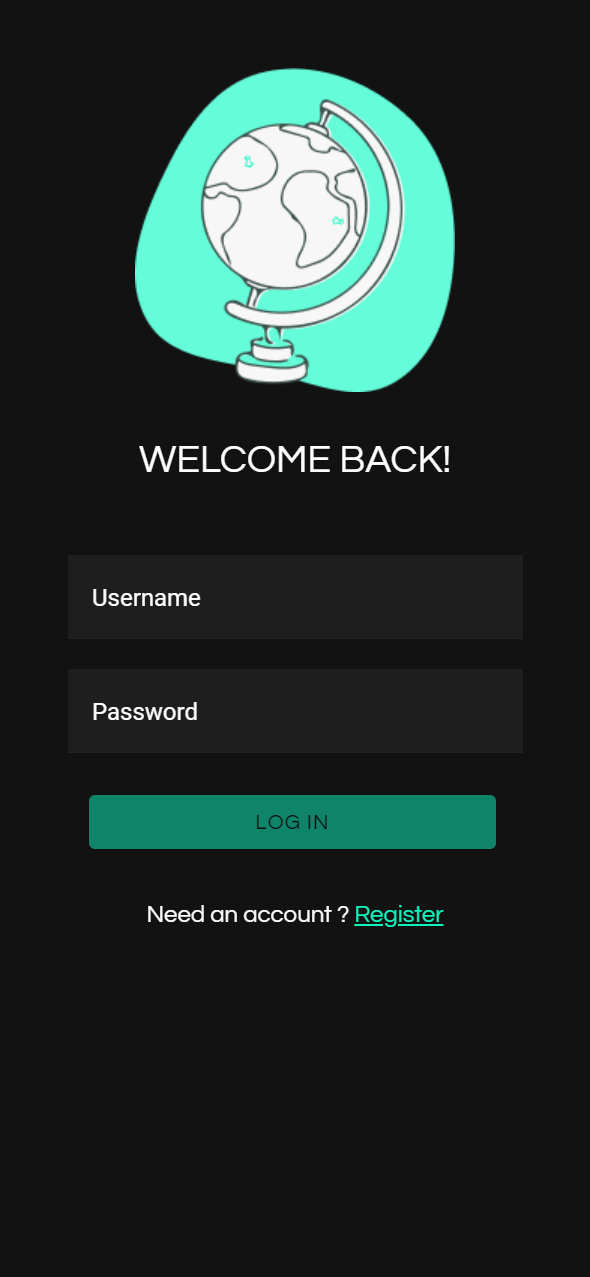
When you use the application for the first time, you will be taken to the login page. On this page you will be able to enter your username and password and then press the login button, unless you do not have an account yet.
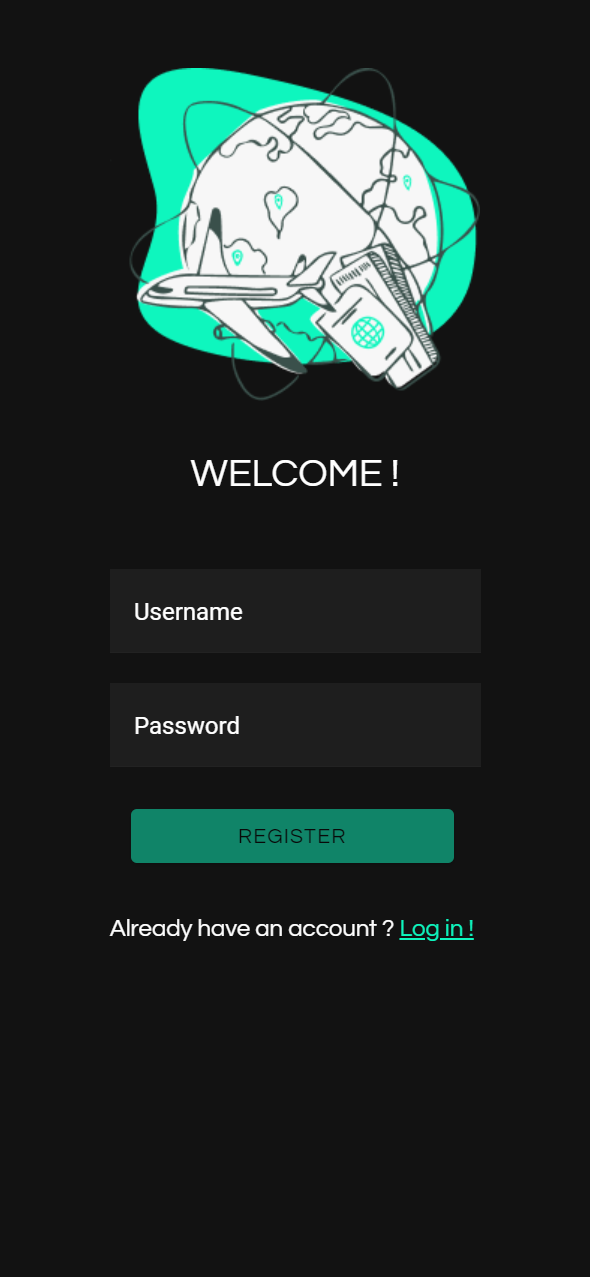
In this case, you can click on "Register Page" at the bottom of the page to go to the registration form.
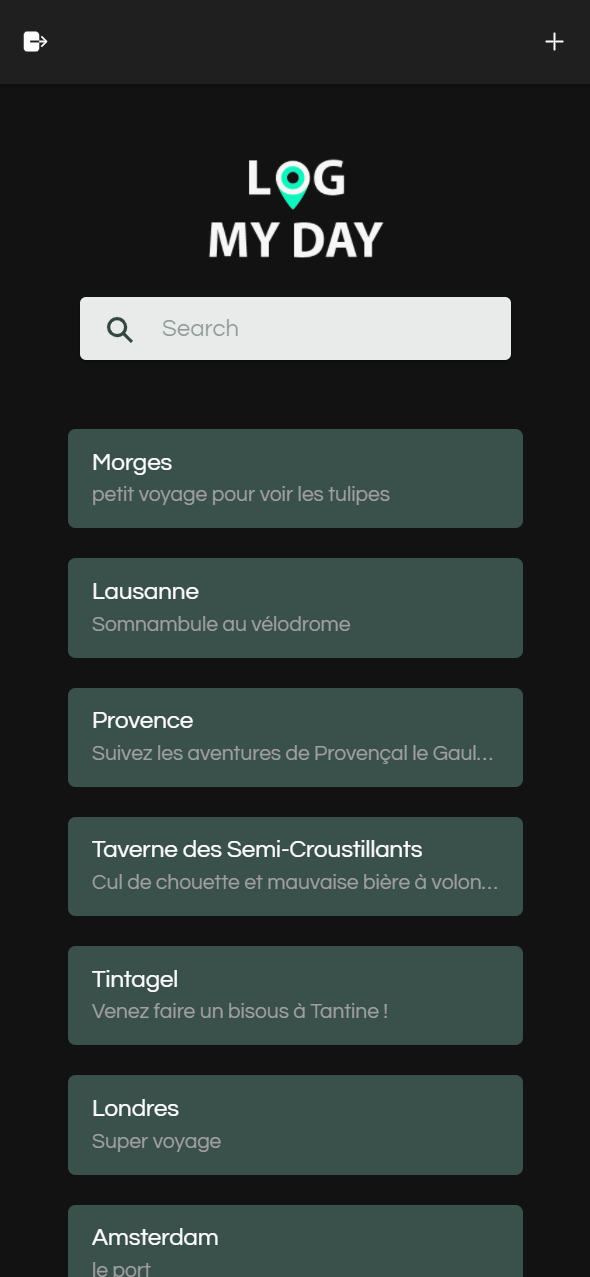
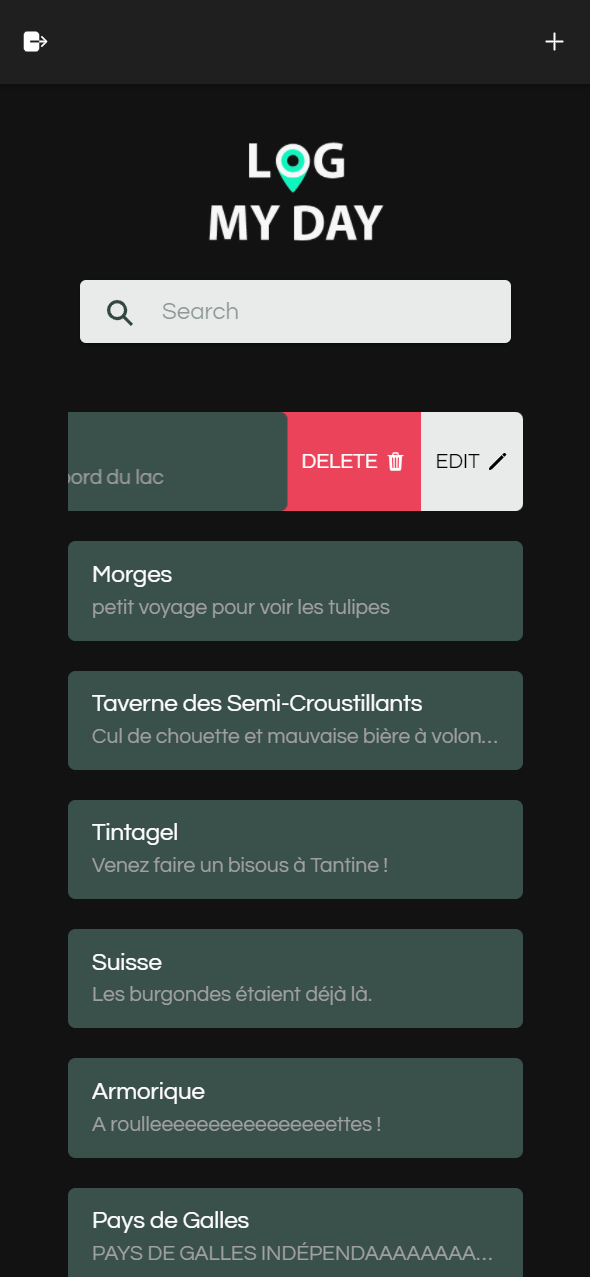
To log out, you can click on the icon at the top left of the travel list page.
To create a trip, you must first be logged in, and then be on the page where the trips are displayed (you automatically arrive on this page when you log in).
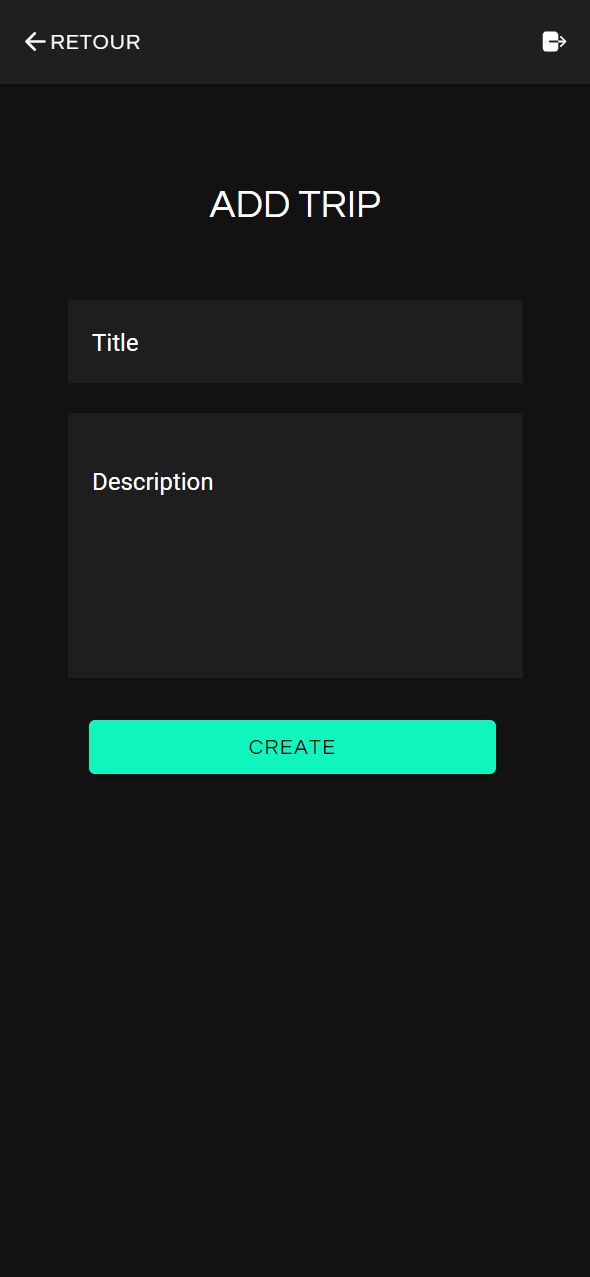
Then, by pressing the + icon at the top right of the screen, you will arrive at the form for adding a trip. On this form you will need to enter a title and description for the trip.
Once a trip has been added, you can edit or delete it by dragging it to the side. Both options will appear, and you can click on the one you want. You can also click on it to display its map with the different locations that make it up.
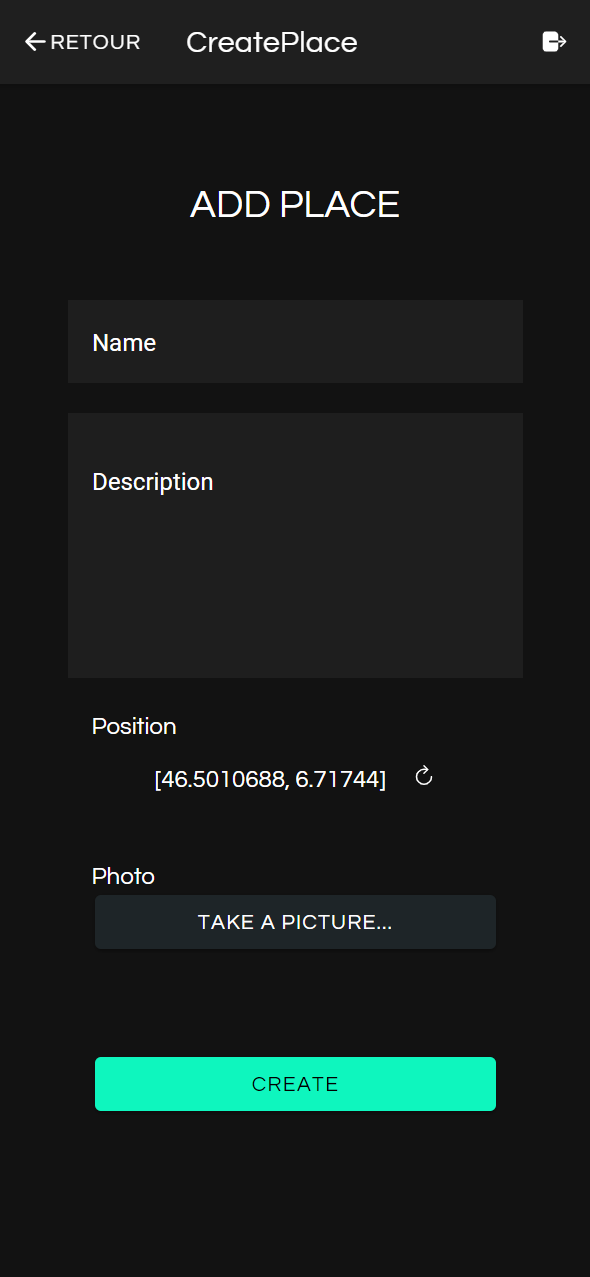
To add a place to your trip, first click on it in the list to display its details with the map. On this new page, you can press the + icon at the top right of the screen.
Once on the add place form, you can fill it in with the name of the place, its description, authorise the application to take your coordinates (to then display the place on the map) and take a photo. Your place will then be displayed on the trip map, and by clicking on it you will be able to see its name, description and photo.
You may create a number of trips, and the list will start to get very long. In this case, it is more interesting to use the search bar at the top of the page to find the right one quickly. The search will be performed on all the properties of the trip.
