npm installnpm startReview and practice basic React concepts, including:
- Components & structure
- Data binding & state
- Spread operators
- Passing props (parent -> child only)
- incl. prop destructuring
- Conditional rendering
- Conditional styling
We will do this by creating a simple form to display images from URLs, and to be able to make those images larger or smaller by clicking buttons.

Concepts: components & structure
In App.jsx, create a simple form with two text input fields and a submit button.
- A text
inputfield labeled "Title". - A text
inputfield labeled "URL". - Each input tag should have a
nameattribute. - A "Submit" button.
- Style it as you like.

Data binding, click events, useState(), spread operators
Add functionality to your "Submit" button - when you click it, it should save your form input (an image URL & title), to state.
- Create 2 pieces of state:
form, initialized to an empty form{title: '', url: ''}images, initialized as an empty array.
- Bind your form inputs to your
formstate. (In Vue, we can just do this with v-model, but in React we need 2 steps):- Add a
valueto each input element, and assign it to the appropriate value in yourformstate (i.e.form.titleorform.url). Try to type in your form. And in your emptyformfields in your code. What happens? Why? - Add an
onChangeevent listener to each input, which updates yourformstate each time an input field is changed. You can look at your React portfolio code from class as an example.
- Add a
- On button click, add the form input into your "images array".
- Hint: Instead of using
.push(), you'll need to usesetImagesto update yourimagesstate.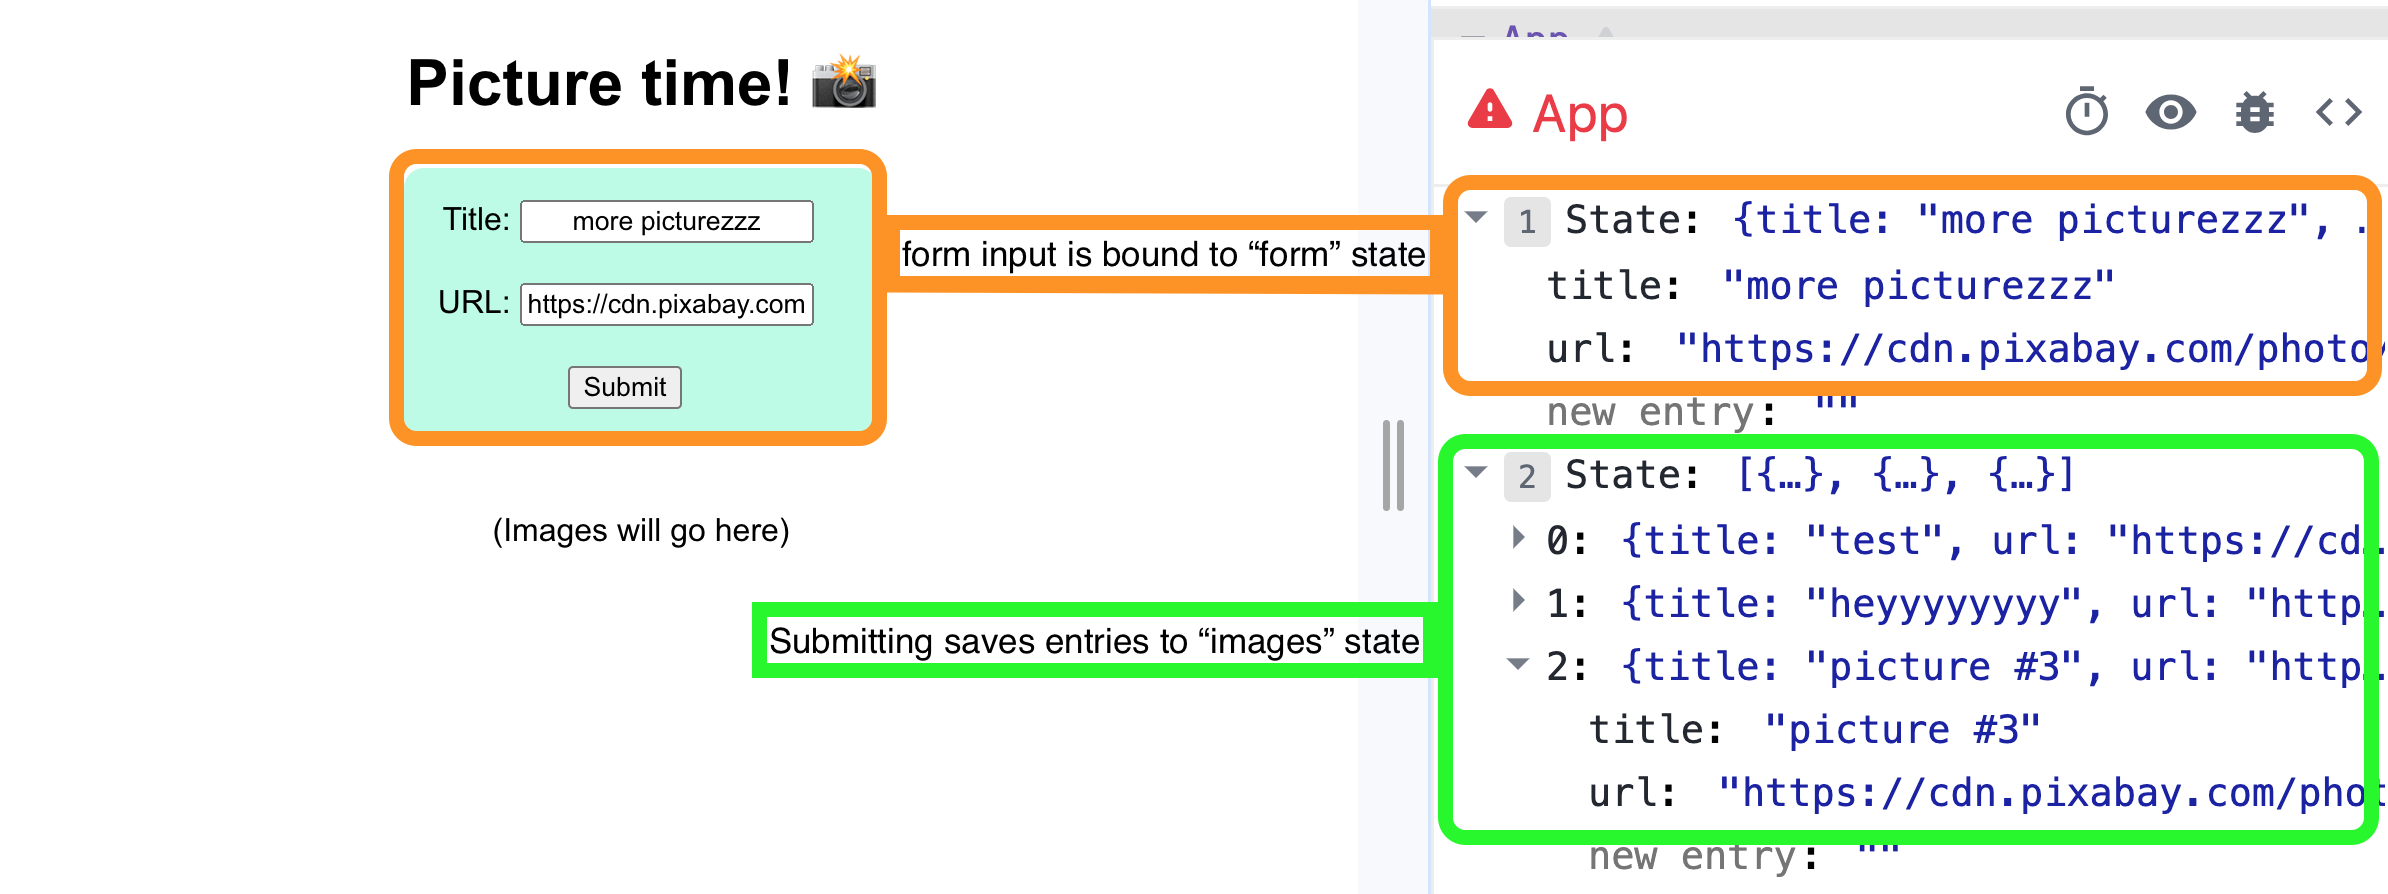
- Hint: Instead of using

Components, prop passing, prop destructuring Render all of your saved images in your image grid.
- Pass your
imagesto your<ImageGrid />component as a prop.- Remember to also receive props in the child component, in the argument of your function.
- Using
.map(), loop through your "images" data, and create an<img>tag for each one. - Add some styling so that your images are a manageable size, arranged in a grid, evenly spaced and centered.
- When you add a new image with your "Submit" button, it should appear automatically in your grid.

Concepts: Components, event listeners, useState
In your ImageGrid, create buttons that say "big" and "small".
Clicking the "big" button should make the size of your images bigger. Clicking "small" should return them to their original size.
Whichever size is "active" should be clear in the button styling. i.e. If your images are bigger, the "big" button should be highlighted somehow. If the images are small, the "small" button should be highlighted to show that this is the active state.
- Create state called
isBigand initialize it to false. - Create and import an
ImageGrid.cssfile. - There, create a class
.active, and add some styling that will highlight the active button. - Add conditional classes to your buttons. If
isBigis true, the "Big" button should be.active. If isBig is false, "small" should be.active. - Add basic functionality with
onClickevent listeners to update yourisBigstate: clicking "Small" should setisBigto false, and clickingBigshould set it to true. - In your
ImageGrid.css filesection, create a newimgclass.big, with a larger image size. - Add a conditional class to your
<img>tags: if "isBig" is true, it should have the.bigclass and should appear larger.
Small:

Big:

Concepts: event listeners, useState, JSX
Finally, let's use conditional rendering to hide or show our input form. Instead we should show a button saying "Add images!". Clicking the button should show the form.
- In App.jsx, create a button "Add images!"
- Create state
showFormand initialize it to "false" - Using Javascript, add a conditional around your
<form>, so it only renders (aka displays) ifshowFormis true. Your form should disappear. - Add a click handler to your "Add images!" button, so it toggles
showFormbetween true & false. Now your form should disappear and reappear when you click the button.
Finally, let's clarify our button text: when the form is hidden, the button should say "Add images!" But when the form is showing, let's change the button text to "Hide form"
- Add a ternary expression around your button text: if your
showFormis true, the button should read "Hide form". IfshowFormis false, it should say "Add images!"
Hidden form:

With form: