Image editing is a challenging task because a sequence of manual steps is involved. However, in the last decade synthetic generation of images has improved. In particular StyleGANs can generate photorealistic images of a specific domain. By interpolating StyleGANs from different domains allows us to create high-quality synthetic imaged from arbitrary domains. This repository contains an application that enables real-time manipulation of a face by interpolating the weights of multiple StyleGANs on a layer basis.
If you want to use conda, you can setup the dependencies with:
cd backend
conda env create -f environment.yml
conda activate stylegan2
If you prefer virtual environments you need python 3.8 and the correct cuda/cudnn setup. This repo was tested with cuda 11.1. For the correct cudnn version you can use the compability matrix from NVIDIA. This project uses pytorch 1.8 with cuda support. use:
cd backend
python3 -m venv .venv
source .venv/bin/activate
pip install -r requirements.txt -f https://download.pytorch.org/whl/torch_stable.html
Use
python -m art.main
to start the flask backend.
The frontend was tested using the node 16. The node version manager (nvm) is an easy way to setup node and switch between versions.
Use:
wget -qO- https://raw.githubusercontent.com/nvm-sh/nvm/v0.39.1/install.sh | bash
to setup nvm and
nvm install 16
nvm use 16
to install and use the right version.
Next you need to specify the backend address in the environment file of the frontend.
First create a file named .env.local in the frontend folder:
cd frontend
vim .env.local
and insert following content:
NEXT_PUBLIC_HOSTNAME=...
NEXT_PUBLIC_PORT=5000
NEXT_PUBLIC_HOST=http://$NEXT_PUBLIC_HOSTNAME:$NEXT_PUBLIC_PORT
Replace the ... with the private IPv4 address of the backend.
For example 192.168.0.143.
You can find your local ip address with ipconfig, ifconfig or ip a.
Finally, use
npm install
npm run build
npm start
to build and start the frontend.
First access the frontend by typing in http://...:3000.
Insert the private ip address of the frontend instead of the ...
Use the upload button to send the target image to the backend.
The application will automatically detect faces and extract them into the needed format. The uploaded image is displayed on the left side as comparison. The result of the projection and style mix is displayed in the right image. Additionally, if you want to upload a new image, download the HD (1024x1024 pixel) result image or create a new projection with arbitrary amount of iterations you can do so with the buttons below the visualization as displayed in following figure:
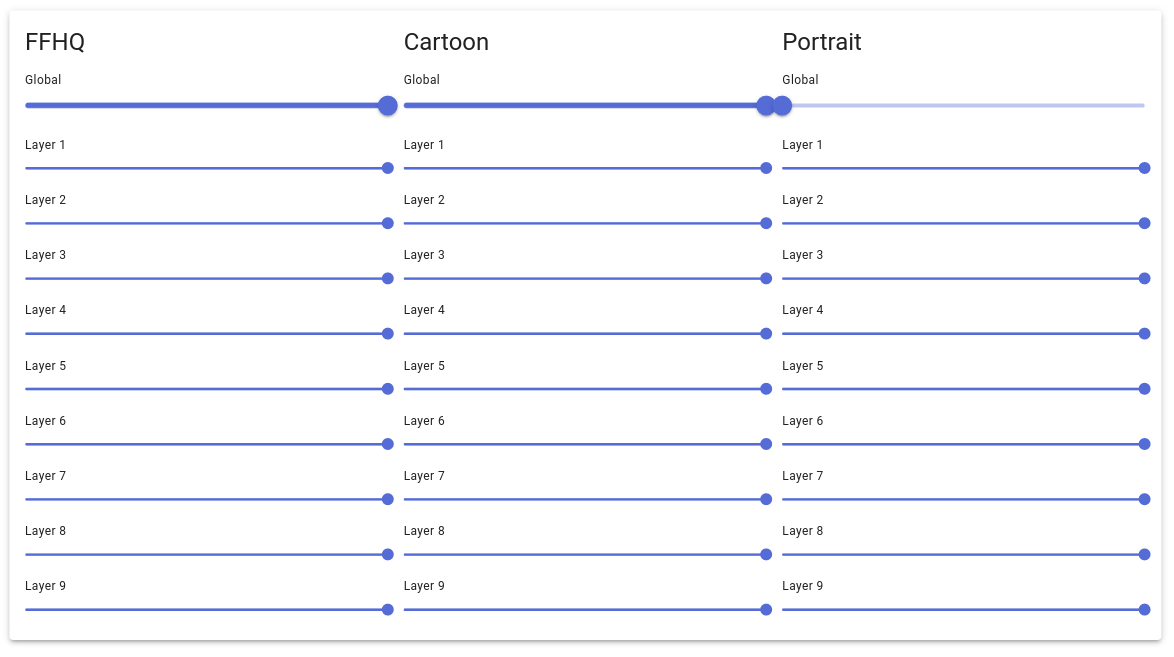
The application performs a linear combination of the weight of multiple StyleGANs. You can alter the weights for the linear combination by changing the sliders at the bottom of the webapplication. To change all weights at once, use the global slider. If you want to change the weights of individual layers you can do so by changing the layer sliders.
This repository is based on NVlabs stylegan2-ada-pytorch. In order to train new models for style transfer
- download their repository,
- install the dependency by installing their docker or use setup a conda environment with backend/environment.yml in this repository,
- follow the steps listed in Preparing datasets,
- and finally follow the steps in Training new networks with
--resume=ffhq1024to use transfer learning.
Make sure to use the same base model for transfer learning that you use within the application to obtain good results.


