

Note: For using this sample, you need a valid oAuth credential for the translation / extraction portion. Visit this page for instructions to get on-board.
Our Forge Viewer adds powerful 2D and 3D viewing functionality to your web apps. Our REST and JavaScript API makes it easier to create applications that can view, zoom and interact with 2D and 3D models from over 60+ model formats with just a web browser, no plug-in required!
But what if you wanted to view them offline? Many people ask how to proceed, while the documentation does not explicitly says how to proceed, however the API is public and documented. This sample will go through all the required steps.
The extract.autodesk.io server exercises and demonstrates the Autodesk Forge API authorization, translation, viewing processes mentioned in the Quick Start guide. It also demonstrates how to extract the 'bubbles' files from the Autodesk server for storing and viewing them locally.
It closely follows the steps described in the documentation:
In order to make use of this sample, you need to register your consumer and secret keys:
- https://developer.autodesk.com > My Apps
This provides the credentials to supply to the http requests on the Autodesk server.
This sample is dependent on the server part on Node.js and couple of Node.js extensions which would update/install automatically via 'npm':
-
Node.js
Node.js - built on Chrome's JavaScript runtime for easily building fast, scalable network applications. You need at least version v5.11.1. You can get Node.js from here
Node.js modules:"adm-zip": ">= 0.4.7", "archiver": ">= 0.14.3", "async": ">= 1.2.0", "body-parser": ">= 1.11.0", "connect-multiparty": ">= 1.2.5", "cron": ">= 1.0.6", "ejs": ">= 2.2.4", "express": ">= 4.12.3", "fs": ">= 0.0.2", "gen-uid": "0.0.2", "mkdirp": ">= 0.5.0", "moment": ">= 2.10.3", "path": ">= 0.11.14", "request": ">= 2.55.0", "rimraf": " >= 2.2.8", "serve-favicon": ">= 2.3.0", "stream": ">= 0.0.2", "unirest": ">= 0.4.0", "url": ">= 0.10.2", "util": ">= 0.10.3", "bower": "^1.6.5", "mailjet-sendemail": "^1.1.4"
This sample is also dependent on the client side on couple of javascript library which would update/install automatically via 'bower':
-
flow.js - A JavaScript library providing multiple simultaneous, stable, fault-tolerant and resumable/restartable file uploads via the HTML5 File API.
-
Bootstrap - Bootstrap is the most popular HTML, CSS, and JS framework for developing responsive, mobile first projects on the web.
-
jsPlumb - jsPlumb Community edition provides a means for a developer to visually connect elements on their web pages, using SVG.
-
dagre - Dagre is a JavaScript library that makes it easy to lay out directed graphs on the client-side.
All these libraries can be install via bower
"jquery": "^ 2.1.4",
"view-and-data-toolkit": "*",
"flow.js": "^ 2.9.0",
"bootstrap": "^ 3.3.6",
"jquery.cookie": "^ 1.4.1",
"jsPlumb": "= 2.1.2",
"dagre": "~0.7.4",
"jquery-ui": "~1.11.4"
The sample was created using Node.js and javascript.
Live version at: http://extract.autodesk.io/
There is 2 ways to configure the sample with your application keys, please choose one of the option at step 4. Developers,
make sure to read the developer notes before anything.
-
Download and install Node.js (that will install npm as well)
-
Download this repo anywhere you want (the server will need to write files, so make sure you install in a location where you have write permission, at least the 'tmp', 'data' and '/www/extracted' folders)
-
Execute 'npm install', this command will download and install the required node & bower modules automatically for you.
npm install -
Install your credential keys to run the sample:
a. Option 1: enter your keys in a permanent file which will never be saved in your GitHub repo. This is because you do not want to expose your keys to anyone, and this is the reason why this file is never saved in the repo. You can decide to save this file in a private GitHub repo by editing the .gitignore file.-
From the sample root folder, rename or copy the ./server/credentials_.js file into ./server/credentials.js
- Windows
copy server/credentials_.js server/credentials.js - OSX/Linux
cp server/credentials_.js server/credentials.js
- Windows
-
Edit credentials.js and replace keys placeholder (client_id and client_secret) with your keys. I.e.:
<replace with your consumer key>
<replace with your consumer secret>
b. Option 2: use system environment variables. This is actually the option you need to use for the tests suite which runs on Travis-CI.
- Define a CONSUMERKEY and CONSUMERSECRET system variables from the console or script which will launch the
server.
- Windows
set CONSUMERKEY=xxx set CONSUMERSECRET=xxx - OSX/Linux
or passing on the command line to the Node.js processexport CONSUMERKEY xxx export CONSUMERSECRET xxx
sudo [PORT=<port>] CONSUMERKEY=xxx CONSUMERSECRET=xxx node start.js
Replace keys placeholder xxx with your own keys.
- Windows
-
-
You are done for the setup, launch the node server using the command '[sudo] node start.js'. sudo is required only on OSX and Linux.
- Windows
[set PORT=<port>] node start.js- OSX/Linux
sudo [PORT=<port>] node start.js
Note: the port argument can be omitted and default to port 80. If port 80 is already in use by another application (like Skype, or IIS, or Apache, ...), you can use any other free port such as 8000, 3000, etc... But in the next section you would need to specify the port to use, i.e. http://localhost[:port]/ - Windows
-
If you choose option b. for setup, launch http://localhost[:port]/setup.html, otherwise you are good to go with http://localhost[:port]/
Translating files / Extracting 'bubbles'
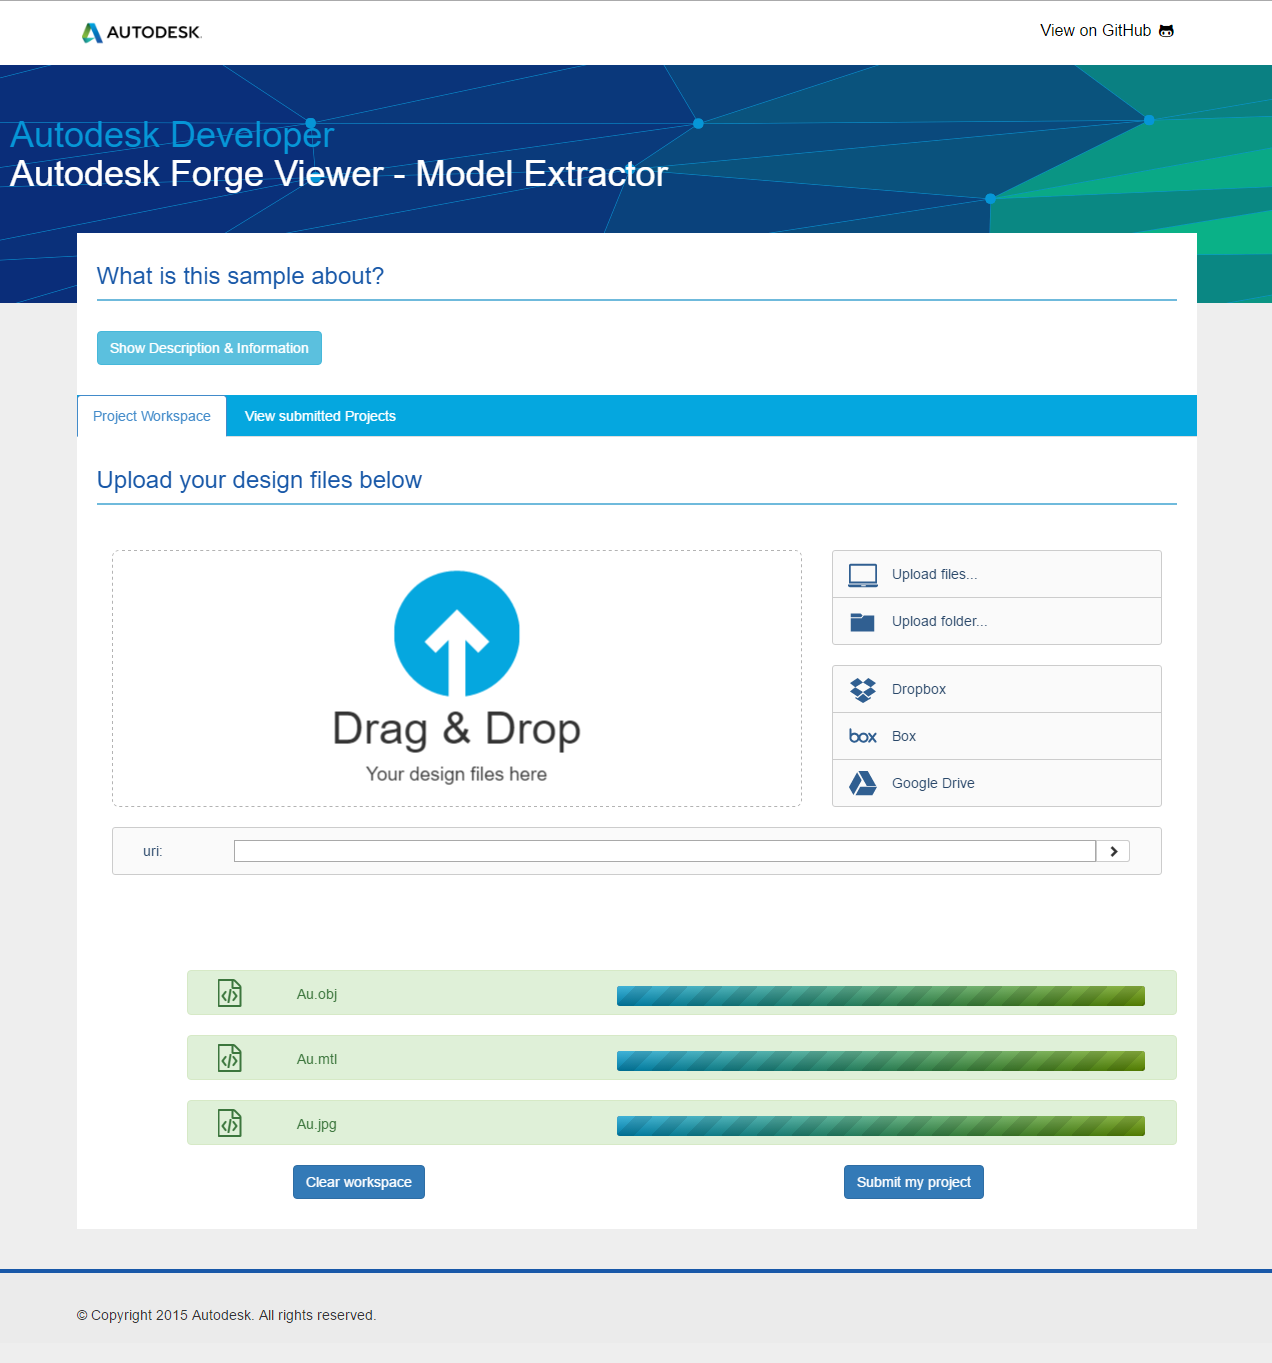
- Start your favorite browser supporting HTML5 and WEBGL and browse to http://localhost/.
Note: In case you use a different port above do not forget to include it in the URL. I.e. http://localhost:3000/. - Drag'n Drop your files into the 'Drop area' or browse for individual files or grab files for your dropbox, box or google drive account. Tips: start with the main file in your file has dependencies, that will build the connections automatically.
- Once all files are uploaded on your local server, press the 'Create project' button to translate your file(s).
- If you uploaded more that one file, the system will give you a chance to review and edit connections. If a connection is not correct, delete the connection by clicking on the connection line, and build a new connection starting from the parent 'yellow' square to the child dependency.
- After the translation completed successfully, move your mouse over the project thumbnail at the bottom of the page ('View submitted Projects' tab) and press the 'Explore' button.
- On the new page, you should review your model and if you're happy with what you see, you can request to download the 'bubbles' from the server. Sometimes the process can take a long time, so you can register to be notified by email when the process completed and get a direct link on the resulting zip file.
Viewing 'bubbles' offline using Node.js
- This step needs to be done only once per machine. Setup Node.js http-server server.
npm install http-server -g - Unzip the project result zip file into a folder.
- Execute the index.bat file provide in the zip file, or
a. Start your local node http-server server.
b. Start your favorite browser supporting HTML5 and WEBGL and browse to http://localhost:8080/ and select any of the html .svf. files.[sudo] http-server <myfolder>
(or execute any .bat file located in your folder - usually '0.svf.html.bat' or shell script if you are on OSX or Linux - usually '0.svf.html.sh')
Viewing 'bubbles' offline using PHP 5.4.x+
- This step needs to be done only once per machine. Download and install PHP 5.4+ on your computer.
- Unzip the project result zip file into a folder.
- Start your local PHP http server.
cd <myfolder> php -S localhost:8000 - Start your favorite browser supporting HTML5 and WEBGL and browse to http://localhost:8000/ and select any of the html .svf. files.
Viewing 'bubbles' offline using Python
- This step needs to be done only once per machine. Download and install Python on your computer.
- Unzip the project result zip file into a folder.
- Start your local Python http server.
cd <myfolder> # with Python 2.x python -m SimpleHTTPServer # with Python 3.x+ python -m http-server - Start your favorite browser supporting HTML5 and WEBGL and browse to http://localhost:8000/ and select any of the html .svf. files.
Viewing 'bubbles' offline using Ruby
- This step needs to be done only once per machine. Download and install Ruby on your computer.
- Unzip the project result zip file into a folder.
- Start your local Ruby http server.
cd <myfolder> ruby -r webrick -e "s = WEBrick::HTTPServer.new(:Port => 8000, :DocumentRoot => Dir.pwd); trap('INT') { s.shutdown }; s.start" - Start your favorite browser supporting HTML5 and WEBGL and browse to http://localhost:8000/ and select any of the html .svf. files.
On Windows only: simply copy the Python directory on your CD, and launch the server via a script when your application wants to show a LMV result. Make sure to set the PATH to point to your CD Python location to avoid errors. On OSX, Linux: Python is already installed, so you can use the default Python on these OS.
Usage:
cd <my sample directory>
python -m SimpleHTTPServer [port]
on all platform you may install the http-server utility. http-server is a simple, zero-configuration command-line http server. It is powerful enough for production usage, but it's simple and hackable enough to be used for testing, local development, and learning.
To install http-server, go on your node.js console and enter the following command:
npm install http-server -g
Usage:
cd <my sample directory>
http-server [path] [options]
[path] defaults to ./public if the folder exists, and ./ otherwise.
This sample is licensed under the terms of the MIT License. Please see the LICENSE file for full details.
Cyrille Fauvel (Autodesk Developer Network)
http://www.autodesk.com/adn
http://around-the-corner.typepad.com/