Continuously tested on Linux, MacOS and Windows:
CVPR 2019 paper,
arxiv.org/abs/1903.06593
We propose a new bottom-up method for multi-person 2D human pose estimation that is particularly well suited for urban mobility such as self-driving cars and delivery robots. The new method, PifPaf, uses a Part Intensity Field (PIF) to localize body parts and a Part Association Field (PAF) to associate body parts with each other to form full human poses. Our method outperforms previous methods at low resolution and in crowded, cluttered and occluded scenes thanks to (i) our new composite field PAF encoding fine-grained information and (ii) the choice of Laplace loss for regressions which incorporates a notion of uncertainty. Our architecture is based on a fully convolutional, single-shot, box-free design. We perform on par with the existing state-of-the-art bottom-up method on the standard COCO keypoint task and produce state-of-the-art results on a modified COCO keypoint task for the transportation domain.
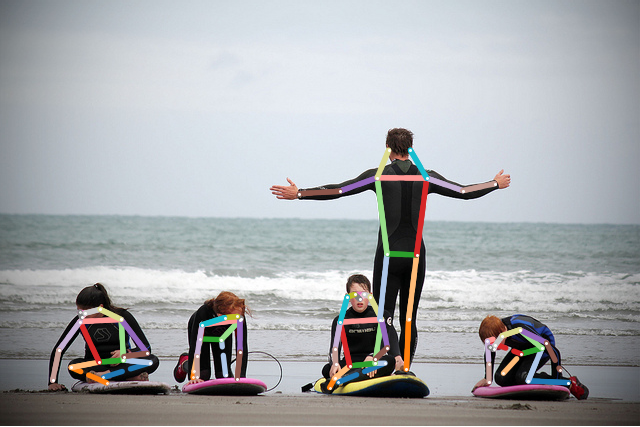
Image credit: "Learning to surf" by fotologic which is licensed under CC-BY-2.0.
Created with:
python3 -m openpifpaf.predict --show docs/coco/000000081988.jpg
More demos:
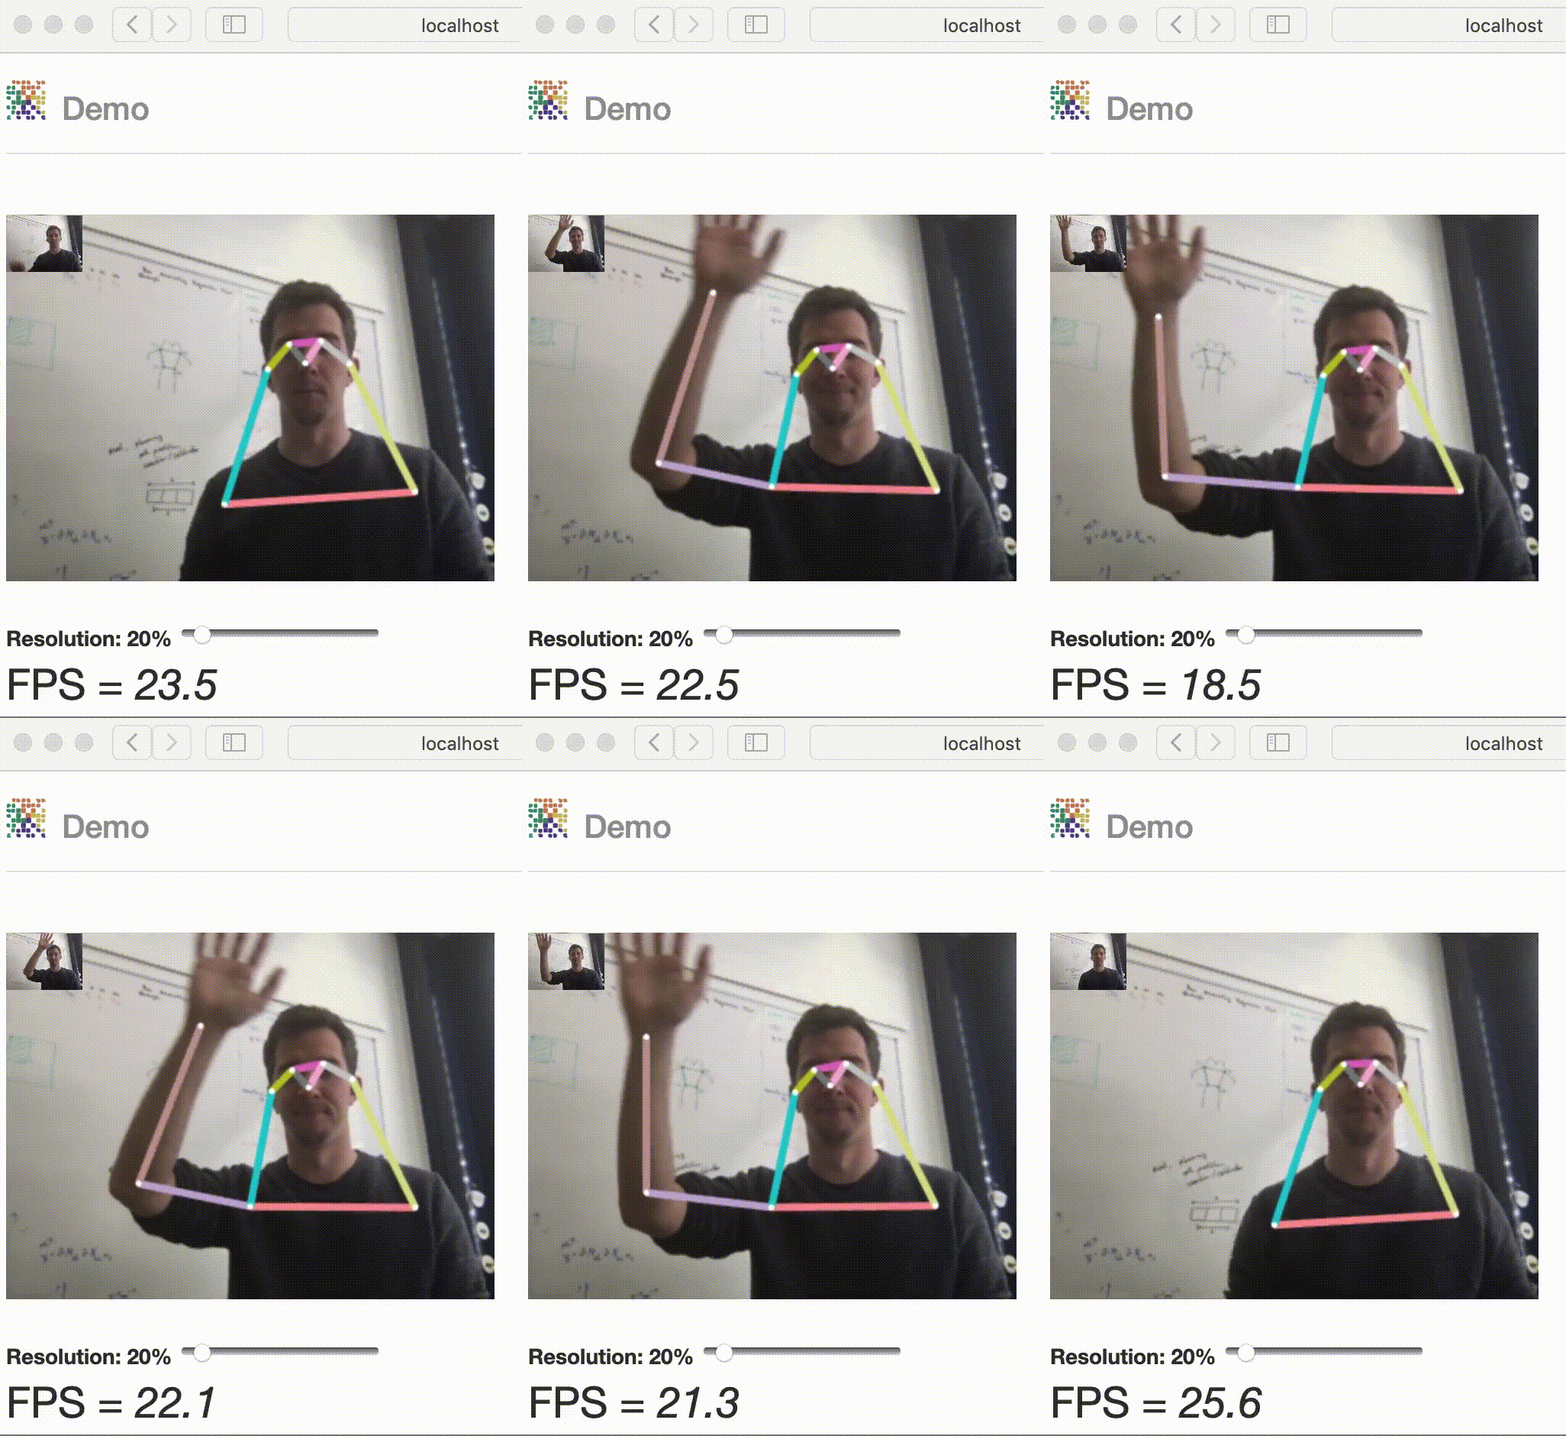
- openpifpafwebdemo project (best performance)
- OpenPifPaf running in your browser: https://vita-epfl.github.io/openpifpafwebdemo/ (experimental)
- the
openpifpaf.webcamcommand (requires OpenCV) - Google Colab demo
Python 3 is required. Python 2 is not supported.
Do not clone this repository
and make sure there is no folder named openpifpaf in your current directory.
pip3 install openpifpafFor a live demo, we recommend to try the
openpifpafwebdemo project.
Alternatively, openpifpaf.webcam provides a live demo as well.
It requires OpenCV.
For development of the openpifpaf source code itself, you need to clone this repository and then:
pip3 install numpy cython
pip3 install --editable '.[train,test]'
The last command installs the Python package in the current directory (signified by the dot) with the optional dependencies needed for training and testing.
python3 -m openpifpaf.predict --help: help screenpython3 -m openpifpaf.webcam --help: help screenpython3 -m openpifpaf.train --help: help screenpython3 -m openpifpaf.eval_coco --help: help screenpython3 -m openpifpaf.logs --help: help screen
Tools to work with models:
python3 -m openpifpaf.migrate --help: help screenpython3 -m openpifpaf.export_onnx --help: help screen
Performance metrics with version 0.10.1 on the COCO val set obtained with a GTX1080Ti:
| Backbone | AP | APᴹ | APᴸ | t_{total} [ms] | t_{dec} [ms] |
|---|---|---|---|---|---|
| shufflenetv2x2 | 60.4 | 55.5 | 67.8 | 56 | 33 |
| resnet50 | 64.4 | 61.1 | 69.9 | 76 | 32 |
| (v0.8) resnext50 | 63.8 | 61.1 | 68.1 | 93 | 33 |
| resnet101 | 67.8 | 63.6 | 74.3 | 97 | 28 |
| (v0.8) resnet152 | 67.8 | 64.4 | 73.3 | 122 | 30 |
Pretrained model files are shared in the releases of the
openpifpaf-torchhub
repository. The pretrained models are downloaded automatically when
using the command line option --checkpoint backbonenameasintableabove.
To visualize logs:
python3 -m openpifpaf.logs \
  outputs/resnet50block5-pif-paf-edge401-190424-122009.pkl.log \
  outputs/resnet101block5-pif-paf-edge401-190412-151013.pkl.log \
outputs/resnet152block5-pif-paf-edge401-190412-121848.pkl.logSee datasets for setup instructions. See studies.ipynb for previous studies.
The exact training command that was used for a model is in the first line of the training log file.
Train a ResNet model:
time CUDA_VISIBLE_DEVICES=0,1 python3 -m openpifpaf.train \
  --lr=1e-3 \
  --momentum=0.95 \
  --epochs=150 \
  --lr-decay 120 140 \
  --batch-size=16 \
  --basenet=resnet101 \
  --head-quad=1 \
  --headnets pif paf paf25 \
  --square-edge=401 \
  --lambdas 10 1 1 15 1 1 15 1 1
ShuffleNet models are trained without ImageNet pretraining:
time CUDA_VISIBLE_DEVICES=0,1 python3 -m openpifpaf.train \
  --batch-size=64 \
  --basenet=shufflenetv2x2 \
  --head-quad=1 \
  --epochs=150 \
  --momentum=0.9 \
  --headnets pif paf paf25 \
  --lambdas 30 2 2 50 3 3 50 3 3 \
  --loader-workers=16 \
  --lr=0.1 \
  --lr-decay 120 140 \
  --no-pretrain \
  --weight-decay=1e-5 \
  --update-batchnorm-runningstatistics \
  --ema=0.03
You can refine an existing model with the --checkpoint option.
To produce evaluations at every epoch, check the directory for new snapshots every 5 minutes:
while true; do \
  CUDA_VISIBLE_DEVICES=0 find outputs/ -name "resnet101block5-pif-paf-l1-190109-113346.pkl.epoch???" -exec \
    python3 -m openpifpaf.eval_coco --checkpoint {} -n 500 --long-edge=641 --skip-existing \; \
  ; \
  sleep 300; \
done
COCO / kinematic tree / dense:
Created with python3 -m openpifpaf.data.
Processing a video frame by frame from video.avi to video.pose.mp4 using ffmpeg:
export VIDEO=video.avi  # change to your video file

mkdir ${VIDEO}.images
ffmpeg -i ${VIDEO} -qscale:v 2 -vf scale=641:-1 -f image2 ${VIDEO}.images/%05d.jpg
python3 -m openpifpaf.predict --checkpoint resnet152 --glob "${VIDEO}.images/*.jpg"
ffmpeg -framerate 24 -pattern_type glob -i ${VIDEO}.images/'*.jpg.skeleton.png' -vf scale=640:-2 -c:v libx264 -pix_fmt yuv420p ${VIDEO}.pose.mp4
In this process, ffmpeg scales the video to 641px which can be adjusted.
- monoloco: "Monocular 3D Pedestrian Localization and Uncertainty Estimation" which uses OpenPifPaf for poses.
- openpifpafwebdemo: web front-end.
@InProceedings{kreiss2019pifpaf,
  author = {Kreiss, Sven and Bertoni, Lorenzo and Alahi, Alexandre},
  title = {PifPaf: Composite Fields for Human Pose Estimation},
  booktitle = {The IEEE Conference on Computer Vision and Pattern Recognition (CVPR)},
  month = {June},
  year = {2019}
}


