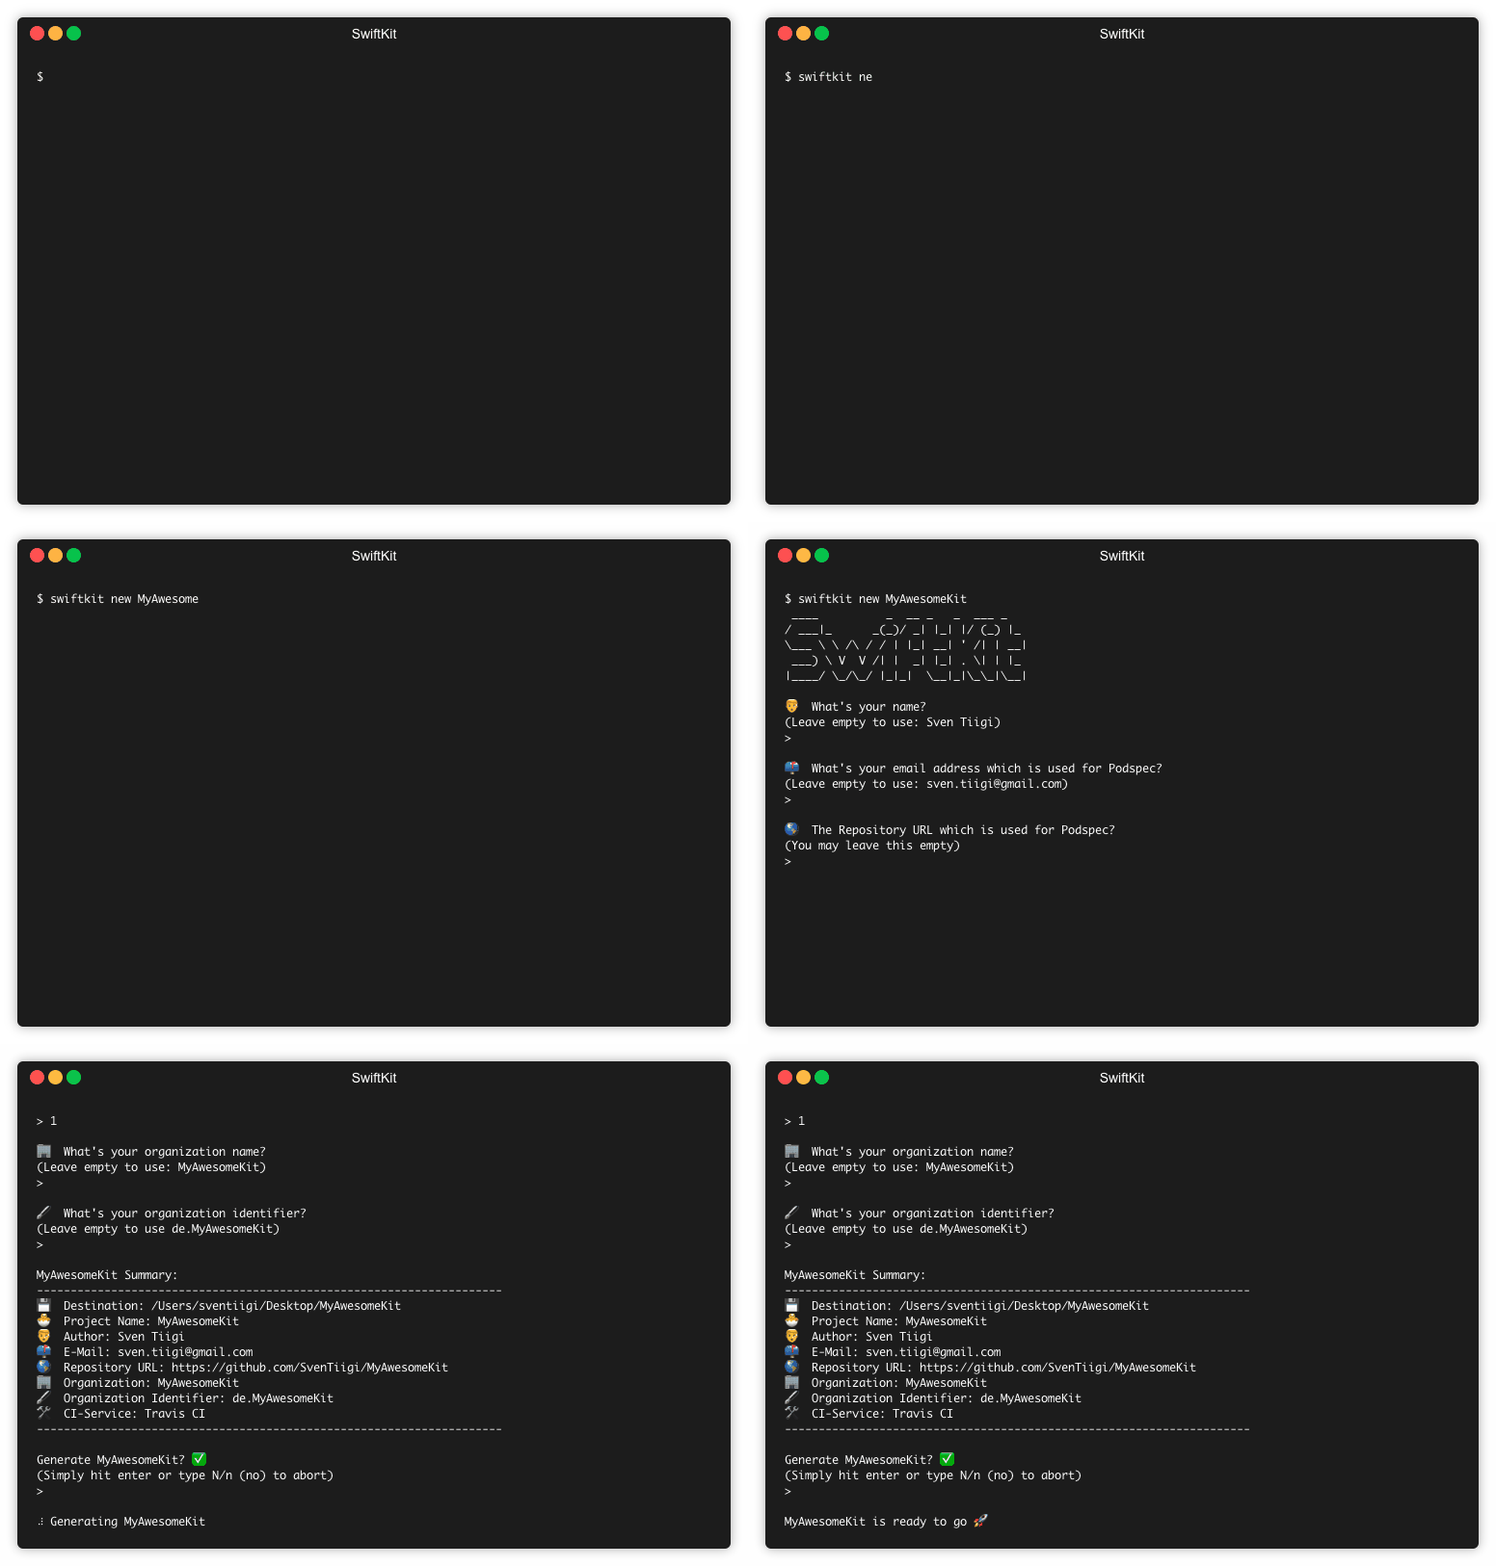
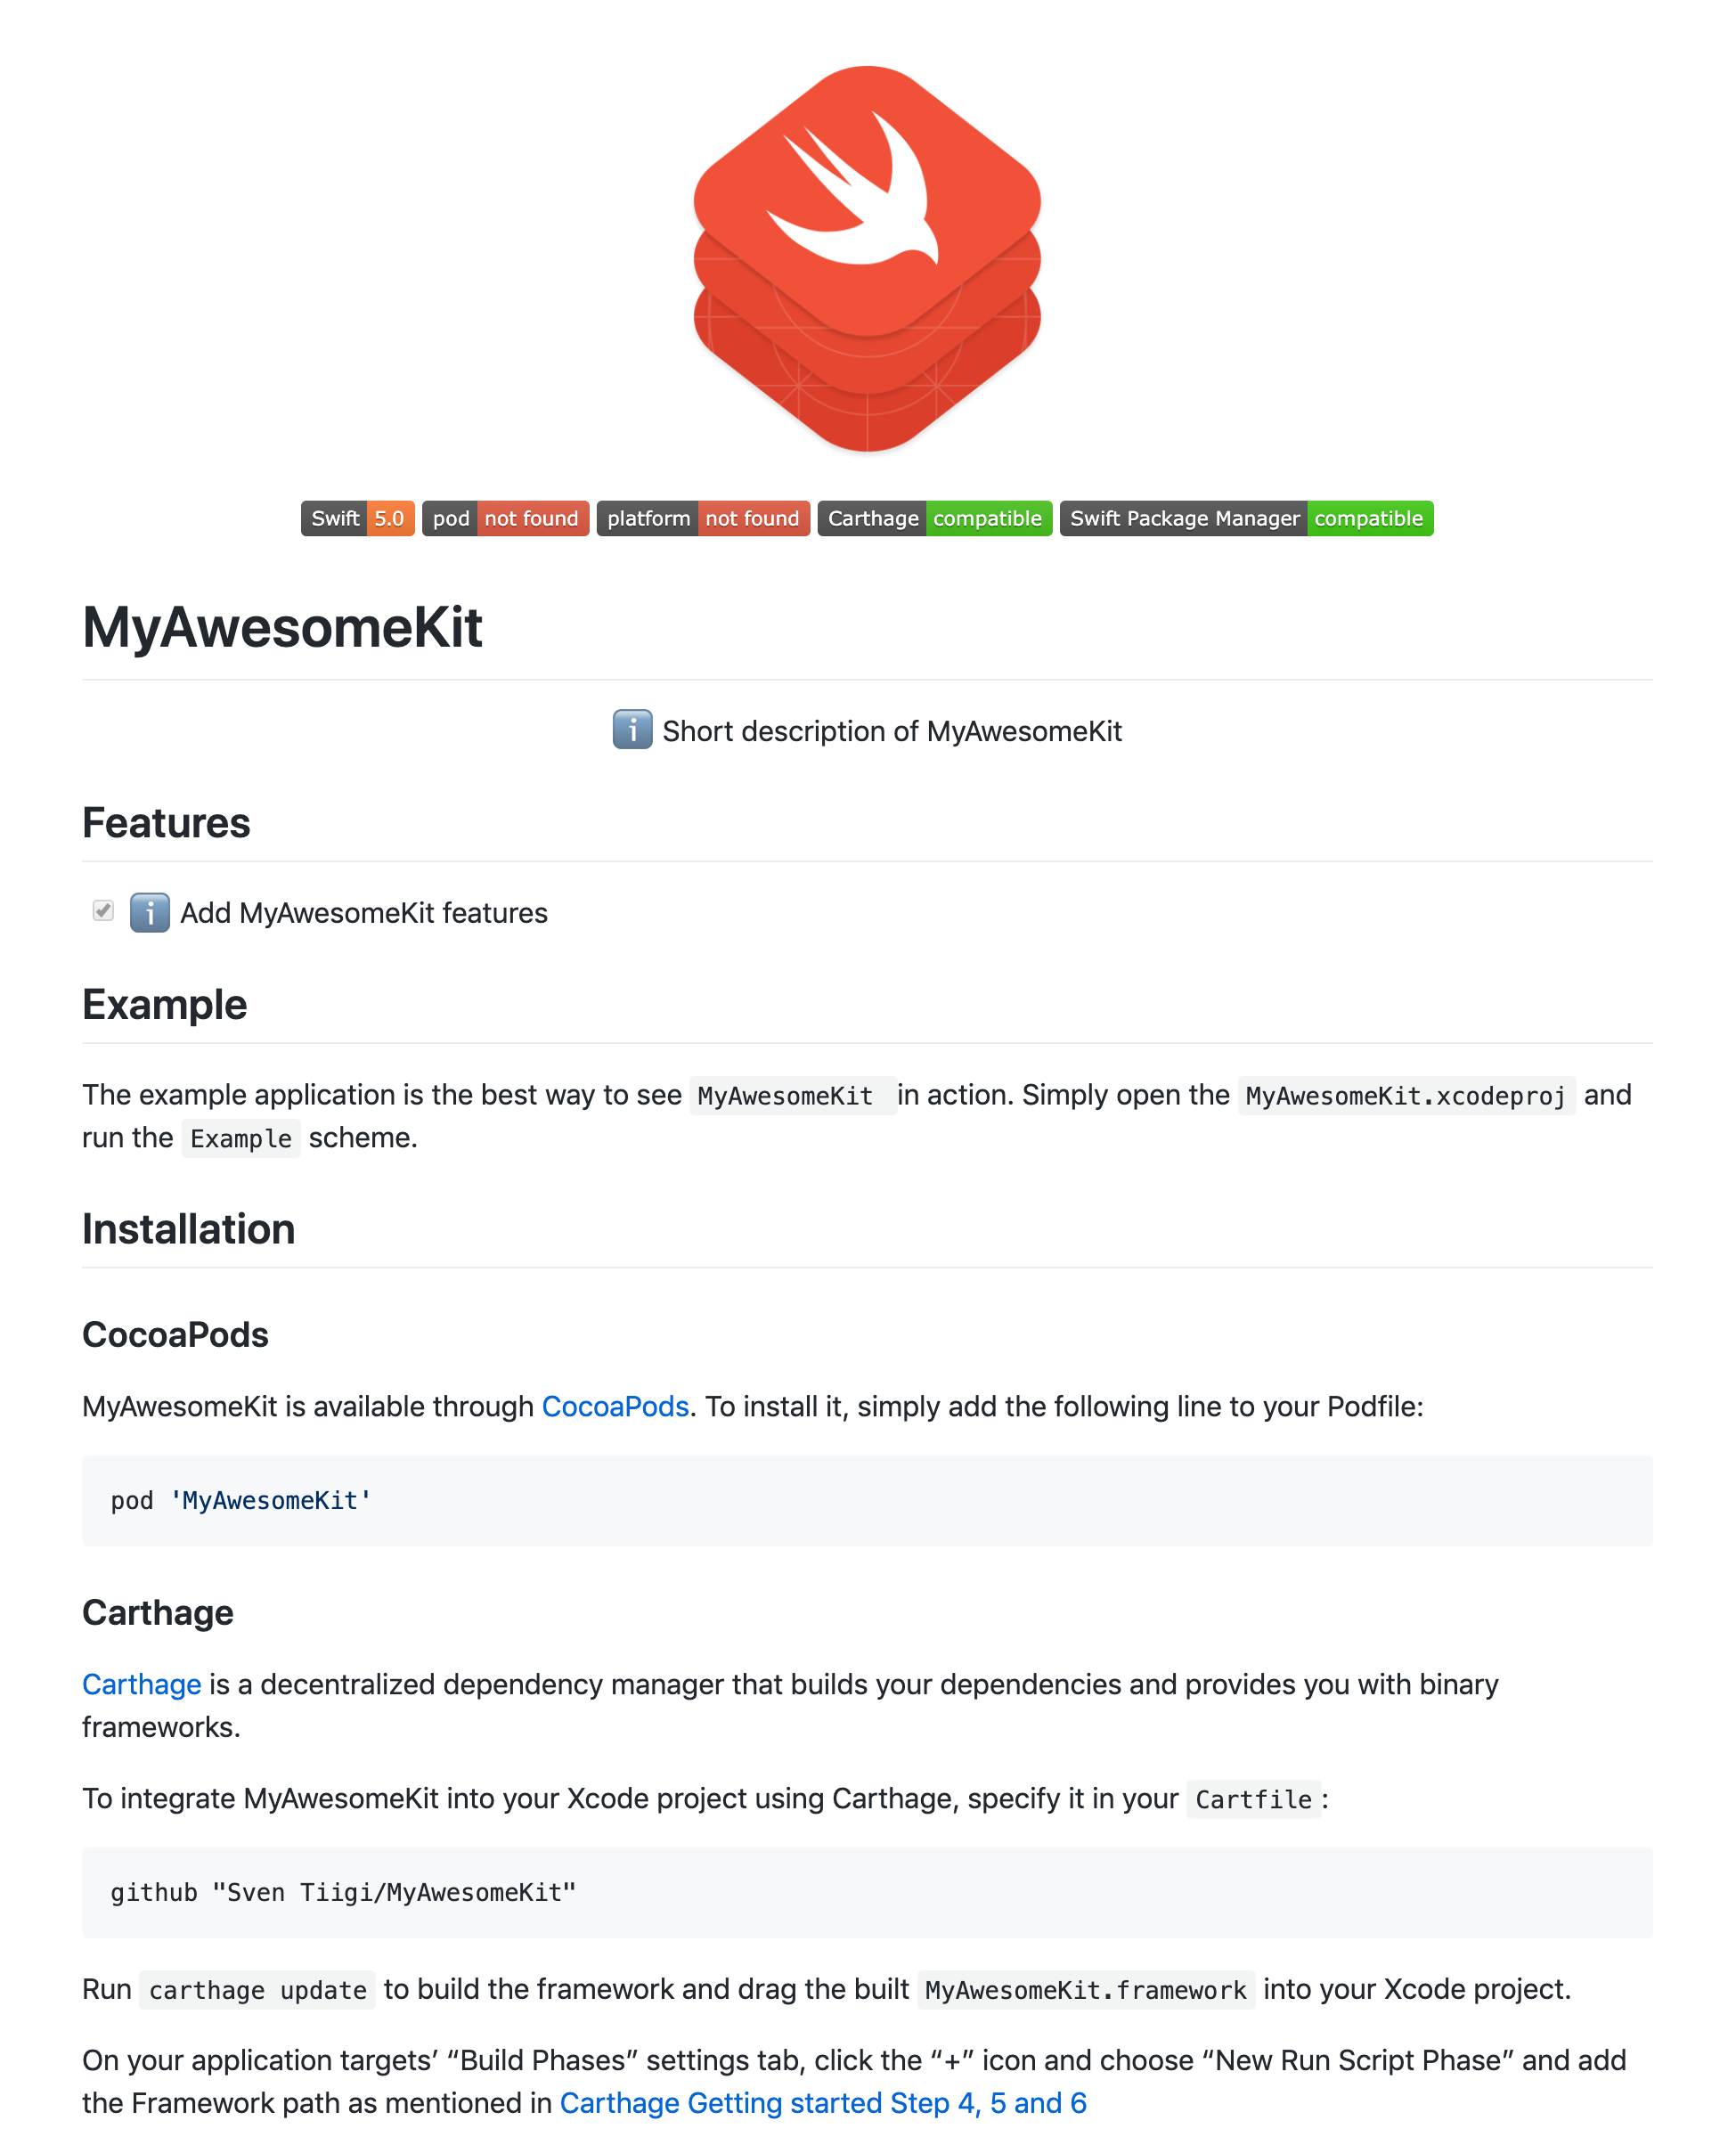
SwiftKit enables you to easily generate a cross platform Swift Framework from your command line.
It is the best way to start your next Open-Source Swift Framework 📦.
SwiftKit is inspired by SwiftPlate
Features
- Generated Kit supports
iOS,tvOS,watchOSandmacOS -
CocoaPods,CarthageandSwift Package Managercompatibility -
README.mdtemplate - Fastlane already integrated for
testsandrelease -
Jazzyto generate documentation -
SwiftLintBuild-Phase integrated -
CI-Serviceconfiguration templates included (Travis, GitLab, Azure Pipelines) - Automatically checks if the Kit name is already taken on
CocoaPods - GitHub issue templates for
Bug reportsandFeature requests
Installation
Mint 🌱
Mint is a package manager that installs and runs Swift command line tool packages.
$ mint install SvenTiigi/SwiftKitHomebrew 🍺
Homebrew is a free and open-source software package management system that simplifies the installation of software on Apple's macOS operating system.
$ brew tap SvenTiigi/SwiftKit
$ brew install swiftkit
Update
To update SwiftKit to the latest version simply run:
$ swiftkit updateThe
updatecommand will only work if SwiftKit is installed via either Mint 🌱 or Homebrew 🍺
Usage 👨💻
To create a new Kit simply run:
$ swiftkit new MyAwesomeKitThis will create a new folder in your current directory named by the name of your Kit
To create a Kit inside the current directory simply run:
$ swiftkit newThis will infer the Kit name based on your directory name
If you wish to open the Xcode project after your Kit has been generated simply run:
$ swiftkit new MyAwesomeKit --openHead over to the
Argumentssection to learn more about the available arguments
In default SwiftKit will create a Kit that supports iOS, tvOS, watchOS, macOS. If you want to support only certain Targets simply run:
$ swiftkit new MyAwesomeKit --target iOS --target tvOSThis will create a Kit which only supports
iOSandtvOS
Kit-Structure 📦
The upcoming sections will explain the structure of your generated Kit in detail.
Xcode Project Structure
In the generated Xcode project you will find four important directories.
| Directory | Description |
|---|---|
Sources |
Where you place your Swift source files |
Tests |
Place your Unit-Tests files |
Example |
The iOS application example for your Kit |
Configs |
All config files like Plist, Package.swift, Podspec, etc. |
Kit.swift
In the aforementioned Sources directory you will find one Swift file which is named by your Kit.
// Include Foundation
@_exported import Foundation
This file is used to inherit the import of
Foundationwhen importing your Kit.
Fastlane
Every generated Kit will come along with a predefined Fastfile.
tests-Lane
The tests lane will run your Unit-Tests.
$ fastlane ios testscompatibilityTests-Lane
The compatibilityTests lane will verify that your Kit is Carthage, CocoaPods and Swift Package Manager compatible.
$ fastlane ios compatibilityTestsrelease-lane
The release lane will allow you to automatically release a new version of your Kit for Carthage/GitHub and CocoaPods.
$ fastlane ios release version:1.1.0The lane verifies various aspects of your Kit.
| Step | Description |
|---|---|
| 1 | Ensure your are on a clean master branch |
| 2 | Run compatibilityTests lane |
| 3 | Run tests lane |
| 4 | Increment version |
| 5 | Add and push Git tag |
| 6 | Pushes the Podspec via pod trunk push |
☝️ Please ensure you have registered your machine with
pod trunk registerin order to successfully push the Podspec to CocoaPods
ReadMe
A README.md template will be automatically created inside your Kit. It contains default sections like Example, Installation and Usage. Please feel free to update the ReadMe to your needs.
Arguments
SwiftKit supports arguments when launched. Following arguments are supported:
| Long parameter | Short parameter | Description |
|---|---|---|
--target |
-t |
The Target that should be included in your Kit 📱 |
--destination |
-d |
Where the generated Kit should be saved 💾 |
--kit-name |
-k |
The name of your Kit 📦 |
--name |
-n |
Your name 👨💻 |
--email |
-e |
Your email address 📫 |
--url |
-u |
The repository url 🌎 |
--ci-service |
-c |
The CI-Service 🛠 1 = Travis CI - macOS only 2 = Travis CI - macOS & Linux 3 = GitLab CI 4 = Azure Pipelines |
--organization |
-o |
The name of your organization 🏢 |
--organization-identifier |
-i |
The organization identifier 🖋 |
--repository |
-r |
The SwiftKit template repository url 🌎 |
--force |
-f |
Generate the Kit without confirmation ✅ |
--open |
-o |
Open the Xcode project after your Kit has been generated 📂 |
Example with all arguments been set.
swiftkit new \
	--target iOS \
	--target tvOS \
	--target watchOS \
	--target macOS \
	--destination ~/Desktop/MyAwesomeKit \
	--kit-name MyAwesomeKit \
	--name SvenTiigi \
	--email sven.tiigi@gmail.com \
	--url https://github.com/SvenTiigi/MyAwesomeKit \
	--ci-service 1 \
	--organization SvenTiigi \
	--organization-identifier com.tiigi \
	--repository https://github.com/SvenTiigi/SwiftKit.git \
	--force \
	--open
Environment-Configuration
You can place a JSON environment configuration file in your home directory ~/.swiftkit-env.json to provide default values for:
| Key | Description |
|---|---|
authorName |
The author name |
authorEmail |
The author email address |
organizationName |
The organization name |
organizationIdentifier |
The organization identifier |
SwiftKit will use those values and skip the corresponding console question when running swiftkit new.
{
    "authorName": "Sven Tiigi",
    "authorEmail": "sven.tiigi@gmail.com",
    "organizationName": "Sven Tiigi",
    "organizationIdentifier": "de.tiigi"
}
Path:
~/.swiftkit-env.json
The environment config values will only be used if no argument for the corresponding value is present.
Featured on
Contributing
Contributions are very welcome 🙌 🤓
Credits
SwiftKit is inspired by SwiftPlate from JohnSundell
License
SwiftKit
Copyright (c) 2019 Sven Tiigi <sven.tiigi@gmail.com>

Permission is hereby granted, free of charge, to any person obtaining a copy
of this software and associated documentation files (the "Software"), to deal
in the Software without restriction, including without limitation the rights
to use, copy, modify, merge, publish, distribute, sublicense, and/or sell
copies of the Software, and to permit persons to whom the Software is
furnished to do so, subject to the following conditions:

The above copyright notice and this permission notice shall be included in
all copies or substantial portions of the Software.

THE SOFTWARE IS PROVIDED "AS IS", WITHOUT WARRANTY OF ANY KIND, EXPRESS OR
IMPLIED, INCLUDING BUT NOT LIMITED TO THE WARRANTIES OF MERCHANTABILITY,
FITNESS FOR A PARTICULAR PURPOSE AND NONINFRINGEMENT. IN NO EVENT SHALL THE
AUTHORS OR COPYRIGHT HOLDERS BE LIABLE FOR ANY CLAIM, DAMAGES OR OTHER
LIABILITY, WHETHER IN AN ACTION OF CONTRACT, TORT OR OTHERWISE, ARISING FROM,
OUT OF OR IN CONNECTION WITH THE SOFTWARE OR THE USE OR OTHER DEALINGS IN
THE SOFTWARE.
