- prebuilt Raspberry Pi images
- boots silently with boot splash screen including progress bar
- boots directly into omxplayer
- The device will also setup a TTY on the UART (ttyAMA0). You can connect with an USB serial converter.
- video can be put into the '/boot' folder (2GB of space available)
- No WiFi, no network.
- absolute slim buildroot distro (≈160MB) running linux 5.10.78 kernel. Bare system takes 10MB of RAM only!
By the way: Raspberry Pi Zero W boots up in 14 seconds!
Most of the buildroot adaptions are stored in the ./board/tt_rpi/rootfs-overlay folder. After creating the sdcard.img it's content is placed in the root / folder.
There are two board configurations available at the moment:
rpi0w_tt_defconfigfor RPi Zero (V1.3) and RPi Zero W (V1.1), both testedrpi4_tt_defconfigfor RPi 4, tested
Below you will find the explanations of how the customization is made on the final running Raspberry Pi image.
If you want to apply the settings before building, you can adapt the board/toldotechnik_rpi/rootfs-overlay folder. The default URL for the browser is defined in tthe board/toldotechnik_rpi/post-image.sh script.
Our distro boots directly into a full screen video player. We use the super fast omxplayer which supports a lot of codecs.
To enable video playback follow these steps:
- Put the video file into the
/boot/folder. - Set the path of the video file in
/boot/video.txtIt should look something like this:/boot/video1.mp4
The video gets played in loop mode.
Our custom boot splash is enabled by default. Please contact us if you want another boot splash logo in a prebuilt image. You also can replace the logo by yourself. Please refer to the build section.
We took some existing init scripts and appended the /usr/bin/psplash-write "PROGRESS x" command, so the progress bar increases while booting and decreases when a shutdown is in progress.
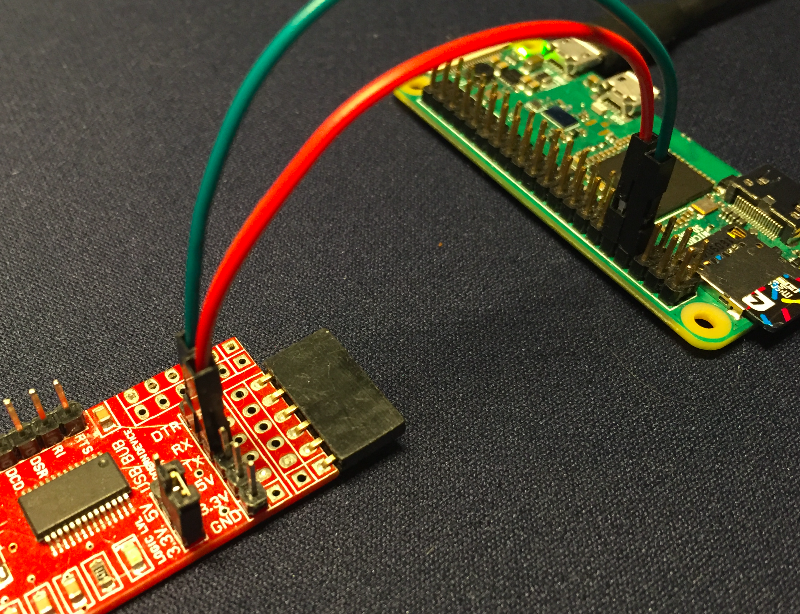
The device will setup a TTY on the internal UART (ttyAMA0, baud rate: 115200). You can connect to it with an USB to serial converter. Ensure to have 3.3V level!
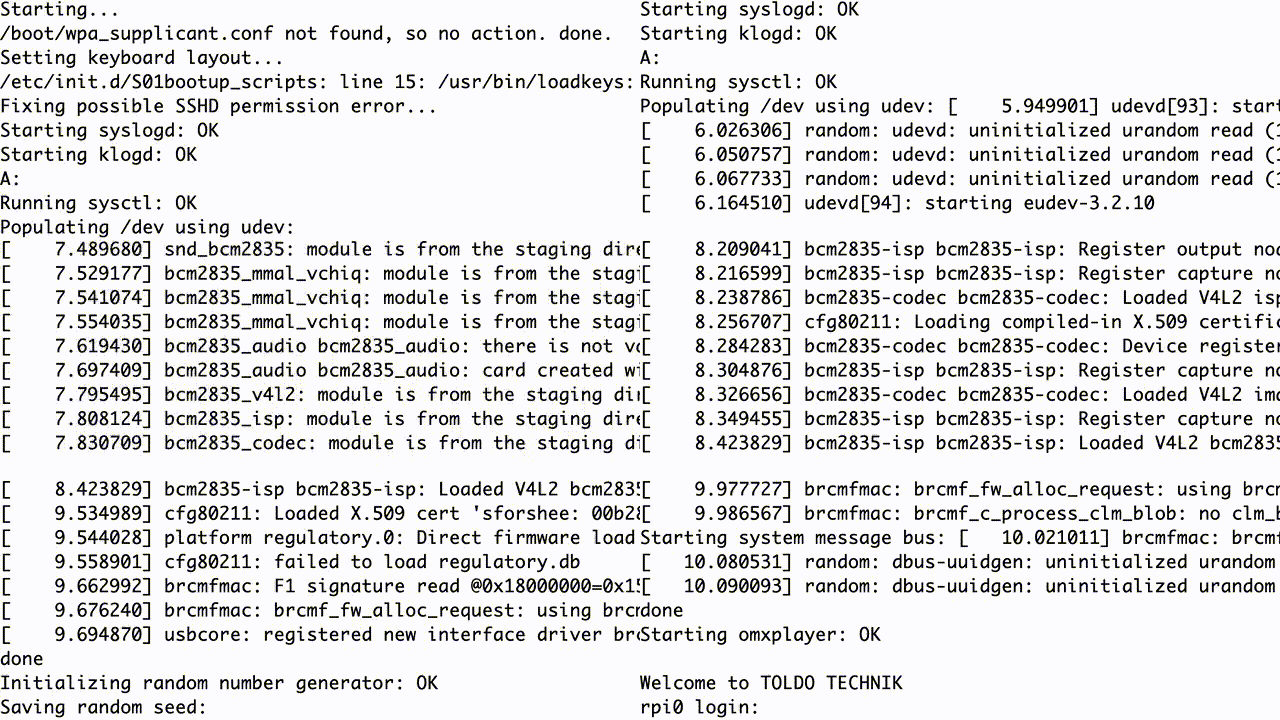
Console output on ttyAMA0 while booting
converter (RX) - green - (TX) RPi
converter (TX) - red - (RX) RPi
Connect GND to GND if you're using different power supplies for the RPi and the serial converter.
The root password is root
Please change it after first boot: passwd root
Prebuilt images are freely available from our server.
- Raspberry Pi Zero / Zero W (2021-12-27)
- Raspberry Pi 4 (2021-12-28)
- more to come...
Image files can be written the same way as the official Raspberry Pi images. Please see https://www.raspberrypi.org/documentation/installation/installing-images/
If you're using Etcher or the Raspberry Pi Imager, you can take the compressed image file without extracting it.
apt install -y git subversion bc zip build-essential subversion libncurses5-dev zlib1g-dev gawk gcc-multilib flex  gettext libssl-dev

add-apt-repository ppa:ubuntu-toolchain-r/test
apt update
apt install gcc-8 g++-8
update-alternatives --install /usr/bin/gcc gcc /usr/bin/gcc-8 800 --slave /usr/bin/g++ g++ /usr/bin/g++-8
Clone our repo.
git clone https://github.com/TOLDOTECHNIK/Raspberry-Pi-Video-Looper
Clone the official buildroot branch 2021.11.
git clone --branch 2021.11 https://github.com/buildroot/buildroot.git
cd buildroot
Add our custom board folder
cp -r ../Raspberry-Pi-Video-Looper/board/tt_rpi ./board/
Then add our custom board config
cp ../Raspberry-Pi-Video-Looper/configs/rpi0w_tt_defconfig ./configs
Everything is ready now. You can load your board's configuration by typing
make rpi0w_tt_defconfig
or
make rpi4_tt_defconfig
If you want to make your own changes, run this before compiling.
make menuconfig
Finally build everything with
make
After a while the final image is ready to burn. You can take it from the output directory: ./output/images/sdcard.img
Before building you can replace the boot screen logo by your own. Just put your transparent PNG file into ./board/tt_rpi/ Name it psplash-logo.png.


