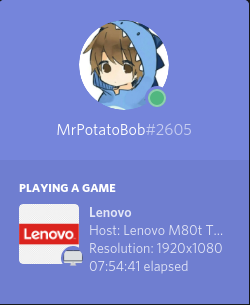
- Installing
- Running
-
Distribution detection
-
Distribution Version
-
Package detection
-
Kernel Detection
-
Uptime
-
Detecting Window Manager/Desktop Environment
-
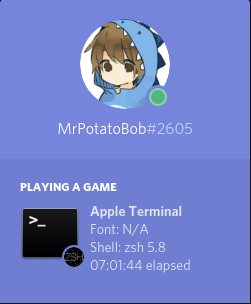
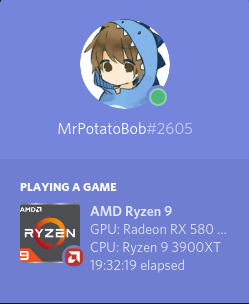
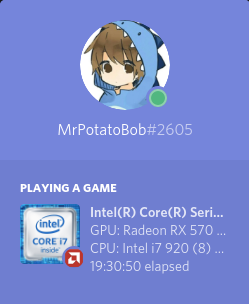
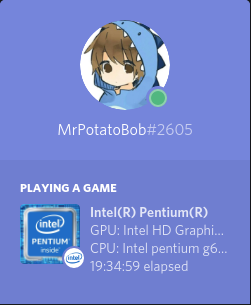
Detecting GPU/CPU and display it in a cycle (thanks to Hyper-KVM)
-
Flatpak support
-
Add Snap support
-
Add Windows support.
-
Detect Window Manager/Desktop Environment version
-
Periodic polling of info such as package count, RAM usage, etc.
-
GUI Frontend
-
Add more distributions (If your distro is not supported open an issue)
-
Add support for desktop icon use
-
More CPUs, ex. Pentium, Older AMD CPUs
-
More GPUs?
NOTE: you need neofetch to be also installed for this to work.
On Arch Linux for the git testing version (the less stable version): fetchcord-testing
And the git version (synced with master): fetchcord
Historically the stabler release was the one from pip but now master will have only the stable releases.
On systems with snap installed, you can run sudo snap install fetchcord --classic to install fetchcord.
Note that like the AUR version, this version is directly from master, for the stable release use pip
To install fetchcord via pip you can run pip3 install fetchcord
To install fetchcord with the GUI requirements, run pip3 install fetchcord[gui]
If you want to remove FetchCord you can run pip3 uninstall fetchcord
Once installed, simply run fetchcord. The program is also daemonizable meaning you can start it on boot using any method you prefer.
If you get fetchcord: command not found,add export PATH="$HOME/.local/bin:$PATH" to your bashrc, or just run python3 -m fetchcord.
Optionally for systemd users there is a user-side fetchcord.service in this repo that can be installed to ~/.local/share/systemd/user/, started and enabled on boot using systemctl --user enable --now fetchcord.
To install FetchCord, run pip3 install FetchCord
NOTE: you need neofetch to be also installed for this to work.
simply run fetchcord
To install fetchcord on Windows run python -m pip install fetchcord neofetch-win. Alternatively, you can use the neofetch package from scoop as well (show more info at the expense of possible GPU detection, for now).
To run Fetchcord run fetchcord
The fetchcord GUI can be opened by running fetchcord --gui in a terminal. A desktop file may be added in a future version.
On Linux you can use the neofetch config file to:
Show disk usage
Battery level
CPU temp
Current CPU speed
Font
Theme
And more
default config path should be ~/.config/neofetch/config.conf
--nodistro, Don't show distro info.
--nohardware, Don't show hardware info.
--noshell, Don't show shell/terminal info.
--nohost, Don't show host info.
--time, -t, set custom duration for cycles in seconds.
--terminal, set custom terminal (useful if using a script or dmenu).
--termfont, set custom terminal font (useful if neofetch can't get it).
--pause-cycle, Extra cycle that pauses FetchCord to show other activities.
--update, Update database of distros, hardware, etc.
--debug, For debug logs.
--memtype, use GB or MB to show RAM.
--gui, open the fetchcord GUI
-h or --help, shows this information above.
Fetchcord now has a website! You can find this site over at https://fetchcord.github.io/ - please keep in mind this site is still currently work in progress though.
Note that the GUI version may look different depending on your OS and Qt theme.


