This project tackles the challenge of delivering reliable and personalized mental health support through conversational AI. By leveraging a Retrieval-Augmented Generation (RAG) flow, it combines the capabilities of both a knowledge base and a Language Model (LLM) to provide accurate, contextually relevant responses in mental health conversations.
Reliable and personalized mental health support is crucial for improving well-being and ensuring that individuals receive the right guidance during vulnerable moments. This project aims to enhance the accessibility and effectiveness of mental health care through AI-driven conversations.
This project benefits individuals seeking mental health support, healthcare providers, and the broader mental health community by offering a reliable and scalable solution for mental health conversations.
The primary objective is to develop and deploy a conversational AI system that provides accurate and context-sensitive mental health support.
Completion of this project will result in a robust and scalable AI-driven mental health support system, capable of providing personalized and accurate guidance in real time.
For local development, Qdrant and open-source LLMs were utilized to ensure robust vector search and model inference. During deployment, Cohere's LLMs were integrated to scale the solution for real-world applications, ensuring a seamless transition from development to production.
The data used in this project was sourced from Hugging Face Link and Kaggle Link. The datasets were merged and upserted into Qdrant to enable efficient vector search and retrieval within the RAG flow.
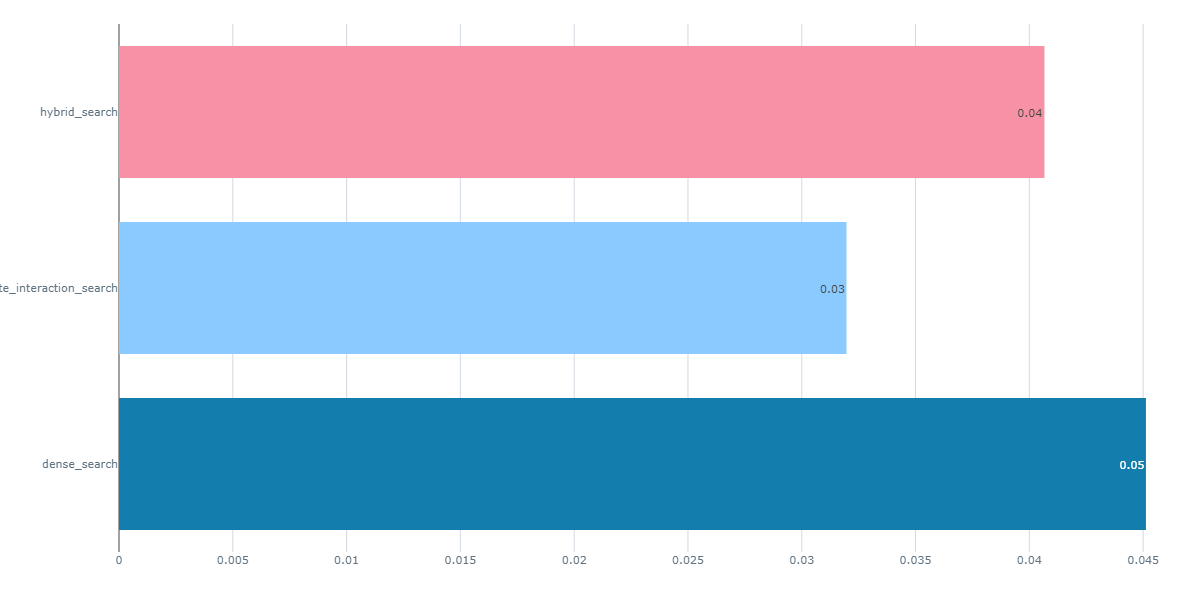
Model performance was evaluated using various metrics, including Precision and Normalized Cumulative Gain (NCGC), with NCGC providing the best results.
Mental_Health_Convo/
├── .github/
│   └── workflows/
│       └── ci-cd.yml          # GitHub Actions workflow for CI/CD
├── .gitignore
├── README.md                  # Project documentation
├── dataset_processing.py       # Script to load, merge, clean, and process datasets
├── ground_truth.ipynb          # Notebook for creating ground truth using llama2
├── Mental_Hea/
│   ├── chatbot.db              # SQLite database
│   ├── docker-compose.yaml     # Docker Compose setup for the application
│   ├── requirements-dev.txt    # Dev requirements for Python
│   ├── data/                   # Data files
│   │   ├── generated_questions.parquet
│   │   ├── hea.parquet
│   │   ├── Mental_Health_FAQ.csv
│   │   └── preprocessed_data.parquet
│   ├── deployment/             # Deployment-related scripts
│   │   ├── cohere_model.py
│   │   ├── database.py
│   │   ├── deploy_app.py
│   │   ├── main.py
│   │   ├── requirements.txt
│   │   └── search_engine.py
│   ├── evaluation/             # Evaluation scripts
│   │   ├── qdrant_evaluation.py
│   │   ├── rag_evaluation.py
│   └── monitoring/             # Monitoring setup for Grafana and database
│       ├── app.py
│       ├── database_monitor.py
│       └── grafana.json
│   ├── src/                    # Core source code
│   │   ├── .env                # Environment variables
│   │   ├── core/
│   │   │   ├── config.py
│   │   │   ├── data_loader.py
│   │   │   ├── embeddings_model.py
│   │   │   ├── llm_model.py
│   │   │   ├── qdrant_manager.py
│   │   │   └── search_engine.py
│   └── tests/                  # Unit and integration tests
│       ├── integration/
│       │   ├── test_integration.py
│       └── unit/
│ └── test_core_components.pygit clone https://github.com/Taciturny/Mental_Health_Convo.gitcd Mental_Health_Convo/Mental_Heaconda create -n myenv python=3.10.14
conda activate myenv
pip install -r requirements-dev.txtStart Docker Compose: Launch the services defined in your docker-compose.yml file. Ensure that you have edited the file to include your PostgreSQL and Grafana usernames and passwords. Once Docker Compose is running, access the dashboard to view the console:
docker-compose up -d
http://localhost:6333/dashboard#/consoleOption 1: Start Fresh
If you want to start the project from scratch (including data loading, cleaning and preprocessing), run the dataset_processing.py first from the root directory:
python -m dataset_processingOption 2: Use Preprocessed Data
If you want to use the cleaned, preprocessed data, you can skip the data ingestion step and run the main script directly. Before executing the script, ensure you have downloaded the following models from Hugging Face: gpt2, dialogpt, distilgpt2, and distilbert-base-uncased-finetuned-sst-2-english. Hugging Face should be installed and imported as a singleton. Additionally, make sure all necessary variables are correctly configured in src.core.config.py. This will enable the script to properly insert data into the knowledge base
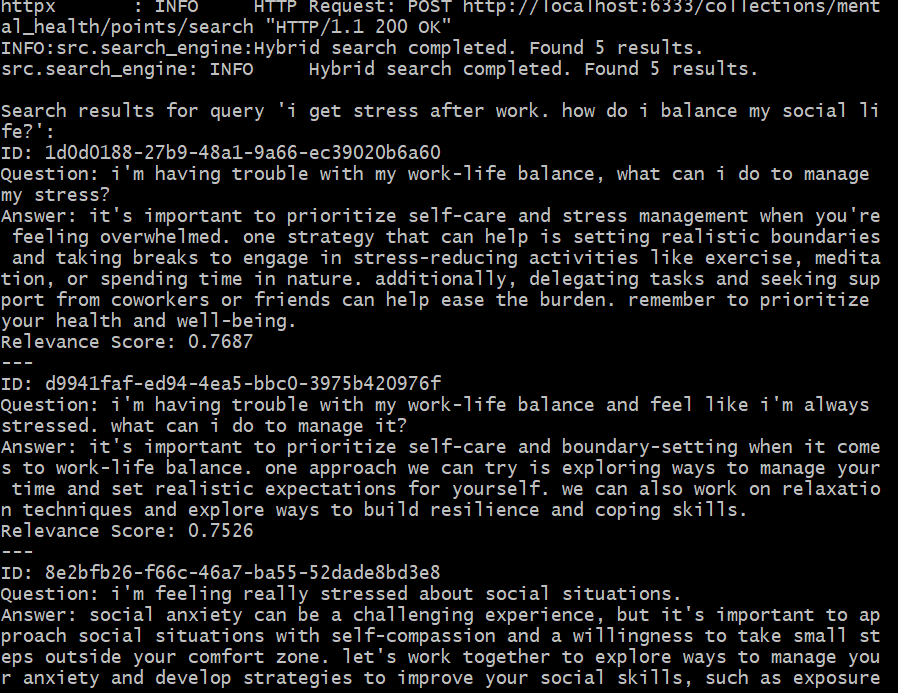
python -m src.mainWhen you run the scrpt, you will have to input a query, Here is an example of the response you will see
Before running the evaluation script, start your MLflow UI, which was installed as part of the requirements:
mlflow uiRetrieval Evaluation
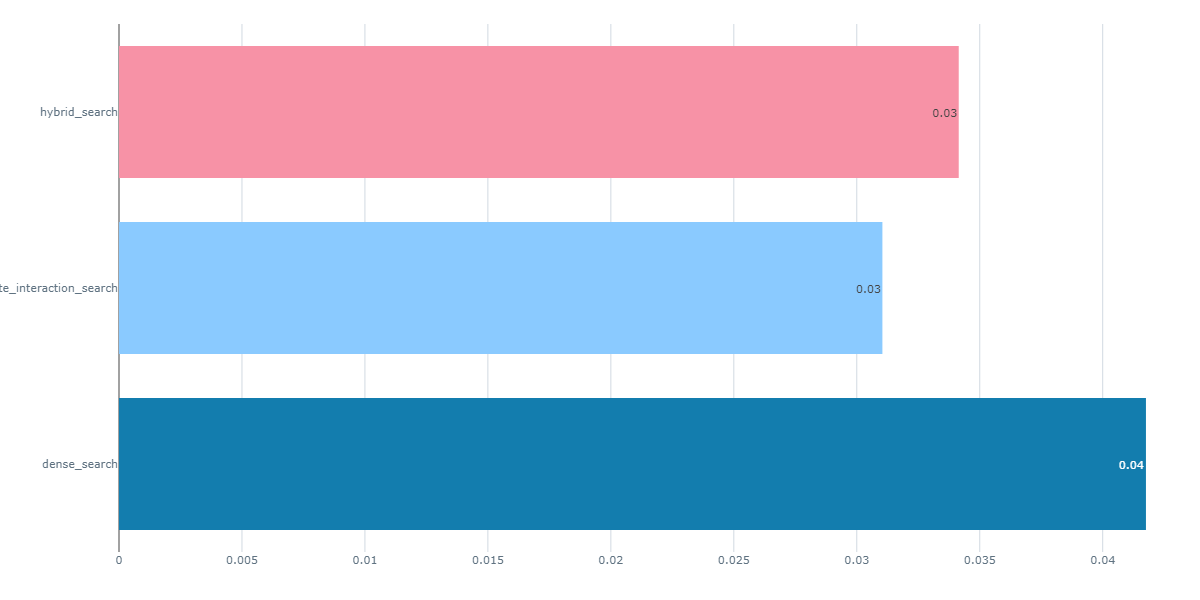
Multiple searches (dense, late-interaction, and hybrid) was evaluated. The best-performing method (dense) is selected for use in deployment. Please note that running the rag evaluation will take a long time for cpu users (almost 20hrs). To perform this evaluation, run the following script:
python -m evaluation.qdrant_evaluationWhen you run the script, check your MLflow UI to view the runs. You can visualize the different metrics for the three search methods. Below are examples of two metrics: Mean Average Precision (MAP) and Normalized Discounted Cumulative Gain (NDCG)
RAG Evaluation
python -m evaluation.rag_evaluationTo effectively monitor our Streamlit app, follow these steps:
-
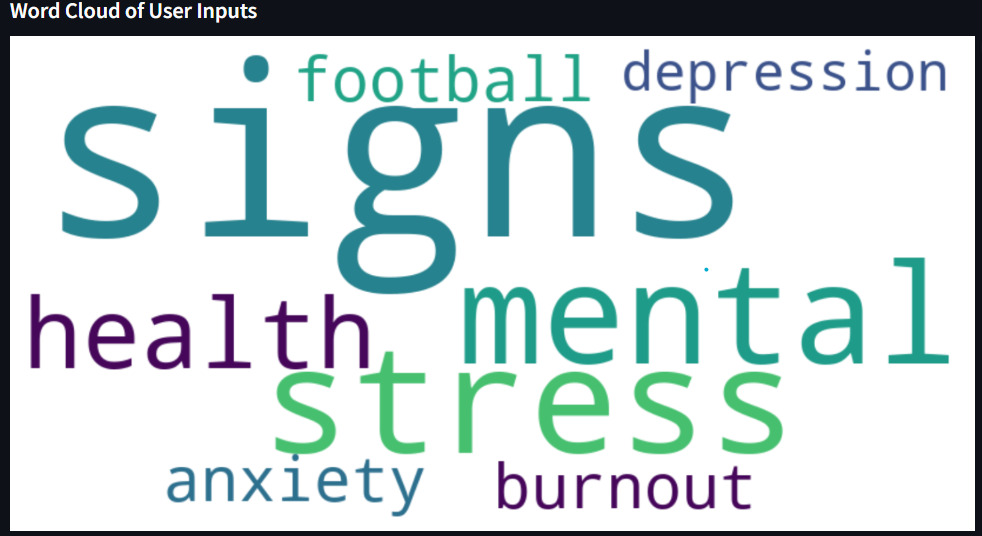
Review the Local Monitoring App: Watch the brief video demonstrating the local monitoring application using open-source Qdrant Monitoring_app. Please note that the application may run slowly due to the use of localhost and CPU-based open-source models.
-
Configure Grafana: Ensure that Grafana is running. You can either create a new dashboard and upload the
grafana.jsonfile or manually copy each query from thedatabase_monitor.pyfile and paste them into Grafana.
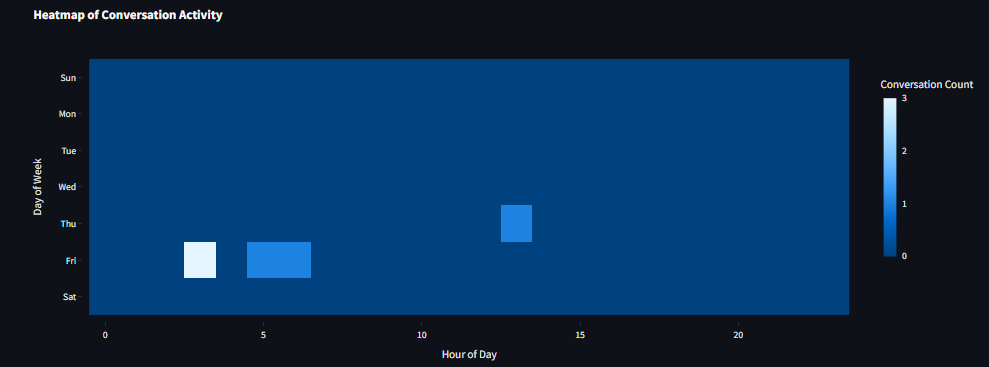

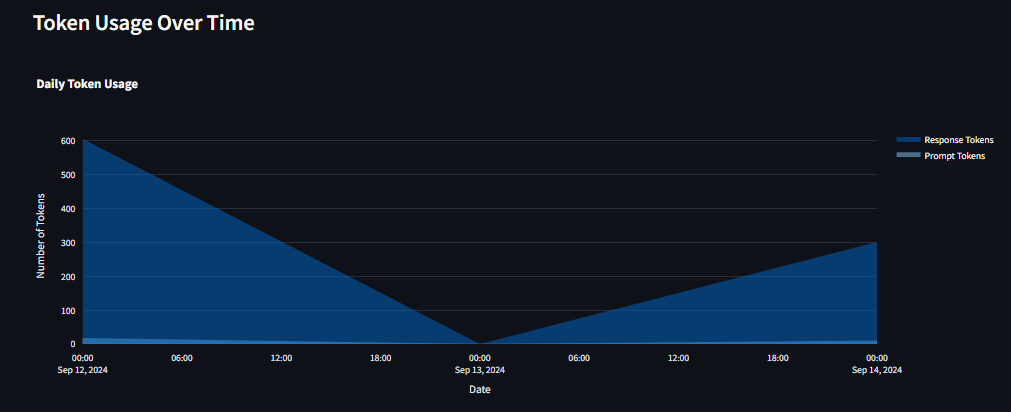
- Create Accounts and Obtain API Keys
- Sign up for a free-tier account with Qdrant Cloud to obtain your URL and API key Quadrant Cloud.
- Sign up for a free-tier account with Cohere to get your trial API key Cohere API.
- Save these credentials in your .env file.
-
Upsert Data to Qdrant Cloud
Before deploying your app, run main.py to ingest/upsert data to Qdrant Cloud (using a sample size of your choice). Execute the following command:
python -m deployment.main- Deploy and Access the App
If you prefer not to upsert data manually, you can still explore the app. The mental health chatbot is deployed on Streamlit, and you can access it Streamlit App.
To view the metrics page, use the password 1234 (this is a temporary password and will be updated later).
-
To run the unit tests, execute:
pytest tests/unit/test_core_components.py
-
To run the integration tests, execute:
pytest tests/integration/test_integration.py
- GitHub Actions Configuration
Configure GitHub Actions to automate testing and linting for the project. The configuration file is located at github/workflows/ci-cd.yml
- Workflow Details
Test Job: This job sets up Python, installs dependencies, and runs tests using pytest.
Lint Job: This job performs linting checks with flake8 to ensure code quality and adherence to style guidelines.
- Triggering CI/CD
Push: GitHub Actions will automatically run tests and linting checks every time you push changes to the main branch.
Pull Request: The workflow will run whenever a pull request is opened against the main branch to verify that the proposed changes meet quality standards.
- Viewing Results
Check the status and results of your CI/CD runs in the Actions tab of the GitHub repository.

