- XComment
- Table of Contents
- Installation
- Tips
$ pip install XCommentUse the project's CLI to interact with the script.
Say, you are working with the file ./tests/sources/HTML/index.html.
Precondition: virtualenv is activated (of course).
To remove comments (output code without comments to output file) invoke
`shell
$ comments_remover ./tests/sources/HTML/input.html HTML ./
`
This will take ./tests/sources/HTML/input.html, designated as HTML file, and put the copy of the former (with HTML-specific comments removed, obviously) to ./ named rc.input.html. The latter is the name of the original file prefixed with rc. by default.
To highlight comments (outputs comments only to output file) invoke
$ comments_remover ./tests/sources/HTML/input.html HTML -p ./If on start been specified directory path, script will be processing directory recursively with all subdirs for sources by specified language.
For processing archived sources use option -a
Examples:
$ # remove comments
$ comments_remover ./tmp/test.zip -a Python

$ # highlight comments
$ comments_remover ./tmp/test.zip -a -p Python-l option enable logging (in stdout by default)
-f < path > specify path to log file
Example:
$ comments_remover ./tmp/test.py -l -f ./remove.log PythonFor get list supported languages use -i option. Result list will returned in json format
$ comments_remover -i

["PHP", "Python", "CSS", "HTML", "JavaScript", "ActionScript", "Ruby",
"Assembly", "AppleScript", "Bash", "CSharp", "VB", "XML", "SQL", "C"]$ comments_removerTested with the following configuration:
- Ubuntu 16.04 / 17
- Python 3.6.
Note: the below occurences of `./` refer to the project root unless explicitly stated otherwise.
Enter the shell.
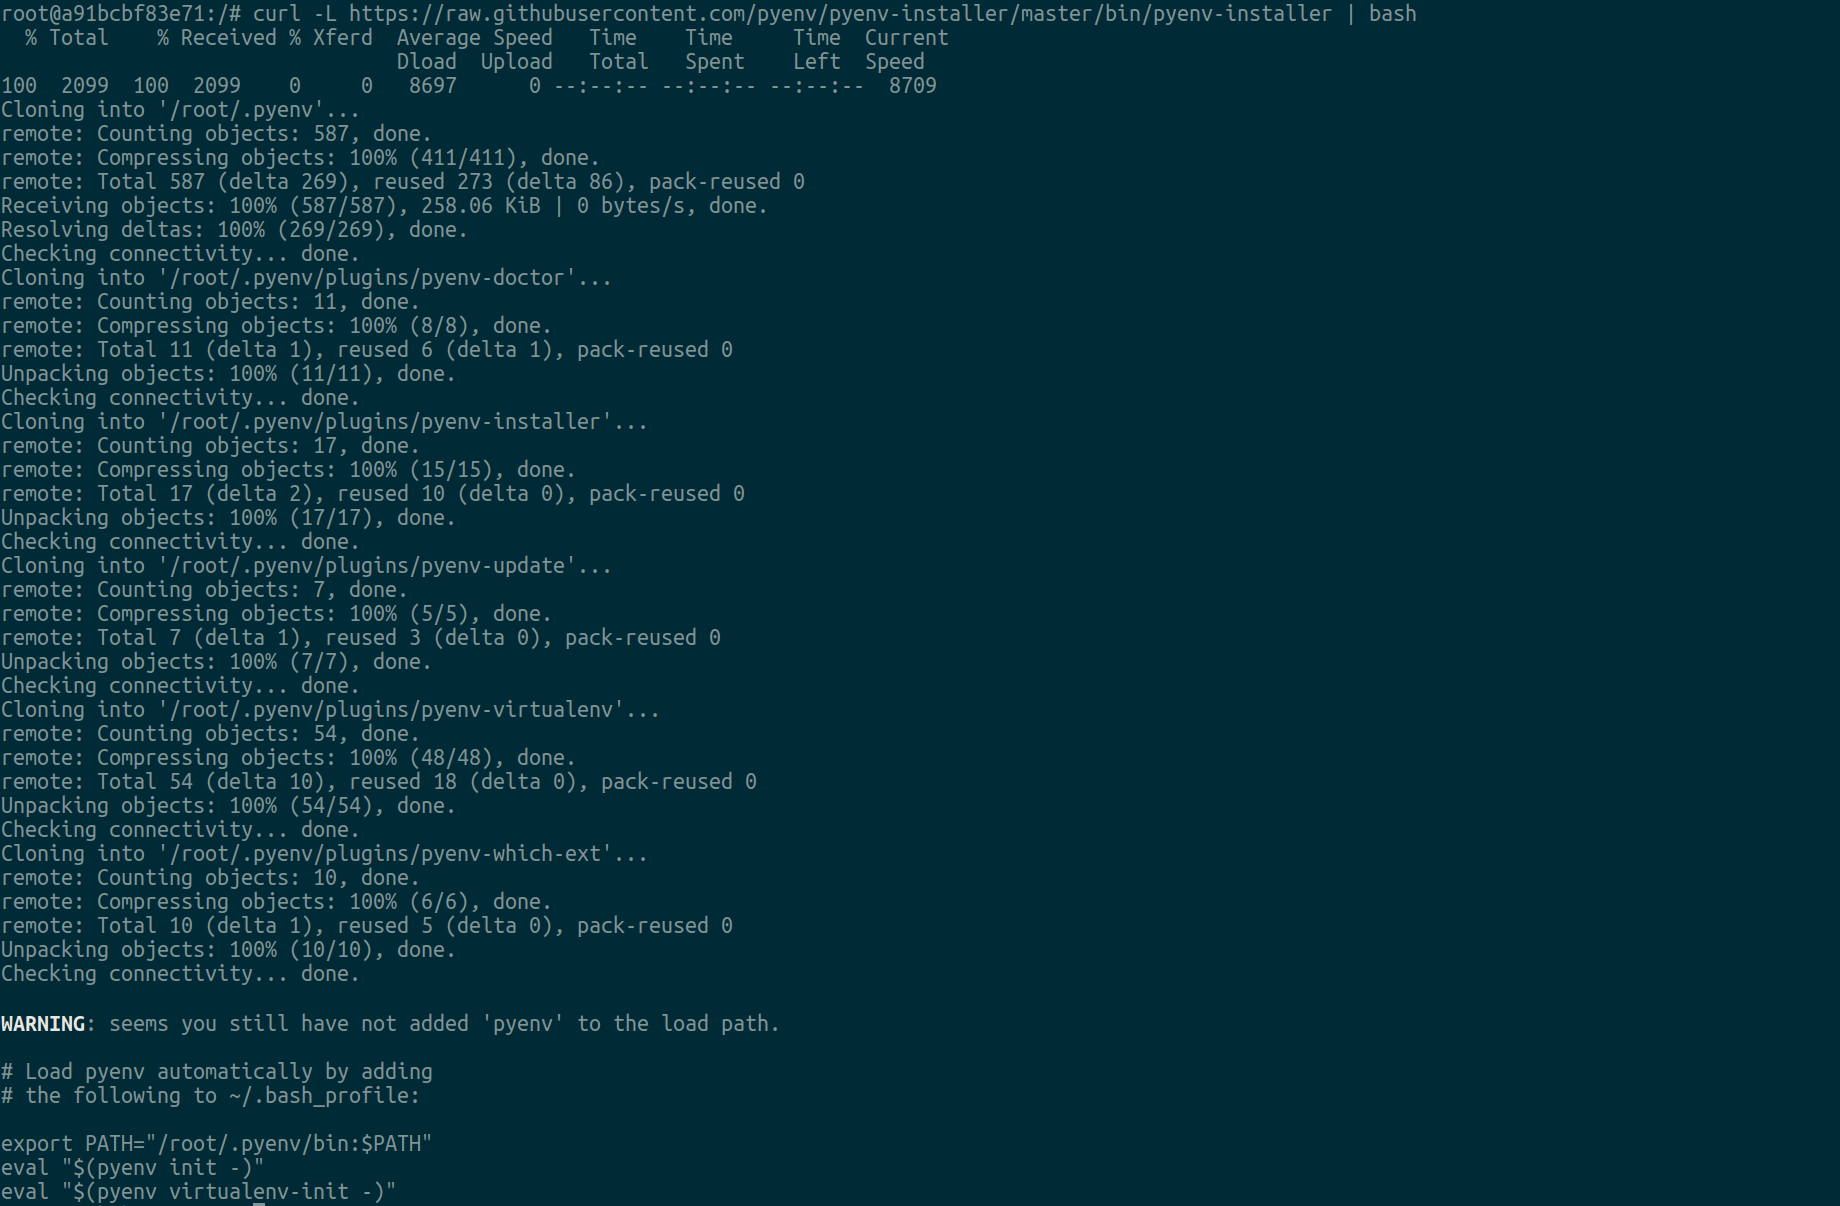
Install pyenv via [pyenv-installer](https://github.com/pyenv/pyenv-installer):
$ curl -L https://raw.githubusercontent.com/pyenv/pyenv-installer/master/bin/pyenv-installer | bash
Follow the instructions on how to initialize pyenv on shell startup, for instance:
$ echo 'export PATH="/root/.pyenv/bin:$PATH"' >> ~/.bash_profile
$ echo 'eval "$(pyenv init -)"' >> ~/.bash_profile
$ echo 'eval "$(pyenv virtualenv-init -)"' >> ~/.bash_profile

Install Python 3.6.x via pyenv, say Python 3.6.2 (latest micro release versions are preferred):
$ pyenv install 3.6.2

Create a virtualenv for the project:
$ pyenv virtualenv 3.6.2 comments_remover
Switch to whatever directory you wish the project to reside in, say ~:
$ cd ~
Switch to the project directory:
$ cd comments_remover
Activate the virtualenv:
$ pyenv activate comments_remover

Install project dependencies:
$ pip install -U -r ./requirements.txt

Install dependencies for testing:
$ pip install -U -r ./requirements-test.txt

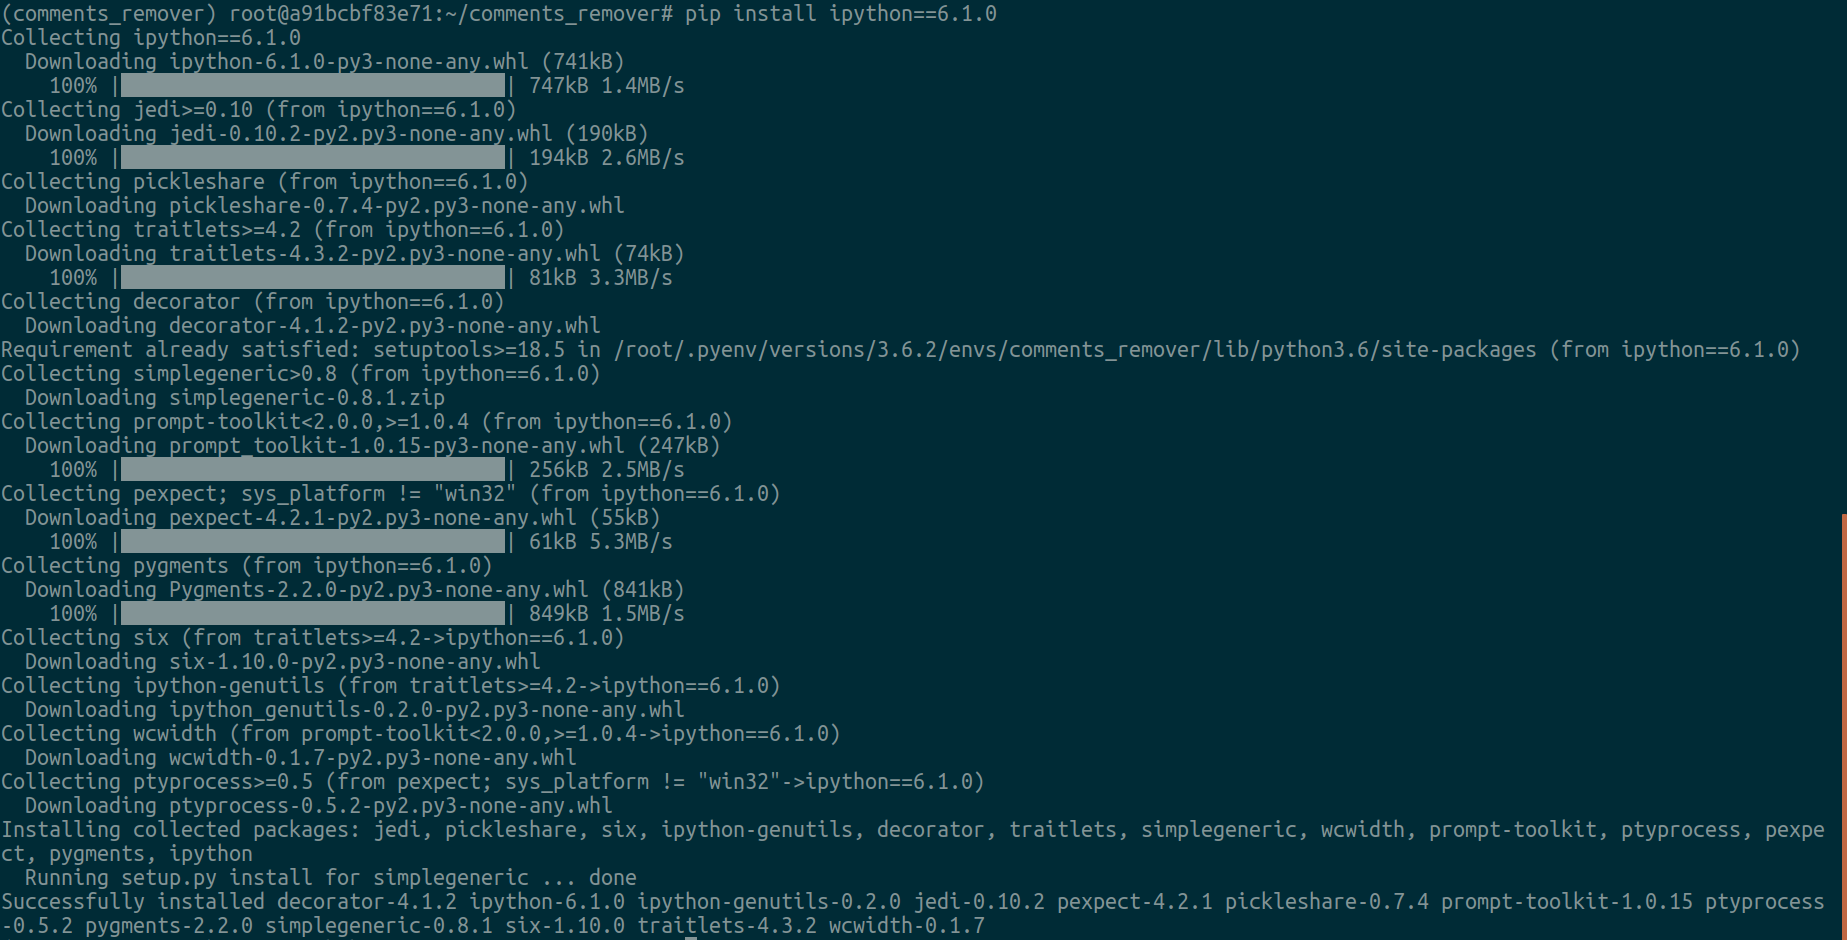
(optional) Install [IPython](https://ipython.org/) interactive shell to speed up development:
$ pip install ipython==6.1.0

To run tests, simply
$ pytest ./To also see coverage report,
pytest --cov ./You should be good to go now.
$ python install -r requirements-deploy.txt$ export TWINE_USERNAME=<pypi username>
$ export TWINE_PASSWORD=<pypi password>$ python setup.py sdist bdist_wheel$ twine upload dist/XComment-x.y.z.tar.gzIf you're not using [PyCharm](https://www.jetbrains.com/pycharm/) yet, make sure to at least consider this as an option. Also check out [JetBrains Toolbox](https://www.jetbrains.com/toolbox/), a single tool to rule them all (the JetBrains products). To stay up-to-date, follow [PyCharm Blog](https://blog.jetbrains.com/pycharm/).
Design by Filip Todorov @ www.filiptodorov.com


