This guide provides step-by-step instructions on how to integrate Laravel WebSockets with Vue.js for real-time communication. Follow these steps to set up the environment and start using WebSockets in your Laravel application.
-
Install the Laravel WebSockets package:
composer require beyondcode/laravel-websockets
-
Publish migrations and run them:
php artisan vendor:publish --provider="BeyondCode\LaravelWebSockets\WebSocketsServiceProvider" --tag="migrations"
php artisan migrate
-
Publish the WebSocket configuration file:
php artisan vendor:publish --provider="BeyondCode\LaravelWebSockets\WebSocketsServiceProvider" --tag="config"
-
Uncomment
App\Providers\BroadcastServiceProvider::classinconfig/app.php. -
Install Pusher PHP server:
composer require pusher/pusher-php-server
-
Update your
.envfile:BROADCAST_DRIVER=pusher PUSHER_APP_ID=local PUSHER_APP_KEY=local PUSHER_APP_SECRET=local PUSHER_APP_CLUSTER=mt1
-
Configure broadcasting in
config/broadcasting.php:'pusher' => [ 'driver' => 'pusher', 'key' => env('PUSHER_APP_KEY'), 'secret' => env('PUSHER_APP_SECRET'), 'app_id' => env('PUSHER_APP_ID'), 'options' => [ 'cluster' => env('PUSHER_APP_CLUSTER'), 'encrypted' => true, 'host' => '127.0.0.1', 'port' => 6001, 'scheme' => 'http', ], ],
-
Create a new event:
php artisan make:event NameEvent
Replace
Notifwith the name of the event you created (Notifin this case). This is how you broadcast the event in your controller to send real-time notifications.Update
Notif.phpto implementShouldBroadcastNow:use Illuminate\Contracts\Broadcasting\ShouldBroadcastNow; use Illuminate\Queue\SerializesModels; class Notif implements ShouldBroadcastNow { use SerializesModels; private $notif; public function __construct($notif) { $this->notif = $notif; } public function broadcastWith() { return ['message' => $this->notif]; } public function broadcastOn() { return new Channel('public'); } }
-
Broadcast the event in your controller:
In your controller where you want to broadcast the event:
use App\Events\Notif;

// Your code logic here

broadcast(new Notif("test"));
-
Run the WebSockets server:
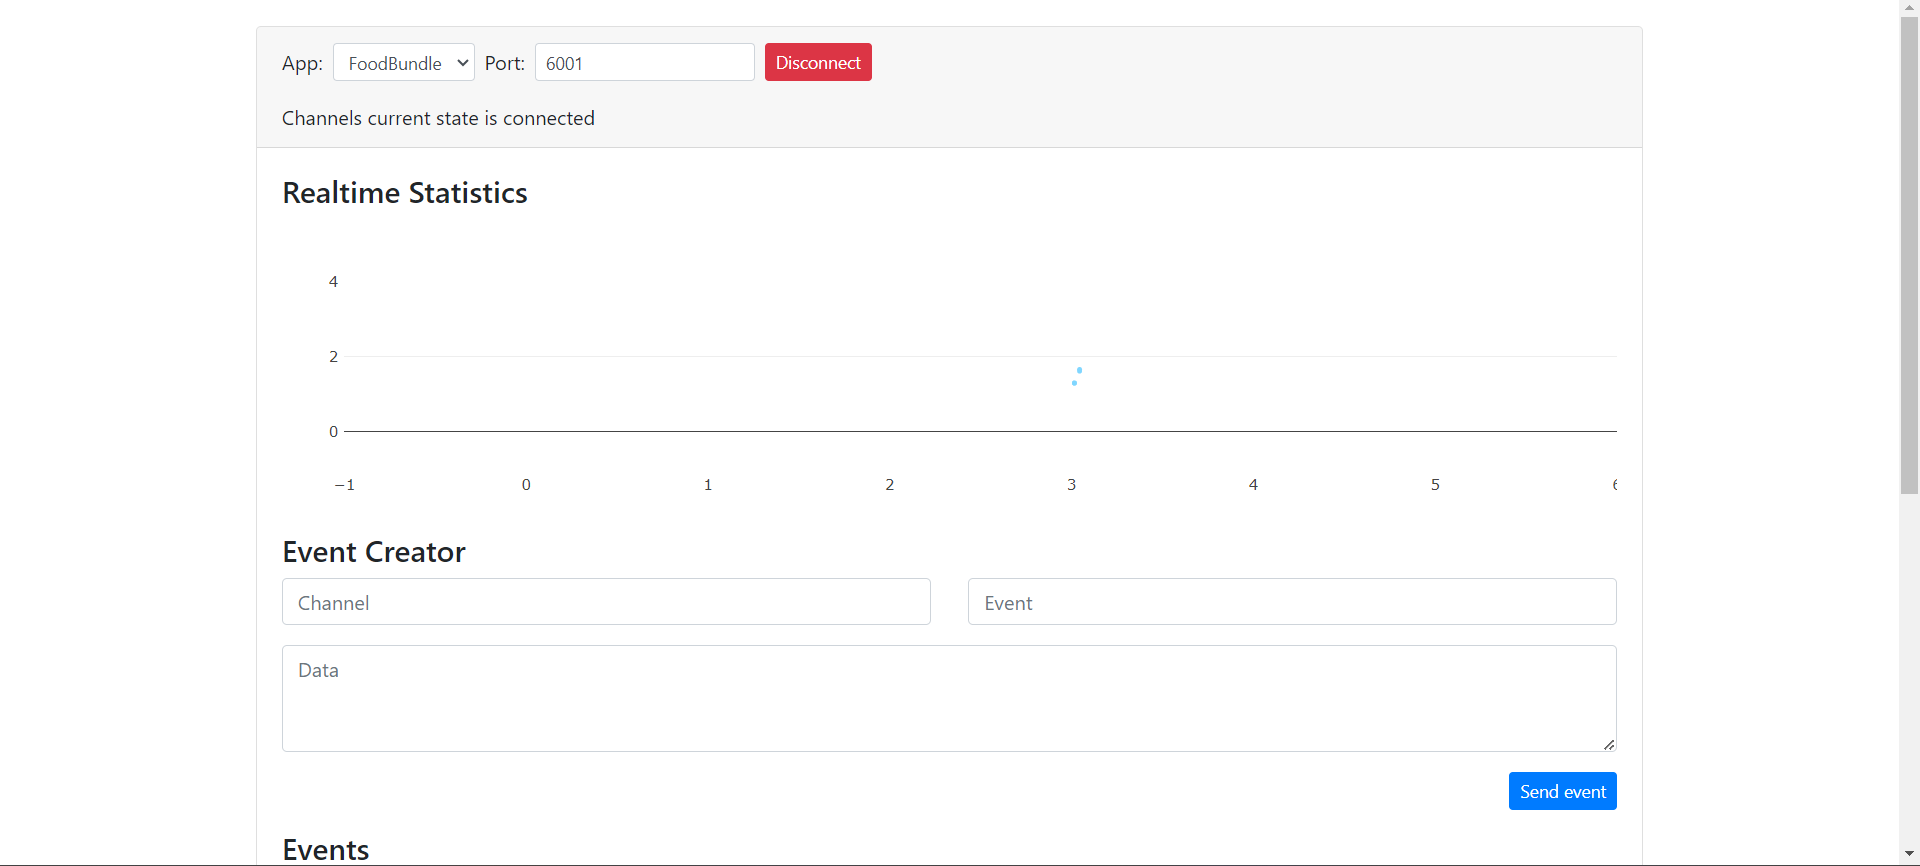
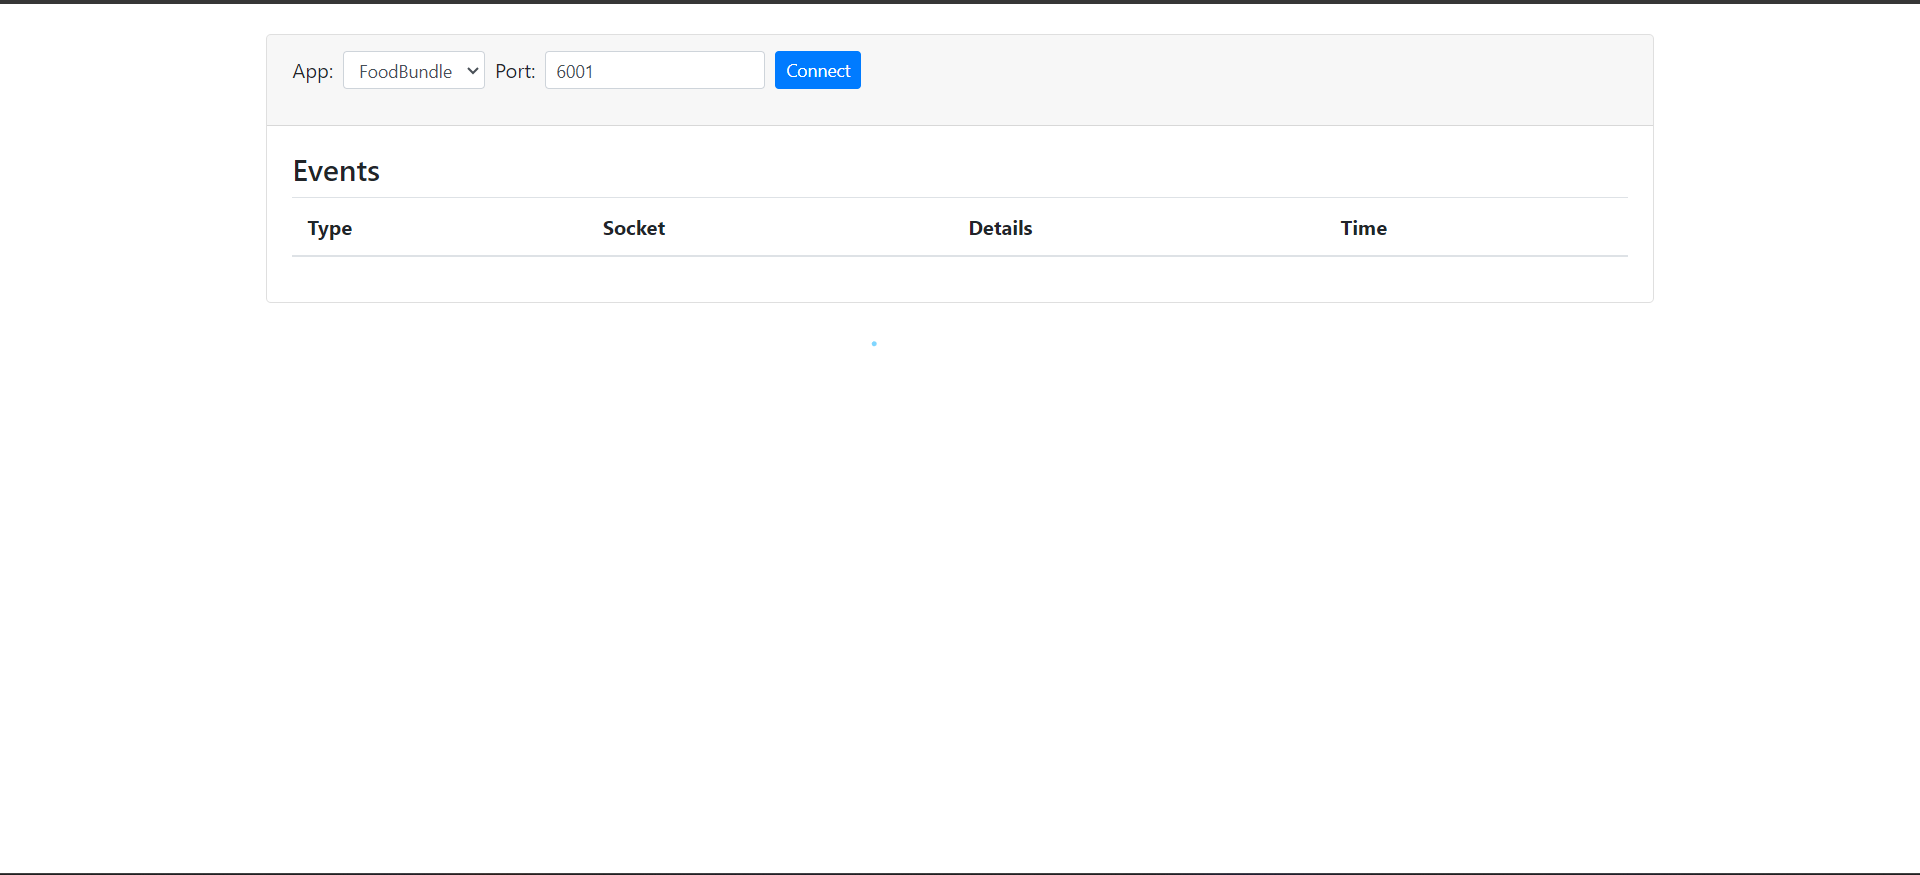
php artisan websockets:serve- Open the Laravel WebSockets dashboard in your browser. You can access it at to confirm that a new connection has been established.
http://localhost:8000/laravel-websockets - To verify that WebSocket communication is working, you can perform a simple test by broadcasting an event in your Laravel application.
Create a test route in your routes/web.php file
  use App\Events\Notif;

  Route::get('/broadcast', function () {
      broadcast(new Notif("test"));
      return "Event has been sent!";
});- Install required packages:
npm install laravel-echo pusher-js- Update your 'main.js' file:
import Echo from "laravel-echo"
window.Pusher = require('pusher-js');

window.Echo = new Echo({
   broadcaster: 'pusher',
   key: "local",
   wsHost:"127.0.0.1",
   wsPort: 6001,
   cluster: "mt1",
   forceTLS: false,
   disableStats: true,
});-
Usage in Vue Component:
Listen for the 'Notif' event on the 'public' channel.
window.Echo.channel('public').listen('Notif', (e) => {
    // Your code logic here
    // Handle the received notification to get new notifications in real-time.
});
If you encounter any issues or have suggestions for improvements, please feel free to open an issue or submit a pull request. Your contributions are welcome!
Guide by: Talel Mejri
Dedicated to Mohamed Youssef CHLENDI for continuous support.


