A fully responsive real-time chat app made with NextJs 13 (app router), MongoDB, Tailwind CSS, Pusher, Next-Auth and Cloudinary.

- NextJs (13.4.x)
- React (18.x)
- MongoDB (6.x)
- Tailwind CSS (3.x)
- Pusher (5.x)
- Next-Auth (4.x)
- Typescript (5.x)
- Production build script
See a live demo on Vercel

- Real-time chat update with Pusher
- Group chat
- Delete chat history
- Image hosting with Cloudinary
- Dynamic Theme support (Light and Dark mode)
- Support for both Desktop and Mobile screens
-
Navigate to https://www.mongodb.com/atlas/database and register
-
Find and Select
Build a Database
Select the Free tier and press onCreateat the bottom

-
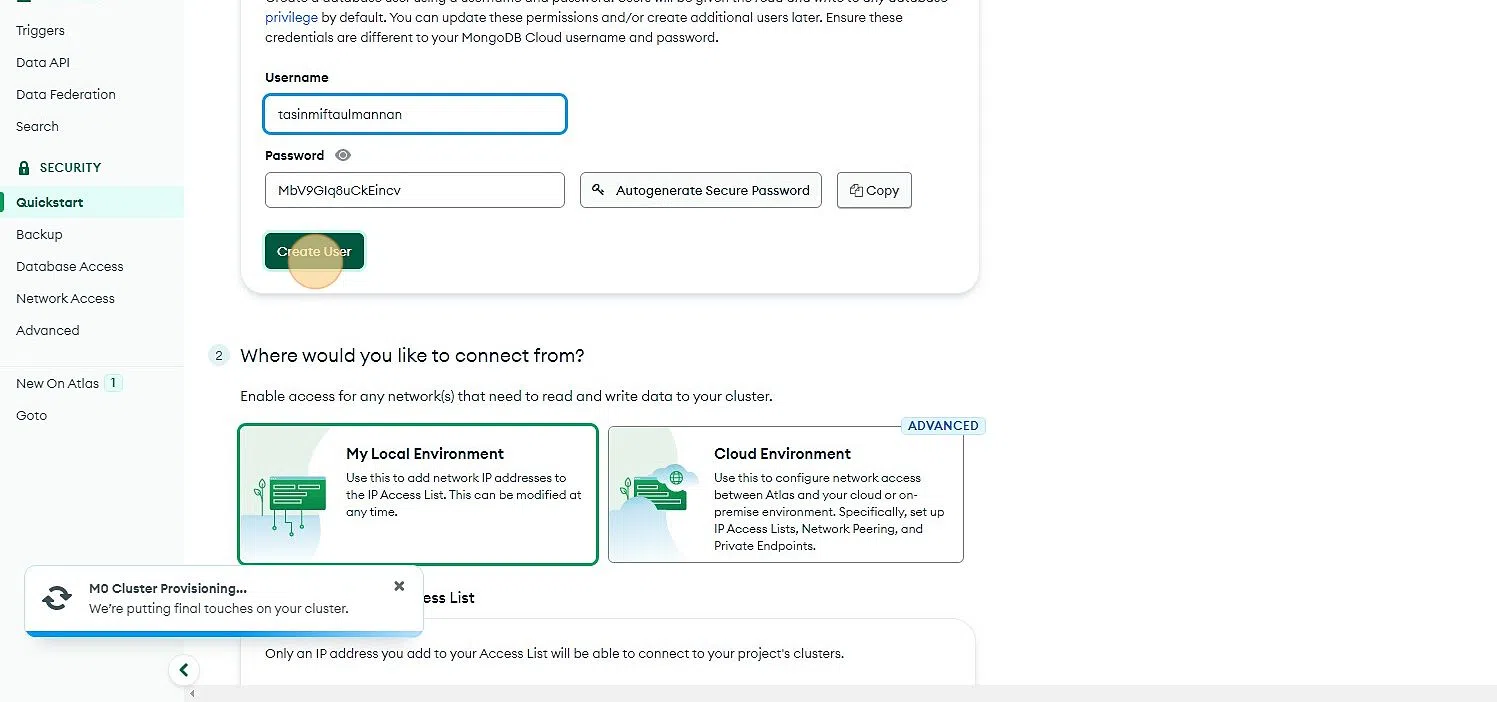
Create a user (note down the password)
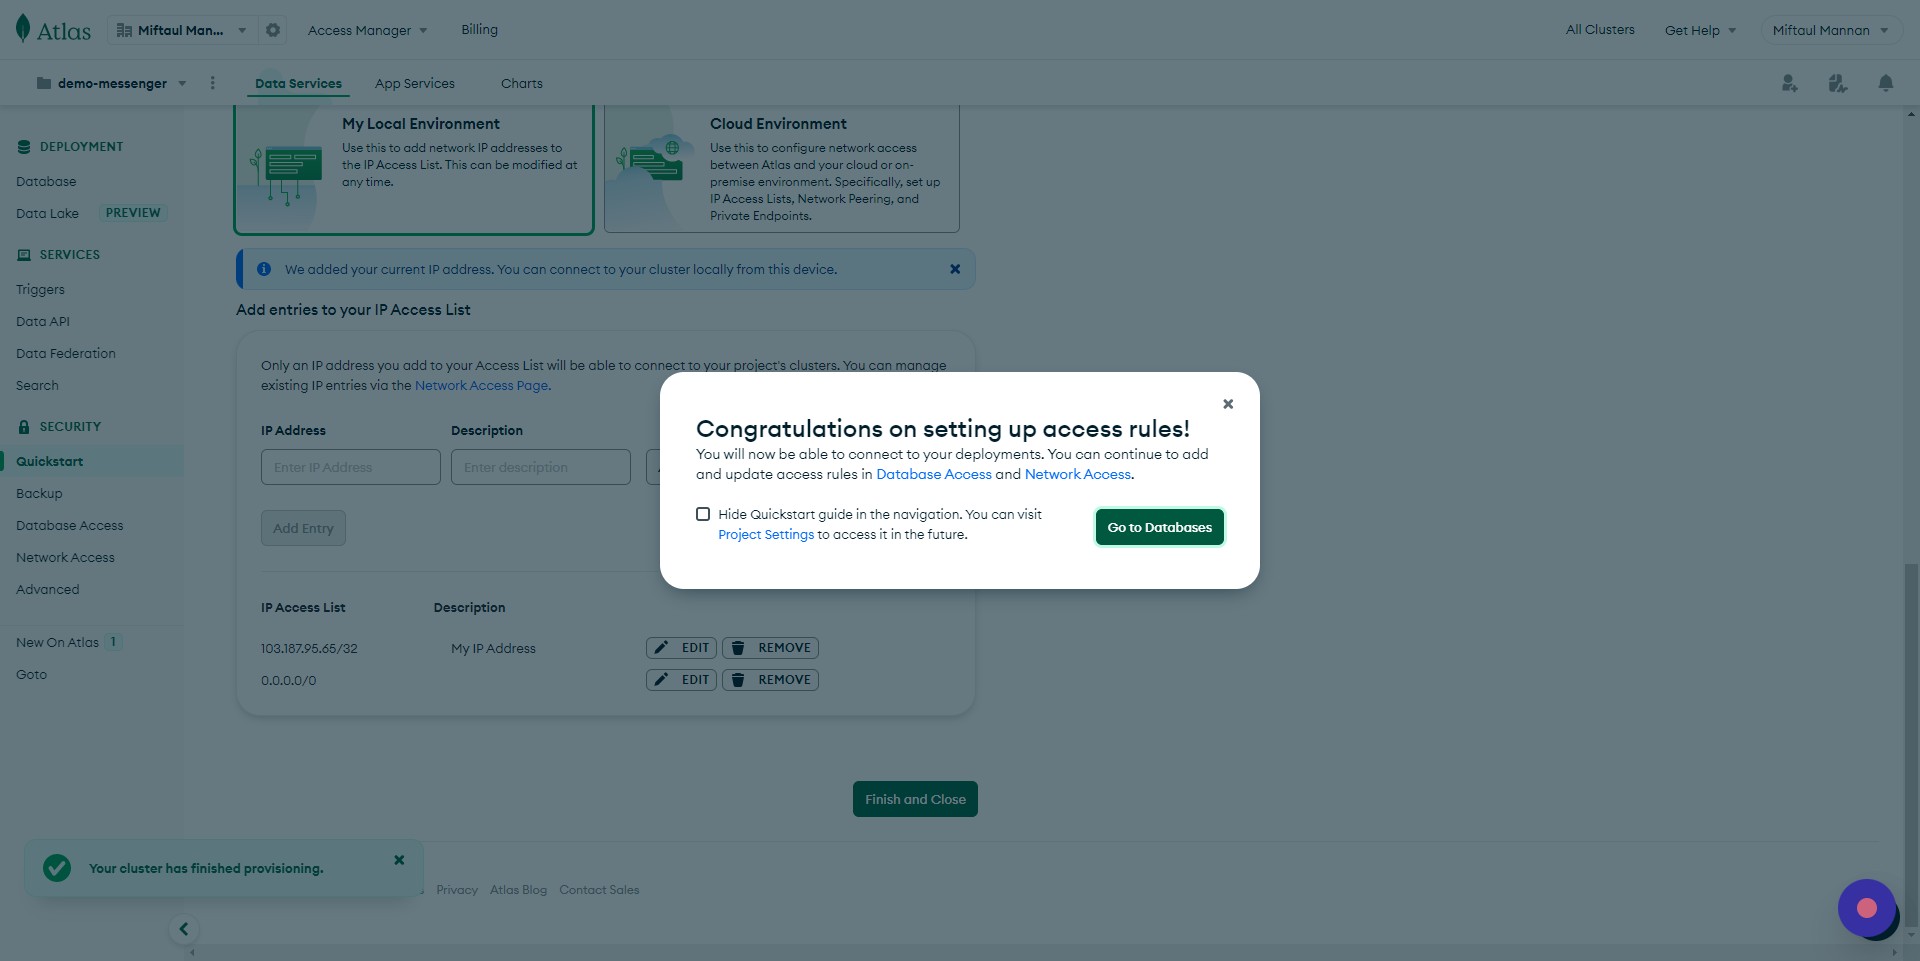
Scroll down toAdd entries to your IP Access List
Enter0.0.0.0/0and pressAdd Entry
-
Press
Go to Databases
-
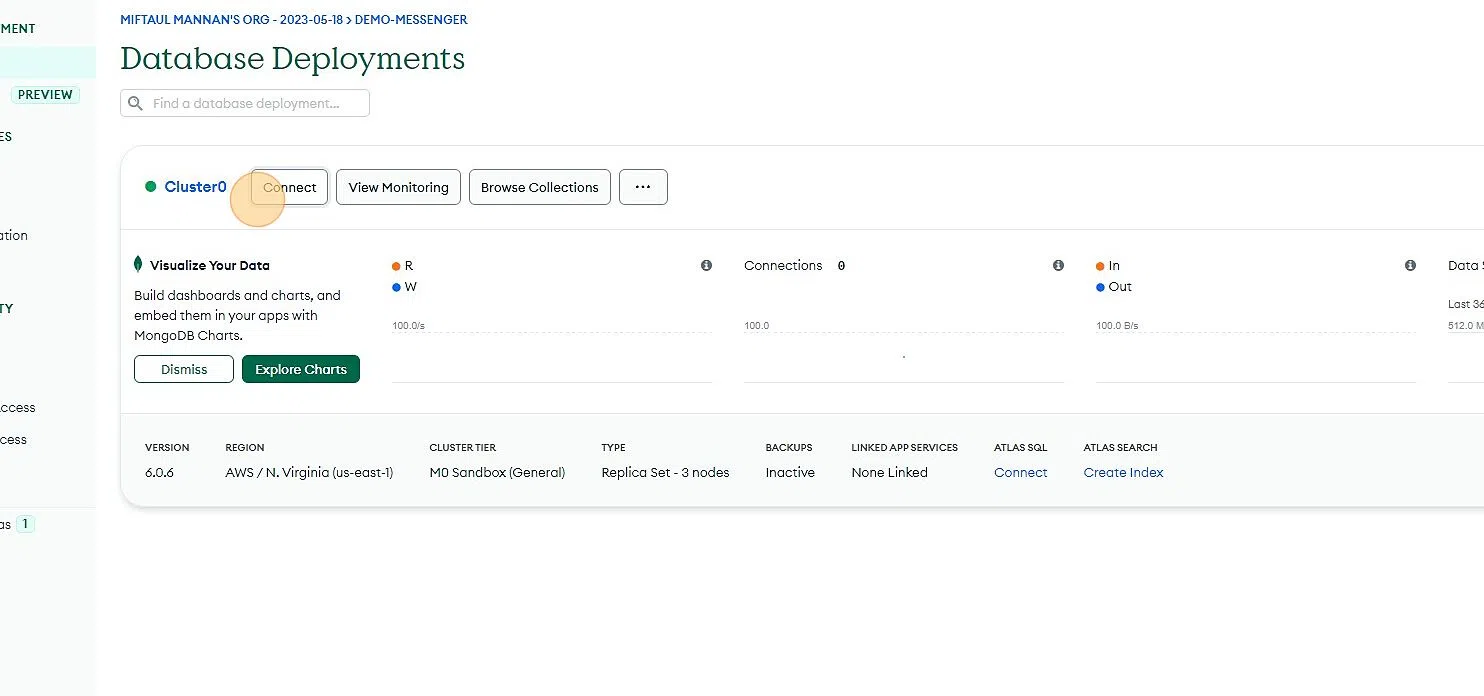
Click on
Connectand selectMongoDB for VSCode
Copy the connection string and save it in a notepad
Replace<password>with your password set on step 3
Addtestat the end of the connection string (ex.connectionstring/test)


-
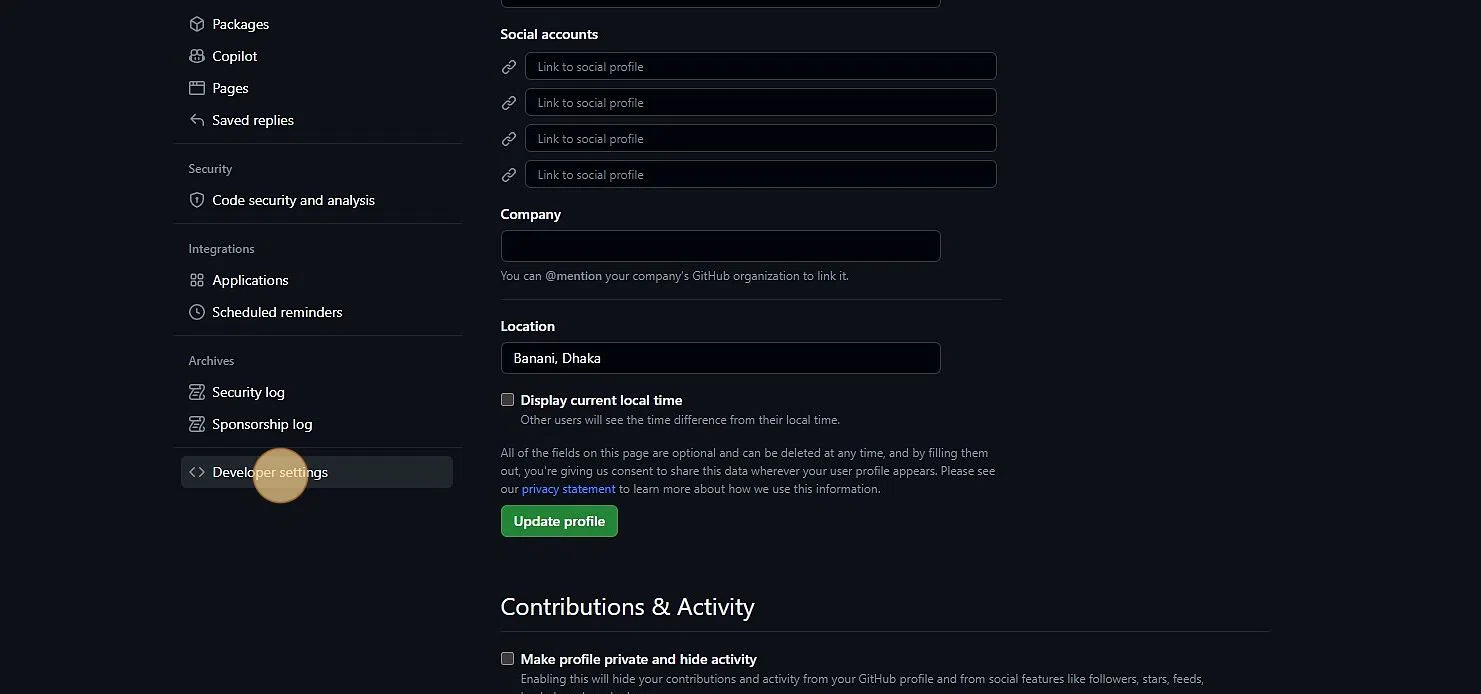
Navigate to https://github.com/
Click on your profile dropdown on the top right
ClickSettings
-
Click
Developer settings
ClickOAuth Apps
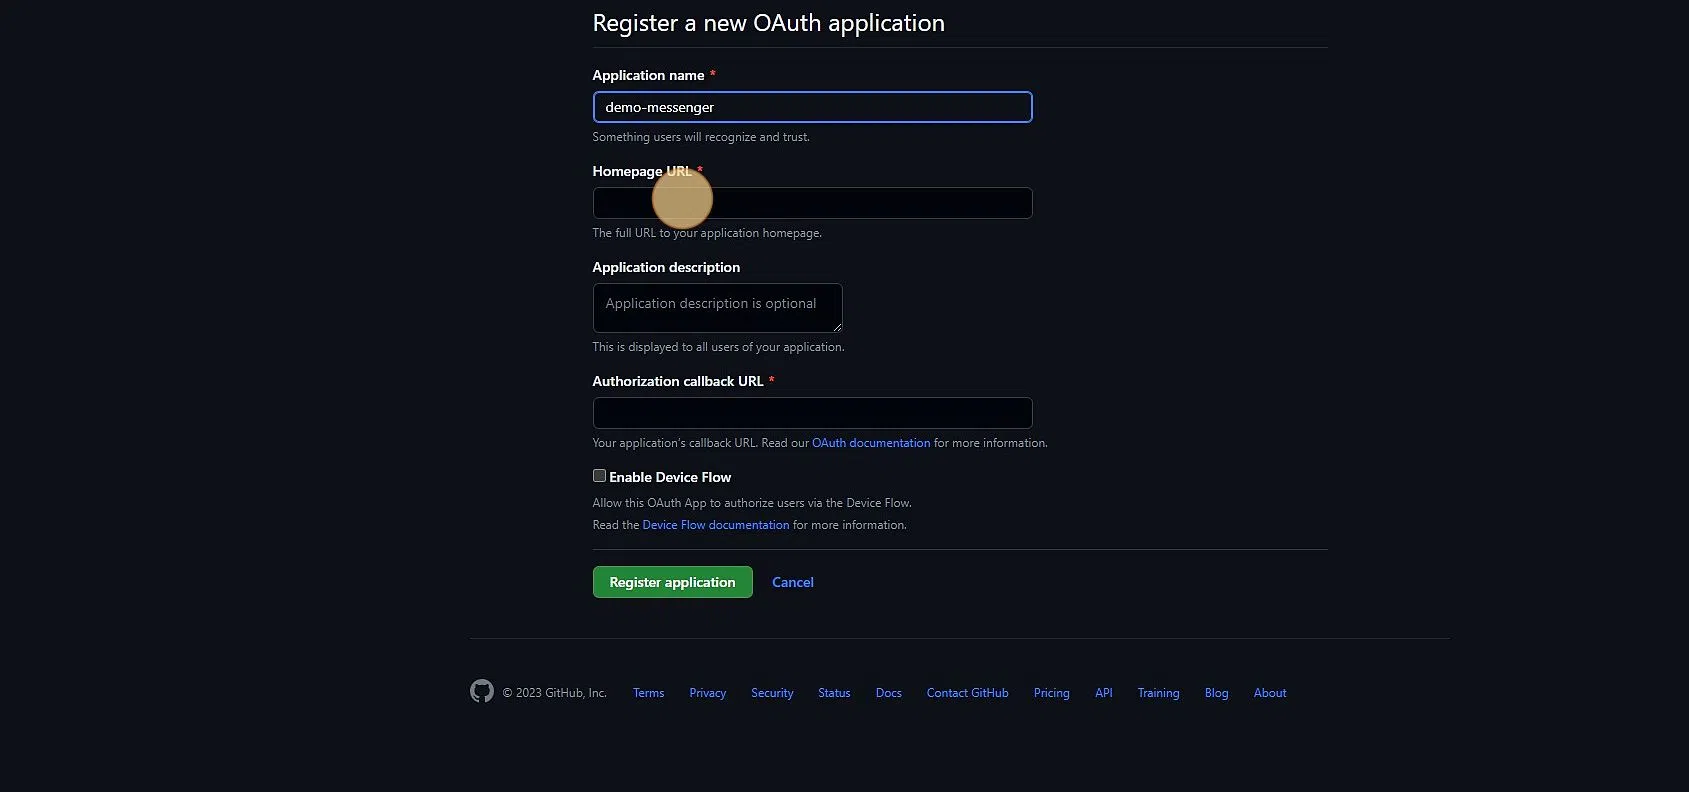
ClickNew OAuth App
-
Give a name to your app
Typehttp://localhost:3020/in theHomepage URLandAuthorization callback URLfields.
Click "Register application"
-
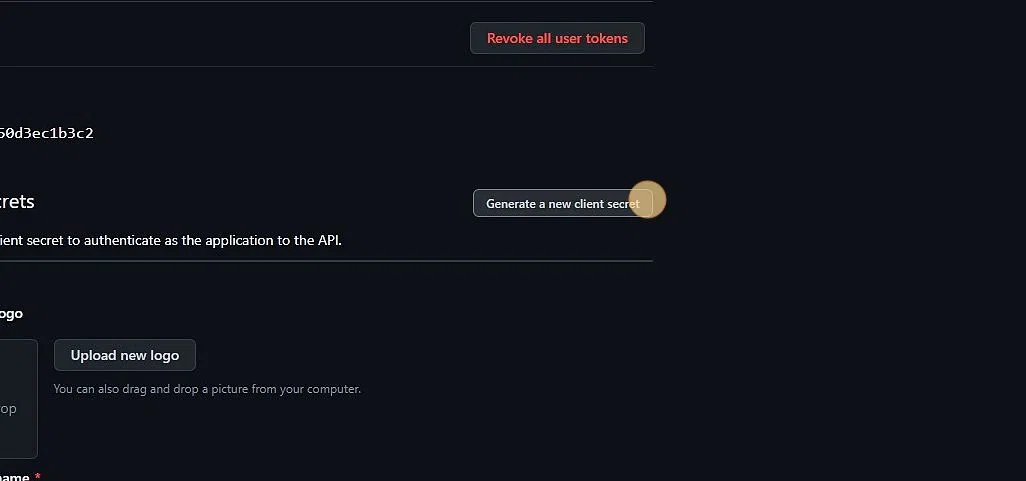
Copy the
Client Idand note it down
Click onGenerate a new client secret, copy and note it down


-
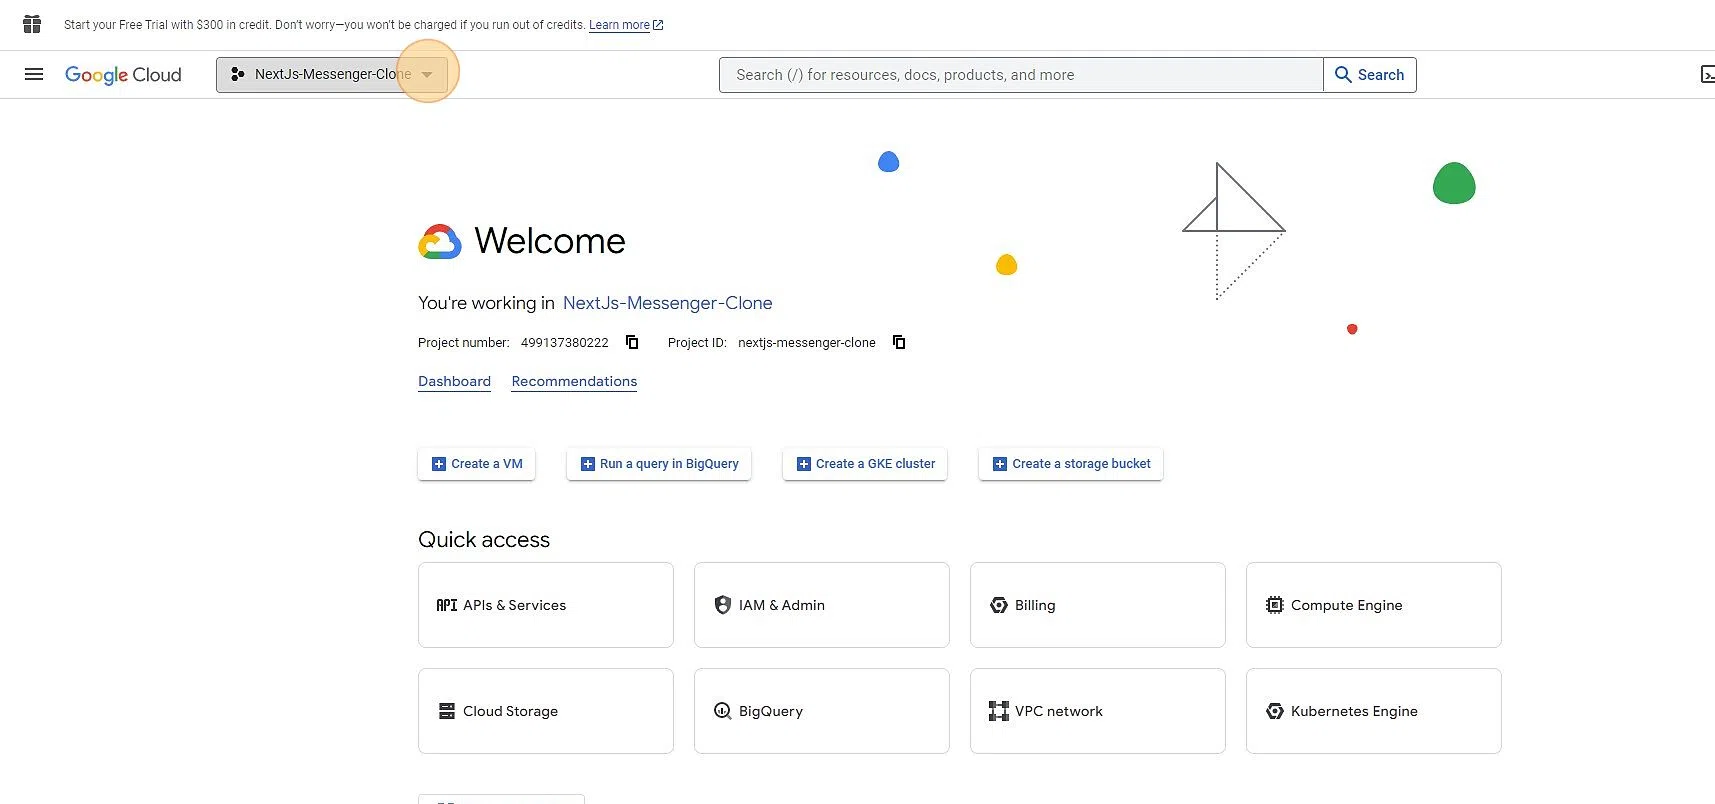
Navigate to https://console.cloud.google.com and create a new project
-
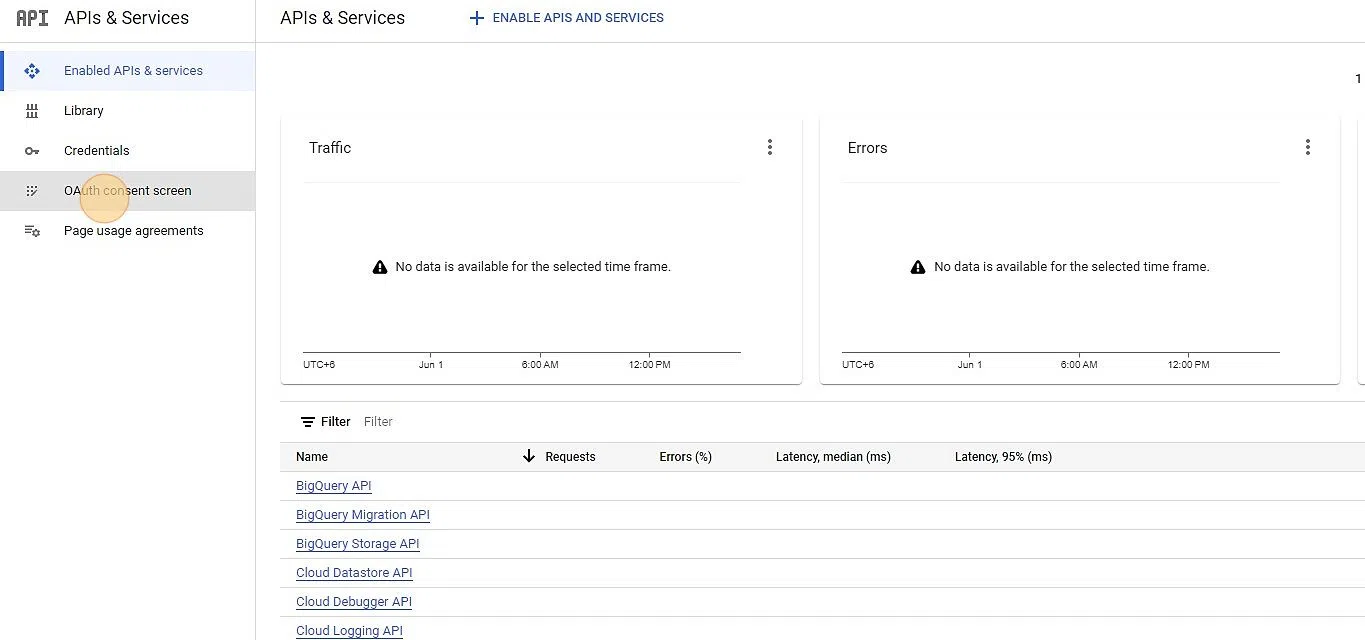
Navigate to the newly created project and search for
API & Services
-
Go to
OAuth consent screen
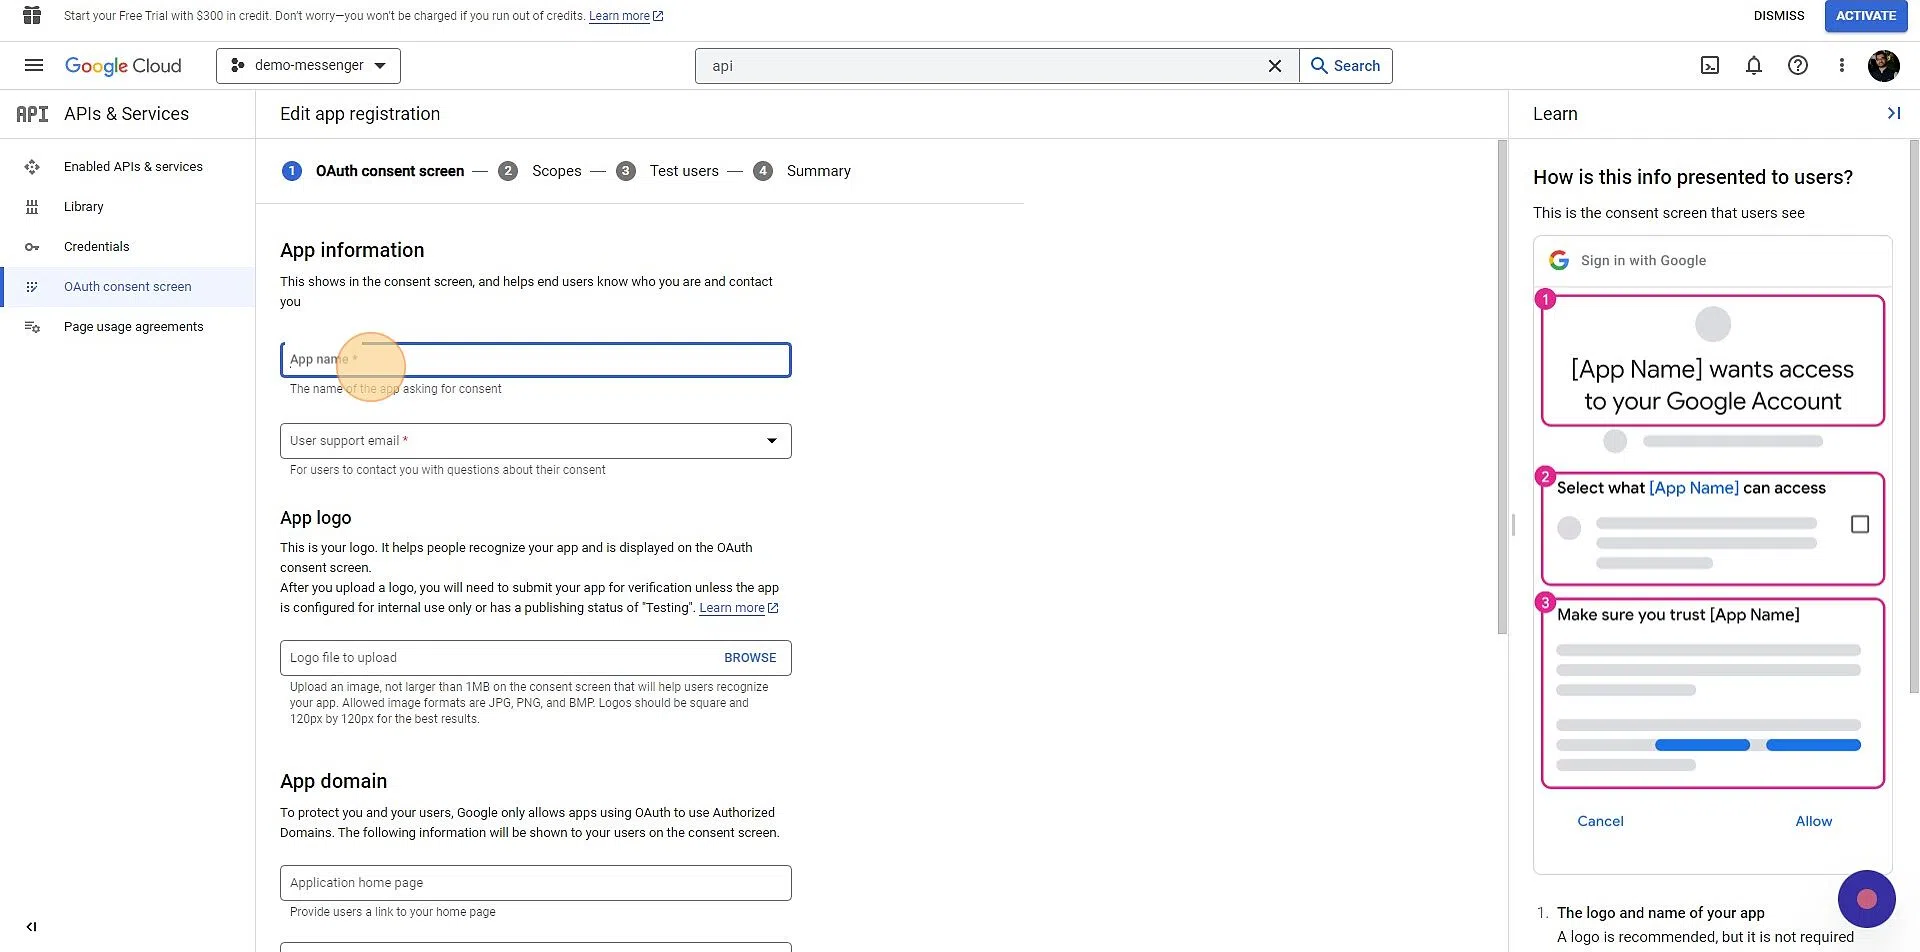
Click theExternalfield
ClickCREATE
-
Click the
App namefield and give it a name
On User Mail field, select your email
Scroll down toDeveloper contact informationand type your email
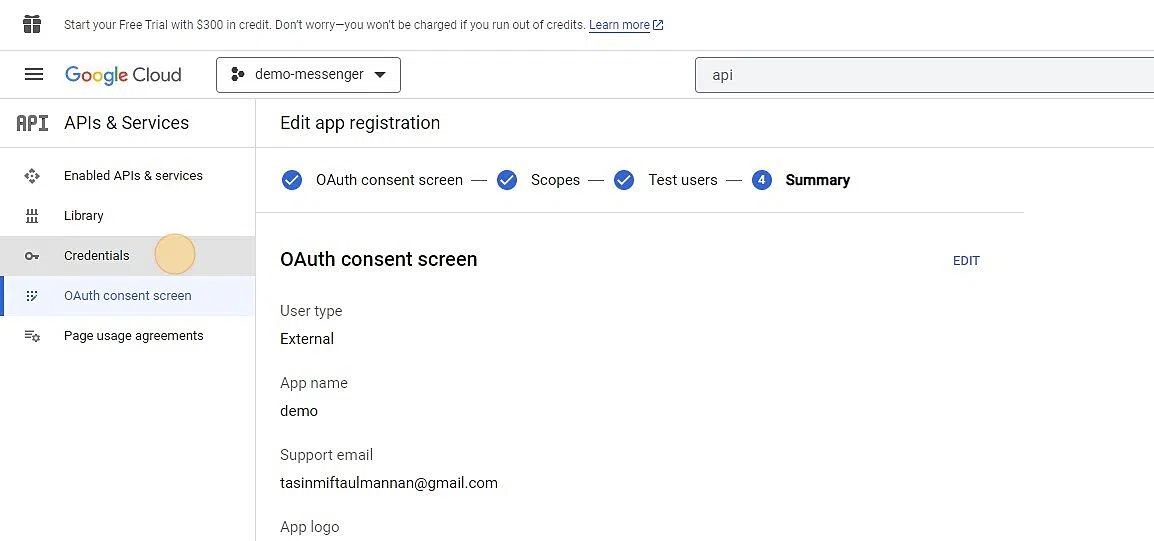
ClickSAVE AND CONTINUEuntil you're on theSummarystep
-
Go to
Credentials
ClickCREATE CREDENTIALS
SelectOAuth client ID
-
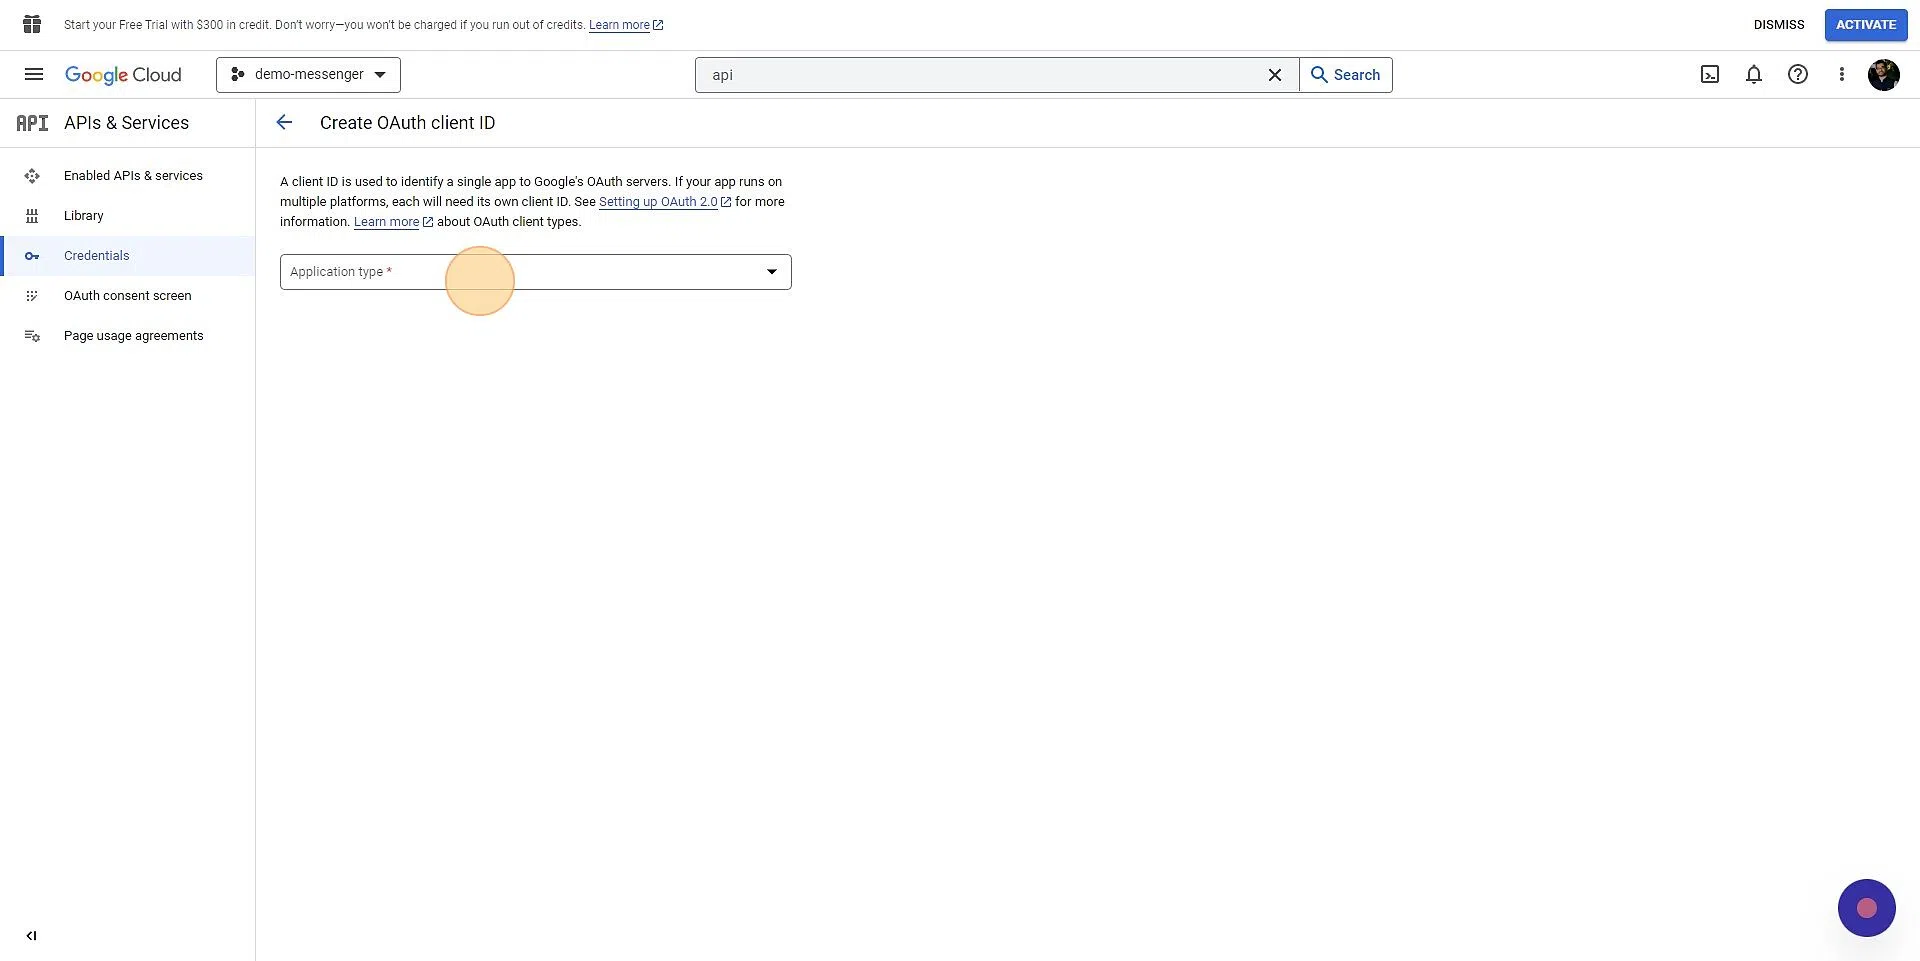
Select
Web applicationas Application Type
Scroll down toAuthorized redirect URIsand addhttp://localhost:3020/api/auth/callback/google
ClickCREATE
Copy theCLient IDandClient Secretand note it down


-
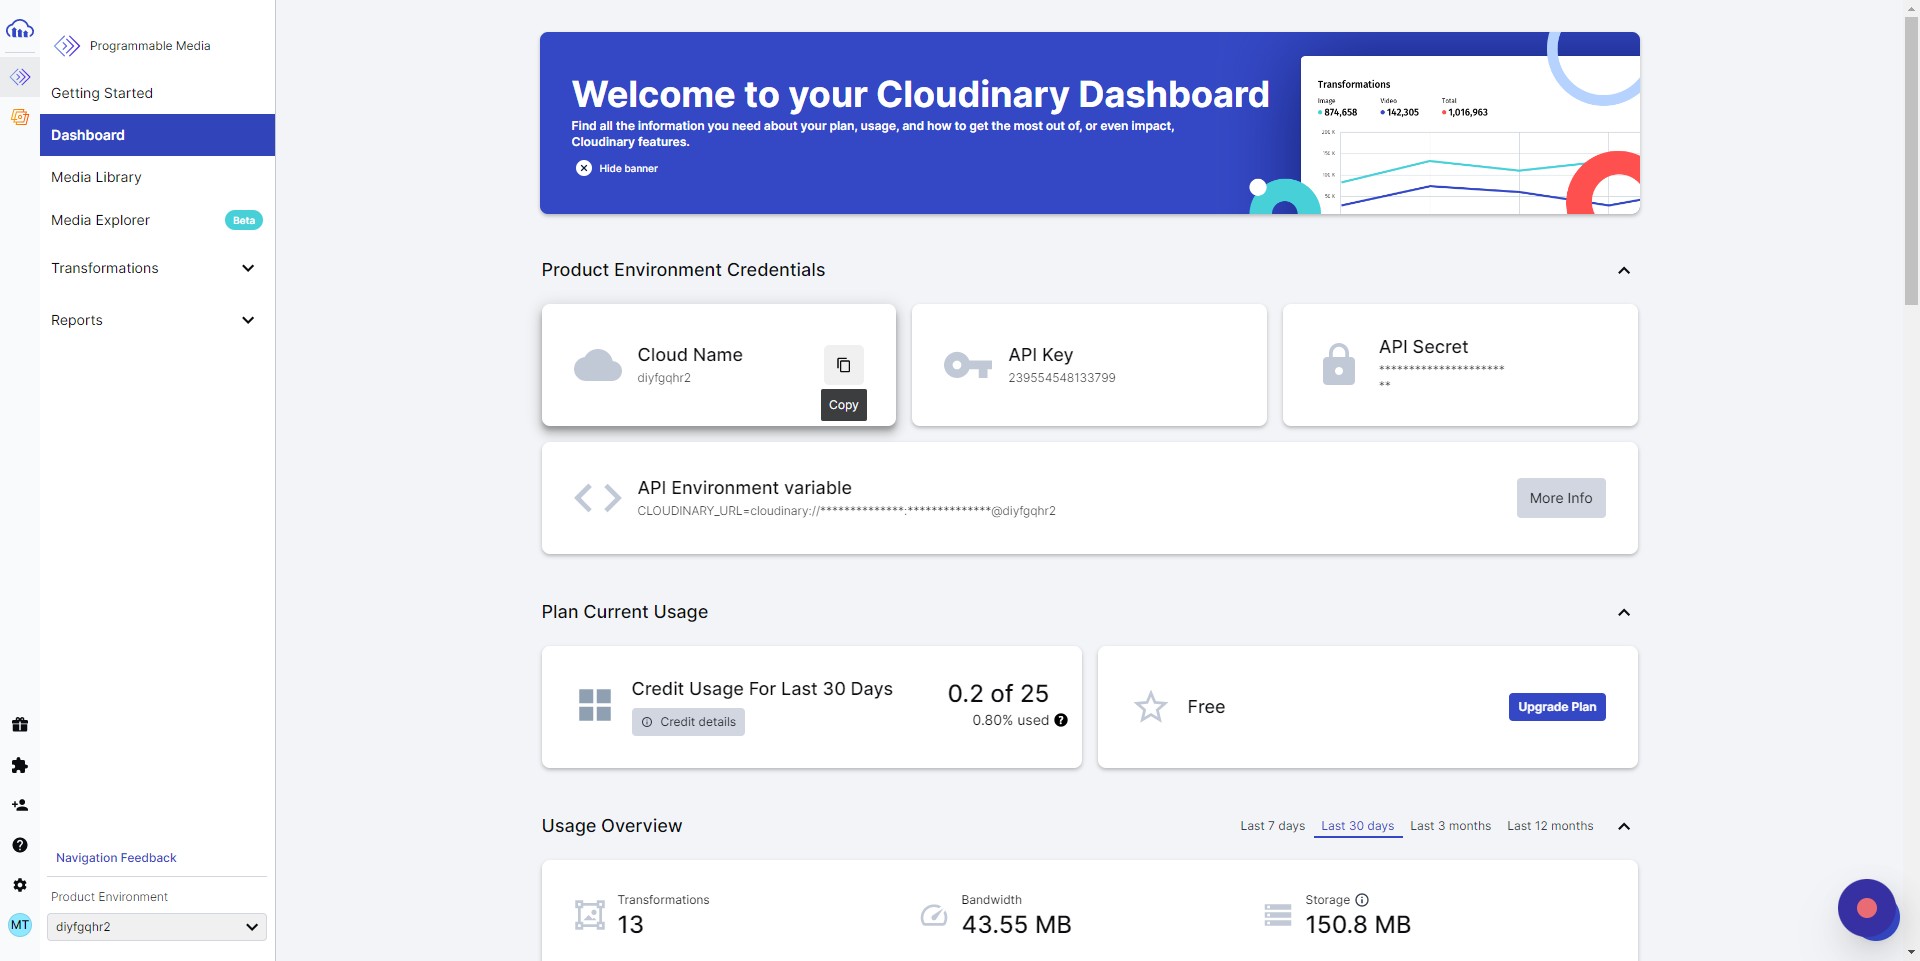
Navigate to https://console.cloudinary.com and login
Go toDashboardand note down theCloud name
-
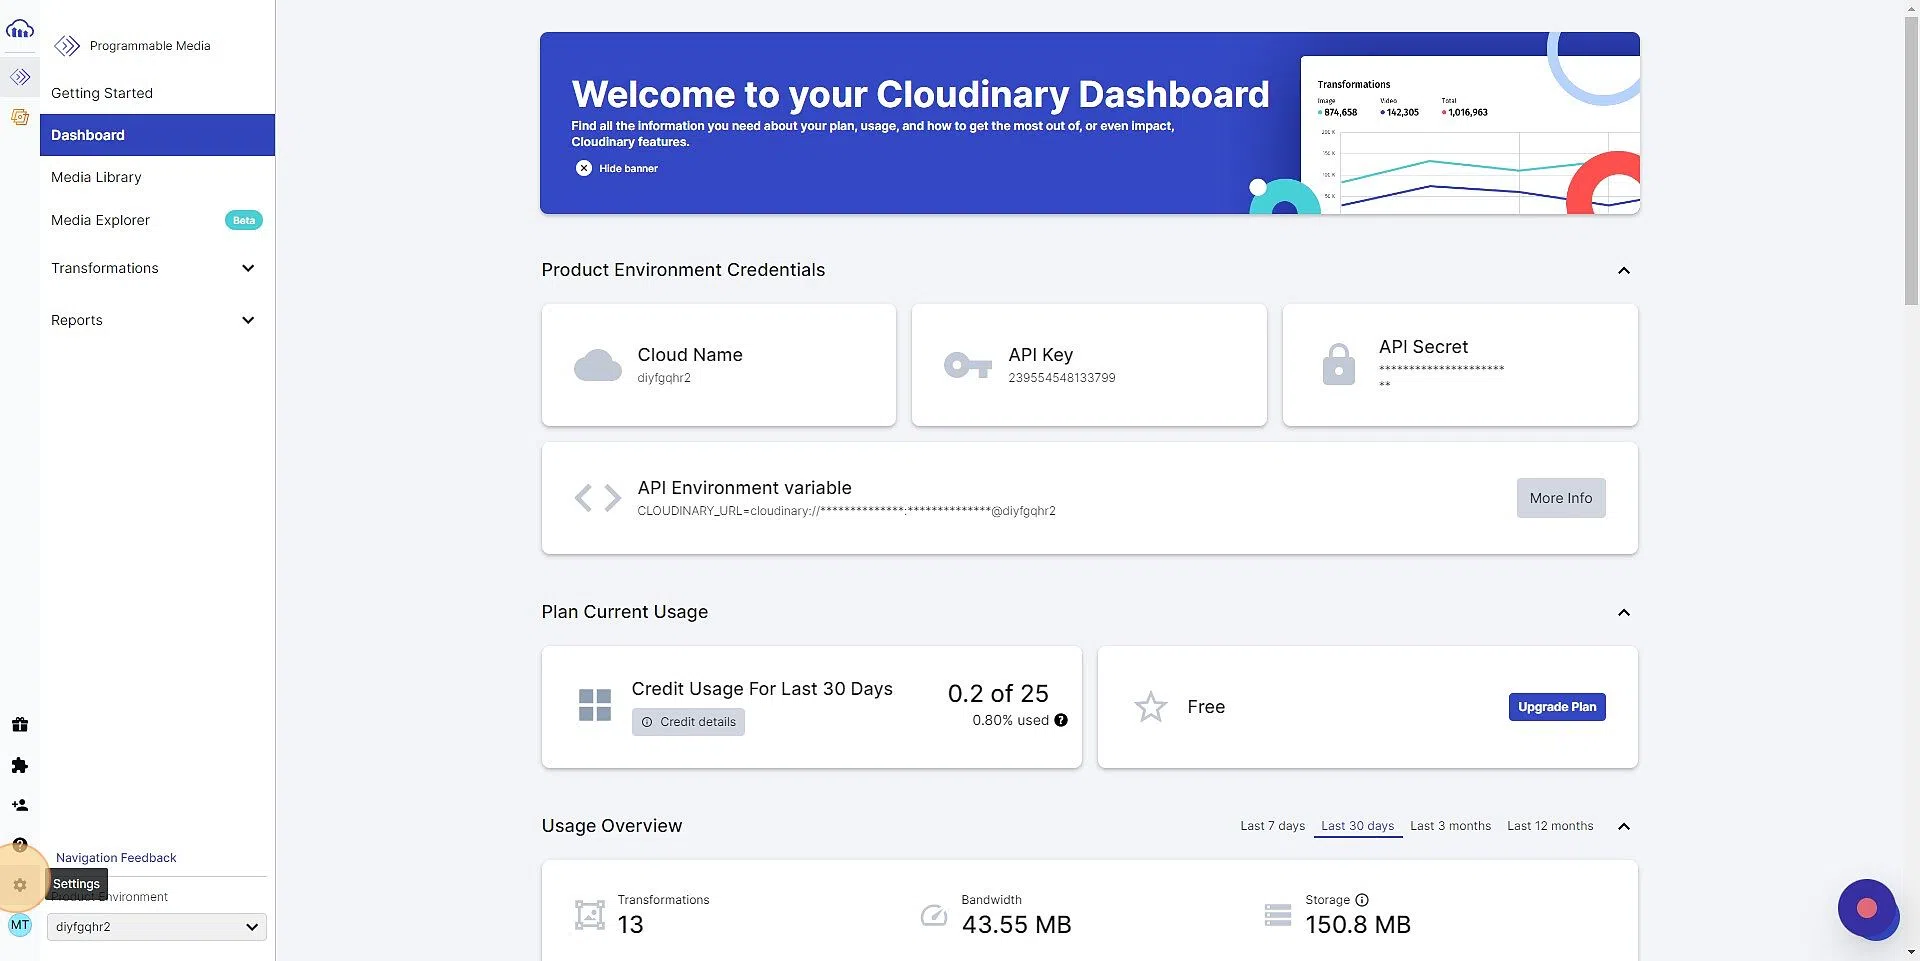
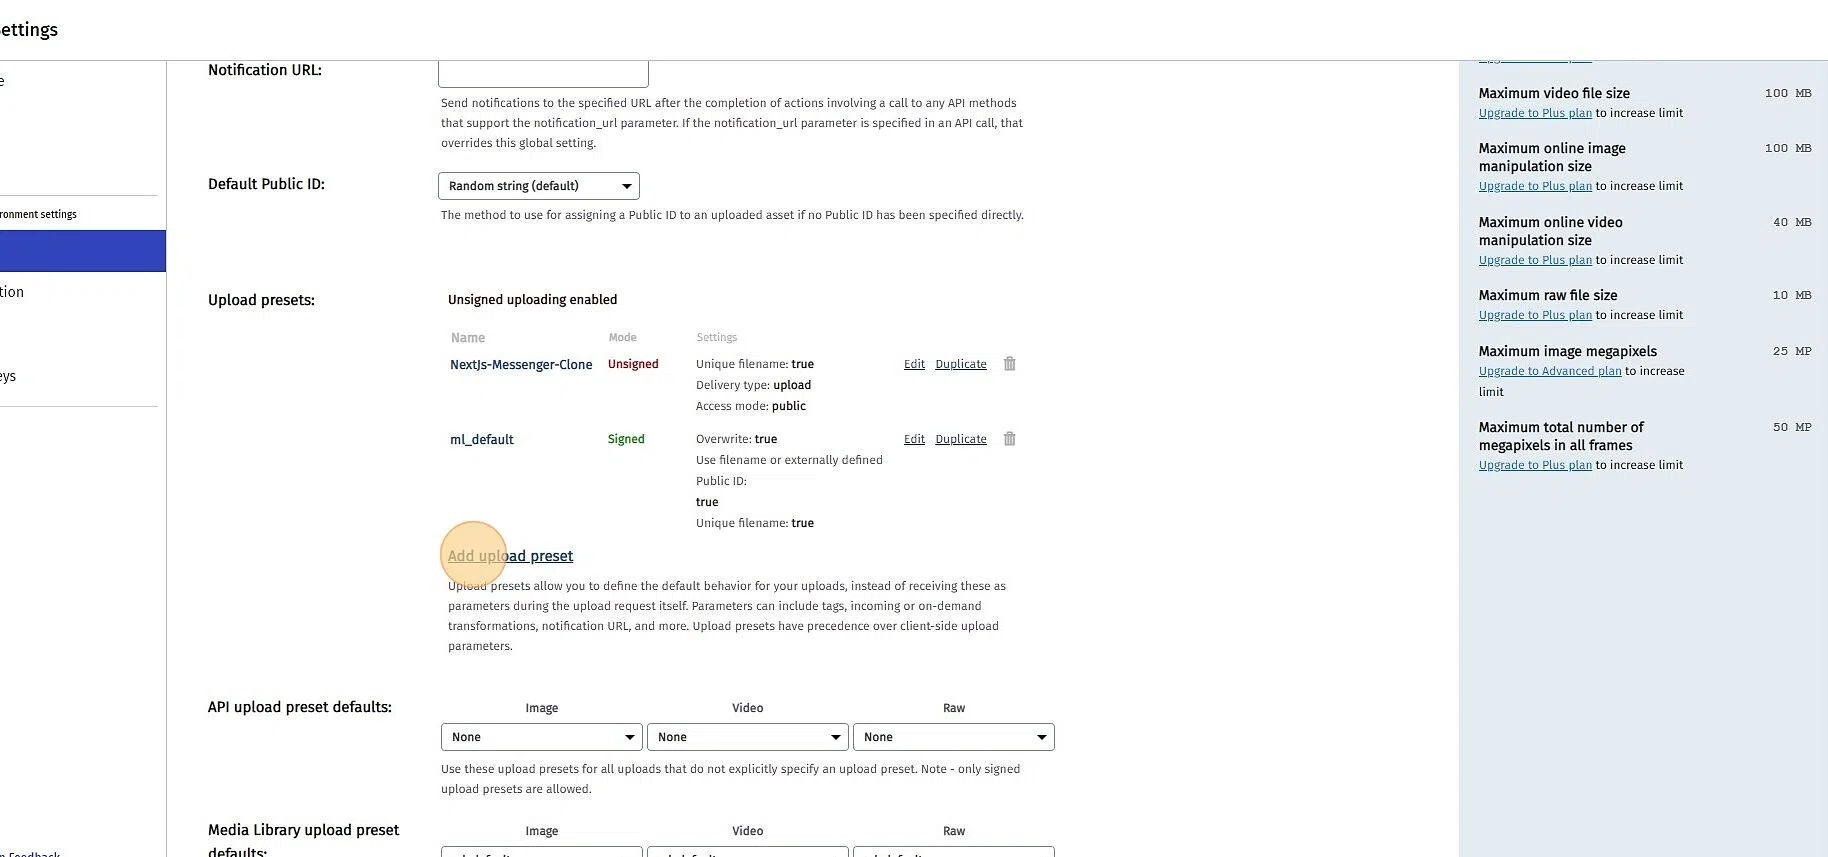
Go to settings
Then go toUpload
-
Click
Add upload preset
ChangeSigning ModetoUnsigned
ClickSaveCopy the newly added preset name and note it down


-
Navigate to https://dashboard.pusher.com/channels
ClickCreate app(orGet Started)
Give the app a name
SelectReactfor Frontend andNode.jsfor Backend
Create the app
-
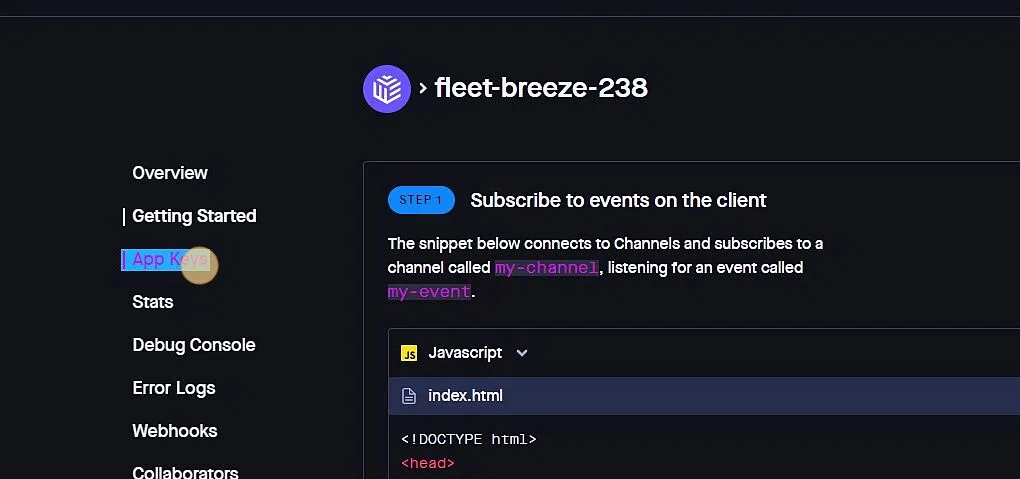
Go to
App Keys
Note down values


- Clone/download repo
- Create a file called .env.local in the root directory of your project, type the following in cmd/powershell
cp env.example .env.local - Inside the
.env.localfile, add the MongoDB, Pusher, Cloudinary, GitHub and Google keys from the previous steps yarn installto install the dependencies (runnpm install yarnif you don't have yarn installed)yarn prisma db pushto create the DB collectionsprisma generateto create the prisma client
Development
yarn dev
- Build app continuously (HMR enabled)
Production
yarn build
yarn start
- Build app once (HMR disabled) to
/.next/
All commands
| Command | Description |
|---|---|
yarn dev |
Build app continuously (HMR enabled) |
yarn build |
Build app once (HMR disabled) to /.next/ |
yarn start |
Run production build |
- Some Design ideas were taken from Facebook Messenger
- Some Implementation Ideas for this project are taken from Josh and Antonio
- Project was bootstrapped with create-next-app