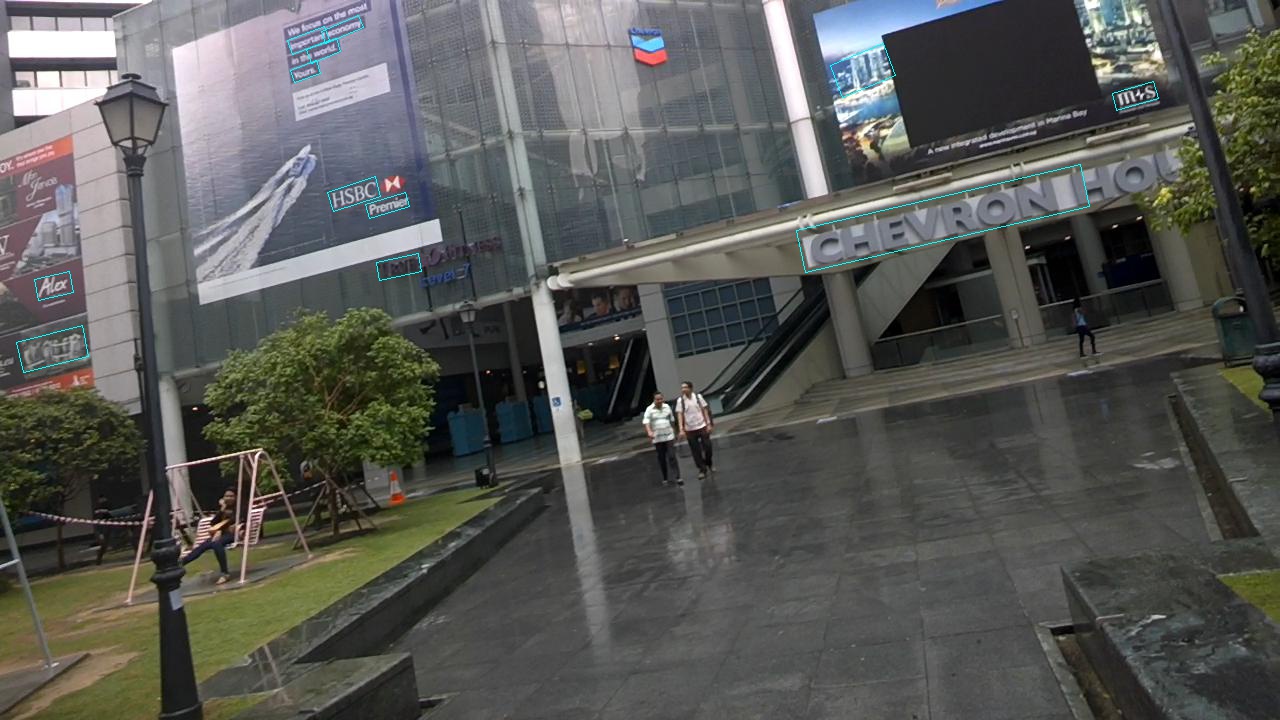
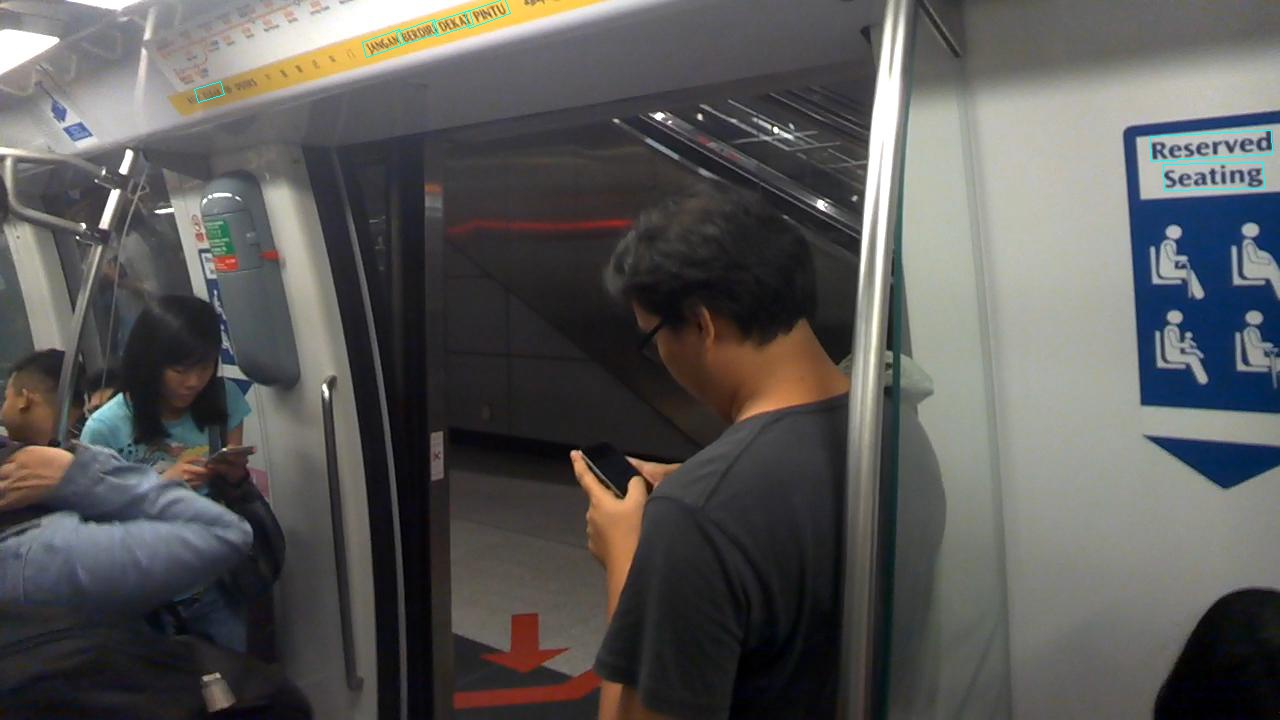
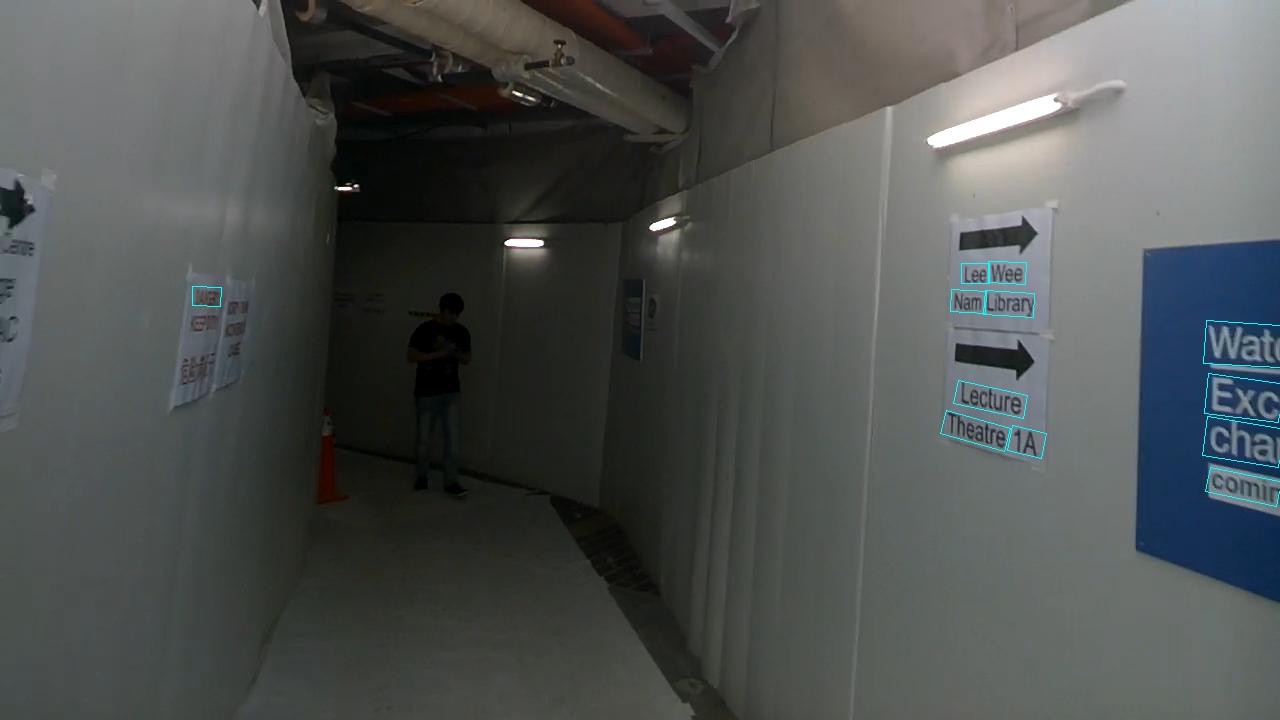
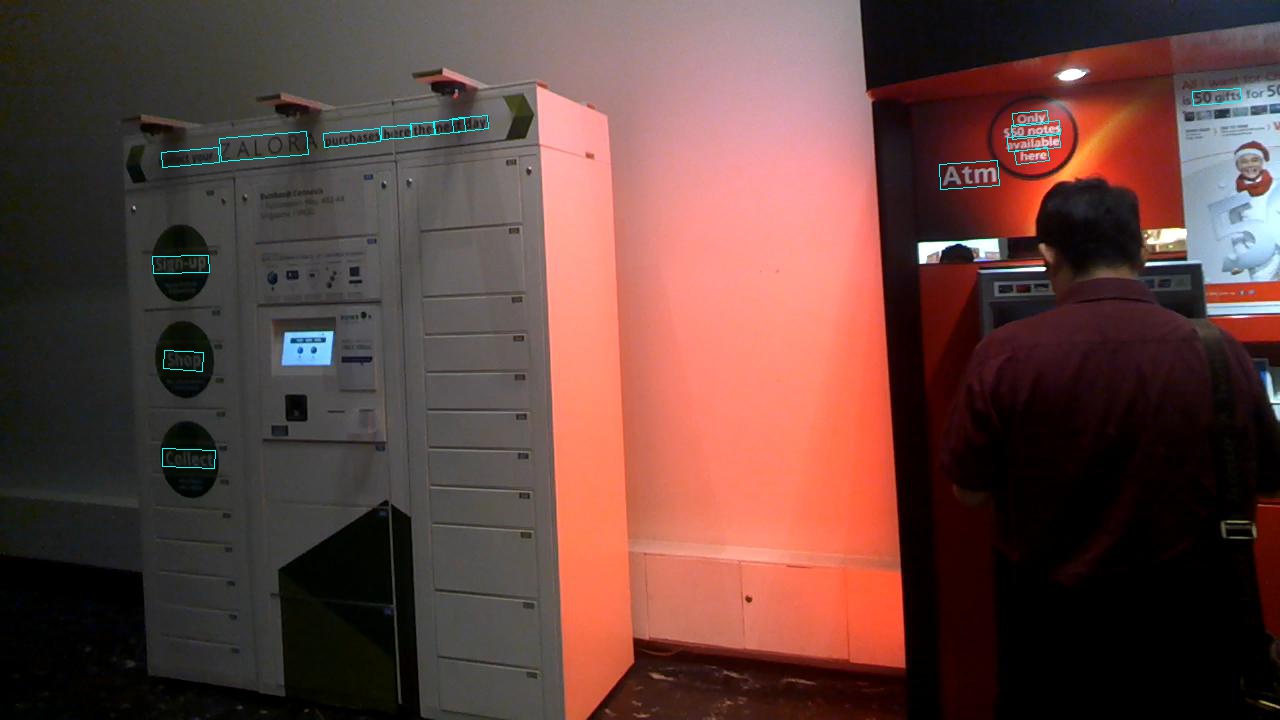
This is a Keras implementation of EAST based on a Tensorflow implementation made by argman.
The original paper by Zhou et al. is available on arxiv.
- Only RBOX geometry is implemented
- Differences from the original paper
- Uses ResNet-50 instead of PVANet
- Uses dice loss function instead of balanced binary cross-entropy
- Uses AdamW optimizer instead of the original Adam
The implementation of AdamW optimizer is borrowed from this repository.
The code should run under both Python 2 and Python 3.
Keras 2.0 or higher, and TensorFlow 1.0 or higher should be enough.
The code should run with Keras 2.1.5. If you use Keras 2.2 or higher, you have to remove ZeroPadding2D from the model.py file. Specifically, replace the line containing ZeroPadding2D with x = concatenate([x, resnet.get_layer('activation_10').output], axis=3).
I will add a list of packages and their versions under which no errors should occur later.
You can use your own data, but the annotation files need to conform the ICDAR 2015 format.
ICDAR 2015 dataset can be downloaded from this site. You need the data from Task 4.1 Text Localization.
You can also download the MLT dataset, which uses the same annotation style as ICDAR 2015, there.
Alternatively, you can download a training dataset consisting of all training images from ICDAR 2015 and ICDAR 2013 datasets with annotation files in ICDAR 2015 format here.
You can also get a subset of validation images from the MLT 2017 dataset containing only images with text in the Latin alphabet for validation here.
The original datasets are distributed by the organizers of the Robust Reading Competition and are licensed under the CC BY 4.0 license.
You need to put all of your training images and their corresponding annotation files in one directory. The annotation files have to be named gt_IMAGENAME.txt.
You also need a directory for validation data, which requires the same structure as the directory with training images.
Training is started by running train.py. It accepts several arguments including path to training and validation data, and path where you want to save trained checkpoint models. You can see all of the arguments you can specify in the train.py file.
python train.py --gpu_list=0,1 --input_size=512 --batch_size=12 --nb_workers=6 --training_data_path=../data/ICDAR2015/train_data/ --validation_data_path=../data/MLT/val_data_latin/ --checkpoint_path=tmp/icdar2015_east_resnet50/
You can download a model trained on ICDAR 2015 and 2013 here. It achieves 0.802 F-score on ICDAR 2015 test set. You also need to download this JSON file of the model to be able to use it.
The images you want to classify have to be in one directory, whose path you have to pass as an argument. Classification is started by running eval.py with arguments specifying path to the images to be classified, the trained model, and a directory which you want to save the output in.
python eval.py --gpu_list=0 --test_data_path=../data/ICDAR2015/test/ --model_path=tmp/icdar2015_east_resnet50/ --output_dir=tmp/icdar2015_east_resnet50/eval/

