Hello and welcome to the EasySplit repository!
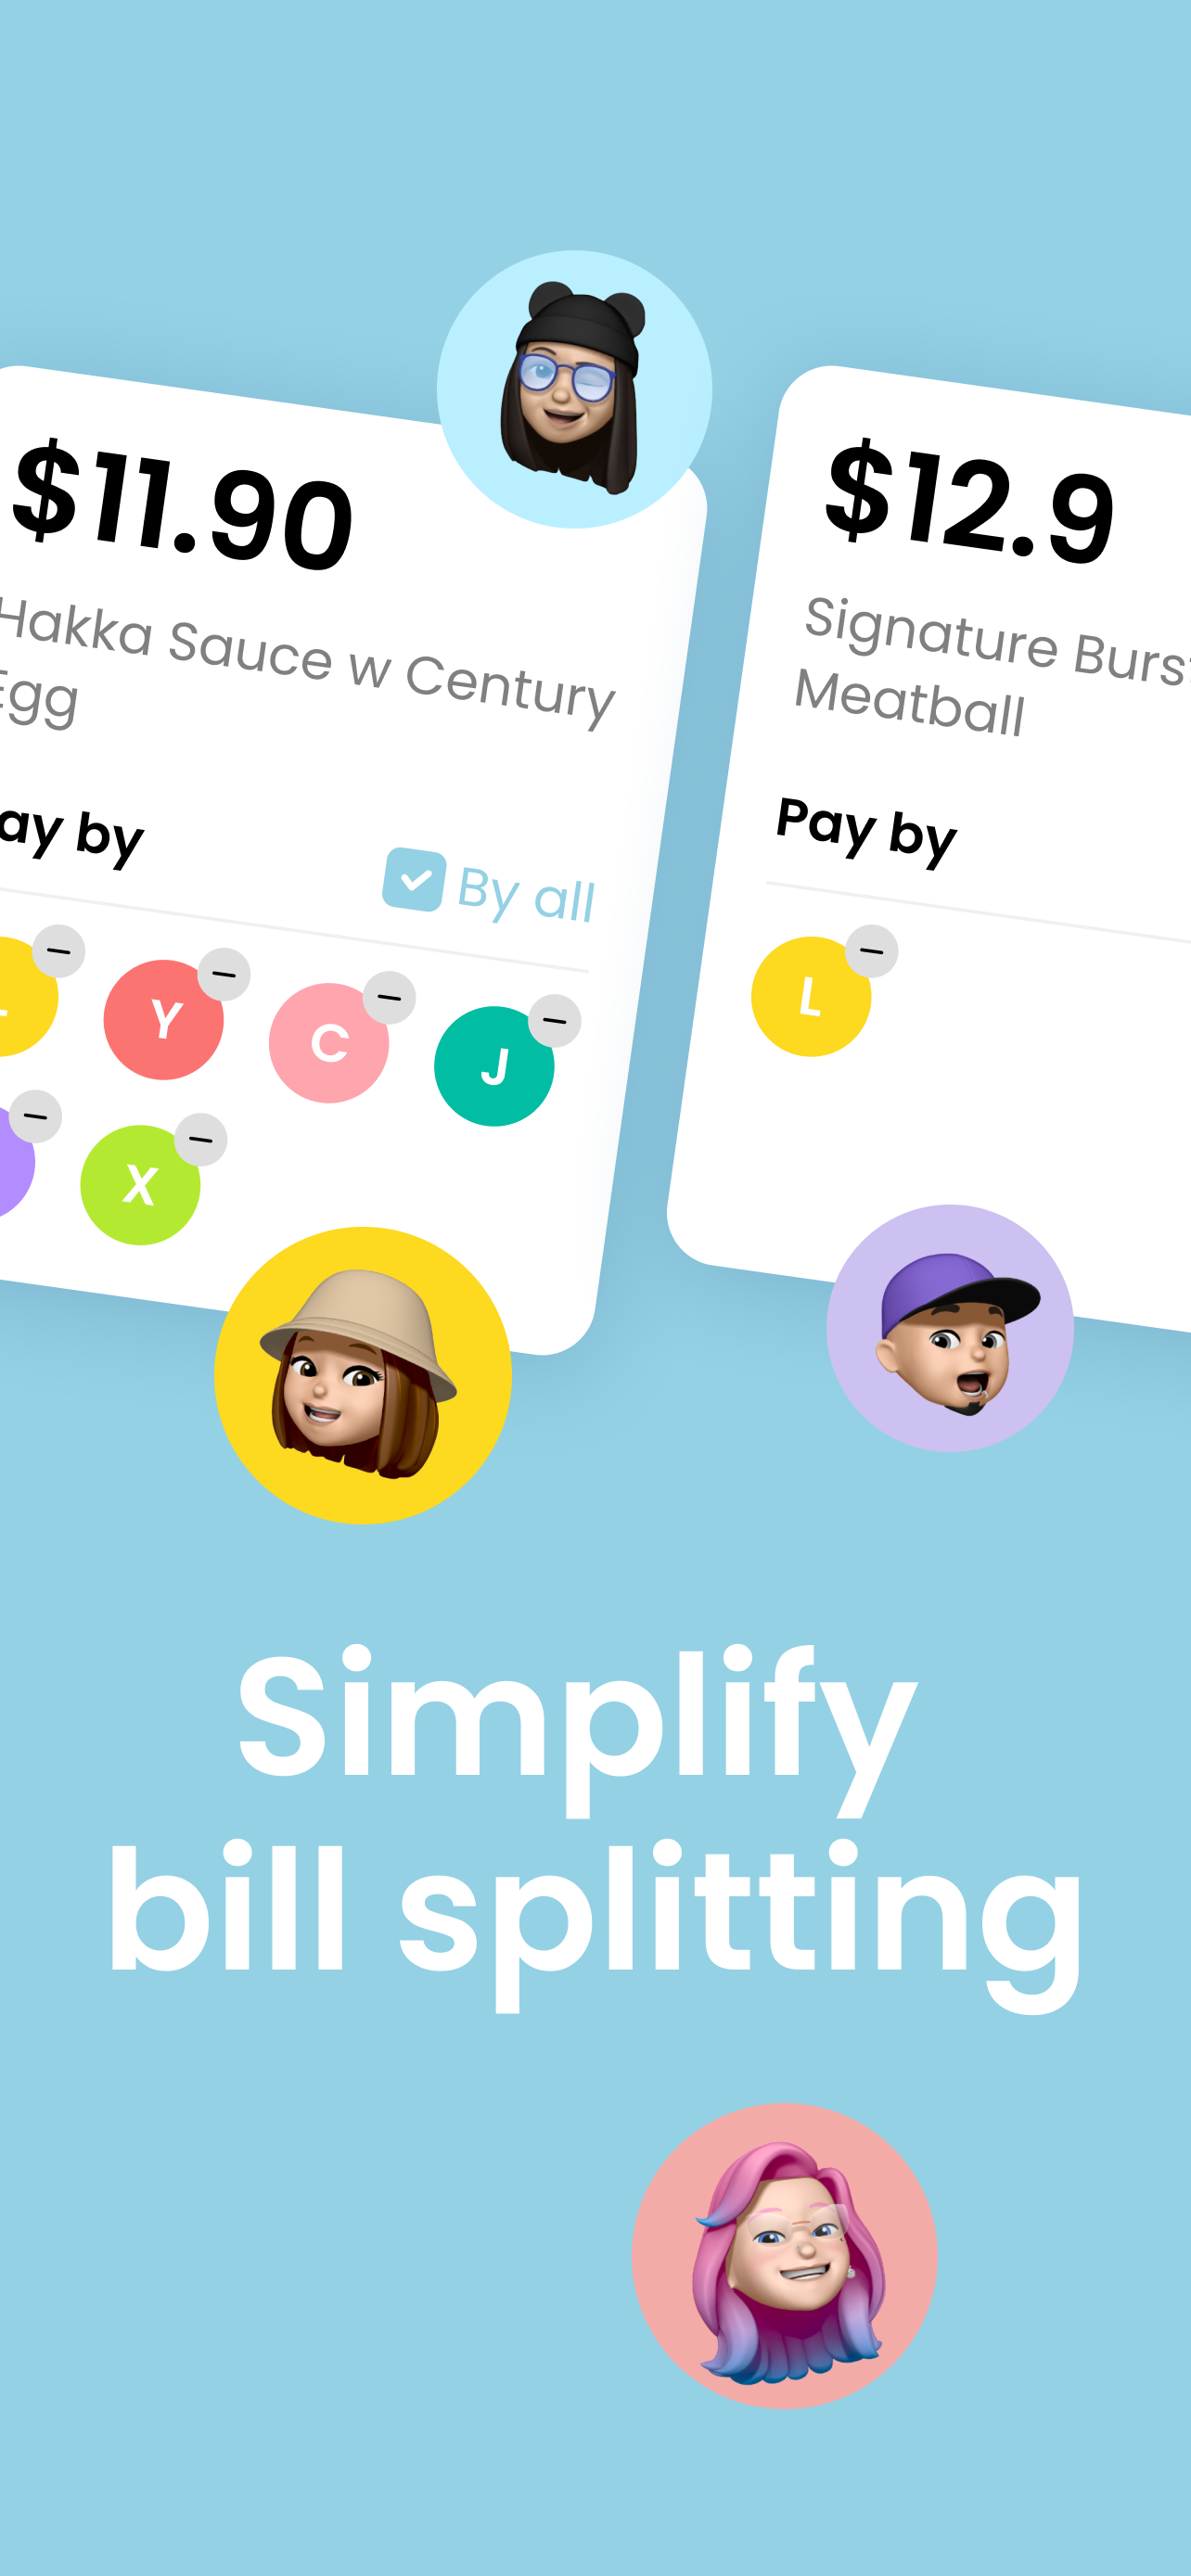
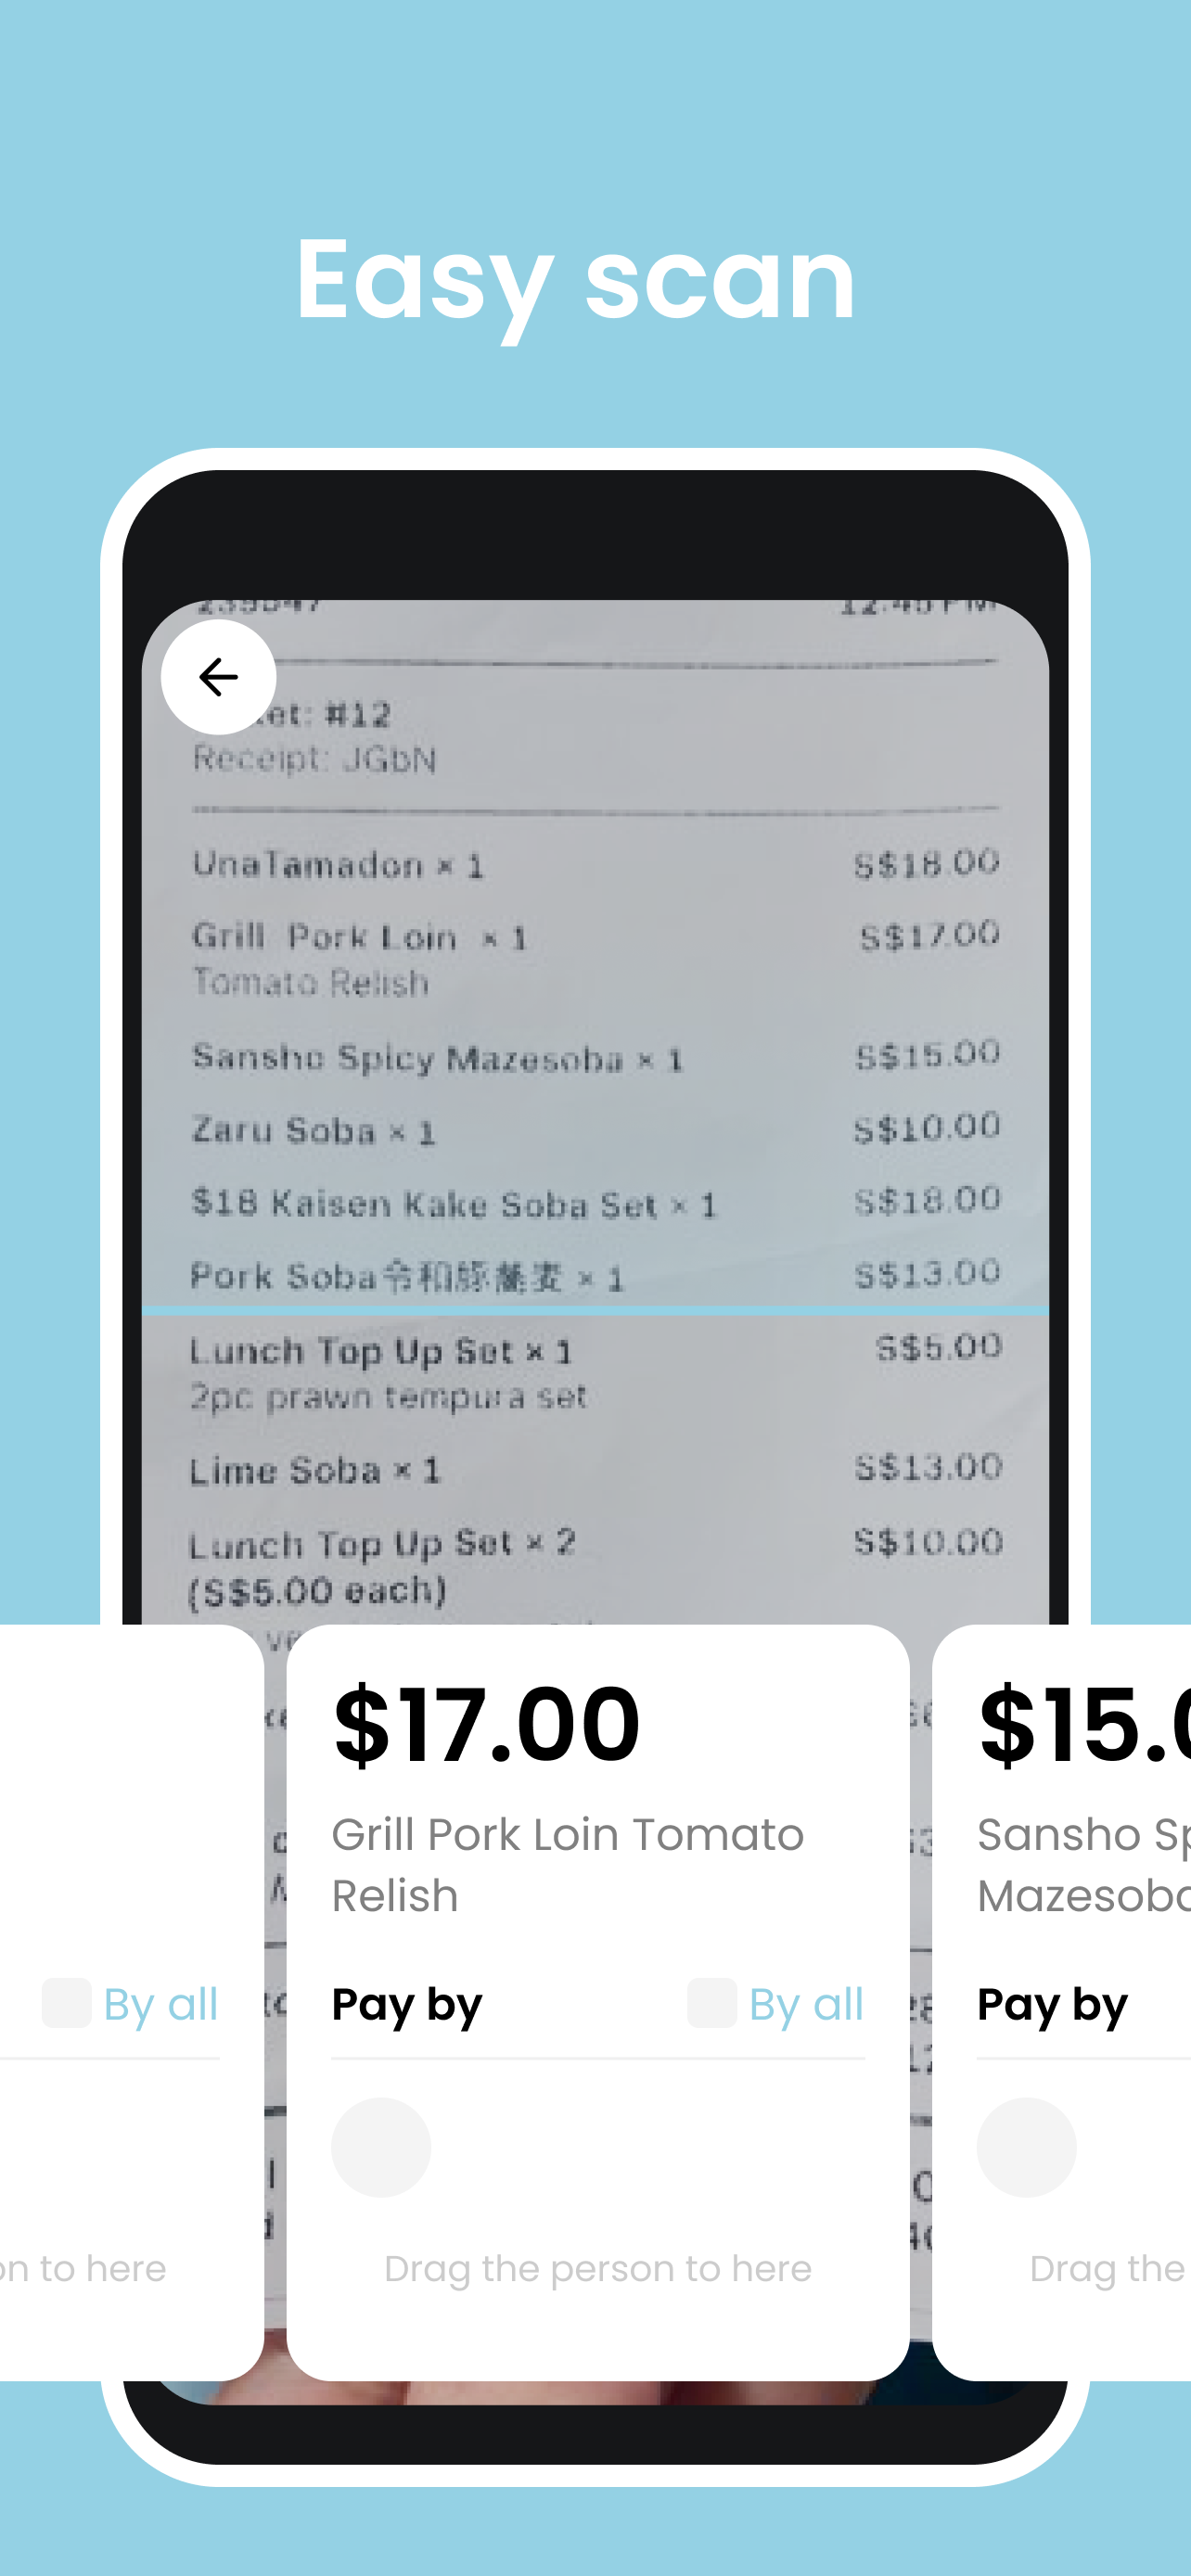
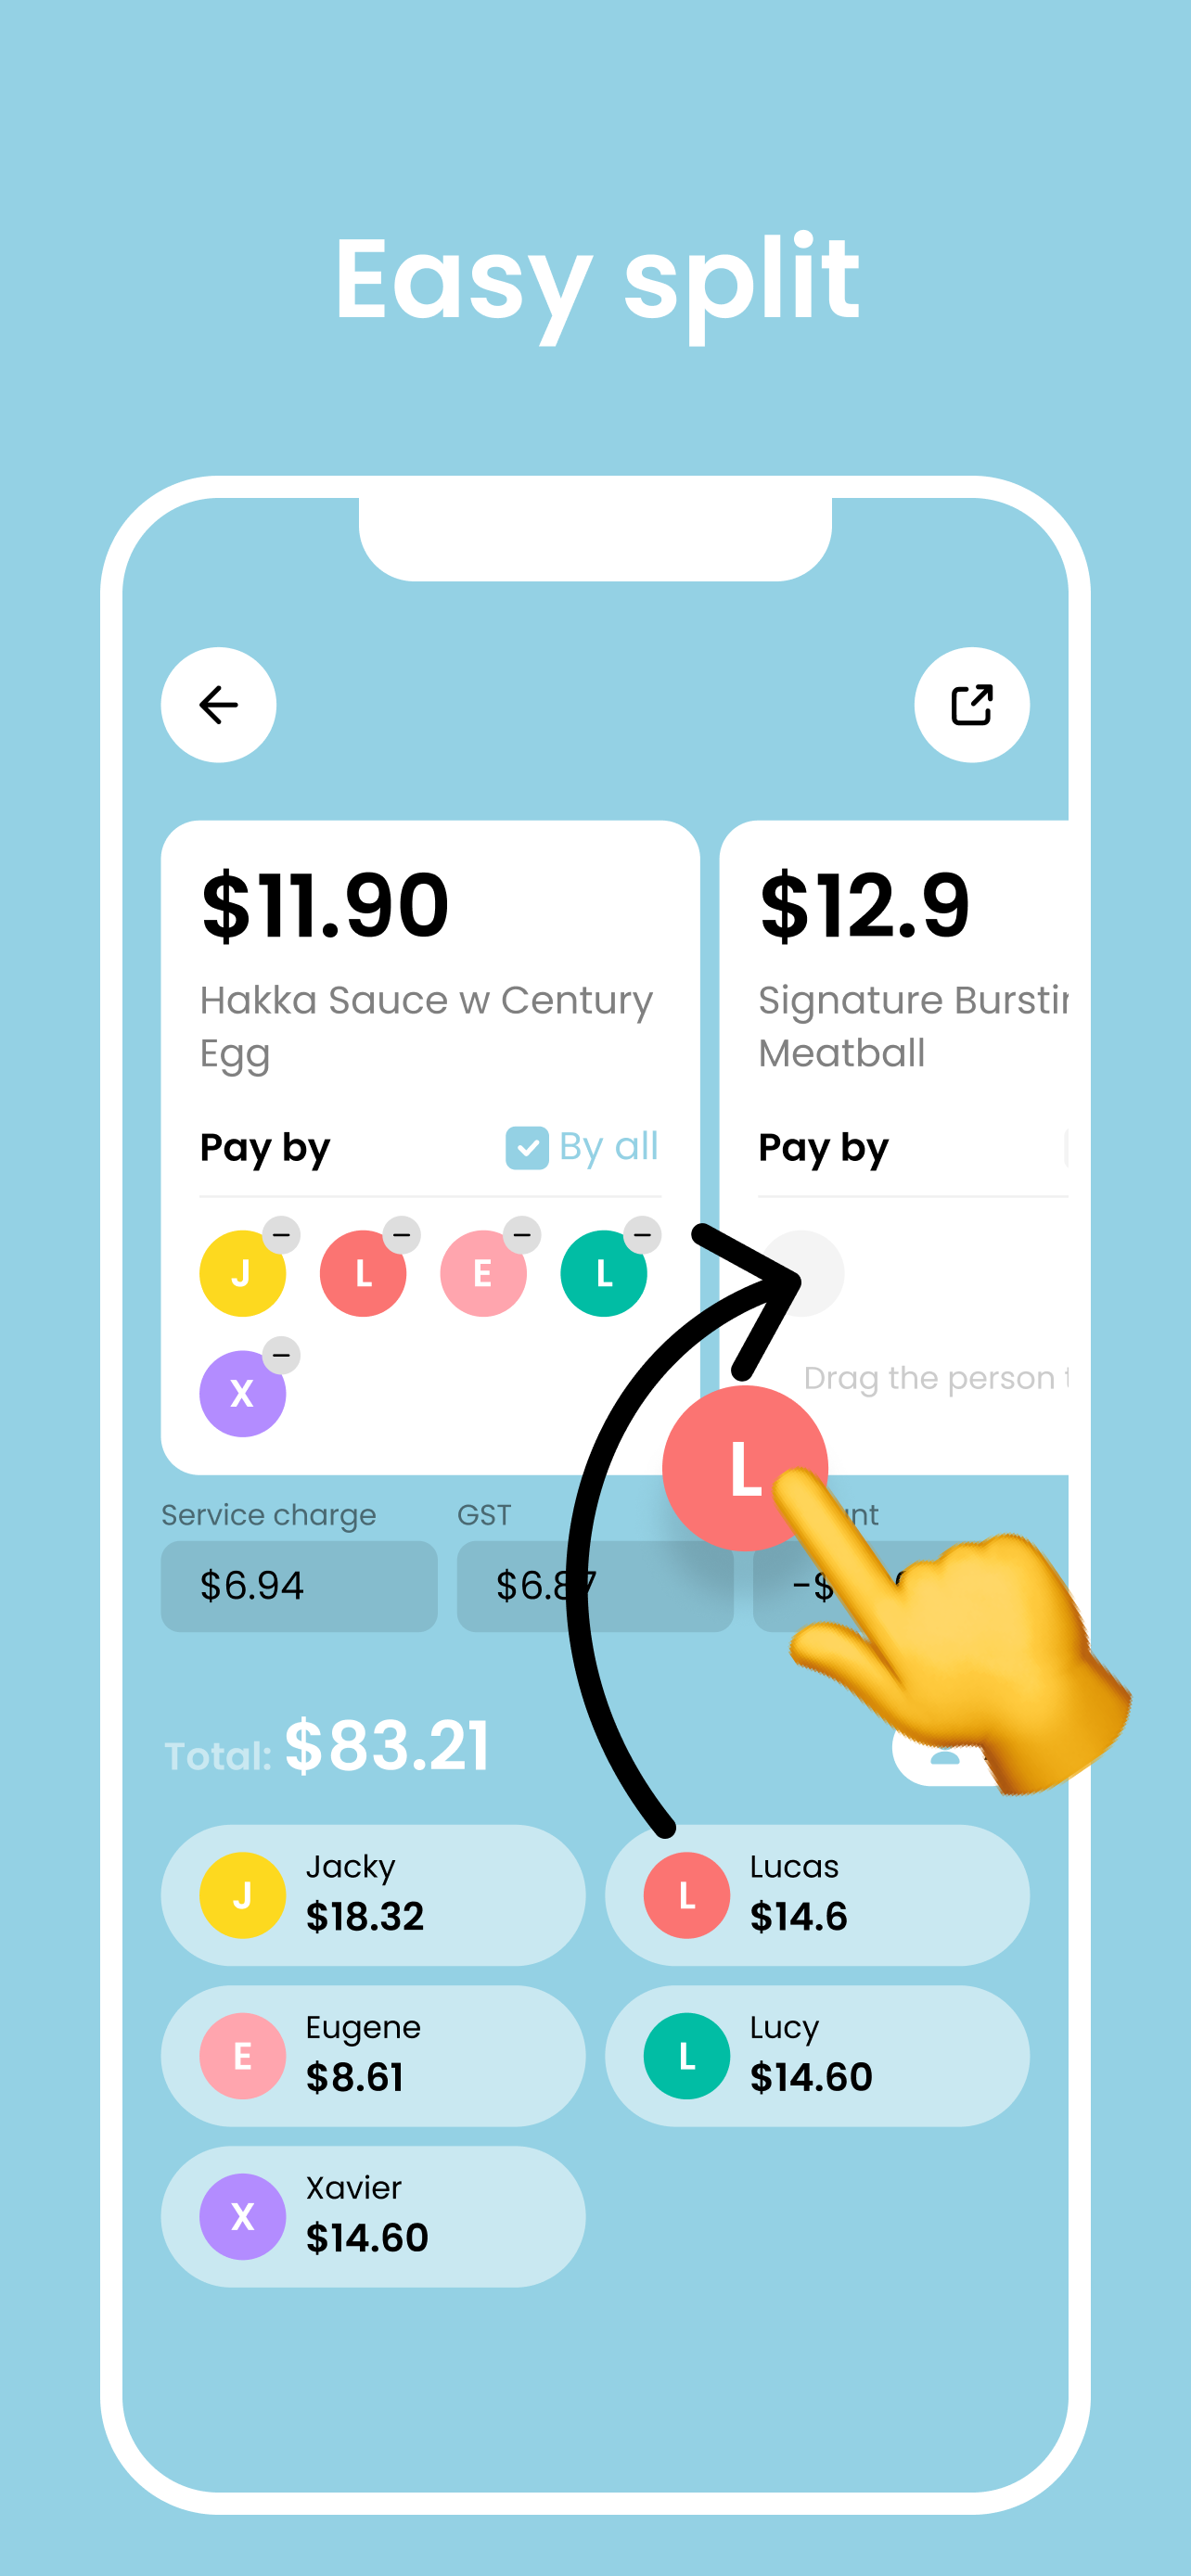
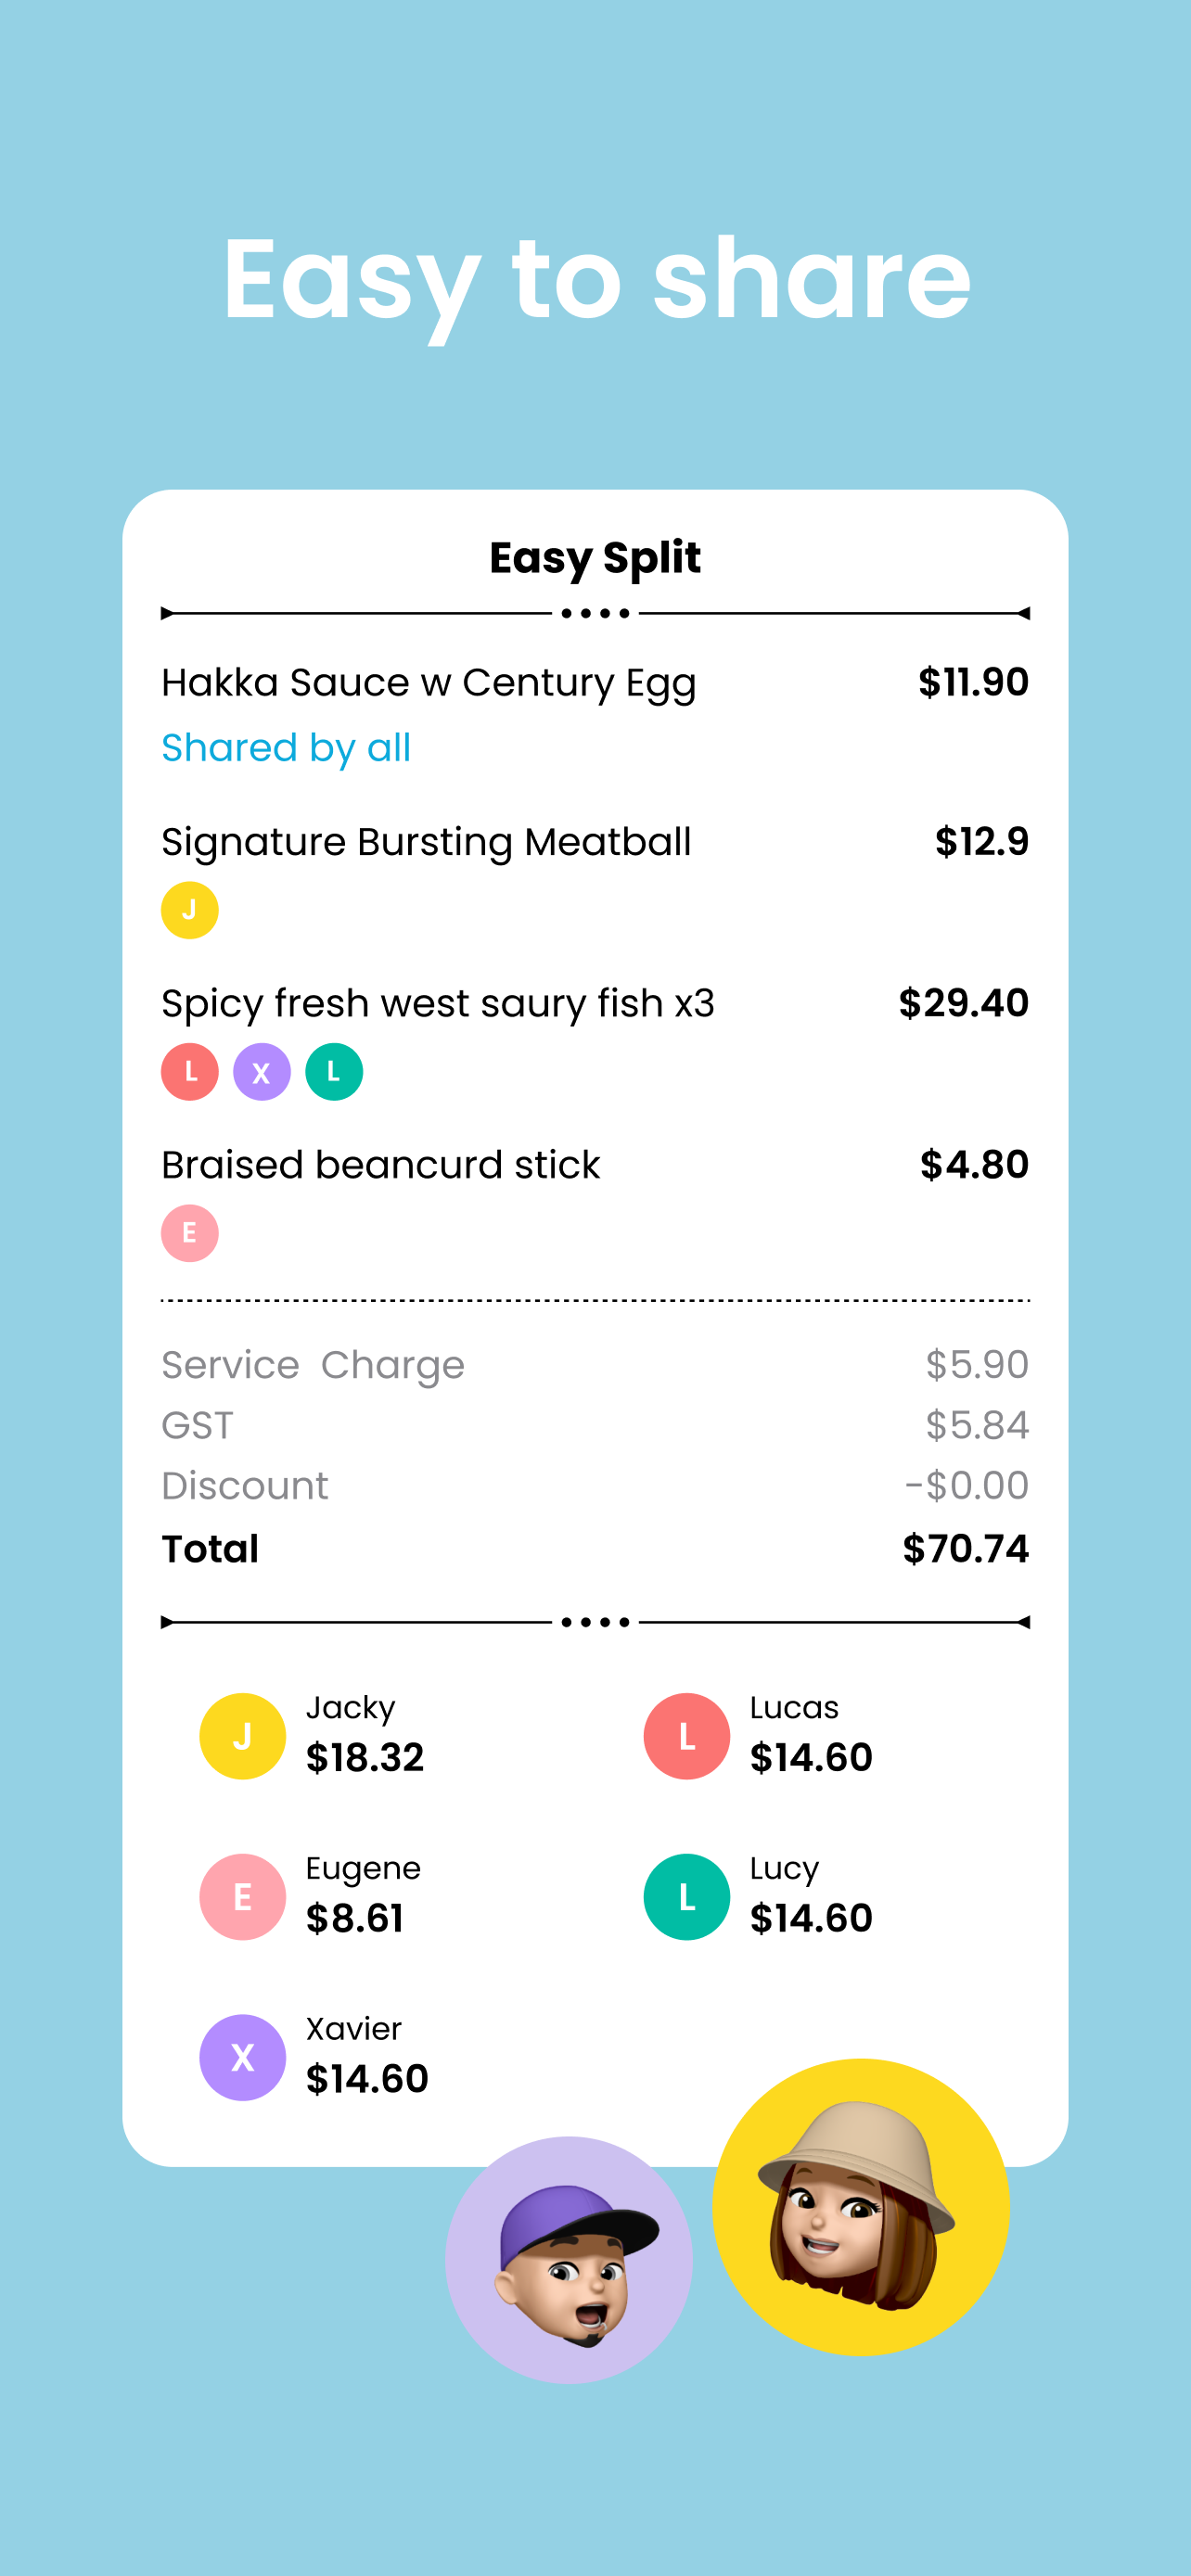
EasySplit is a mobile application designed to streamline bill splitting among friends. It leverages AI to automatically detect prices from images of bills, providing an intuitive user interface for effortless splitting. The app also generates visually appealing shared bill summaries, detailing costs for each individual.
Current version on App Store: V1.2.1
Whether you are new to EasySplit or curious about its implementation, you're invited to explore:
- Download: You can download EasySplit from the App Store or Google Play Store.
- Contribute: If you are interested in contributing to EasySplit's development or exploring its codebase, you're in the right place.
git clone https://github.com/Tealseed-Lab/EasySplit.git
cd EasySplit
cd easysplit_server
- Create a .env file under the directory
/easysplit_servertouch .env - Add the necessary environment variables
Note: For SERVER_PORT, common ports like 8080 or 8000 can be used.
GIN_MODE=debug

# port
PORT=your_server_port

# openai
OPENAI_API_KEY=your_openai_api_key

# aws
AWS_ACCESS_KEY_ID=your_aws_access_key_id
AWS_SECRET_ACCESS_KEY=your_aws_secret_access_key
AWS_REGION=your_aws_region
S3_BUCKET_NAME=your_s3_bucket_name

# gcp
GCP_CREDENTIALS=your_gcp_credentials
Getting API Keys and Credentials
-
OpenAI
- Create or log into your OpenAI account.
- Navigate to the OpenAI API.
- Click on your profile icon in the upper right corner and select "API keys" from the dropdown menu.
- In the API keys section, click on the "Create new secret key" button.
- Name the key and then click on the "Create secret key" button.
-
AWS
- Create or log into your AWS account.
- Create access key ID and secret access key for your user.
- Set up your AWS region.
- Create an S3 bucket.
-
GCP
- Create or log into your Google Cloud account.
- Navigate to the project selector and create a new project.
- Navigate to the API library and enable the Vision API.
- Navigate to the service accounts: go to "IAM & Admin" > "Service Accounts" and create a new service account.
- Grant the service account access to the project created.
- Create a key for the service account.
- Note: For GCP_CREDENTIALS, store the contents of the JSON key file as a string in .env file.
Ensure you are in the /easysplit_server directory and install the project dependencies using:
go mod tidy
You can build and run the server using the following commands:
go build -o easysplit_server
./easysplit_server
Alternatively, you can run the server directly with go run:
go run main.go
You can use tools like Postman or Curl to test the API endpoints. The base URL will be at http://localhost:${port_number}.
Example curl command to test the /api/v1/receipts/process endpoint:
curl -X POST http://localhost:${port_number}/api/v1/receipts/process -F "receipt_image=@path_to_your_image_file"
Server Files Structure
easysplit_server
├── main.go                   # Entry point of the application
├── api                       # Contains the main application logic
│   ├── controllers           # HTTP handlers
│   ├── models                # Data structures and ORM models
│   ├── routes.go             # Application routes
│   ├── services              # Business logic
│   ├── utils                 # Utility functions
│   └── middlewares           # Middleware functions
├── config                    # Configuration settings
│   └── config.go             # Configuration setup
├── logger                    # Logging configuration
│   └── logging.go            # Logging setup and configuration
├── go.mod                    # Go module file
└── go.sum                    # Go checksums file
cd ../easysplit_client
flutter pub get
cd ios
pod install
cd ..
dart run build_runner build
-
Edit the file
easysplit_client/lib/common/utils/env/env.dart -
Replace the YOUR_LOCAL_BASE_URL with your local base url formed by your local ip address and your server port number.
For example, it might be something like
http://localhost:8080orhttp://192.168.1.100:8080
- Start the ios simulator on your machine
- Run
flutter run
Now you should have a full running app set up locally in your simulator!
Client Files Structure
easysplit_client
├── assets                    # Static assets like images and fonts
├── ios                       # iOS-specific project files
├── lib                       # Main Dart code for the Flutter app
│   ├── common                # Common utilities and widgets
│   ├── di                    # Dependency injection setup
│   ├── modules               # Feature modules of the application
│   └── main.dart             # Entry point of the Flutter application
├── pubspec.lock              # Locked versions of the dependencies
└── pubspec.yaml              # Configuration file specifying dependencies
If you have any questions, suggestions, or want to report a bug, please feel free to file an issue. Developers interested in contributing are encouraged to open pull requests.
You're also welcomed to contact me at jiatong@tealseed.com!
Thank you for exploring EasySplit!


