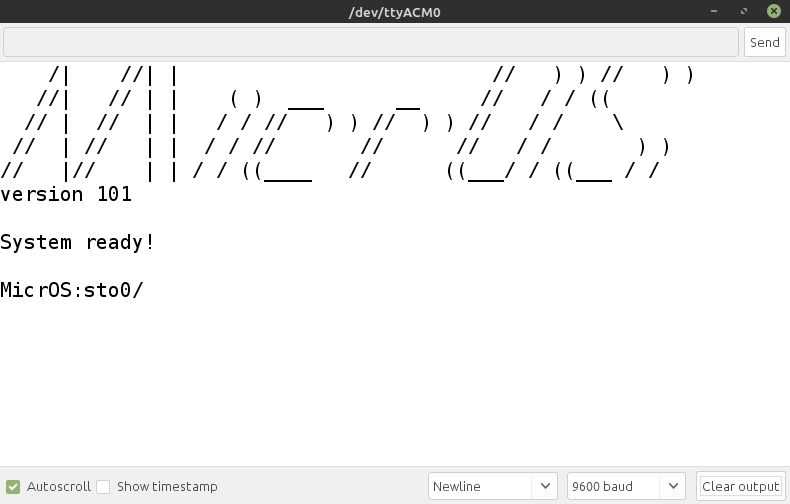
     /|    //| |                          //   ) ) //   ) )
    //|   // | |    ( )  ___      __     //   / / ((
   // |  //  | |   / / //   ) ) //  ) ) //   / /    \\
  //  | //   | |  / / //       //      //   / /       ) )
 //   |//    | | / / ((____   //      ((___/ / ((___ / /
A multitasking operating system for Arduino and compatible boards.
The idea behind this operating system is to use the Arduino as a standalone computer. The only thing you'll need (beside the Arduino itself) is a way to send and receive text via serial (the serial monitor that comes with the Arduino IDE for example). There is also an easy way to add libraries for keyboards and LCD screens for example, to use those as input and/or output devices. You will be able to program on the Arduino itself over the serial connection, run those programs and even save them to the EEPROM!
MicrOS is still under development and far away from being finished. If you like this project, please consider giving it a star!
| Board | Compatibility | Reason |
|---|---|---|
| Nano | Not Compatible | Not enough dynamic memory |
| UNO | Not Compatible | Not enough dynamic memory |
| MEGA | Fully Compatible |
This list is not completed yet and may change at any time during the development process!
Remeber: MicrOS is not finished yet! You might get unexpected results.
- Install the Arduino IDE if you have not done this already.
- Download the latest (unstable) main commit - right click, 'Save link as...' and save as 'MicrOS.ino'.
- Open the downloaded 'MicrOS.ino' file in the Arduino IDE, select your board and the correct port in the 'Tools' section.
- Open the serial monitor in the 'Tools' section and set it to 'Newline' line-ending and 9600 bauds.
- Upload the sketch to your board.
- MicrOS should now be usable in the serial monitor window.

- After you have completed the initial setup and restarted your board, you will see the command line.

- You can find more information on how to use MicrOS below this.