- Clone the repo
git clone <URL>or download it as a zip archive - Follow Android Firebase configuration guide to configure an Android app in Pushwoosh
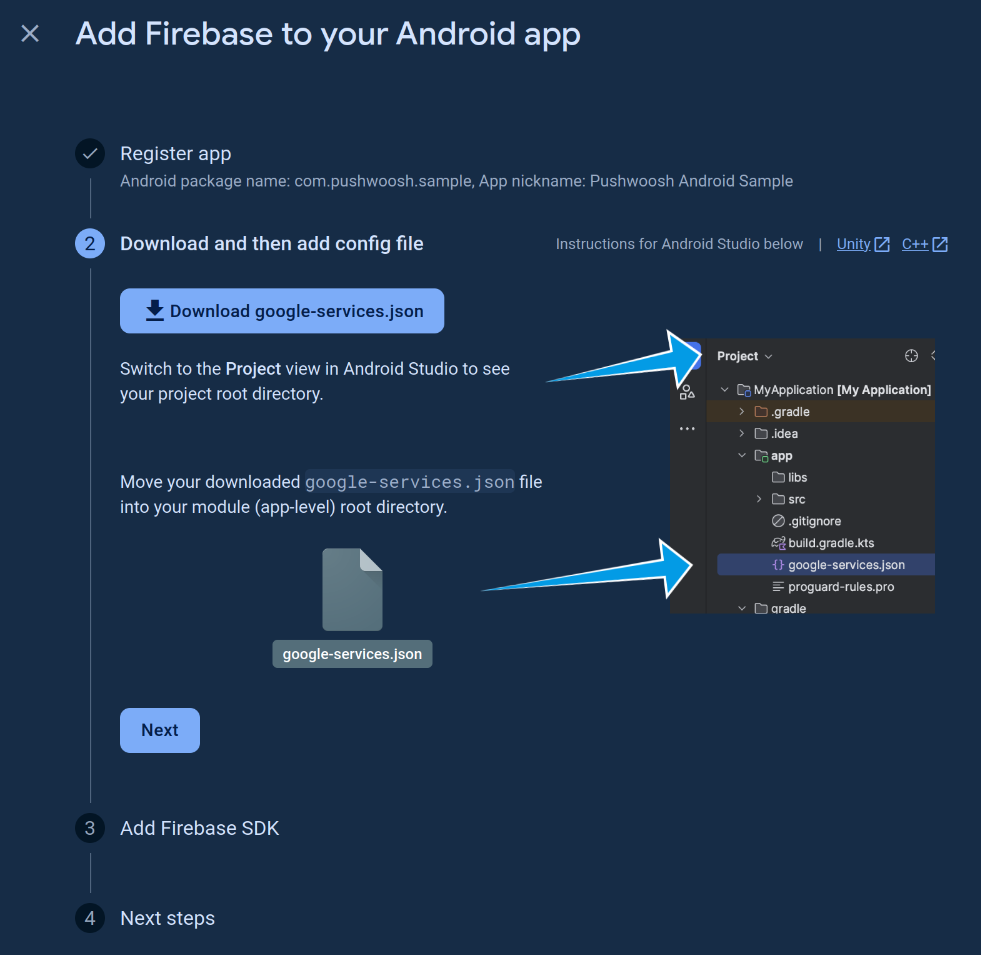
- Obtain a google-services.json file and your Sender ID from your Firebase project
- Place your google-services.json file to the app/ directory
- Change
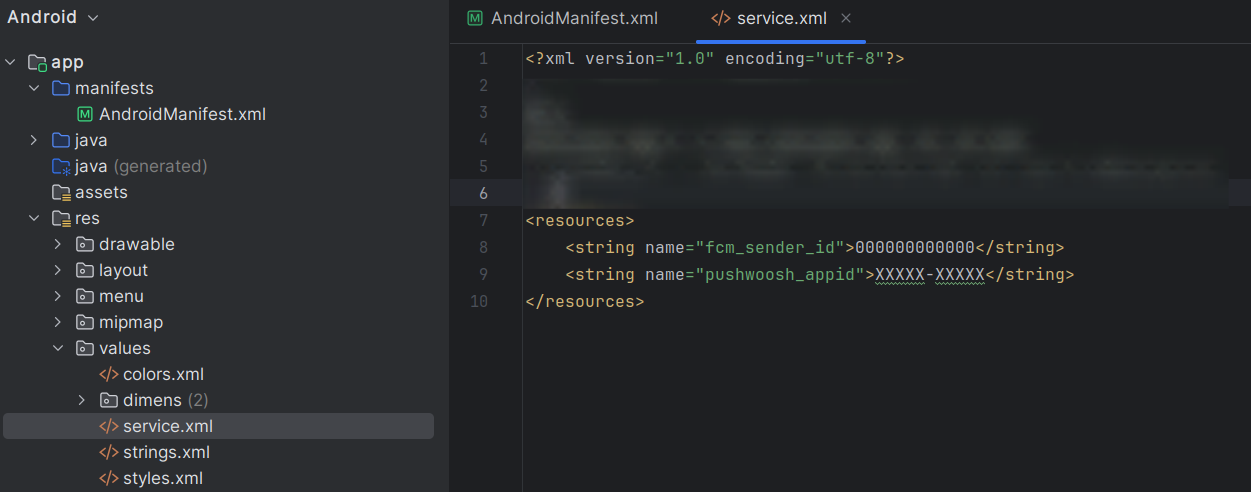
fcm_sender_idandpushwoosh_appidin the service.xml file (res/values/service.xml) with your IDs - Build the app
- Run it
Follow the steps below to get your Android application ready to receive pushes.
Watch this video where our dedicated Customer Success team will guide you through the onboarding process at Pushwoosh, from setting up projects to sending your first communications.
- A Pushwoosh account
- A configured Pushwoosh Application's Code available in Pushwoosh Control Panel in format XXXXX-XXXXX
- A Firebase project, its Sender ID, config file (google-services.json) and private key
- Android Studio
- An Android device or emulator with "Google Play Store (Services)" installed
1. Include the following Maven repository URL in project's build.gradle:
allprojects {
  repositories {
    google ()
    mavenCentral()
  }
}
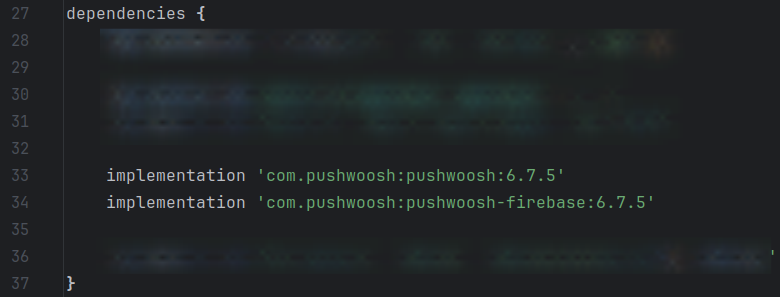
2. Add pushwoosh library dependencies into your application's build.gradle:
implementation 'com.pushwoosh:pushwoosh:6.+'
implementation 'com.pushwoosh:pushwoosh-firebase:6.+'
Replace "+" with the current version of Pushwoosh Android SDK and Android Support libraries.
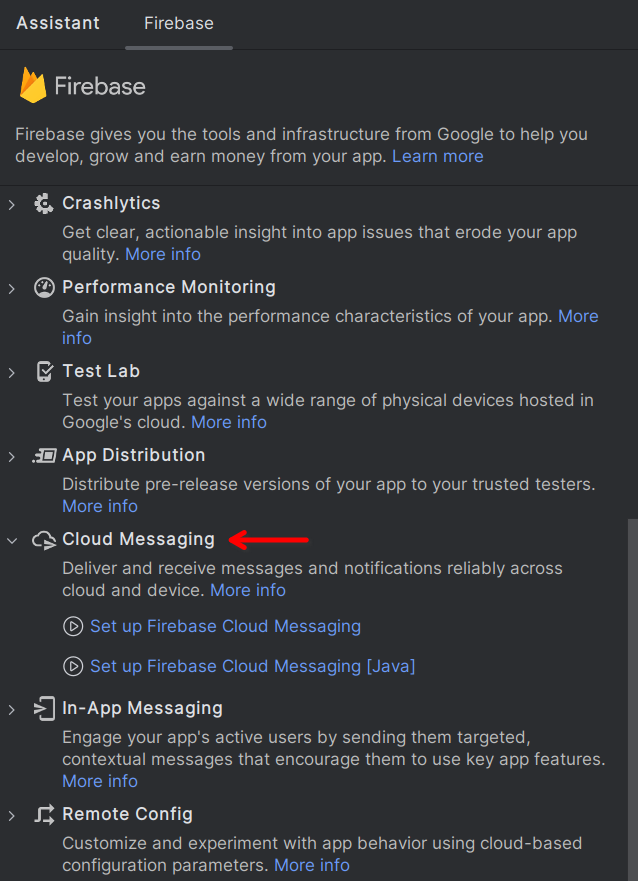
1. Open your project in Android Studio. Go to Tools → Firebase → Cloud Messaging and click "Set up Firebase Cloud Messaging":
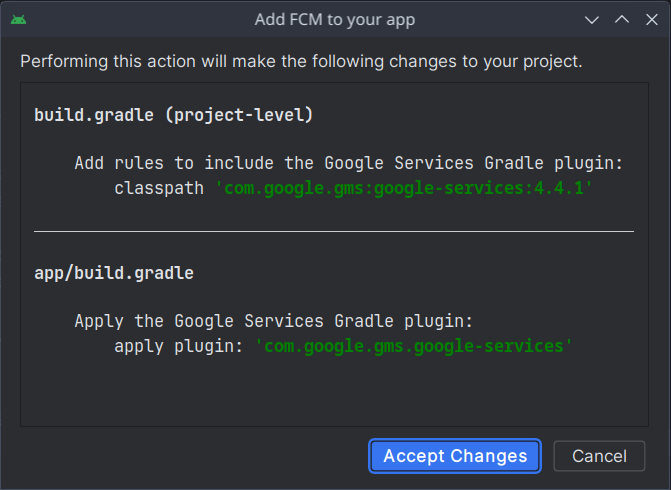
2. Connect your app with Firebase, grant Android Studio access to your Google account (if needed), and choose your Firebase project. Then add FCM to your application and accept changes:
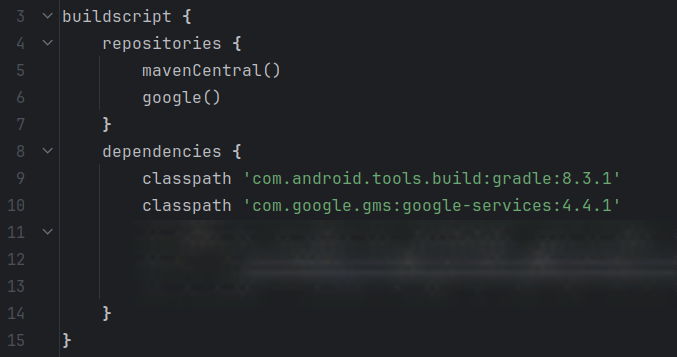
1. Add the google-services classpath into your project's build.gradle:
classpath 'com.google.gms:google-services:4.+'Replace "+" with the current version of Google Services
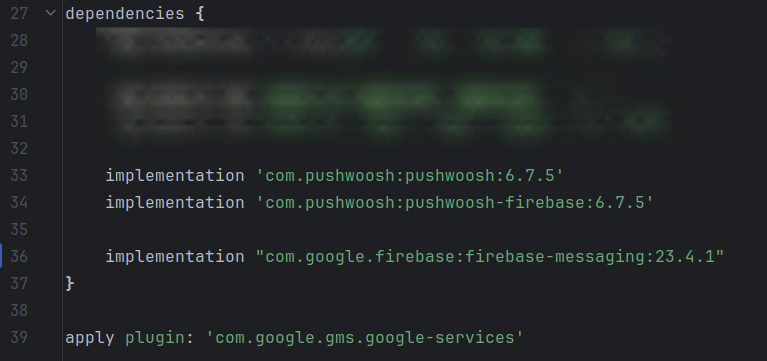
2. Add the firebase library dependency into your application's build.gradle. And apply the Google Services plugin:
dependencies {
    <...>

    implementation 'com.pushwoosh:pushwoosh:6.+'
    implementation 'com.pushwoosh:pushwoosh-firebase:6.+'

    implementation "com.google.firebase:firebase-messaging:23.+"
}

apply plugin: 'com.google.gms.google-services'
Replace "+" with the current version of Firebase Messaging library.
Obtain your google-services.json file from your Firebase project and place it to the app/ directory.
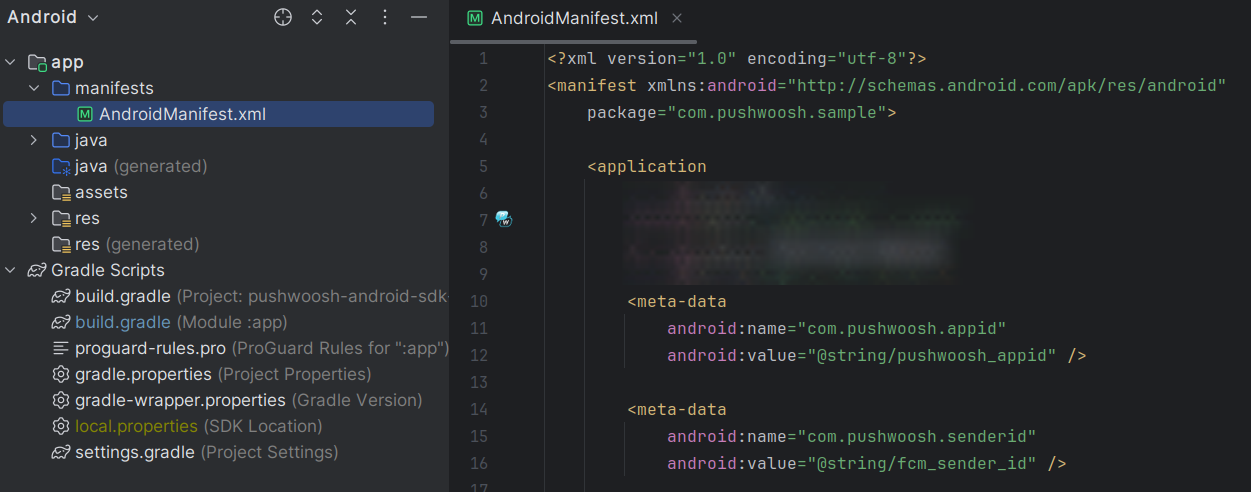
1. Add the following metadata to AndroidManifest.xml:
<meta-data
	android:name="com.pushwoosh.appid"
	android:value="@string/pushwoosh_appid" />

<meta-data
	android:name="com.pushwoosh.senderid"
	android:value="@string/fcm_sender_id" />
Where:
com.pushwoosh.appidis your Pushwoosh Application Codecom.pushwoosh.senderidis the Sender ID you received from Firebase Console
Note that you must add <meta-data /> inside the <application> tag.
2. Next, specify these values to the strings.xml file (res/values/strings.xml) or move them to the separate service.xml file, as in the example.
<resources>
	<string name="pushwoosh_appid">XXXXX-XXXXX</string>
	<string name="fcm_sender_id">000000000000</string>
</resources>Finally, register to receive push notifications.
Add the code below where you want to subscribe the user to notifications.
Pushwoosh.getInstance().registerForPushNotifications()