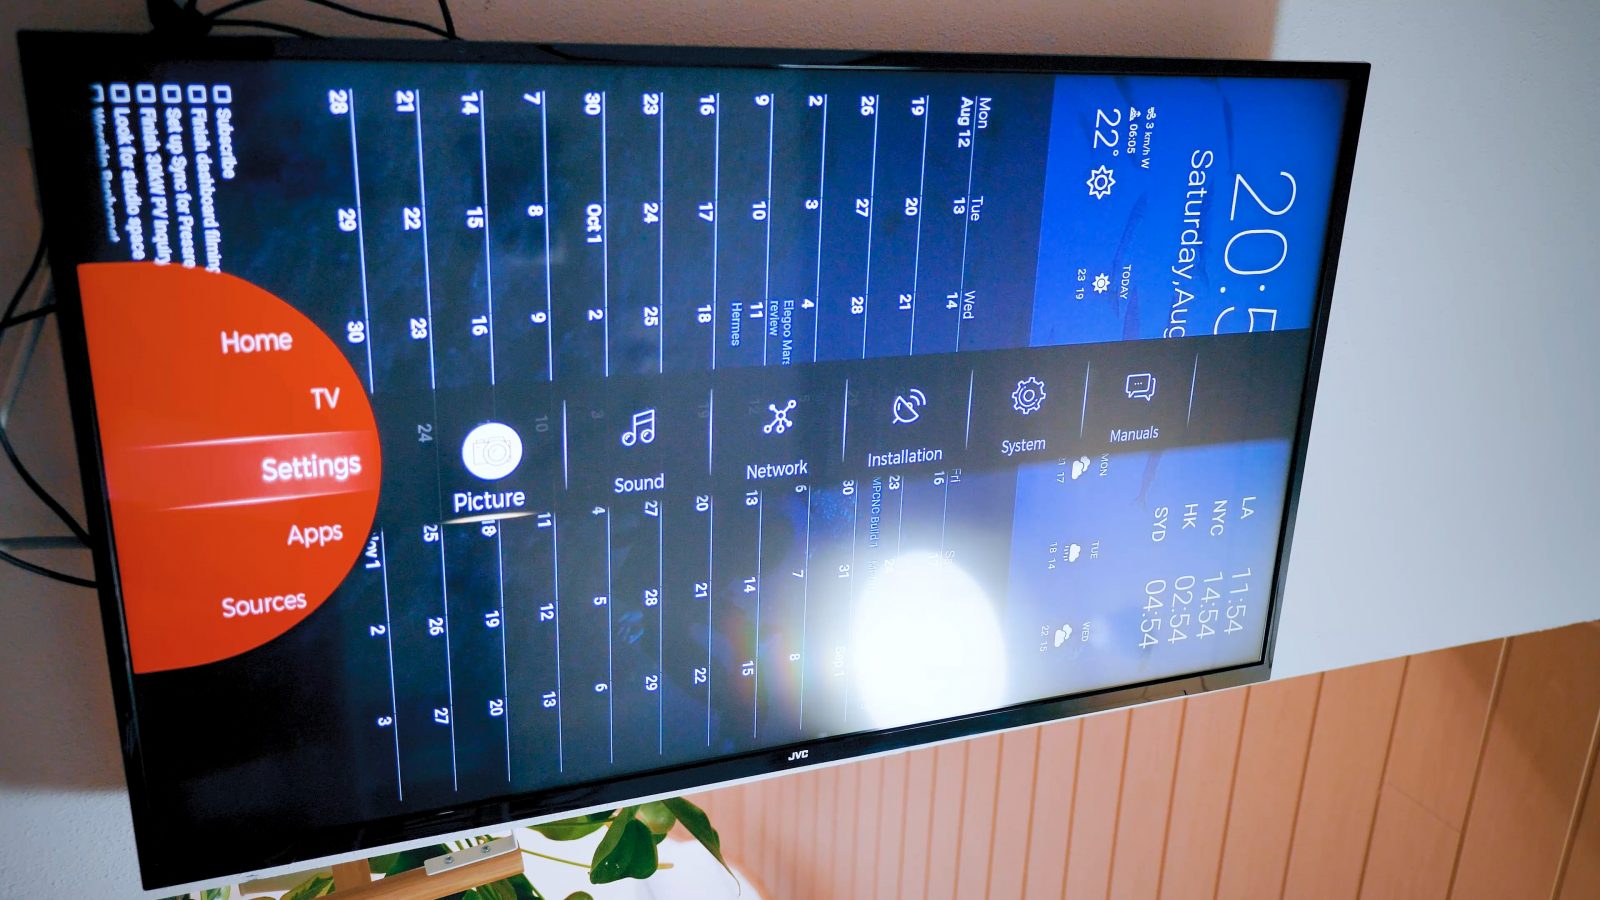
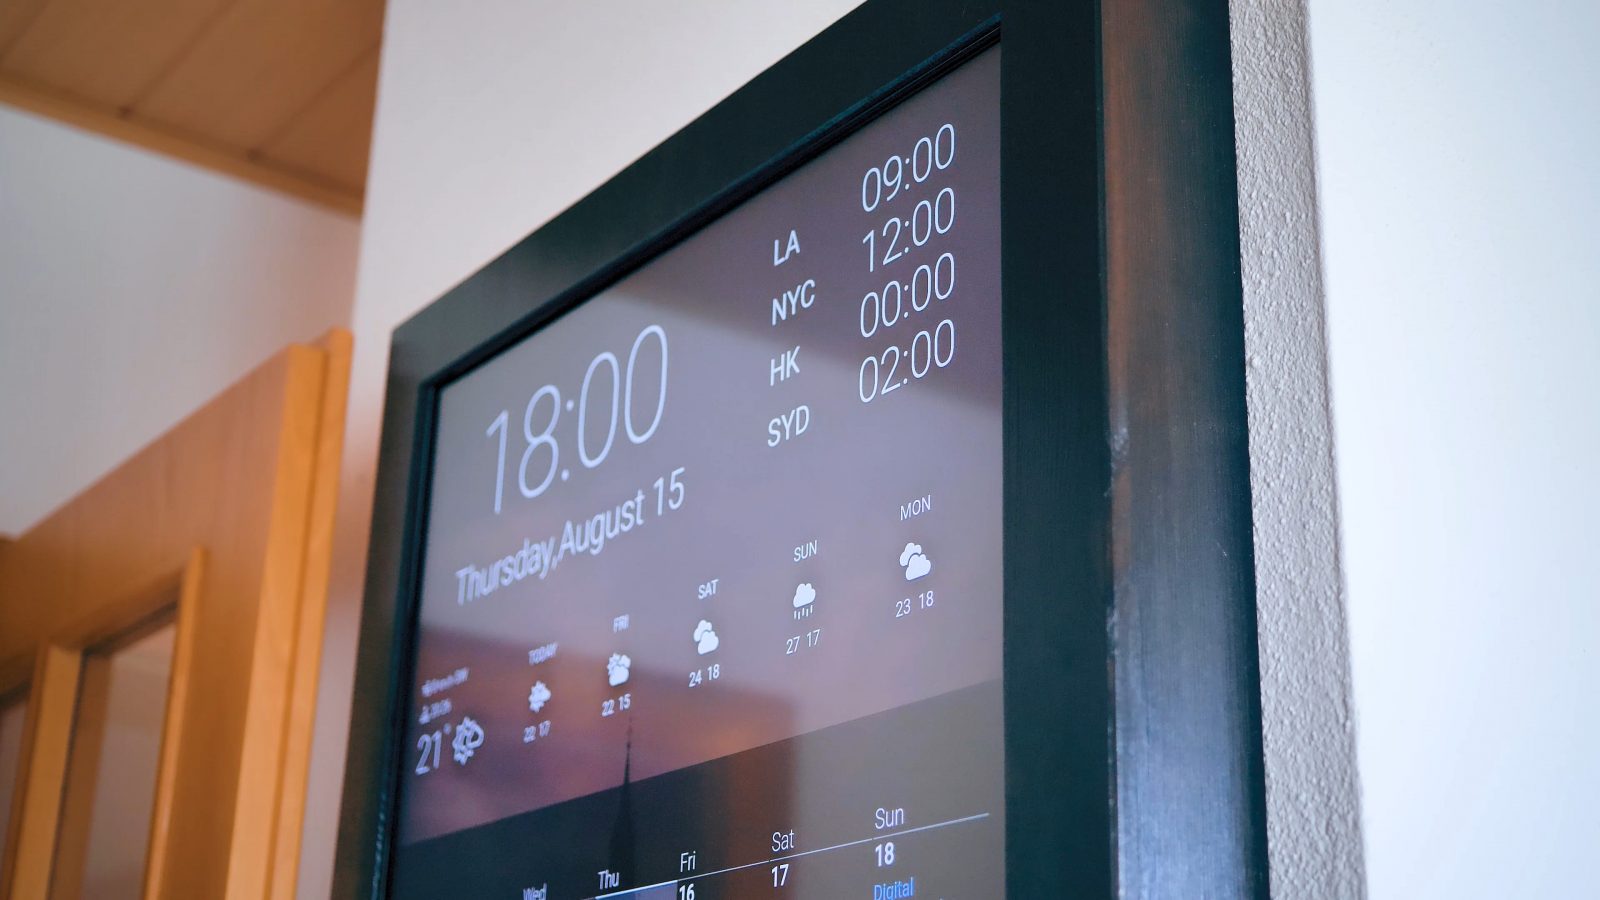
A smart mirror, also known as a magic mirror, displays the time, weather, calendar, news, and social media updates. The magic is created by placing a transparent mirror over a screen such as a tablet, monitor, or TV. The technology is driven by a Raspberry Pi or combined Windows PC, with voice recognition and touch technology.
Material Required to make this smart mirror is given below .The budget stated below is the maximum budget with the best qualities of product we have counted in ; you can also minimize the budget by taking any other alternative product insted of this , or if you want to purchase this one , i have embedded down the links in the list itself.
| Components-Required | Cost |
|---|---|
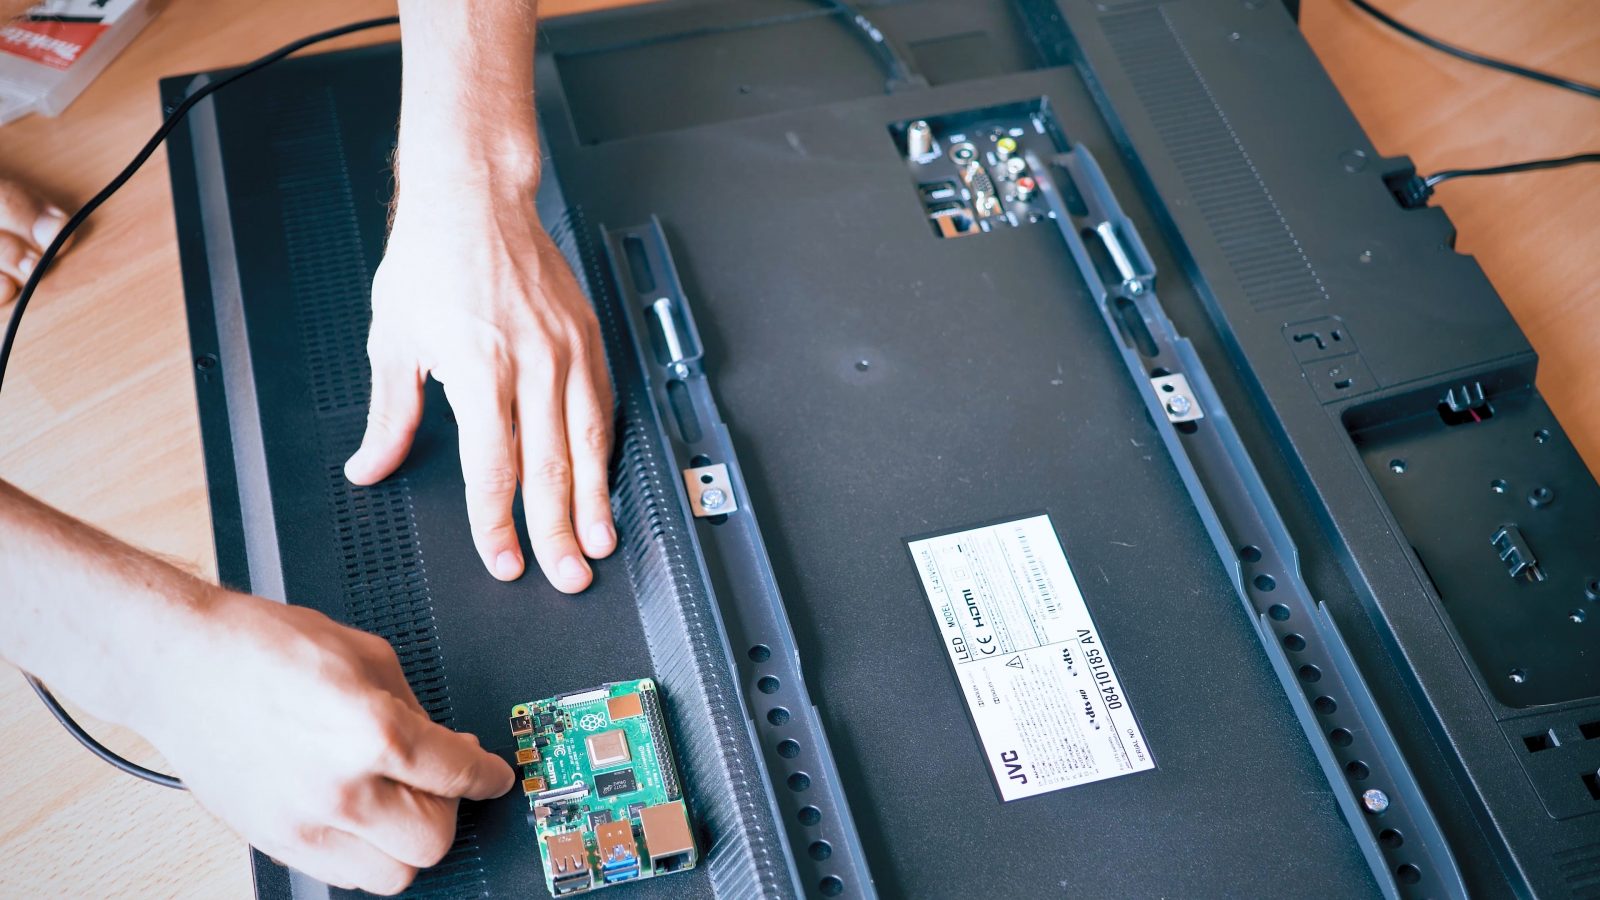
| Raspberry pi 4 module | 5000/-. |
| Pi 4 case | 250/-. |
| Pi 4 adapter | 750/- |
| LED monitor | 10000/-. |
| Two-way mirror | 1000/-. |
| SD card (32 GB) | 400/-. |
| HDMI cable | 200/-. |
| Speaker | 500/-. |
| Microphone | 200/-. |
| LED lights | 400/-. |
| Total Components-Cost | 20,200/- |
We need to install few software’s and module to obtain the desired result facilities we need as our output in the smart mirror.
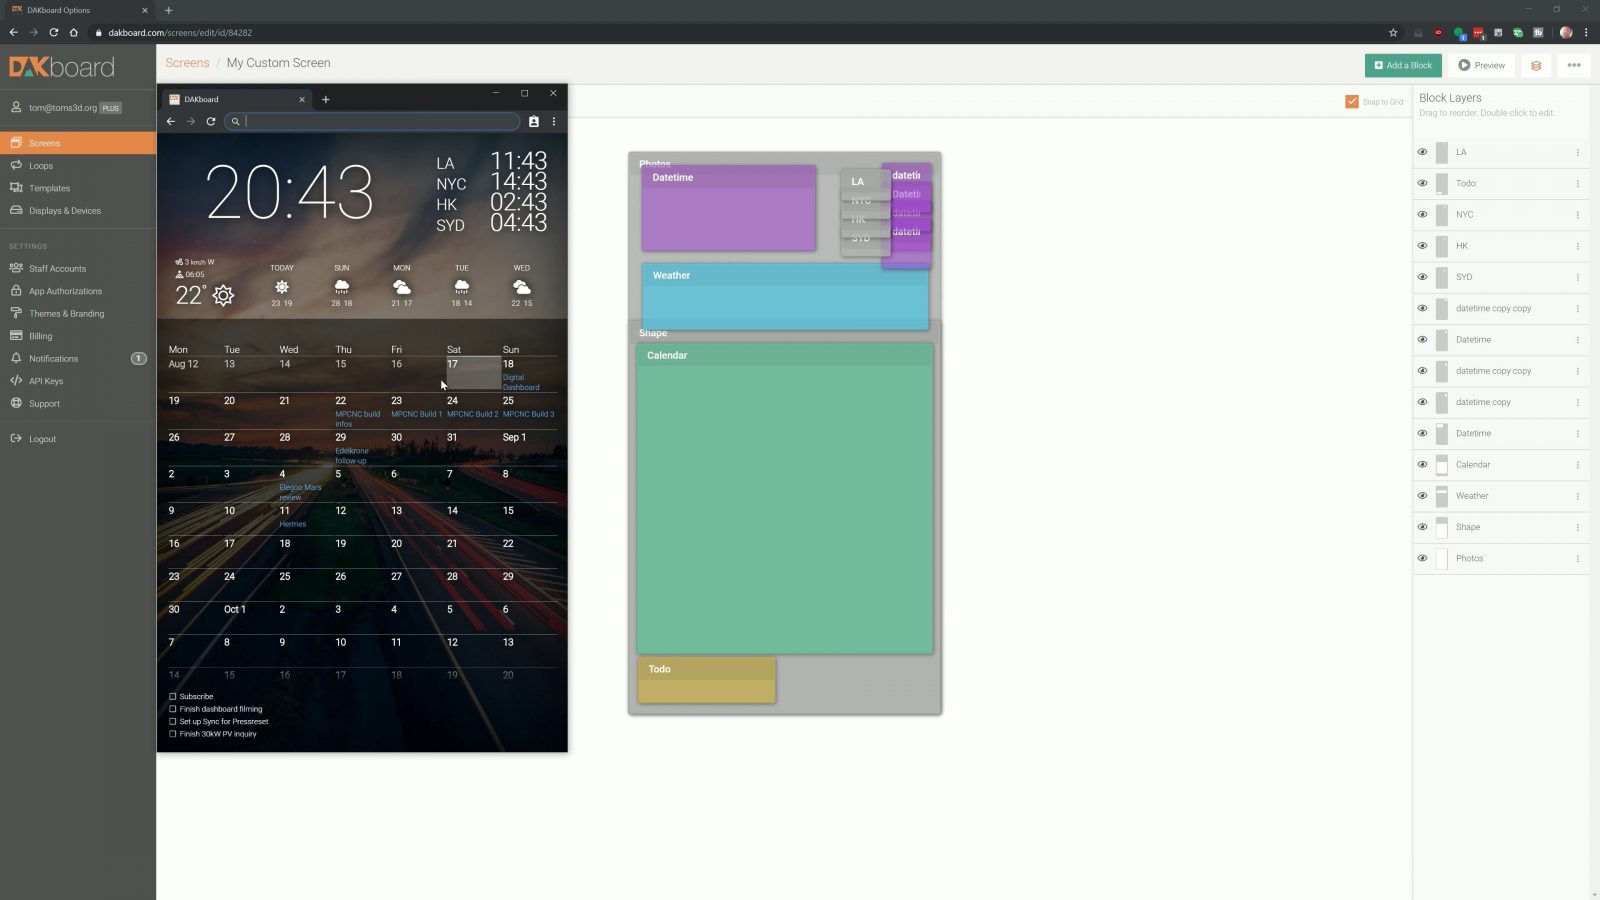
So for the software that’s driving all this. There are two, maybe three ready-to-go solutions for this. The first one, and maybe the most obvious one, is MagicMirror². That’s a Raspberry-Pi-native software that’s made to sit behind a semi-transparent, mirrored piece of glass and shine its information through that mirror, creating that “mirror, mirror on the wall” illusion. MagicMirror² is free and open-source and has a ton of plugins and expansions. But. First, the interface is optimized to just be black and white, since it’s made to shine through a mirror, and getting anything to look nice without that mirror is going to take some effort. And, the more severe issue for me, the way you set up MagicMirror² is by editing JSON files over remote desktop or through an SSH terminal. I don’t have those sort of masochistic tendencies, so that didn’t particularly excite me. But I tried anyways, and after digging through the tons of different calendar plugins and finding the one that seems to be the go-to powerful option, I just gave up when I saw the 50-page-long documentation on how to write the JSON that would display a shared calendar. Like, this shouldn’t be so hard. For me, that’s not fun to set up, and changing anything in the future would mean re-learning the entire thing again.
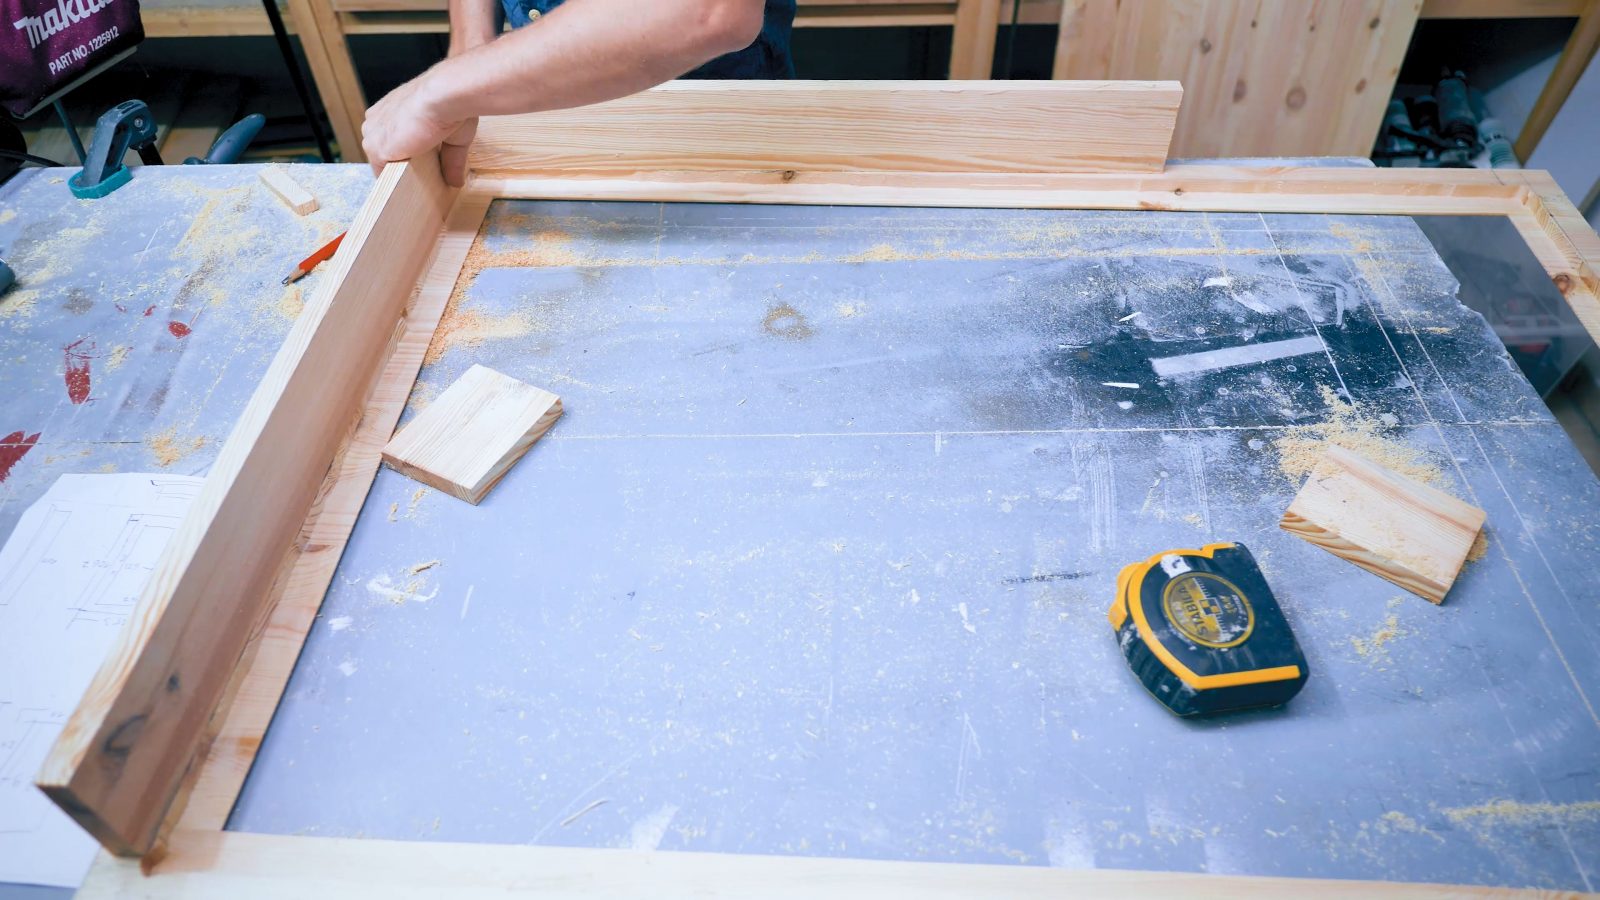
It also kind of explains that when MagPi, the official Raspberry Pi Magazine, covered MagicMirror², they spent five pages explaining how to build the build the wooden frame, and only one page on software. It would probably scare a lot of people away if they covered it more realistically – which is the other way around. One page on the frame, five pages on how to edit JSON files.
Install Raspberry Pi OS
Install Magic Mirror
install modules
Magic Mirror Auto Start
Raspberry Pi auto restart

