Core Concepts • Overview • Features • Usage • Upcoming Features • Quality Control Plotting
Install
pip install cellforestInstall Accompanying R Package
git clone https://github.com/TheAustinator/cellforest.git
!R -e "library('devtools'); library('parallel'); install('~/code/cellforest/cellforestR', dependencies = TRUE, Ncpus = detectCores())"```
**Import**
```python
from cellforest import CellBranchFollowing the paradigm of tree of parameters, Cellforest implements automated generation of quality control (QC) plots after each process run. This means that a user can retroactively look up preliminary analyses, such as how the cells clustered, without having to run and re-run the pipeline on different parameters. Compared to ad hoc parameters picking (reactive) QC plots implementation pre-defines all plots on a wide range of parameters (proactive) which leads to drastic time savings for analyses requiring constant iteration of upstream parameters.
Here is a pick of plots commonly used for scRNA-Seq, already implemented in Cellforest. For a full list, check out All implemented plots.
| Plot definition and method | Description | Use case | Available and suggested plot_kwargs |
|---|---|---|---|
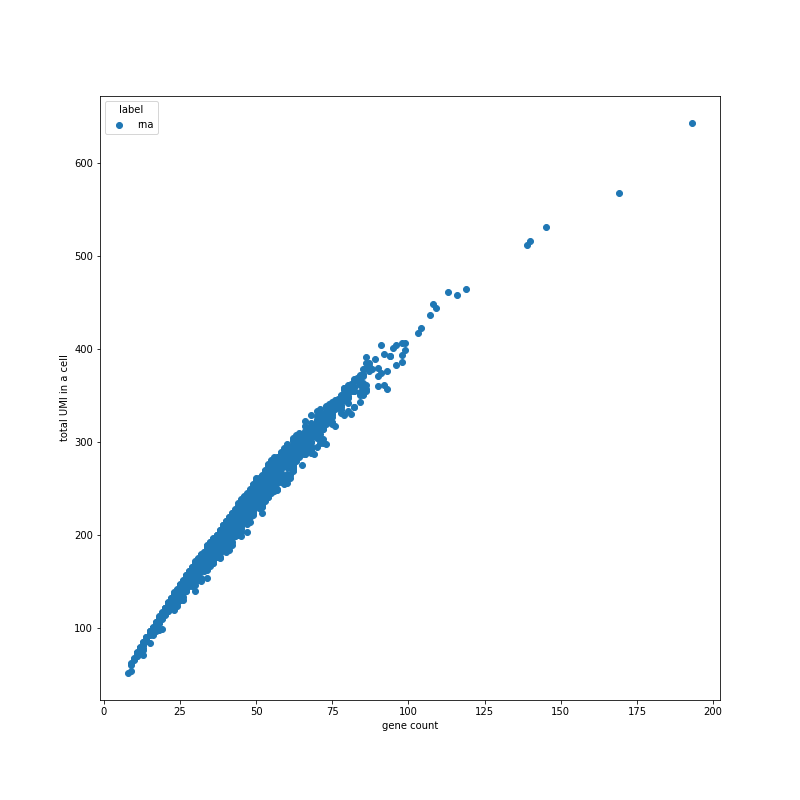
 Plot config name: _UMIS_VS_GENES_SCAT_Method (use at or after "normalize"): `plot_umis_vs_genes_scat() |
Scatter plot showing relationship between UMI and gene counts per cell. | Generally there should be a good correlation. Filter out damaged cells: based on low UMI, gene count and/or low UMI, moderate gene count (high mitochonrial genes percentage). | stratify:
- none
- sample_id
plot_size: [800, 800]
bins: 50
alpha: 0.4
All keyword arguments for pyplot.scatter() |
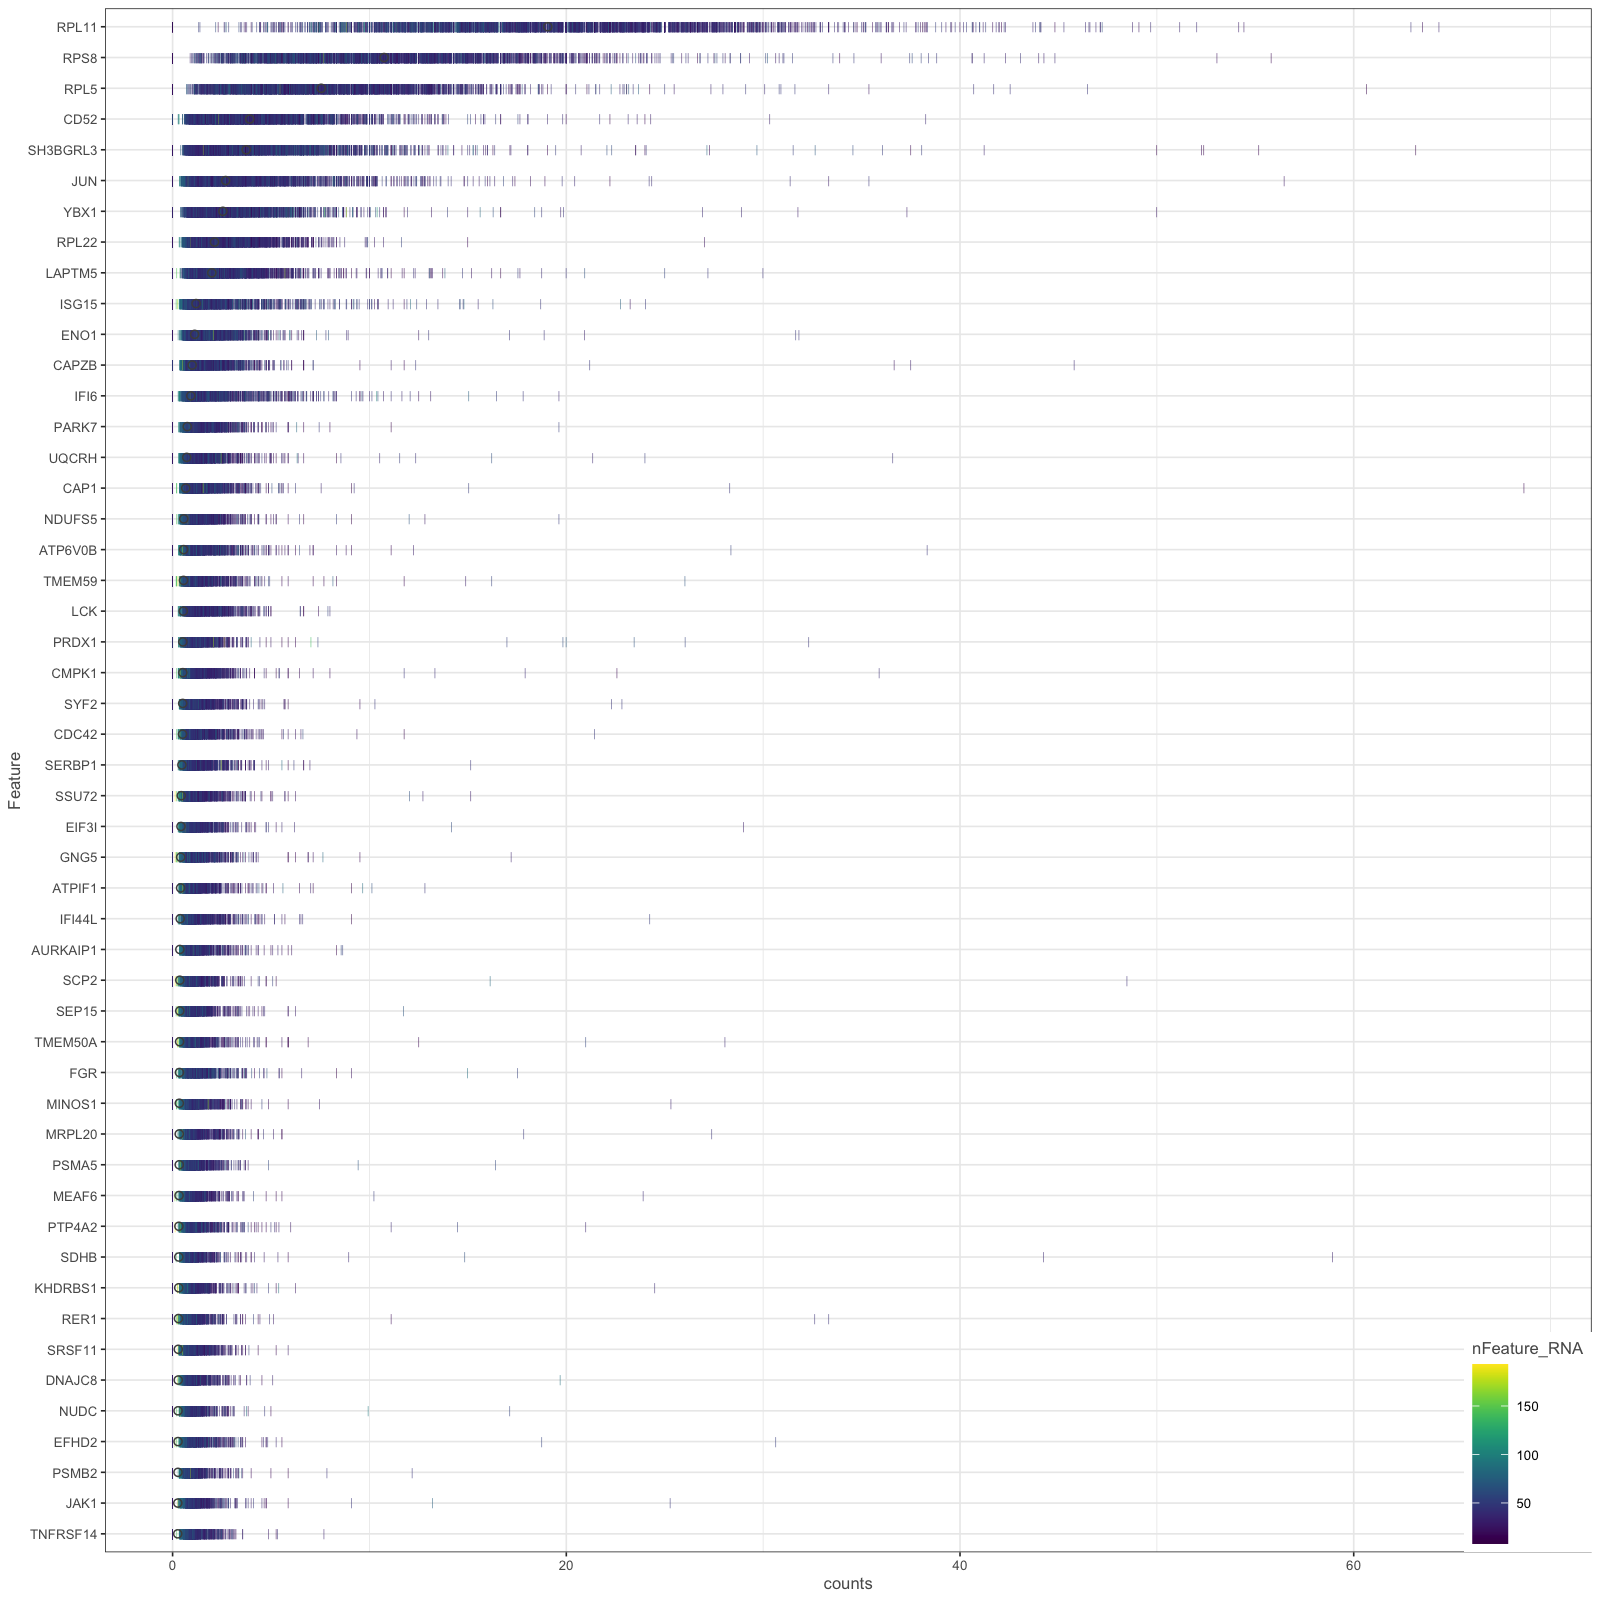
 Plot config name: _HIGHEST_EXPRS_DENS_Method (use at or after "normalize"): plot_highest_exprs_dens() |
Dense plots showing distribution of UMI counts per cell in 50 highest expressing genes. | Determine main expressing genes to ensure that cells are filtered correctly and there are not many dead cells (e.g., mito genes as top expression genes) influencing the analysis. | stratify:
- none
- sample_id
plot_size: [1600, 1600]
|
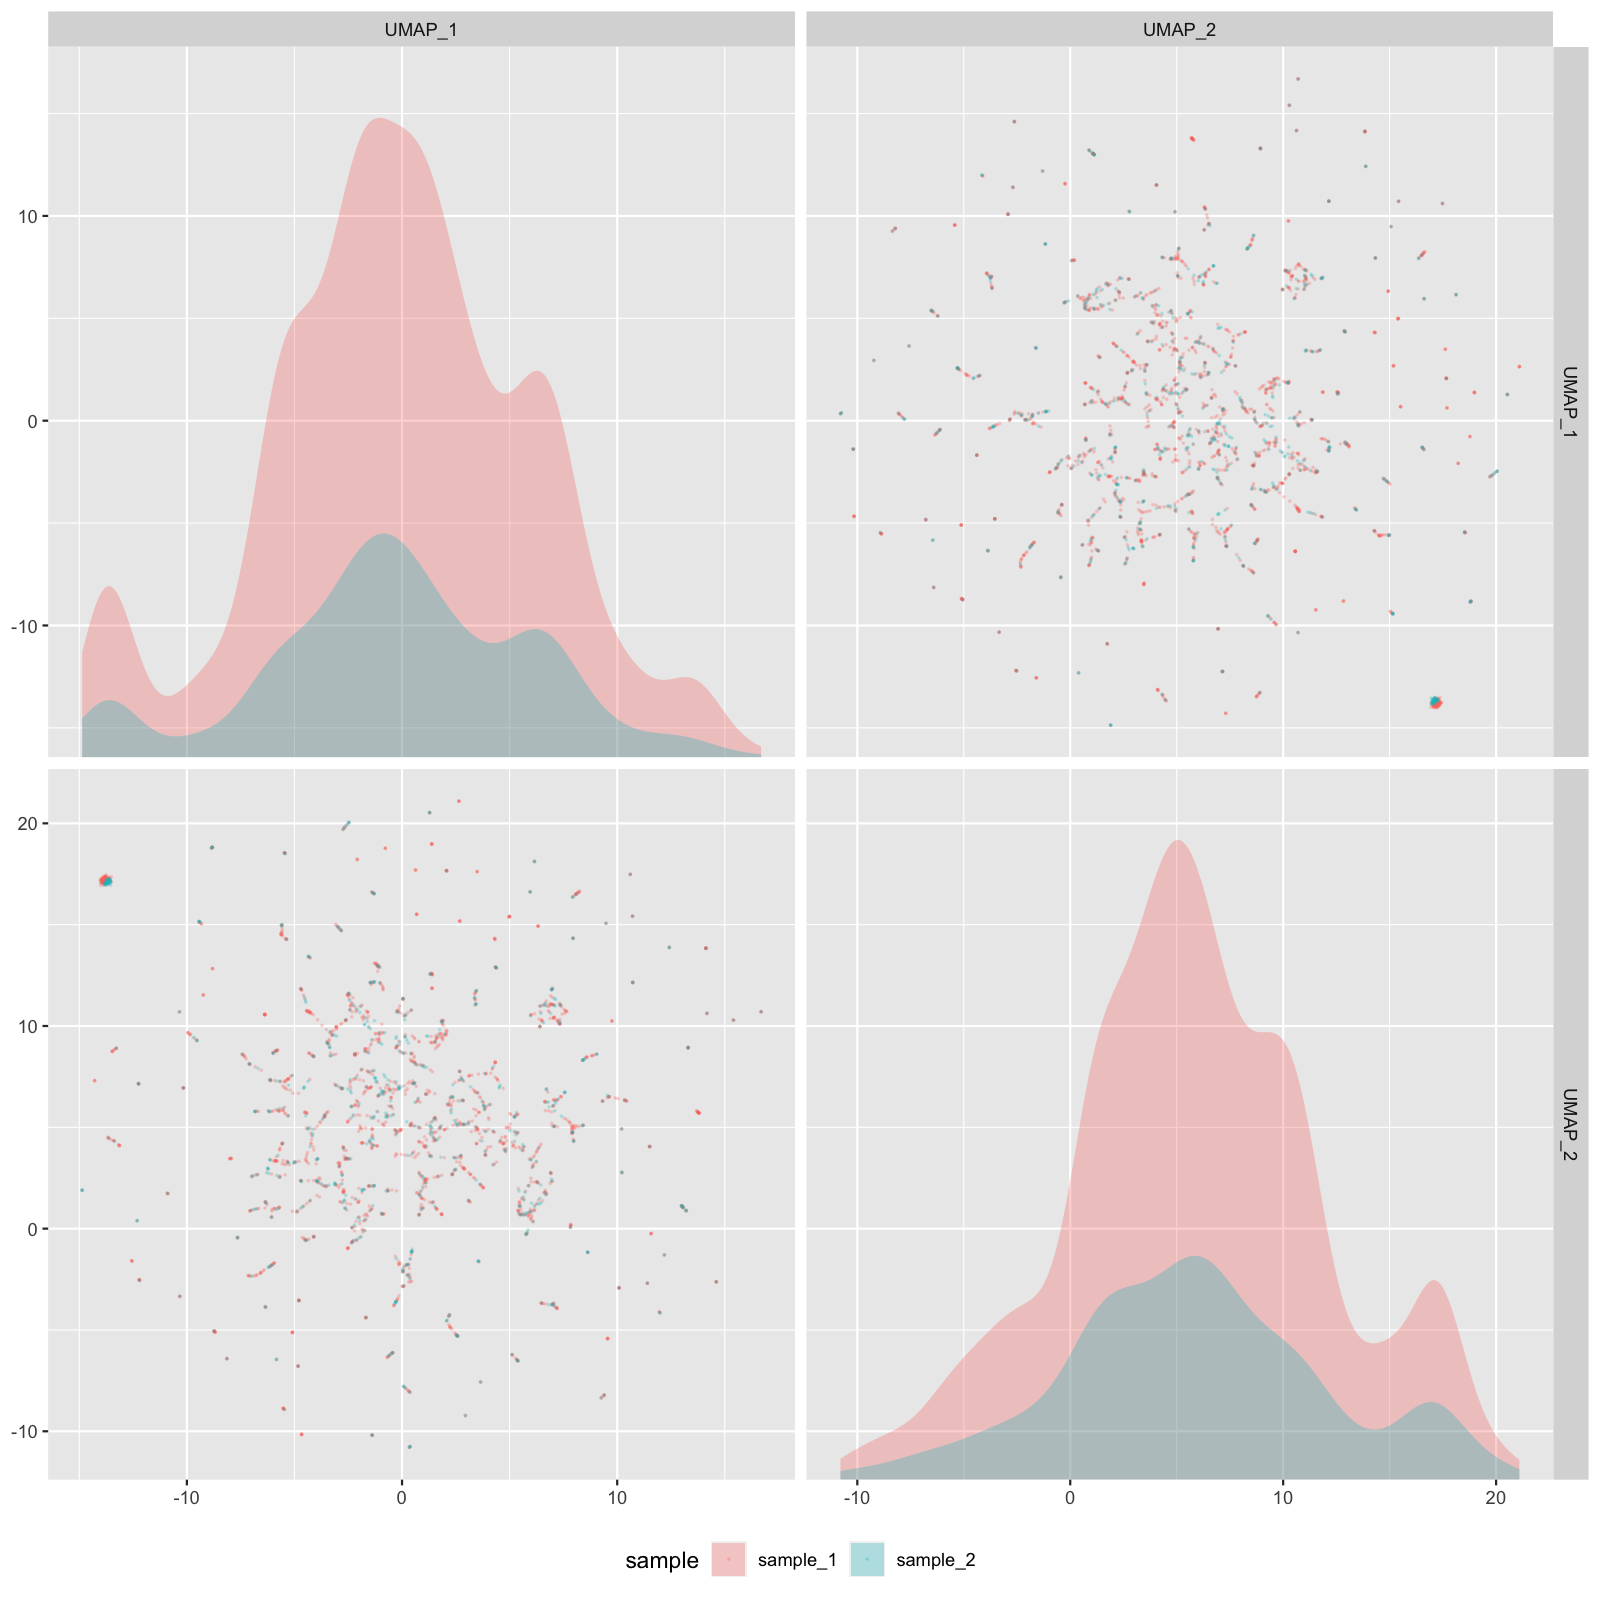
 Plot config name: _UMAP_EMBEDDINGS_SCAT_Method (use at or after "reduce"): plot_umap_embeddings_scat() |
Facet plot showing relationship between principal components in UMAP. | Examine sources of variance (donor-donor, lane-lane, timing, sample, etc.) and identify batch effects. | stratify:
- none
- sample_id
- nFeature_RNA
plot_size: [1600, 1600]
alpha: 0.4
npcs: 2
|
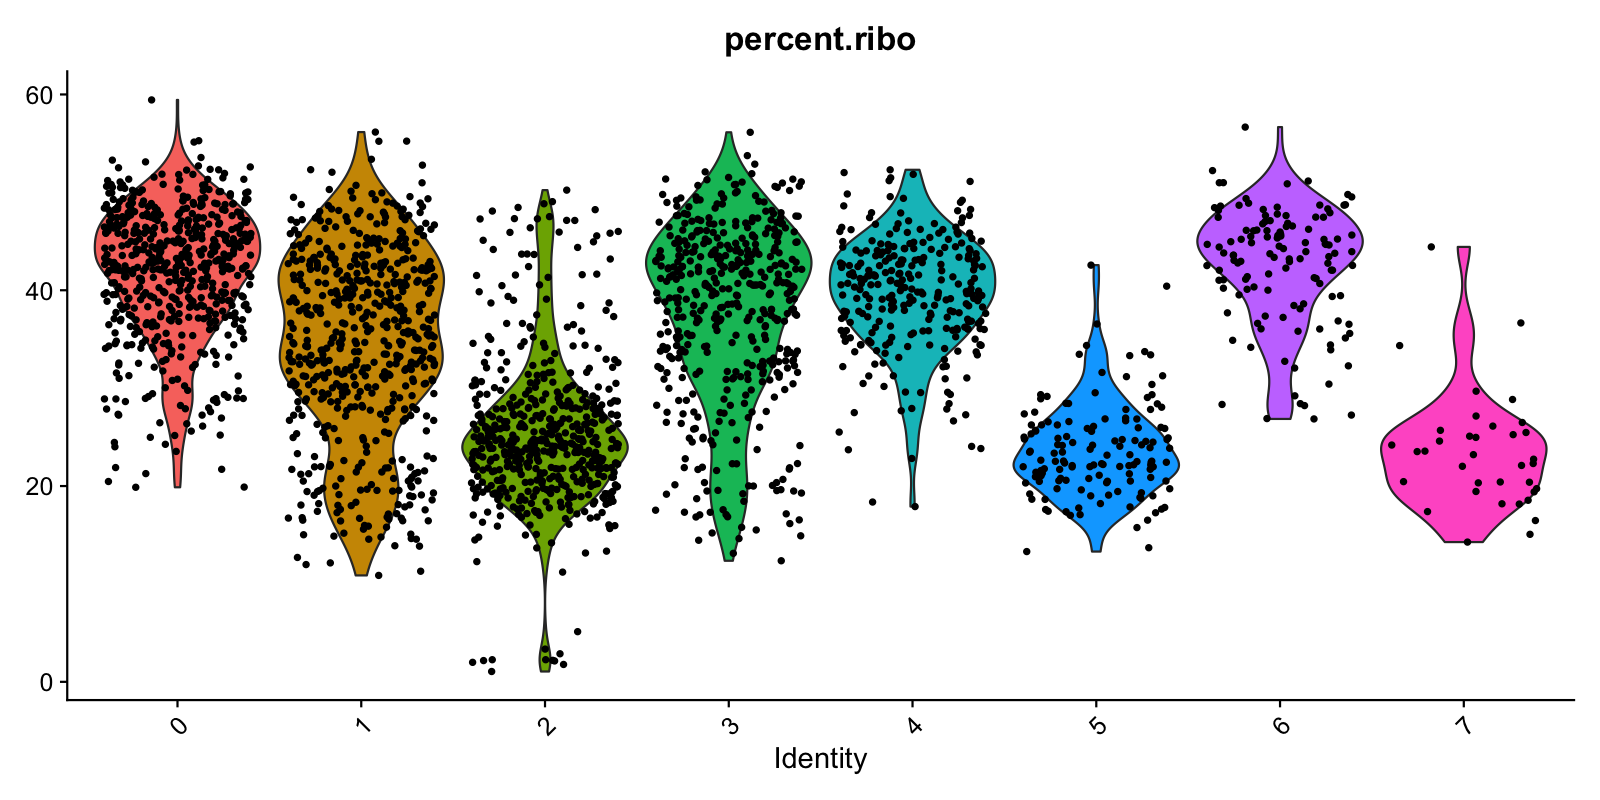
 Plot config name: _PERC_RIBO_PER_CELL_VLN_Method (use at or after "cluster") plot_perc_ribo_per_cell_vln() |
Violin plots showing distribution of ribosomal genes percentages per cell, stratified by cluster. | TODO-QC: FILL IN HERE. | stratify: cluster
plot_size: [1600, 800]
|
Plots declaration can done before the tree is run or after, with forcing generation of not-yet-created plots. Analogous to process run outputs, all plots are stored in _plots, inside the folders for corresponding process outputs. Now, we shall look at an example configuration for QC plotting:
plot_map:
  root:
    _UMIS_PER_BARCODE_RANK_CURV_: ~
  normalize:
    _GENES_PER_CELL_HIST_:
      plot_kwargs:
        stratify:
          - sample_id
          - none
plot_size: [800, 800]- This piece shall be located in
default_config.yamlalong with process specifications. 2nd level keys (root,normalize) indicate definition of plots at the corresponding process alias/name - Plot names are in the format of
_<PLOT_NAME>_<PLOT_TYPE>_, for the full list of available plot names, refer to All umplemented plots. - For each plot we can specify parameters. For example,
stratifygroups the cells by a specified column in the metadata. In this case, there will be two plots created: first stratified bysample_idID with generated plot size of 800x800 pixels and second plot on all data (no stratification) with size 800x800 pixels. - As soon as you initialize a branch (
branch = cellforest.from_sample_metadata(root_dir, meta, branch_spec=branch_spec)) or run a process (e.g.,branch.process.normalize()), specified plots will be generated immediately after process finishes running. - For advanced plotting specifications, refer to Parametrizing QC plotting
errors with cellforestR or with processes which contain R
- Possible indicators -- mention of miniconda in error message
- Solution -- ensure global environment variable
RETICULATE_PYTHONis set to your python path (e.g./usr/bin/python3)- In R, can set via
Sys.setenv(RETICULATE_PYTHON = "/usr/bin/python3")
system("echo $RETICULATE_PYTHON")
library(reticulate)
- In shell, can be set via
export RETICULATE_PYTHON=/usr/bin/python3(may require RStudio restart if using)
- In R, can set via


