ansible-confluence
An ansible playbook for installing and configuring confluence
Example run: ansible-playbook confluence.yml --ask-vault-pass
Assumptions
This playbook is tested on a fresh Ubuntu 16.04 sever install.
Defaults:
- username: ubuntu
- package_mgnt apt
- hostsfile: hosts
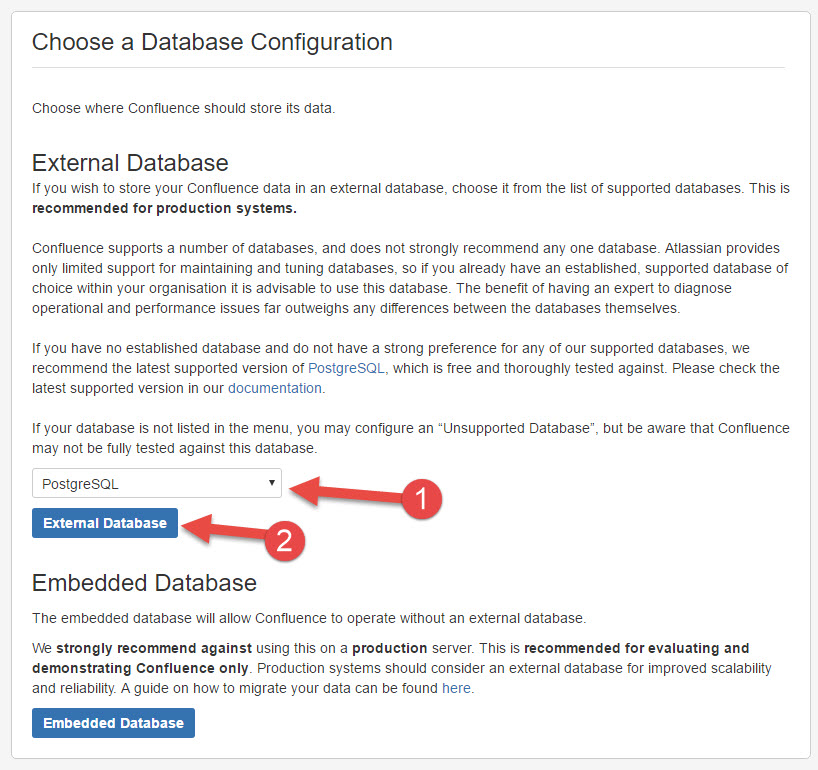
- database: postgres
Files you need to look at and most likely edit
hosts- check the IP address matches your desinationconfluence.yml- update the binary file name
- update the URL to where the above file is found
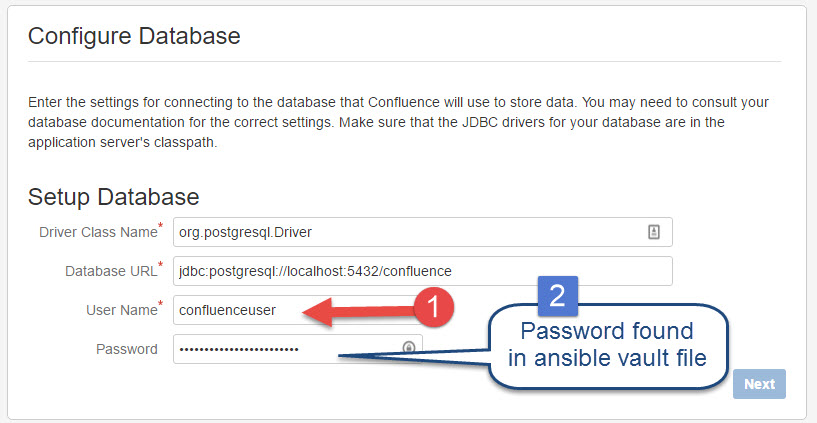
- Ansible Vault is needed to unlock and use the postgress password.
Actions
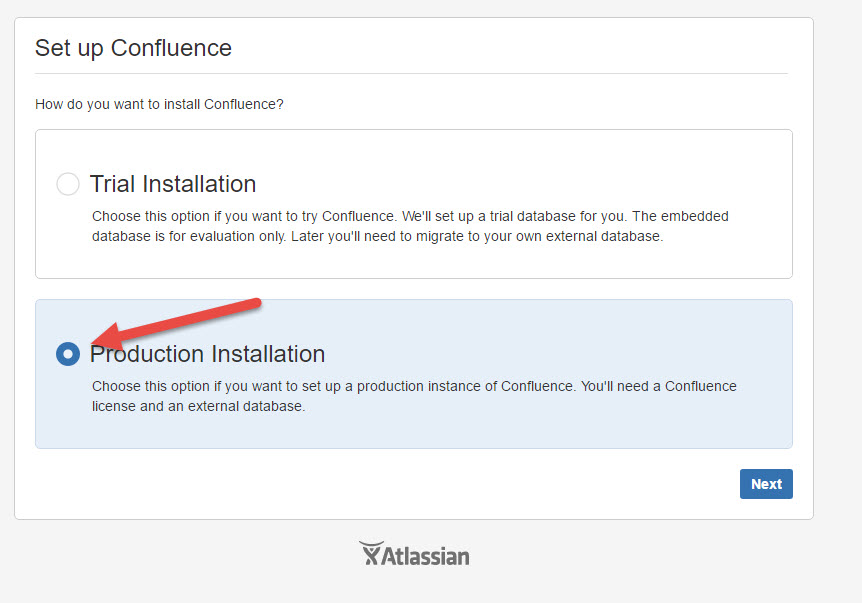
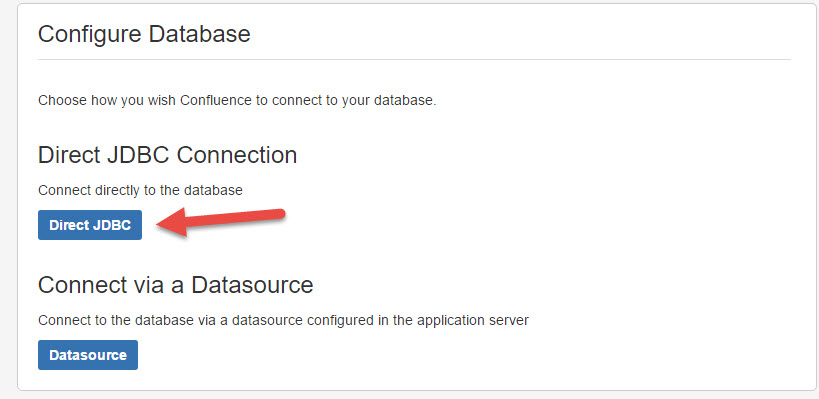
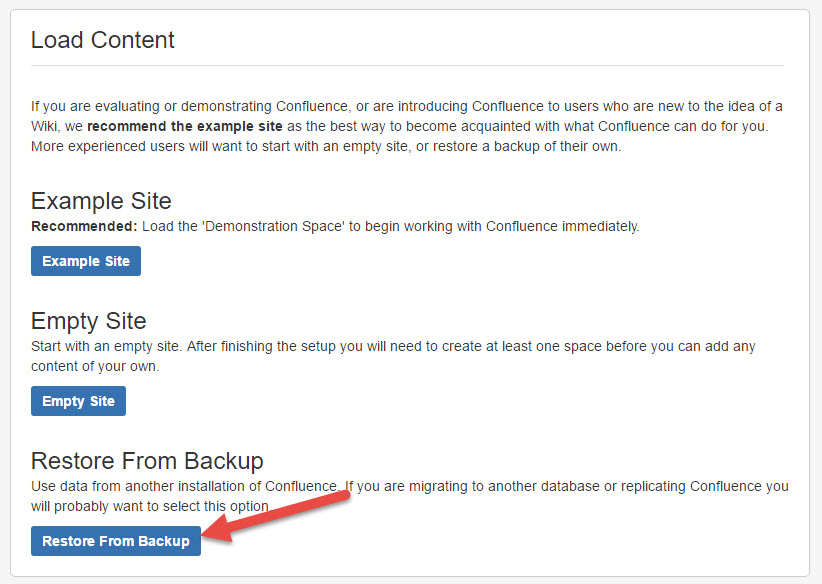
This playbook installs confluence. The process is not fully automated. You will need to do the following things:
- Grab a backup of the current confluence system (See the five (5) backup steps below)
- Set up a server, installing ubuntu 16.04, then run this playbook.
- Browse the server
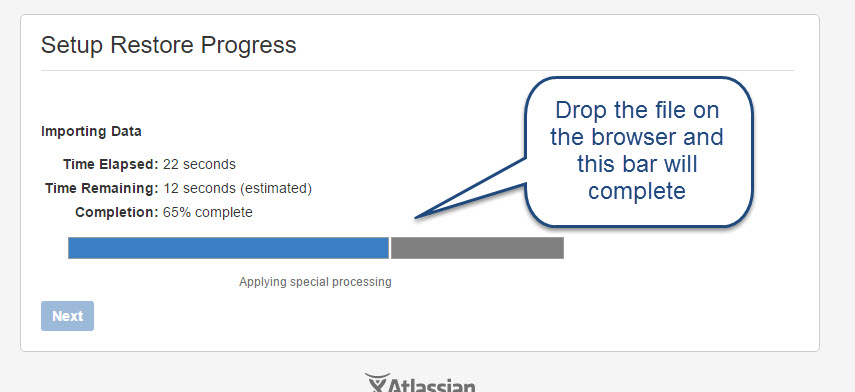
http://<ip_address:8090and perform the post install steps below - ssh into the confluence server and do these steps:
-
This playbook installs confluence in /opt/atlassian/, so start confluence like this:
sudo ./opt/atlassian/confluence/bin/start-confluence.sh -
Set the path, in our case we want to use "/wiki" Example: https://alta3.com/wiki
sudo vim /opt/atlassian/confluence/conf/server.xmland editcontext path=to be"/wiki":`<context path="/wiki" docBase="../confluence" debug="0" reloadable'"false" useHttpOnly="true">` -
edit the
confluence.cfg.xmlfilesudo vim /var/atlassian/application-data/confluence/confluence.cfg.xmland Look for this line and add/wikias follows:`<property name="confluence.webapp.context.path">/wiki</property>` -
sudo suto becomre root -
crontab -eand select vim, to create a cron job as root -
Add this line of code to the crontab:
@reboot ./opt/atlassian/confluence/bin/start-confluence.sh
-
TODO
Things we'd like to add
- add backup management to the cron
Backup process from old server
Backup step 1
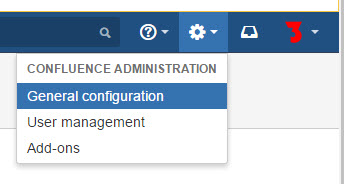
Log into confluence as admin and click here
Backup step 2
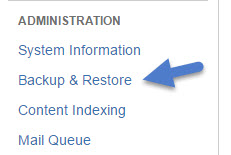
Scroll down to near the bottom of the screen, and on the left nav bar, click Backup & Restore
Backup step 3
Make sure "Back up attachments is checked and click the Back Up button

Backup step 4
In about 10 to 15 seconds, you will be told where you backup is waiting for you.
Before you ask, NO, it does not download to your browser! That would be way to easy.

Backup step 5
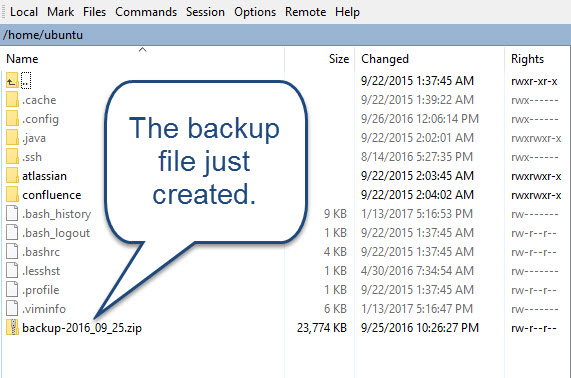
SCP into the server and grab a copy of that file. Here is a screen shot of the deed being done with winSCP.
