A Keras / Tensorflow implementation of Stable Diffusion, intended for Apple Metal on Intel Macs. This implementation will utilize GPU's on Intel Macs.
The weights were ported from the original implementation of Stable Diffusion.
These installation instructions are geared towards use on an Intel Mac.
This program is best utilized within a python virtual environment, making it independent of the python already installed on MacOS.
- Terminal
- Homebrew
- Pyenv
- Python
- Git
Terminal will be used for all of the following commands:
Homebrew is a fundamental tool for Mac and is required for this installion process.
/bin/bash -c "$(curl -fsSL https://raw.githubusercontent.com/Homebrew/install/HEAD/install.sh)"pyenv allows you to install Python independently from the Mac's base installation.
brew install pyenvIf pyenv is already installed, then Homebrew will update pyenv
pyenv install 3.9.0Set the global python that the Mac will use to the newly installed, via pyenv, python.
pyenv global 3.9.0This step will override which version and the location of python the Mac will use, allowing for easier updating and control.
git allows you to download this repository (repo)
brew install gitIf git is already installed, then Homebrew will update git
Navigate to a folder/directory you want to create your virtual environment in. For example: /Users/MacUser
Download the repo, either by downloading the zip file or by cloning the repo with git:
git clone https://github.com/soten355/stable-diffusion-tensorflow-IntelMetal.gitFirst, navigate to the root folder in the github repo that was just installed. For example:
cd /Users/MacUser/stable-diffusion-tensorflow-IntelMetal/-
Create your virtual environment for
python:python -m venv venv
-
Activate your virtual environment:
source venv/bin/activate -
Install dependencies using the
requirements.txtfile:pip install -r requirements.txt
-
When finished using Stable Diffusion, deactivate the virtual environment:
deactivate
This program is run through the dream.py script, which is a Gradio Web User Interface. With Terminal run this command:
python dream.pyThe web UI will automatically load into your default browser.
When you and your computer are finished creating, return to terminal and press Control C to end the Gradio web server. Alternatively, you can also quit Terminal entirely.
By default, the Gradio WebUI will:
- Not create a public link
- Launch the webUI automatically in your default browser
The Gradio defaults can be overridden with command lines. For example:
python dream.py --shareThis will launch the webUI and will create a public link through Gradio. This is useful for Google Colab notebooks.
To finish the program, in Terminal type CTRL+C and the program will quit or quit Terminal entirely.
Stable Diffusion 2.0 (SD) uses two different models than SD 1.4 and 1.5. It's important to select the correct mode when creating with your model(s).
Under Advanced Settings, select your model. Then select Use Legacy Stable Diffusion if you are using any SD models made prior to the release of SD 2.0.
What changed between the two models were:
The Text Encoder model
- SD1.4/1.5 uses OpenAI's CLIP Encoder model
- SD2.x uses the OPENClip Encoder model
The Unet architecture
- The Unet is located inside the diffusion model, and what changed was the architecture of the Unet.
The following outputs have been generated using this implementation:
- Stable Diffusion 1.5: A epic and beautiful rococo werewolf drinking coffee, in a burning coffee shop. ultra-detailed. anime, pixiv, uhd 8k cryengine, octane render
- OpenJourney: mdjrny-v4 style, Cookie Monster as a king, portrait, renaissance style, Rembrandt, oil painting, chiaroscuro, highly detailed, textured, king
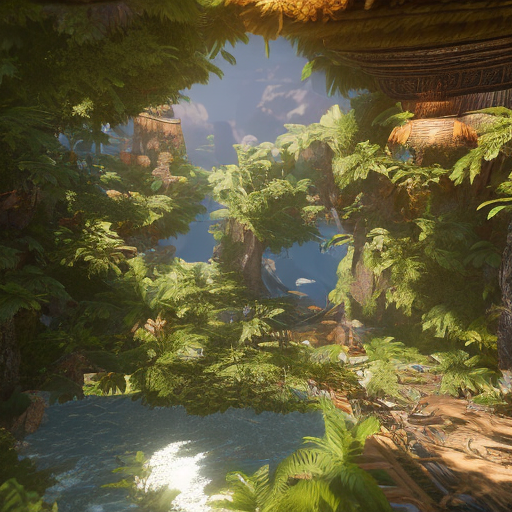
- Stable Diffusion 2.1: A vision of paradise, Unreal Engine
- OpenJourney: Video example:


