- Explain what the DOM is
- Explain how the DOM came to be
- Select DOM elements
In this lesson, we will discuss the difference between HTML and the Document Object Model. Now, we can see the HTML that constructs any website we visit. Let's learn how.
Note: We recommend that you use Google Chrome. (You can download chrome here). Chrome has many features that are developer friendly, and because of that it is one of the tools that many developers use.
-
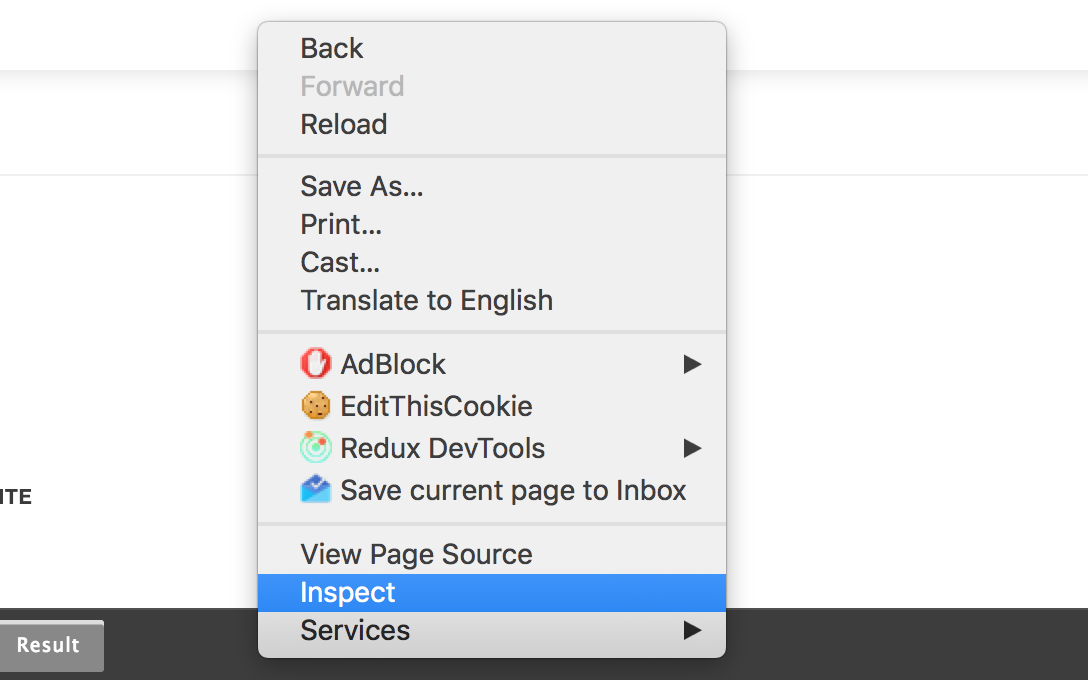
Right click and view source
Here's how you do it. Right click (or two finger click if you have a mac) on your browser. You should see a dropdown menu. Towards the bottom, you will see an option to 'view page source'. Click on that.
If you examine the newly opened tab, you will see the HTML used to construct the page you were viewing.
It will look something like this:
The browser interprets this, along with the styles and Javascript to construct the appearances in the browser.
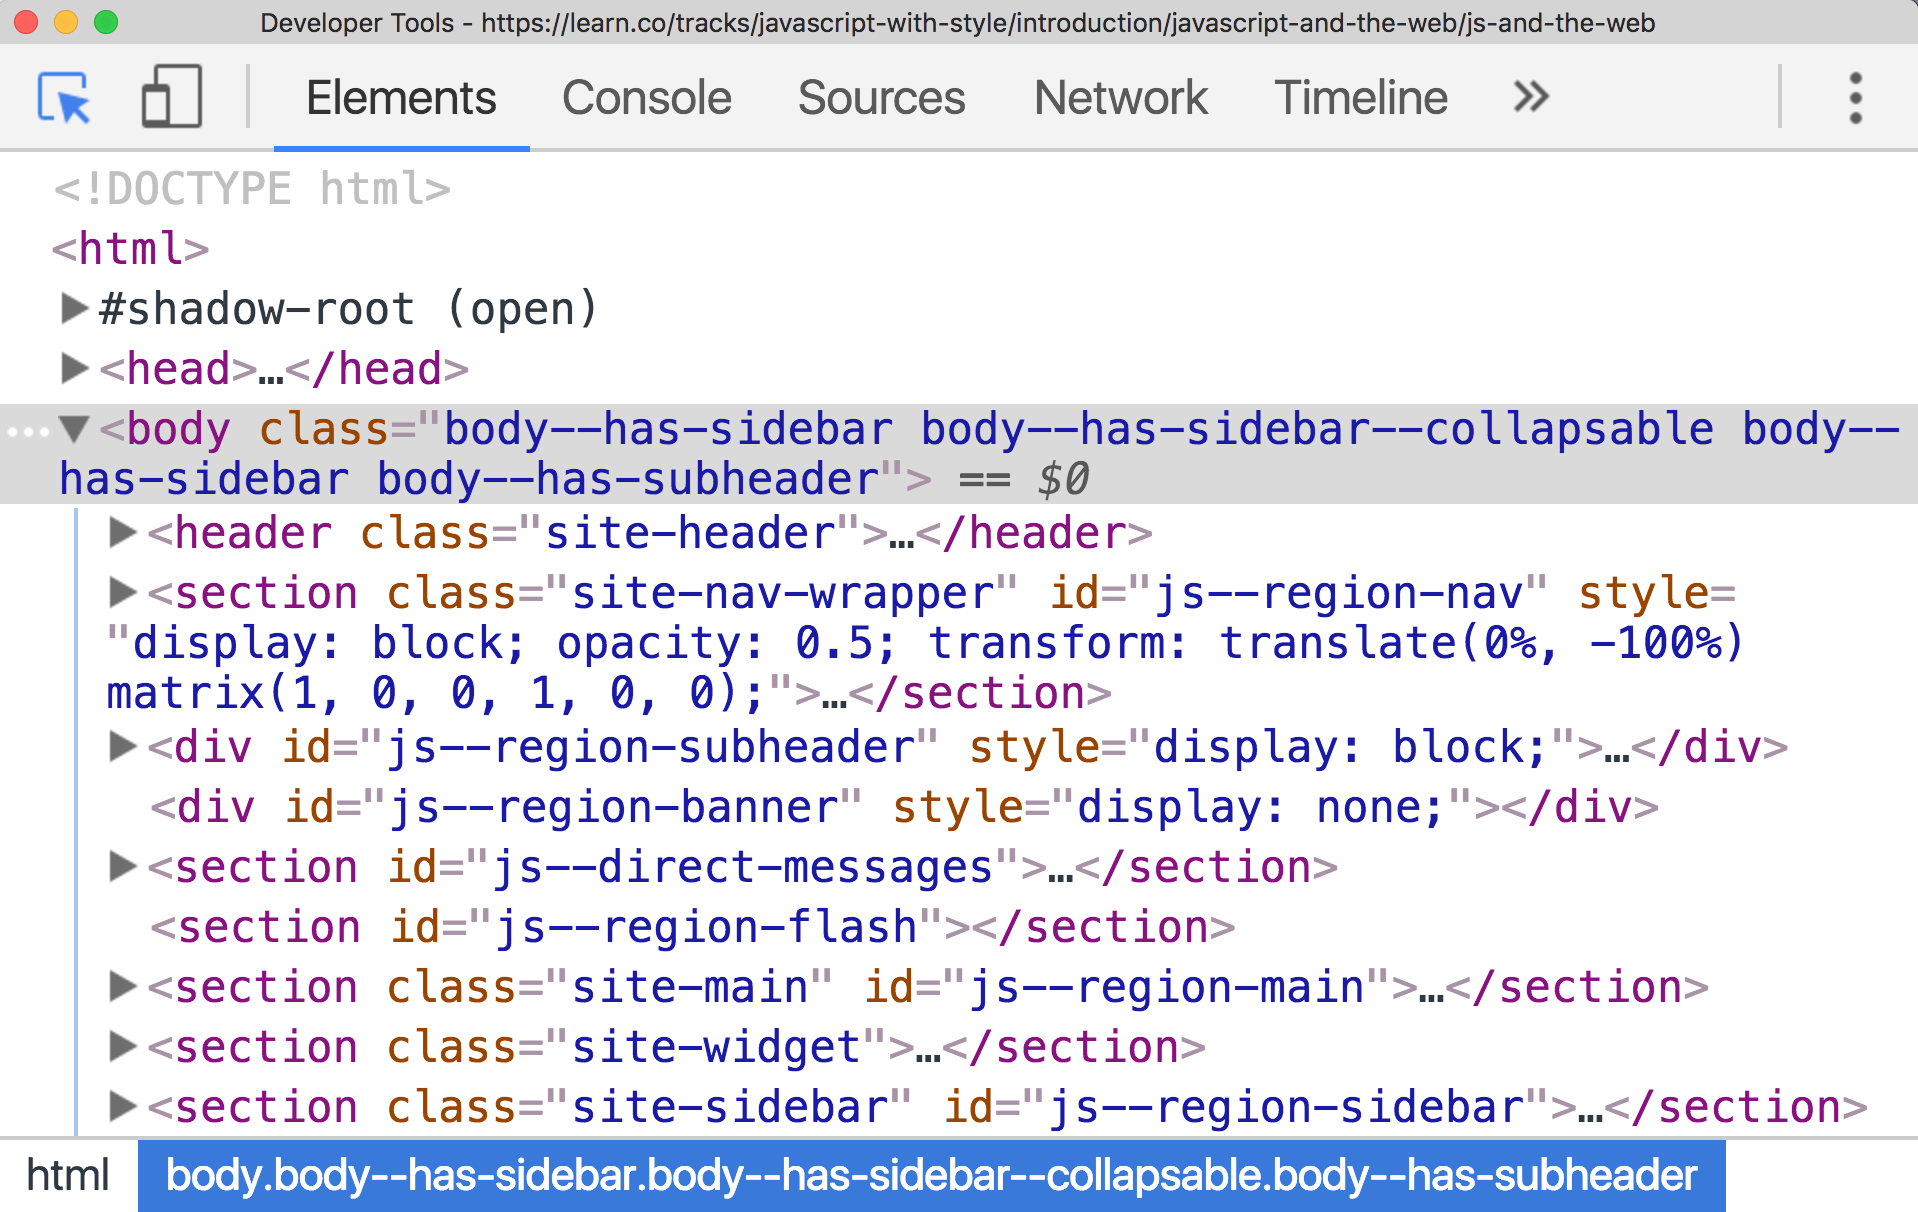
Notice that what we see in our developer tools looks very similar to the code we typed in a text editor to render HTML in previous lessons.
<!DOCTYPE html>
	<html>
	  <head>
	    <meta charset="utf-8">
	    <title></title>
	      <link rel="stylesheet" href="style.css">
  	</head>
  <body>
    <img id="kitten" class="" src="http://makeameme.org/media/templates/120/grumpy_cat.jpg" alt="" width="120" height="120">
  </body>
  <script src="https://raw.githubusercontent.com/learn-co-curriculum/js-and-the-web/master/spin.js" charset="utf-8"></script>
</html>
But it is not displaying the HTML, it's displaying the document object model. What does that mean?
The best way to describe the Document Object Model, is to see and interact with it. Let's get to it.
![alt text][opening-console] [opening-console]: https://s3.amazonaws.com/learn-verified/opening-console.gif
From the learn webpage, look at the menu at the chrome menu at the top of the page, and click on view, then at the very bottom of the view dropdown it says developer. Upon clicking on developer at the bottom of that you will see Developer Tools. Click on Developer Tools. This will pop up the Google Developer Console. (A quicker way to open up the console in the future is to press command+shift+i).
![alt text][delete-body] [delete-body]: https://s3.amazonaws.com/learn-verified/delete-body.gif
When you open the Google Developer Console (or firebug), you will see what looks like HTML. There are head tags, body tags, divs, etc. Now from inside the developer console, click on the element that says body, and then press the delete button on your keyboard. You should see webpage turn white.
Now did you just delete the HTML? No. Let's prove it.
View the page source. Right click (or two fingers click on the mac) on the lesson page in the browser and select view page source. You will see the that the HTML is just as it always was, with a body tag and lots of other elements inside.
![alt text][html-source] [html-source]: https://s3.amazonaws.com/learn-verified/html-javascript-lesson.png
The changes that the developer console caused, and the changes it currently displays are changes in the Document Object Model (which we still didn't explain), but not in our HTML. Our webpage now looks blank, reflecting the missing body in our DOM, even though our HTML still has content in the body tags.
So what are we concluding? We're concluding that by changing the Document Object Model, we can change the way our webpage displays. And we can do this even if our HTML is unchanged.
- The Document Object Model is a representation of the current view of the browser, and can be manipulated without reloading a page.
- The HTML is the text in a file first used to render the page.
So the HTML is essentially the starting point of the page's content. But as we just saw by deleting the body of the page, what is displayed can change. When we change it, we change the Document Object Model, and that changes the appearance in the browser. The HTML, however, once loaded on a webpage, does not change.
Ok, so what does this have to do with Javascript?
Well with Javascript we can (1) view a current representation of our Document Object Model. With Javascript we can also (2) select specific portions of the DOM, and manipulate them, which changes what shows up in a browser window.
Let's get to it.
-
Use Javascript to view the current representation of the DOM
From inside the developer console, click on the tab that says the word console. Then at the bottom you will see a cursor.
There, type the word
document. What you'll see is that there is a head tag there, but our body tag is gone.So by typing in document it looks like our body is gone. The page displays our body as gone. However, if we view page source, the HTML is unchanged.
-
Use Javascript to manipulate our DOM
Real fast, let's see this. Open up the console and type in the following:
  document.querySelector('header')
  // =>
  // <header class="site-header">
  // </header>
It retrieves the header tag, which contains the lesson title among other things. Ok, now let's do something with this header. Open up the console, and type in the following:
document.querySelector('header').remove()Take a look at the top of the page again. The header is gone. But do you think the HTML has just changed? Well, no. As you know, the HTML never changes after it is first rendered. Instead, we accessed the Document Object Model, altered the model and that altered the appearance of our web page.
We learned a lot in this section. This is what we learned.
- Html is a markup language used to display content in a browser. When we change the appearance of a webpage, what we are really changing is the Document Object Model, which directly determines the appearance displayed in the browser.
- We can view and manipulate the Document Object Model by opening our developer tools, but when we do so the HTML is not changed.
- We can also view our Document Object Model by opening the console and typing in the word
document. - We can select a specific piece of the DOM by using javascript, such as
document.querySelector('header'), and we can also use javascript to alter our DOM withdocument.querySelector('header').remove()
Next we'll take a deeper look at how to select elements!

