| ℹ️ Information |
|---|
| This repository contains the connector and configuration code only. The implementer is responsible to acquire the connection details such as username, password, certificate, etc. You might even need to sign a contract or agreement with the supplier before implementing this connector. Please contact the client's application manager to coordinate the connector requirements. |
Function for getting available number is currently too fast, resulting in the same value for multiple people. Please use with care, this needs some configuration
The 'HelloID-Conn-Target-SkypeForBusiness' connector uses a _Skype For Business On-Premise' installation. This means the connector also needs to be executed 'on-premises'. Make sure you have 'Windows PowerShell 5.1' installed on the server where the 'HelloID agent and provisioning agent' are running, and that the 'Execute on-premises' switch is toggled.
The connector is not yet tested on a SkypeForBusiness implementation. Therefore, changes might have to made within source code.
- Introduction
- Prerequisites
- Setup the connector
- Windows PowerShell 5.1 installed on the server where the 'HelloID agent and provisioning agent' are running
- PowerShell remoting / WinRM is enabled on the server where SkypeForBusiness is installed
- Make sure that Use account data from other systems on the 'Account' tab is configured to use 'Microsoft Active Directory'
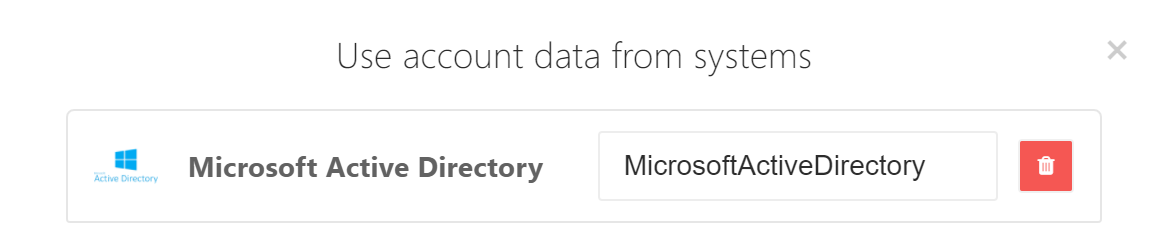 image-1 - ad
Currently the connector only supports 'Windows PowerShell 5.1'
- Open a new PowerShell console
- Execute the code pasted below:
Test-WSMan -ComputerName __ServerName__Is remoting is enabled, you should receive an output similiar as in the image below. (image-2 - wsman)
 image-2 - wsman
When you receive an error message, PSremoting is not properply configured.
-
Enable the WinRM service. Computer Configuration -> Policies -> Administrative Templates -> Windows Components -> Windows Remote Management (WinRM) -> WinRM Service -> Allow remote server management through WinRM
-
Make sure the WSMan service will be started automatically Computer Configuration -> Policies -> Windows Settings -> Security Settings -> System Services -> Windows Remote Management (WS-Management)
-
Allow 'WinRM' in the Firewall configuration
a. Create a new Predefined inbound rule b. Select 'Windows Remote Management' from the dropdown list
-
Make sure all the prerequisites are met
-
Add a new 'Target System' to HelloID and make sure to import all the necessary files.
- configuration.json
- disable.ps1
- enable.ps1
-
Fill in the required fields on the 'Configuration' tab.
The 'Enable.ps1' has a few options that require input from the customer.
Set-CsUser -Identity $Using:account.userPrincipalName -EnterpriseVoiceEnabled $Using:connectionSettings.EnterpriseVoiceEnabled -ExchangeArchivingPolicy $Using:connectionSettings.ExchangeArchivingPolicy -LineURI $LineUrl -ErrorAction Stop

Grant-CsDialPlan -Identity $Using:account.userPrincipalName -PolicyName ''  -ErrorAction Stop
Grant-CsVoicePolicy -Identity $Using:account.userPrincipalName -PolicyName ''  -ErrorAction Stop

Grant-CsExternalAccessPolicy -Identity $Using:account.userPrincipalName -PolicyName '' -ErrorAction Stop- Enable-CSUser -SipAddress
- Set-CSUser -LineURI
- Set-CSDialPlan -PolicyName
- Set-CSVoidePolicy -PolicyName
- Grant-CSExternalAccessPolicyName
For the above cmdlets, input is required from the customer.
The official HelloID documentation can be found at: https://docs.helloid.com/