Ray tracer using c++ that implements threading for faster rendering and aliasing using supersampling for smoother edges on spheres.
All of the following commands assume that you're in the proj2 directory. You will need to run the following commands:
$ mkdir build
$ cd build
$ cmake ..
$ make
To run the program first navigate to the build directory. Then run the following command:
$ ./proj2
#Controls The only thing you can change in this program is the image width and the image height. To change this there are two variables declared at the top of the main method called imageWidth and imageHeight. Set these to desired values.
#Threading This ray tracing application renders three different image files. This output is very expensive in terms of time. With very small images and no threading, the three image files took longer than five minutes to render. The group implemented threading to improve the performance of the application. After using threading the three output files were produced in less than five seconds.
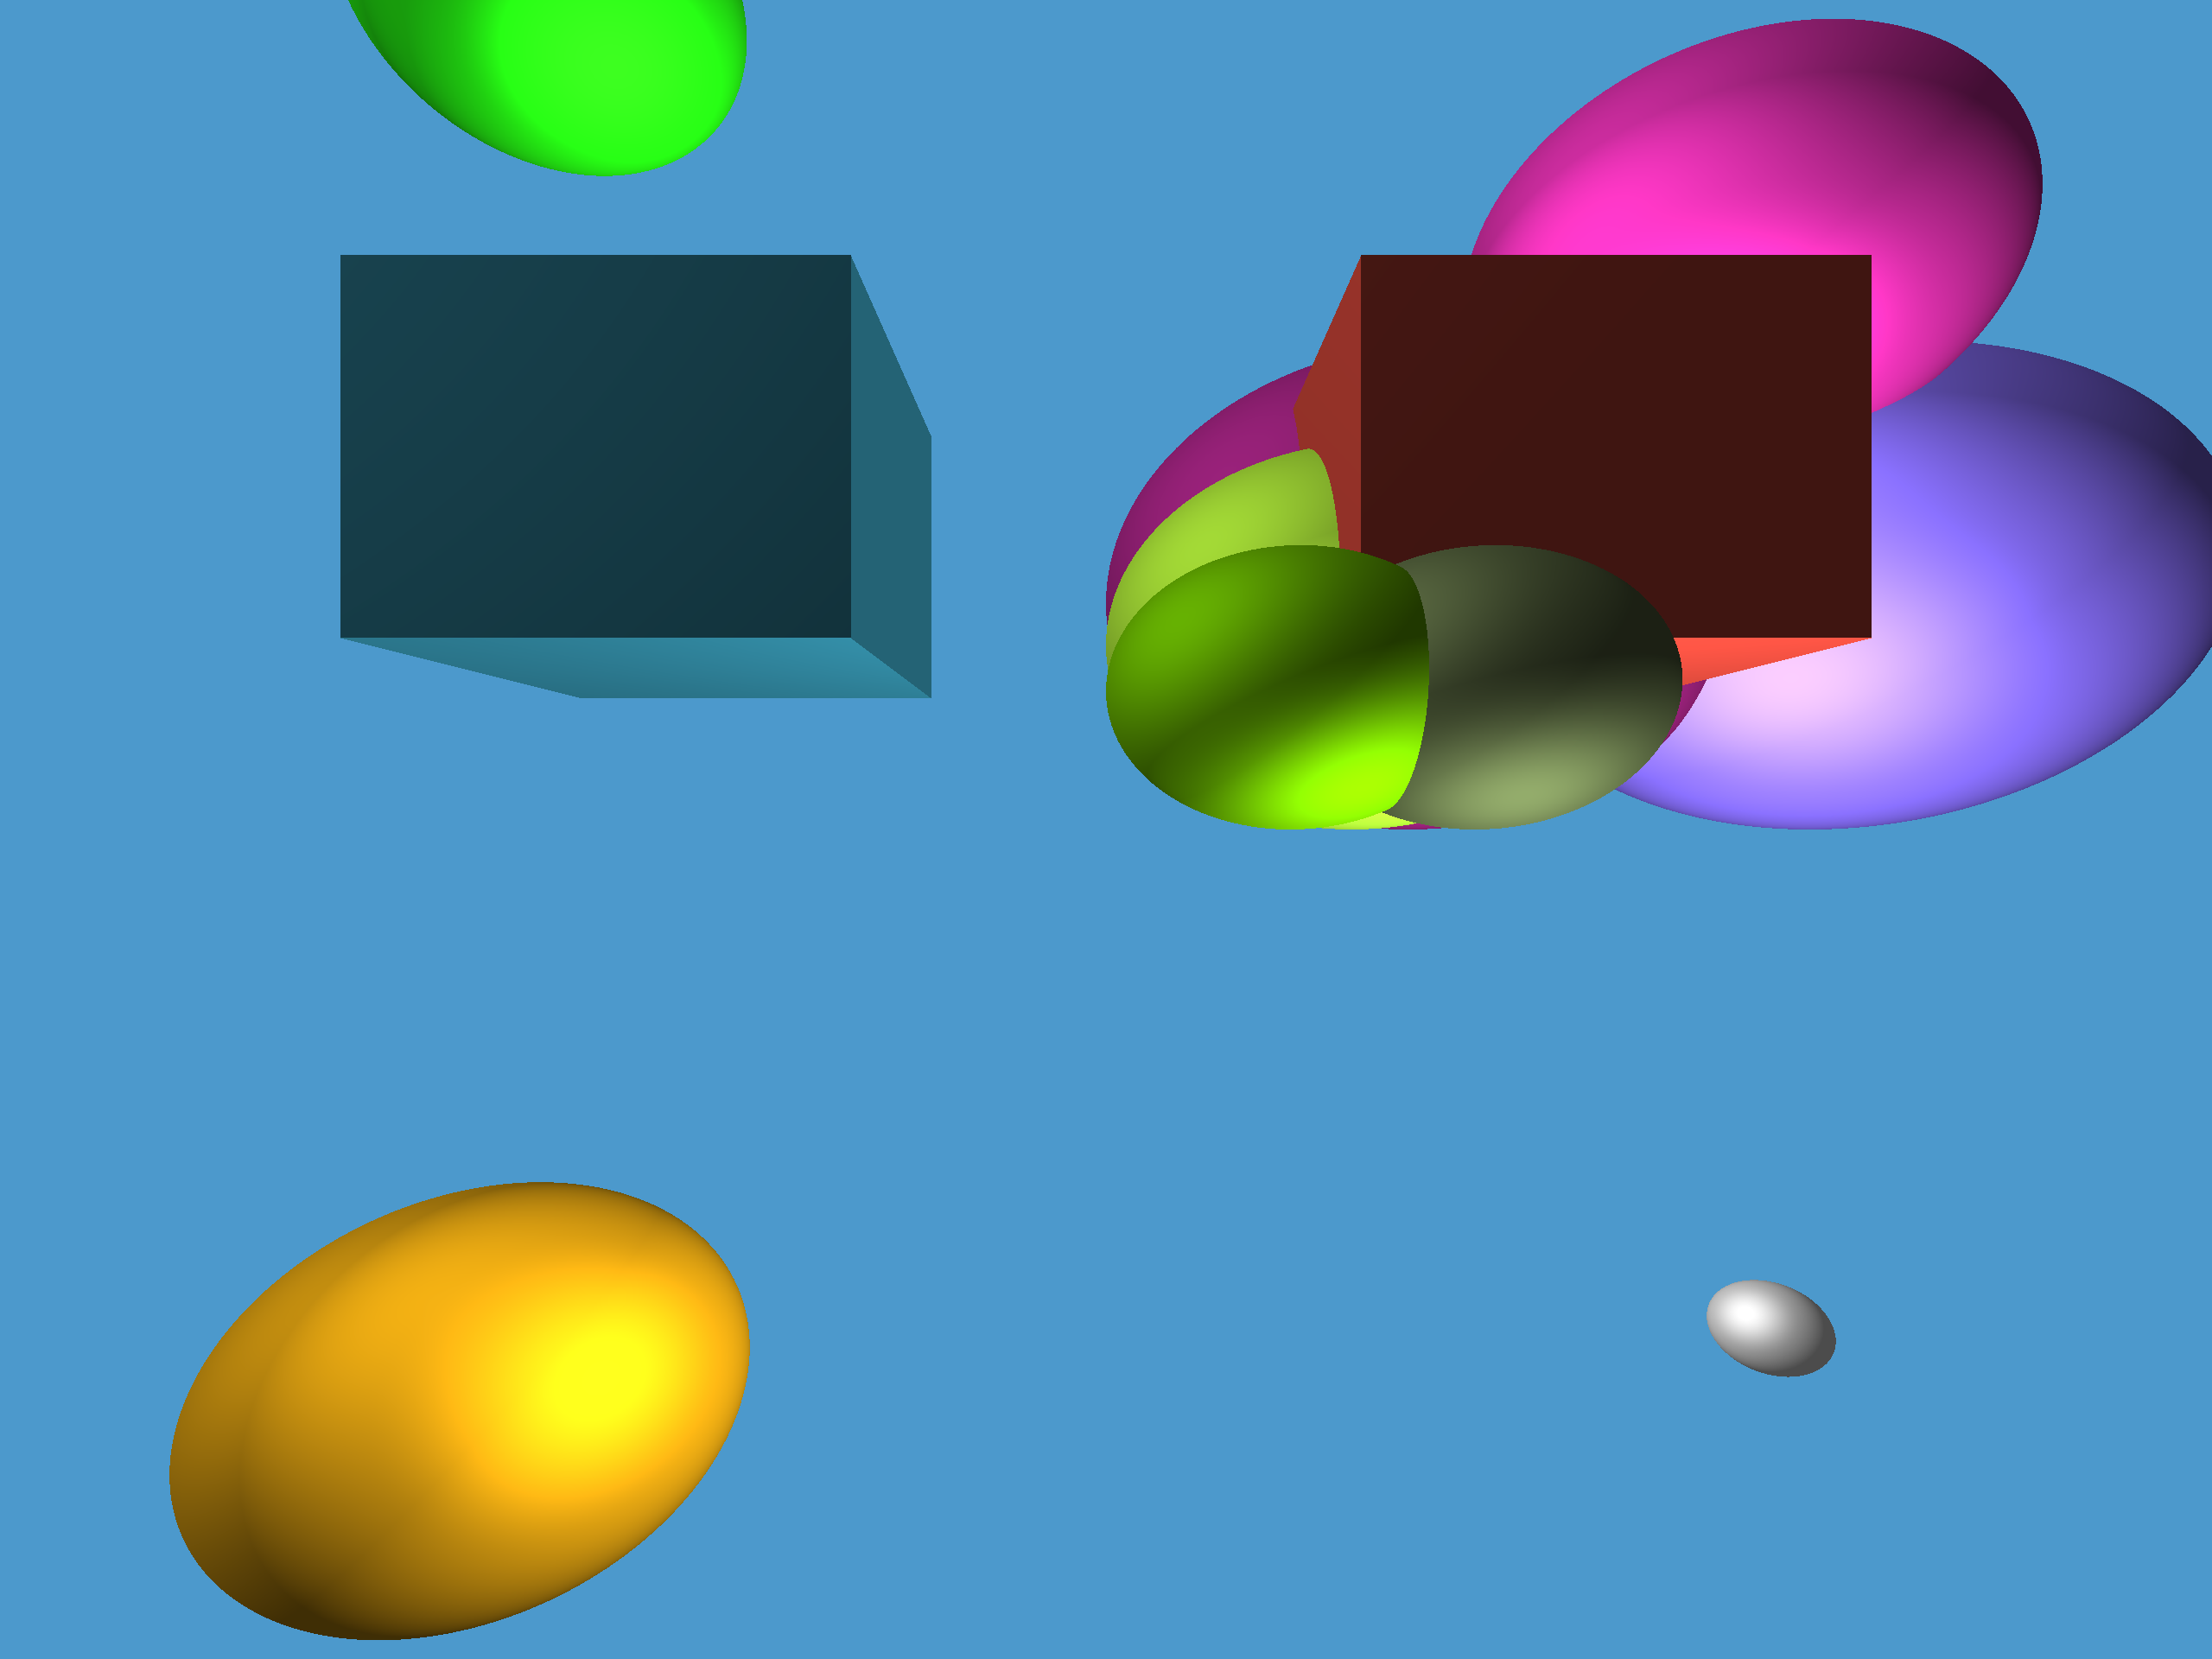
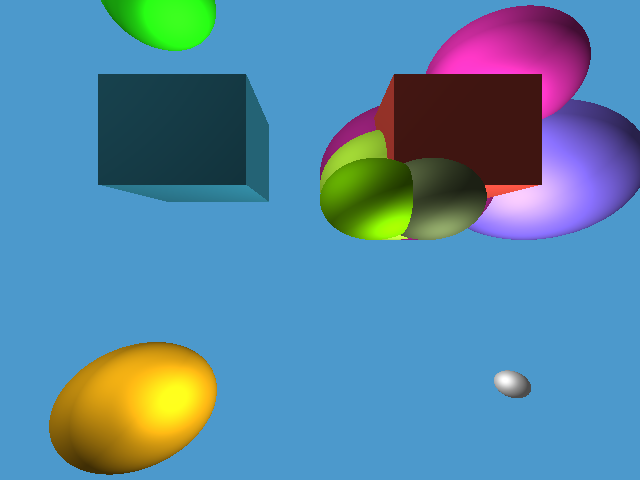
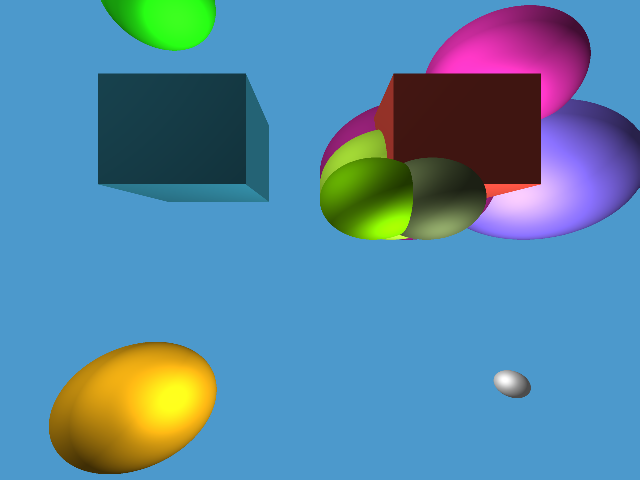
After running the executable there will be a print to the terminal displaying the performance of the ray tracer in milliseconds and 3 files will be produced under the build directory. The three files will be denoted as ray-traced.bmp, non-aliased.bmp, and anti-alias-image.bmp.
ray-traced.bmp is an image file representing a large scale image of the image desired as output. This image is four times as large as the desired output. By making the image four times as large before rendering the desired output we can use "supersampling" to average each grouping of four pixels in the large scale image to assign a pixel to the desired size image. This technique blends colors on edges of surfaces and will smooth the edges of the shapes and objects in the desired image. Outputting this file is not essential to the rendering process, it is merely used to show an intermediate step between the non-aliased and anti-aliased image.
non-aliased.bmp is an image file representing the desired image before it is aliased. This image is just as large as the size of the desired image but the image is not aliased and if you look closely the edges of the spheres appear to be jagged, or sharp, not smooth. This file is not essential to the rendering process, it is merely used to as a valid comparison example to show the final product is indeed being anti-aliased.
anti-alias-image.bmp is the final image file after it has been anti-aliased and rendered. This image is the final representation of the desired output. Notice how in comparison to the non-aliased image the edges of the surfaces of the objects are way smoother!


