Crowdsourcing, Carleton University
- Create 3 accounts
- Add 20 Mapillary Image keys
- OSM Photo Metadata Tags
- Uploading to OpenStreetMap
- Reflection
- FAQ
For this assignment the goal would be to add Amenity based features to OpenStreetMap using Mapillary photos. While collecting your photos around the Carleton University campus, here are some of the amenity features that would be worth collecting:
Note: When creating the following accounts below, you might want to check your junk mail for the e-mail confirmation response.
Download the Mapillary App on one of your smart devices:
https://help.mapillary.com/hc/en-us/categories/115000235529-Mapillary-apps
Note: Login using Facebook or Gmail, this application does require access to some personal information, like your name and image, from a Facebook or Gmail account. In addition, it asks to allow access to your camera and location.

Creating a GitHub Account will allow you to submit issues related to the assignment.


Get an OpenStreetMap Account:

Mapillary is a crowdsourced streetview platform which allows anyone to add & see their GPS enabled photos.
Select one of the upload methods (Option A or B).
Note: Your mobile device will need to have a good GPS signal to capture photos, enabling your mobile internet will help increase your GPS signal.
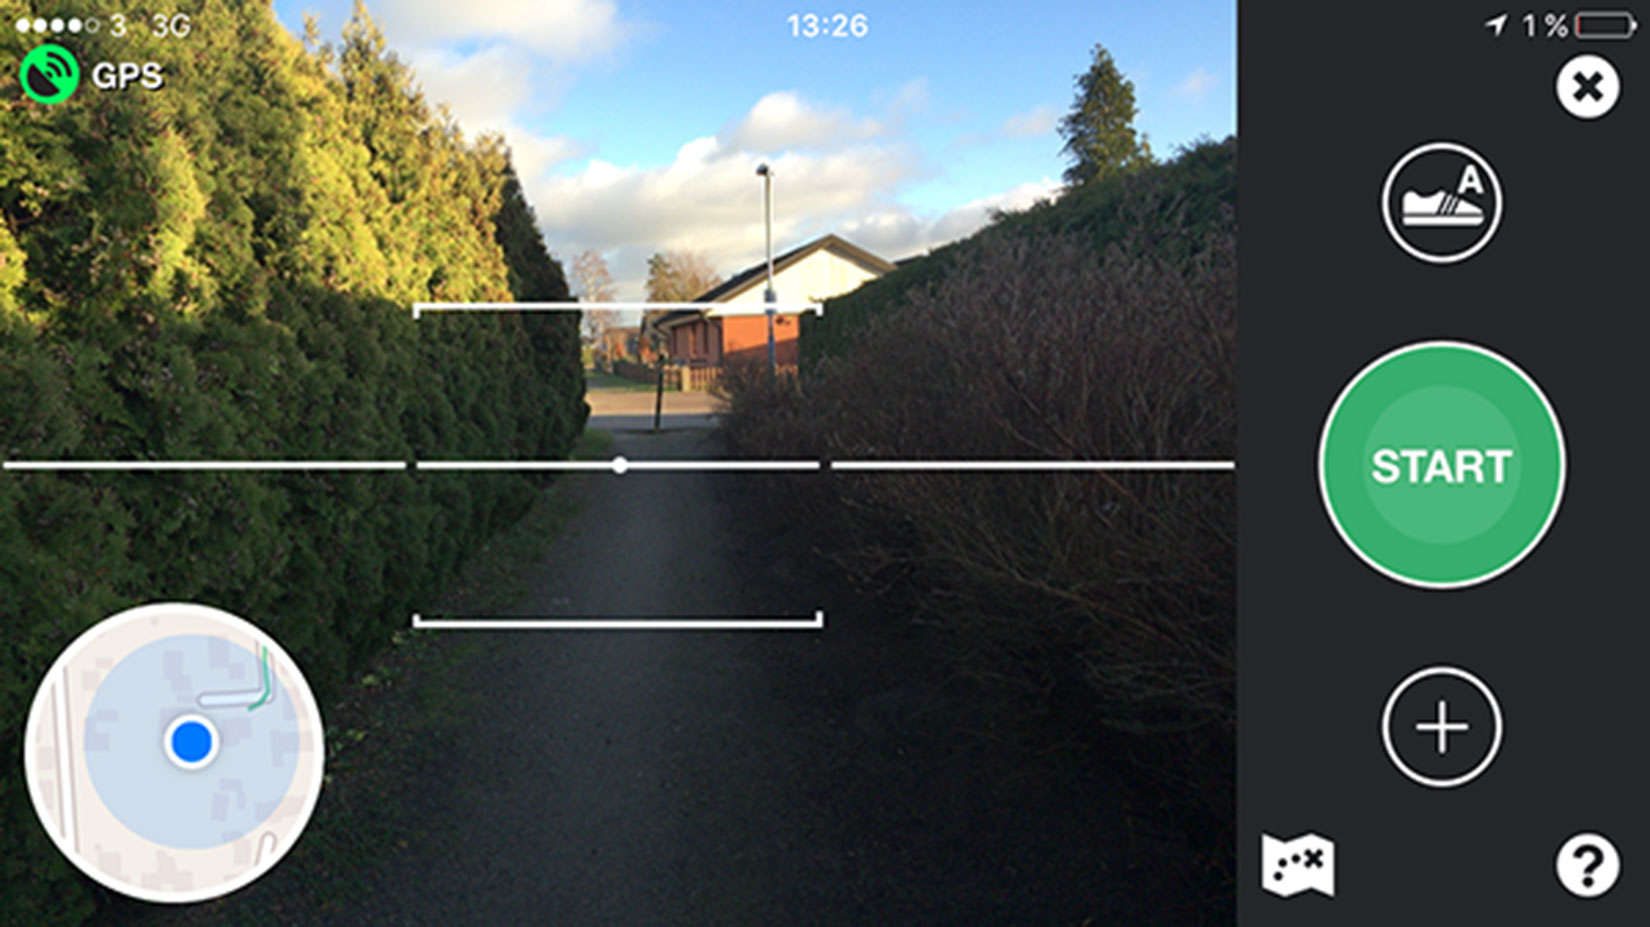
Once your photos have been captured using the Mapillary app you will be able to upload them once you've connected to a WiFi network.
For those who would only own a GPS enabled Camera, you can also upload photos directly to Mapillary web platform using their upload page.


After uploading photos to Mapillary, it will take at least 24 hours for the photos to be readily available to preview on the online platform.
You should receive an email from Mapillary stating your upload is now published.

Once your uploads are published, you can select your profile on the right hand side and preview each of your photo sequences (image tracks).

Using the web platform of Mapillary, expand the Image details by clicking on the 3 dots at the bottom right and expand the Advanced Options. Here you will find both an Imagey Key & Sequence Key, you will only need the Image Key to submit to OpenStreetMap and for your assignment.
- Image Key: This key is the unique identifer of the individual image (this will be the key used in your assignment & tagging into OpenStreetMap)
- Sequence Key: This key identifies the entire sequence of the entire photo collection.

OSM (OpenStreetMap) is a crowdsourced database of Geographic real-world data.
Once your Mapillary photos have been uploaded, you are ready to map your first feature in OpenStreetMap using your street level photos you've collected around your neighbourhood.
The main resource to find the appropriate OpenStreetMap tag will be in the OpenStreetMap Wiki. An alternate way to find how to tag features in OSM would be to use Google.
Enter the following in the search "OSM bench" in Google and typically the OSM Wiki reference will be found as the first result.

Inside the OSM Wiki you will find a description/overview/tagging schema, this will help understand the metadata tags used to map an OpenStreetMap feature.

Using the iD Editor, zoom in to the location of where your Mapillary photos were taken.
Click here to Zoom in to Carleton University

Click on the Edit button on the top left and the map will change to a satelitte view with an edit menu on the left hand side.

Once you've zoomed in to the area you want to map, we will enable the Mapillary previews by click on the Map Data (F key) on the right hand side and toggling the Photo Overlay Mapillary checkbox.

Now you are able to see both OpenStreetMap features & Mapillary photos in the iD Editor. You can preview the Mapillary photos by clicking one of the yellow dot on the map.
For this example we will be:
- Adding Street Lamp Post to OpenStreetMap.
- Linking Mapillary Image Key to OSM street lamp post (Mapillary Image Key: baanWFHhhgFXzxwbBoOyPw)

These are the steps to add a feature in OSM using the iD editor:
- Select the Point geometry shape located in the top menu.
- Click on the map where the Lamp Post would be located based on the Mapillary photo & Satelitte imagery.
- Define the type of point, search for
Street Lampin the left hand side. This will add thehighway=street_lamptag to your OpenStreetMap point feature.

Once your OSM feature is created and tagged as a highway=street_lamp we will now need to add the Mapillary Image Key to the OSM Feature. In the All tags section, click on the (+) to expand a new field and add mapillary=<MAPILLARY IMAGE KEY>.

Once you've added your OSM Feature with the appropriate Mapillary Image Key you are ready to upload these changes to the live OpenStreetMap database.
- Click on the Save button in the top menu, there will be a number next to it which indicates how many features you will be adding/modifying.
- Include a
Changeset Commentwhich describe which type of edit you've made (ex: Added Street Lamp Post). - Include both Sources & Hashes
- source=
Mapillary - hashes=
#COMS2200A(used for reference)
- Upload changes to OSM.

With Overpass Turbo, you can query your own OSM edits based on your OSM username.
- Go to http://overpass-turbo.eu
- Zoom into Carleton University
- Select the Wizard
- Use the the following query
user:OSM_ACCOUNT(ex:user:DenisCarriere) - Run build and run query
- You should see your edits highlighted in blue
- Click on each feature to see full OSM metadata


Provide a 2 page reflection document to CULearn. In this document you considered the 3 platforms, the process of capturing data all the way to the posting of your final photo in OSM, you will discuss challenge, insights, things you found enjoyable, provide suggestions on how to improve the process, and etc.. You will express what you learned. End your reflection by discussing this form of databased citizenship.
If you've added a bench in OpenStreetMap & Mapillary, explain which OSM tag you've used and reference the OSM wiki article amenity=bench.
Reference the GitHub Issue section for FAQ