This image is the base "builder" image for OpenUnison. It is intended to be used with Source-To-Image (S2I).
S2I generates a new Docker image using source code and a builder Docker image. As the name implies, Source-To-Image is responsible for transforming application source into an executable Docker image. The builder image contains the specific intelligence required to produce that executable image.
More information on how to use and create builder images with S2I can be found here: https://blog.openshift.com/create-s2i-builder-image/.
OpenUnison is an open source identity management solution from Tremolo Security (https://www.tremolosecurity.com/) that provides:
- Web Access Management (WAM)
- SSO (Single Sign-On/Simplified Sign-On)
- Workflow based user provisioning
- User self service portal
- Reporting
- Identity Provider
Documentation is available at https://www.tremolosecurity.com/documentation/
To use this image with S2I, one of the following must be passed to the s2i script:
- A directory containing the OpenUnison WAR file, or
- A directory containing an Apache Maven project to build an OpenUnison deployment, or
- A git URL to a repository containing an Apache Maven project to build an OpenUnison deployment
This document makes the following assumptions about the deployment. Each of these is covered in more detail in the next section.
- The OpenUnison keystore is stored OUTSIDE of the final image in a volume (or secret for Kubernetes or OpenShift)
- Passwords, host names and other environment-specific information is stored in a properties file
The OpenUnison build process follows a simple workflow that uses Apache Maven and the overlay plugin to combine your specific configurations and the standard OpenUnison build into a WAR file that is unique to your deployment. The WAR file is then integrated into the final container image.
There are a number of quick starts available in the Tremolo Security github repositories - https://github.com/TremoloSecurity?utf8=%E2%9C%93&q=openunison-qs&type=&language=. Each one has its own set of configuration variables and pre-requisites. This document uses the openunison-qs-simple project.
First, clone the quick start GitHub repository:
$ git clone https://github.com/myusername/openunison-qs-simple.gitNext, create a directory to hold the configuration files:
$ mkdir local
$ cd local
Create Keystore and TLS Key
NOTE: Be sure to set the key password the same as the keystore password
$ keytool -genkeypair -storetype PKCS12 -alias unison-tls -keyalg RSA -keysize 2048 -sigalg SHA256withRSA -keystore ./unisonKeyStore.p12 -validity 3650
Enter keystore password:
Re-enter new password:
What is your first and last name?
  [Unknown]:  localhost.localdomain
What is the name of your organizational unit?
  [Unknown]:  demo
What is the name of your organization?
  [Unknown]:  demo
What is the name of your City or Locality?
  [Unknown]:  demo
What is the name of your State or Province?
  [Unknown]:  demo
What is the two-letter country code for this unit?
  [Unknown]:  demo
Is CN=localhost.localdomain, OU=demo, O=demo, L=demo, ST=demo, C=demo correct?
  [no]:  yes

Enter key password for <unison-tls>
	(RETURN if same as keystore password):
Create the OpenUnison Session Key
NOTE: Be sure to set the key password the same as the keystore password
$ keytool -genseckey -alias session-unison -keyalg AES -keysize 256 -storetype PKCS12 -keystore ./unisonKeyStore.p12Create a file called ou.env using the example below as a template. Enter the password used in the steps above to create the keystore/keys on the appropriate lines.
ou.env File
OU_HOST=localhost.localdomain
TEST_USER_NAME=testuser
TEST_USER_PASSWORD=secret_password
unisonKeystorePassword=start123
unisonKeystorePath=/etc/openunison/unisonKeyStore.p12
Create the openunison.yaml file using the example below as a template:
NOTE: Do not change the path values in the openunison.yaml file below. Configuration changes in this file should be limited to the TLS configuration (i.e. changing the ciphers, adding client authentication, etc).
openunison.yaml
---
open_port: 8080
open_external_port: 80
secure_port: 8443
secure_external_port: 443
secure_key_alias: "unison-tls"
force_to_secure: true
activemq_dir: "/tmp/amq"
quartz_dir: "/tmp/quartz"
client_auth: none
allowed_client_names: []
ciphers:
- TLS_RSA_WITH_RC4_128_SHA
- TLS_RSA_WITH_AES_128_CBC_SHA
- TLS_RSA_WITH_AES_256_CBC_SHA
- TLS_RSA_WITH_3DES_EDE_CBC_SHA
- TLS_RSA_WITH_AES_128_CBC_SHA256
- TLS_RSA_WITH_AES_256_CBC_SHA256
path_to_deployment: "/usr/local/openunison/work"
path_to_env_file: "/etc/openunison/ou.env"Before building the container image, download the S2I binary for your platform and add it to your path - https://github.com/openshift/source-to-image/releases
Build the container image:
$ s2i build /path/to/my/root/myproject tremolosecurity/openunisons2idocker local/openunisonAn image called 'local/openunison' will be created and added to your local Docker instance. The image contains OpenUnison and your configuration. Launch a container using the image with the following command. Be sure to replace /path/to/local with the appropriate value for your environment.
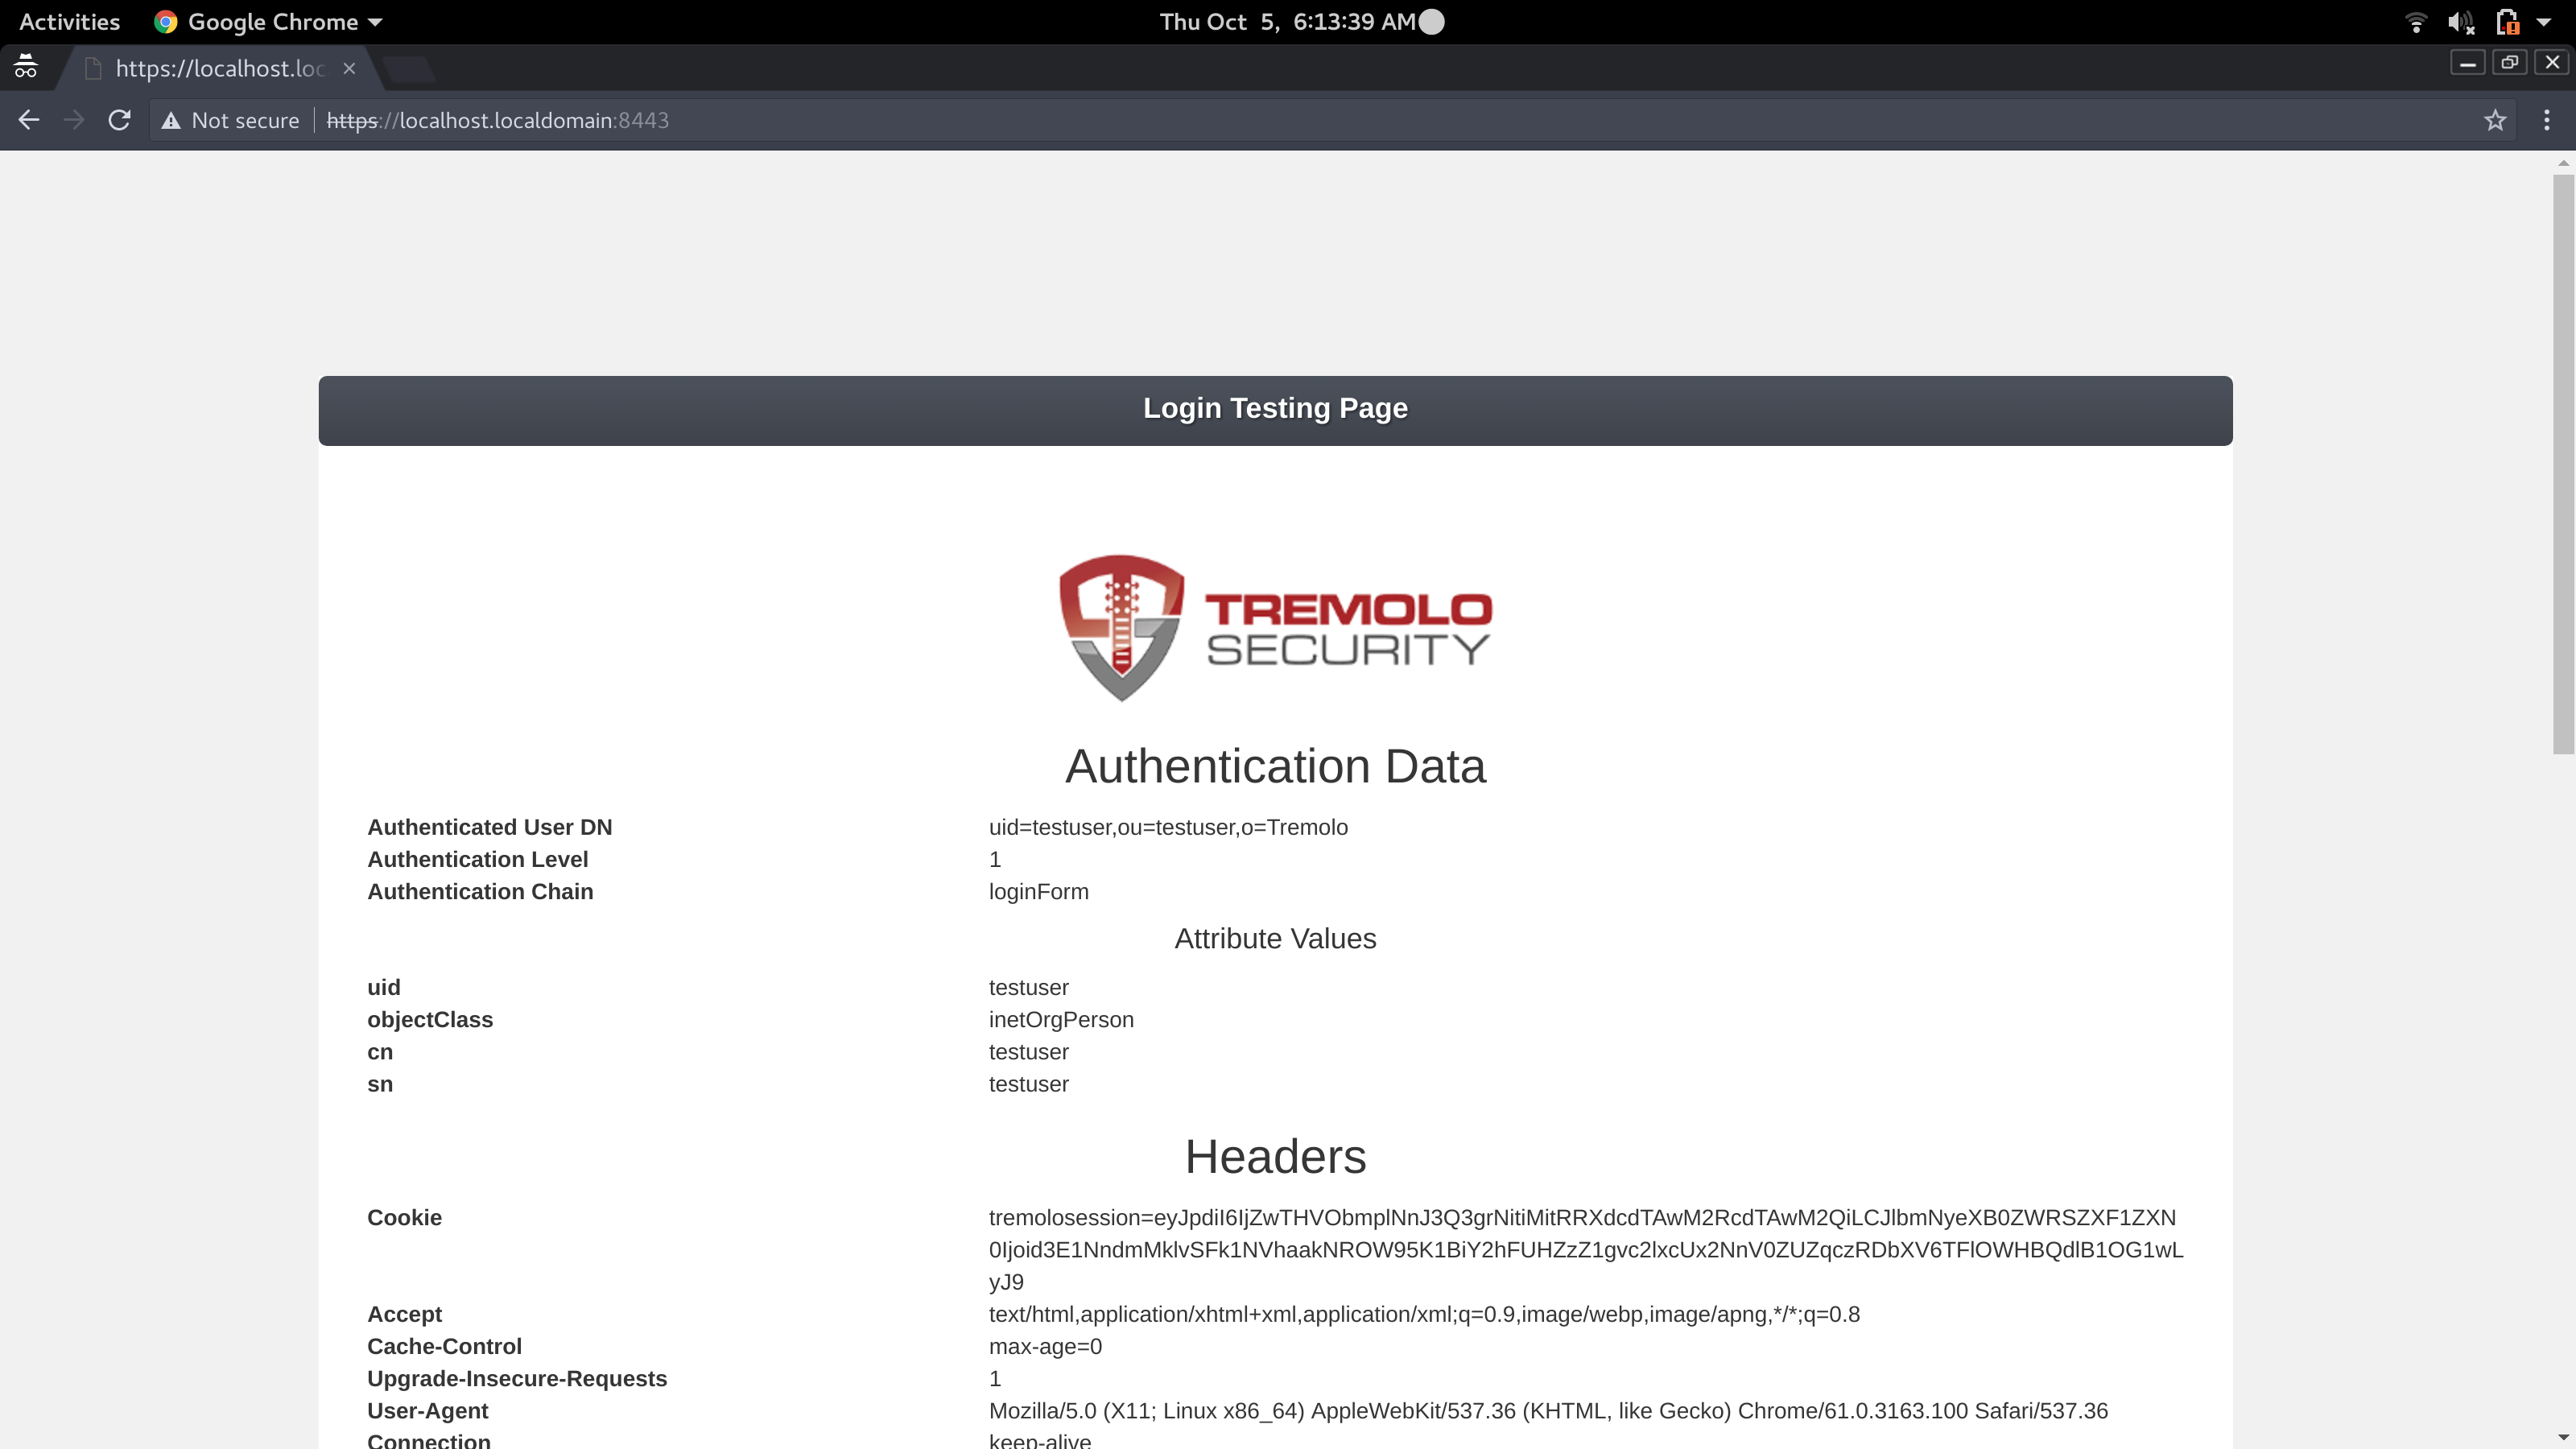
$ docker run -p 8443:8443 -v /path/to/local:/etc/openunison:Z -e JAVA_OPTS='-Djava.awt.headless=true -Djava.security.egd=file:/dev/./urandom' --name openunison local/openunisonOpenUnison should now be running. Access it by visiting https://localhost.localdomain:8443/ with the username testuser and the password secret_password (or the values used in the ou.env file, if different than the sample above):
After logging in:


