EDM Tool
In this repository you can find the instances of the model proposed in the paper "An Educational Data Mining Model based on Auto Machine Learning and Interpretable Machine Learning", presented at the 5th IEEE INTERNATIONAL CONFERENCE ON COMPUTING, POWER AND COMMUNICATION TECHNOLOGIES 2022 (GUCON).
This work is part of the "Search for knowledge by applying data science in the educational domain" Research Project of the National University of Villa Mercedes , conformed by the Professors:
- Dr. German Montejano,
- Mg. Gabriel Novillo Rangone,
- Dra. Ana Garis,
- Lic. Walter Molina,
- Dr. Francisco Bavera,
- Mg. Carlos Pizarro;
and the students of Information Systems Engineering:
- Yohana Gonzalez,
- Nicolas Cardellini,
- Brian Alaniz.
What is included in this repo?
- 📒Unvime2020y2021GitHub.ipynb: Jupiter Notebook ready for Colab.
- 📄requirements.txt: script needed to install extra tools on a self managed environment.
- 📜unvimestatistics.py: script that exhibits some statistical data (e.g. accuracy, recall , f1, ...), needed to work on a self managed environment.
- 📜unvimestatisticsshap.py: script that shows statistics and local interpretability of results using SHAP, needed to work on a self managed environment.
- 📜unvimestatisticspi.py: script that exposes statistics and overall interpretability of using with Importance Permutation, needed to work on a self managed environment.
- 📑unvime2020y2021v1.csv: source data, needed to work on a self managed environment.
How to run this project?
You can run the instances in two ways:
- Using Colab, a tool from Google that allows you to write and execute Python in your browser, with zero configuration, free access to GPUs and easy sharing, following the steps form the section Run in Colab.
- Using your own setup, following the steps below in section Run in your own environment.
Run in Colab
Whether you're a student, a data scientist or an AI researcher, Colab makes easier to get started as you don't need to setup environments or special software.
If this is your first time with Colab, please watch this introduction to Colab to learn more before starting the steps below.
Step 1. Download the notebook from this repo.
Go to edm-tool/Unvime2020y2021GitHub.ipynb and click Download button to store the Unvime2020y2021GitHub.ipynb notebook on your computer. You will need this file in Step 2.
Step 2. Upload the notebook to Colab & Google Drive.
Go to https://colab.research.google.com/ and select Upload tab in the dialog.
Then, choose (or drag and drop) the file you downloaded in Step 1 to get it uploaded to Google Drive.
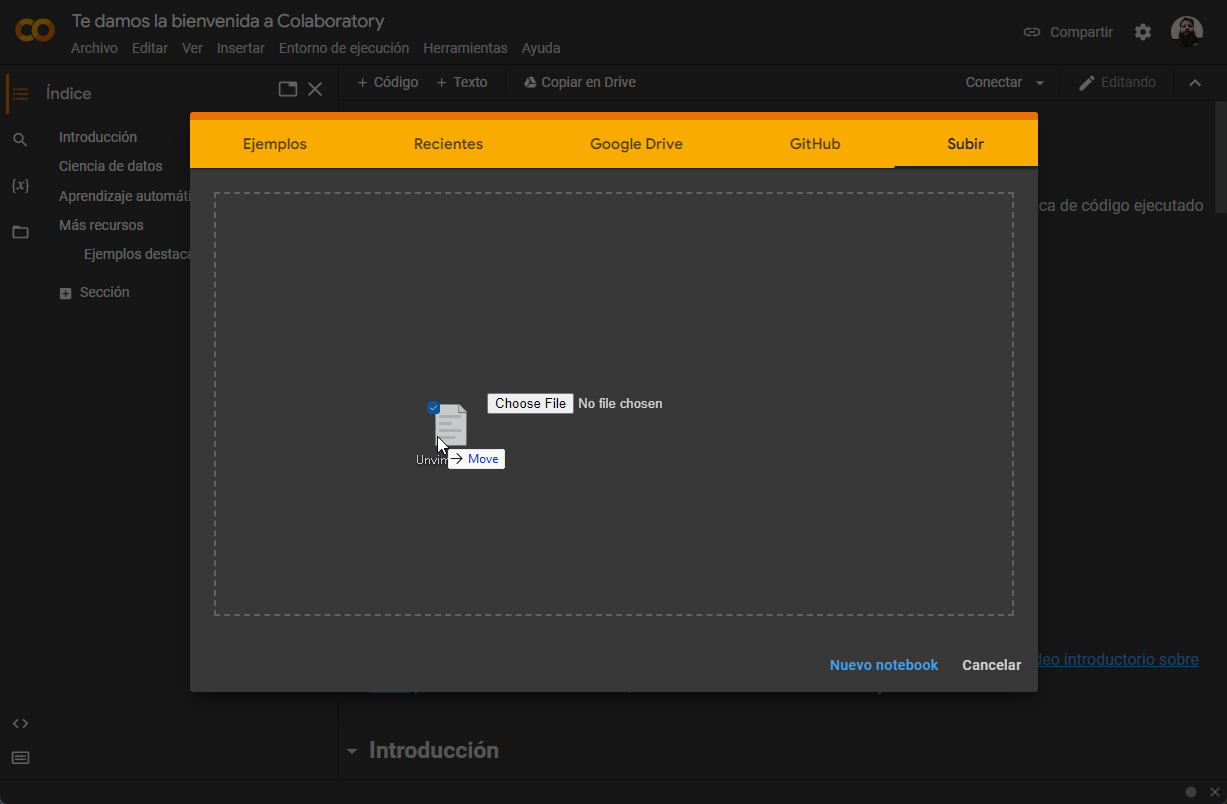
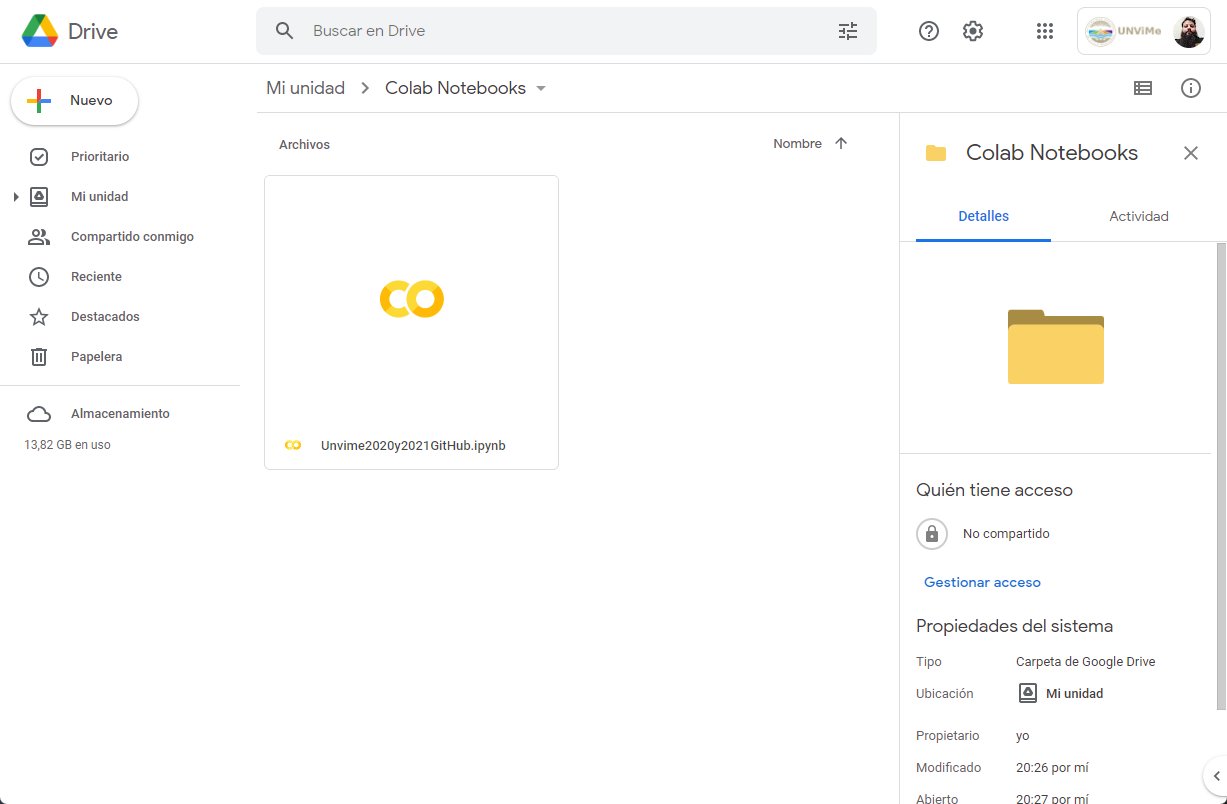
⚠️ Please, note that this action will create a new folder on you Google Drive root named Colab Notebooks, so you can open this file later directly from Colab or Drive.
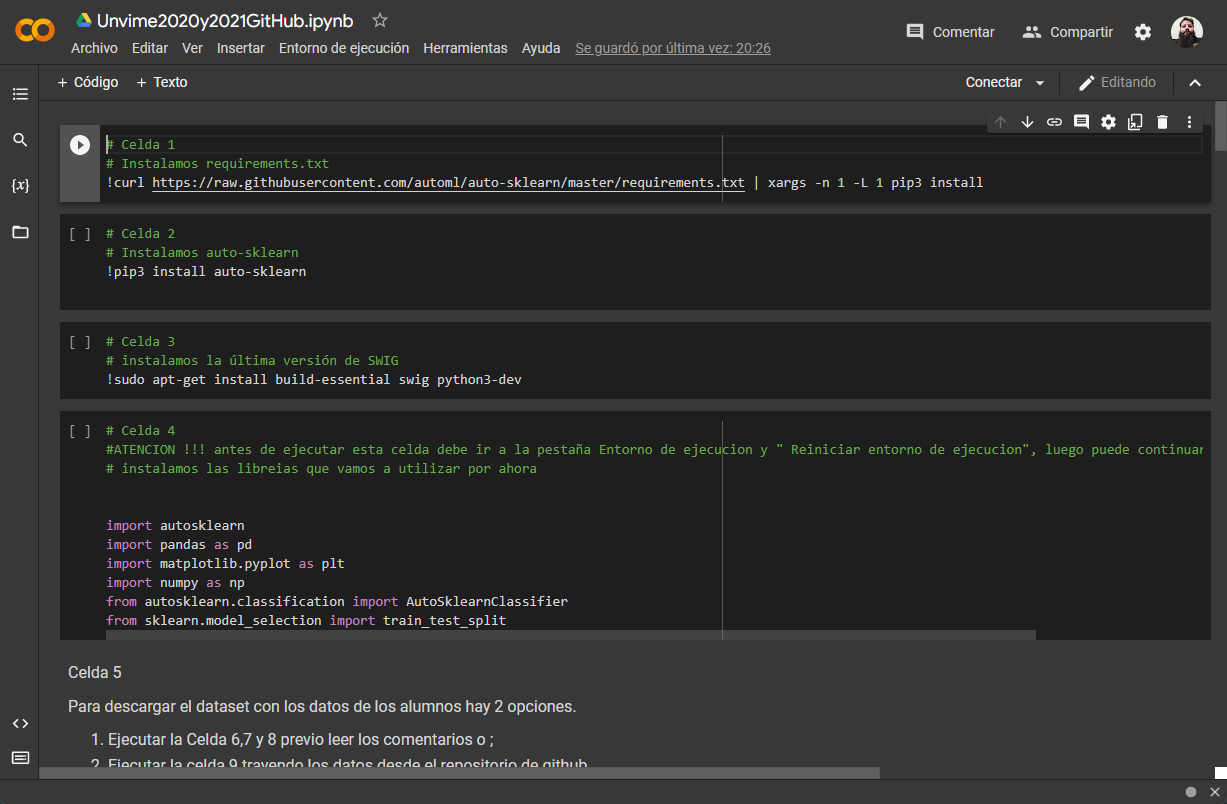
Step 3. Run the scripts.
You are now ready to run the scripts following the instructions in the comments in the notebook code.
Run in your own environment
Another way to get started with this project is setting up your own environment . We made a python script that can install automatically in your computer all the software needed. But, before you will need to fill some requirements in order to get the tools working as expected.
Step 1. System Requirements.
The minimum requirements are constrained by the needs of auto-sklearn:
- GNU-Linux operating system (for this project, we use Ubuntu).
- Python v3.7+. You can get Python here.
- C++ compiler (with support for C++11 ). You can get GCC here.
Step 1. Installing auto-sklearn.
You can install auto-sklearn with pip in the usual manner:
pip3 install auto-sklearn
⚠️ For more information, or for an explanation of missing Microsoft Windows and macOS support please check the Section Windows/macOS compatibility in the official auto-sklearn repository.
Step 2. Adding Python 3, C++11 and SWIG.
As we marked before, we need to provide Python 3, a C++11 building environment and the latest SWIG version. Please run this command in your terminal:
sudo apt-get install build-essential swig python3-devStep 3. Run our installation script.
Once you finished with the basic configuration, you need to run the script in requirements.txt to install some extra tools needed by EDM-Tool.
First, download the file from this link, then run the following command on your terminal:
pip install -r requirements1.txtStep 4. Run the project scripts.
You are now ready to run the scripts one or more of the following scripts:
- unvimestatistics.py: exhibits some statistical data (e.g. accuracy, recall , f1, ...)
- unvimestatisticsshap.py: shows statistics and local interpretability of results using SHAP.
- unvimestatisticspi.py: exposes statistics and overall interpretability of using with Importance Permutation.
⚠️ To run the scripts, you need to store unvime2020y2021v1.csv in the same folder as the scripts.
This is a ⚖️ GNU GPLv3 work, made with ❤️ in 🇦🇷 . Need help? Get in contact 👉 gnovillo@unvime.edu.ar.