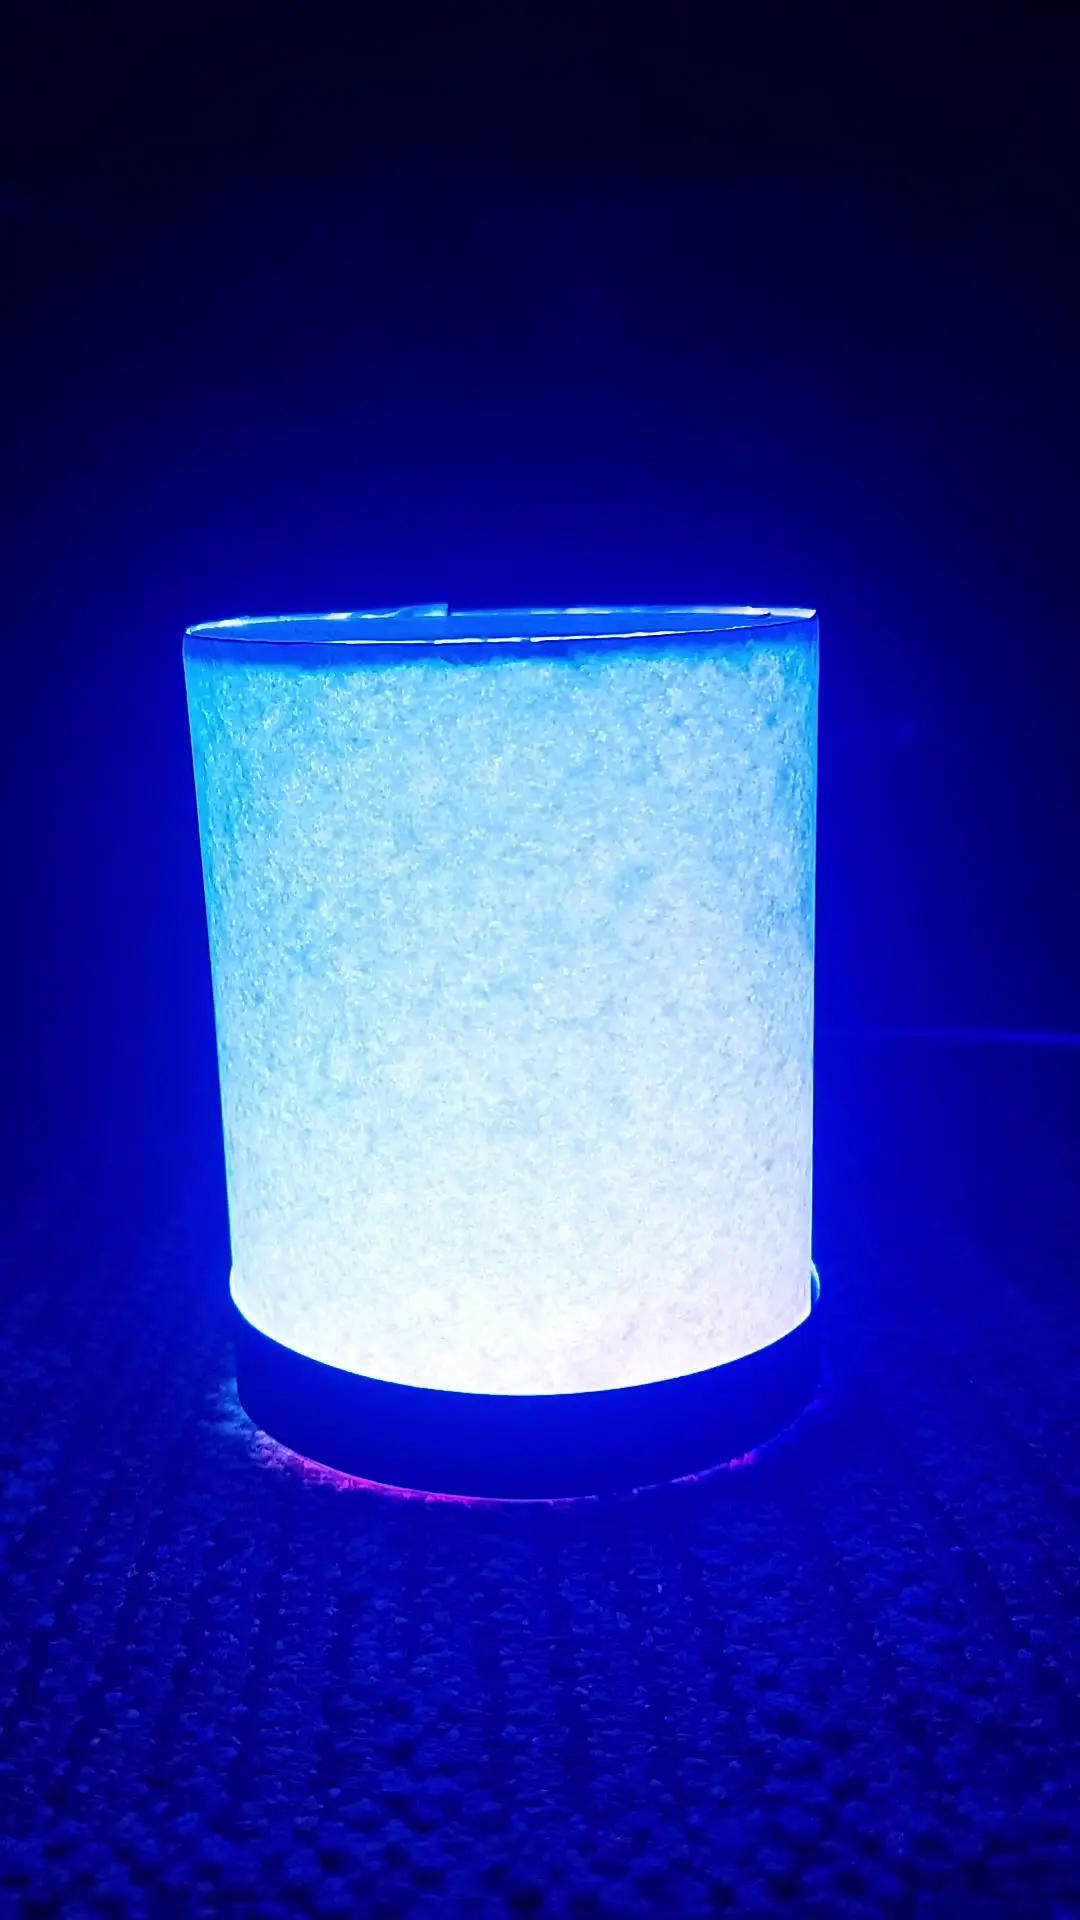
TIME: ~ 2.5hr
WRITTEN BY: Etienne Naude
LINK: https://github.com/etinaude/smart-lanterns
This is a free event with the goal of sending everyone home with a smart lantern and a new set of skills. The event will be broken down into 5 parts:
Intro: We introduce the clubs and demonstrate briefly how to make the lanterns and explain what we will be doing.
Collab: Breaking into teams of 3-5 working together to make one lantern.
Individual: Using the process learned in the previous step to make the rest the new lanterns for the team.
Food: Needed for survival by humans.
Outro: Bring the group back together and going further with the lanterns, as well as exploring more options for this tech.
The first step is to download the code for this project which you can do from here:
https://github.com/etinaude/smart-lanterns
click the green code button then select Download ZIP
you should find these instructions in the README.md file.
This project use arduino which requires the arduino IDE to run, I recommend using Arduino IDE 2.0 RC, but platform IO or Arduino version 1 are also supported.
Update the board manager:
click file > preferences > Additional board manager URLs and paste this link into it https://arduino.esp8266.com/stable/package_esp8266com_index.json
then click OK.
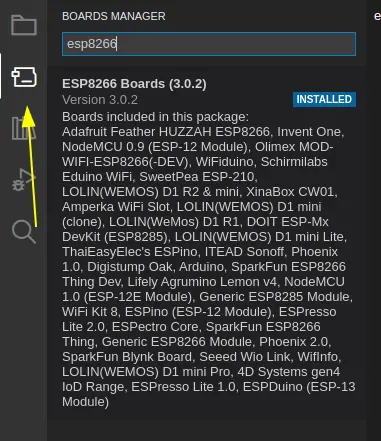
Once this is done install the new board manager by clicking the board icon searching esp8266 and clicking Install.
Click on the library icon and search for FastLED, then click install. Do the same for sinricPro.
Open the code in Arduino, all the files are located in the folder named smart-lanterns. You can open this by clicking file > open in the top left corner.
During the in person workshop we will provide you with a few components, these are:
- 1 - Wemos D1 mini ESP8266 dev board (which will be referred to as an "ESP")
- 0.5m - 60led/m 5050 addressable LEDs
- 3 - Jumper wires soldered to the LEDs (soldering not covered in the workshop)
- Hot glue
- Masking tape
- Lasercut corflute
- Lasercut 120gsm White Card
- Lasercut 120gsm Black Card
You will need to bring 2 things
- A laptop with an internet connection and USB ports
- A data micro USB cable
Laser cut the paper following the file in the laser cutting.svg file, which should look roughly like this (outdated):
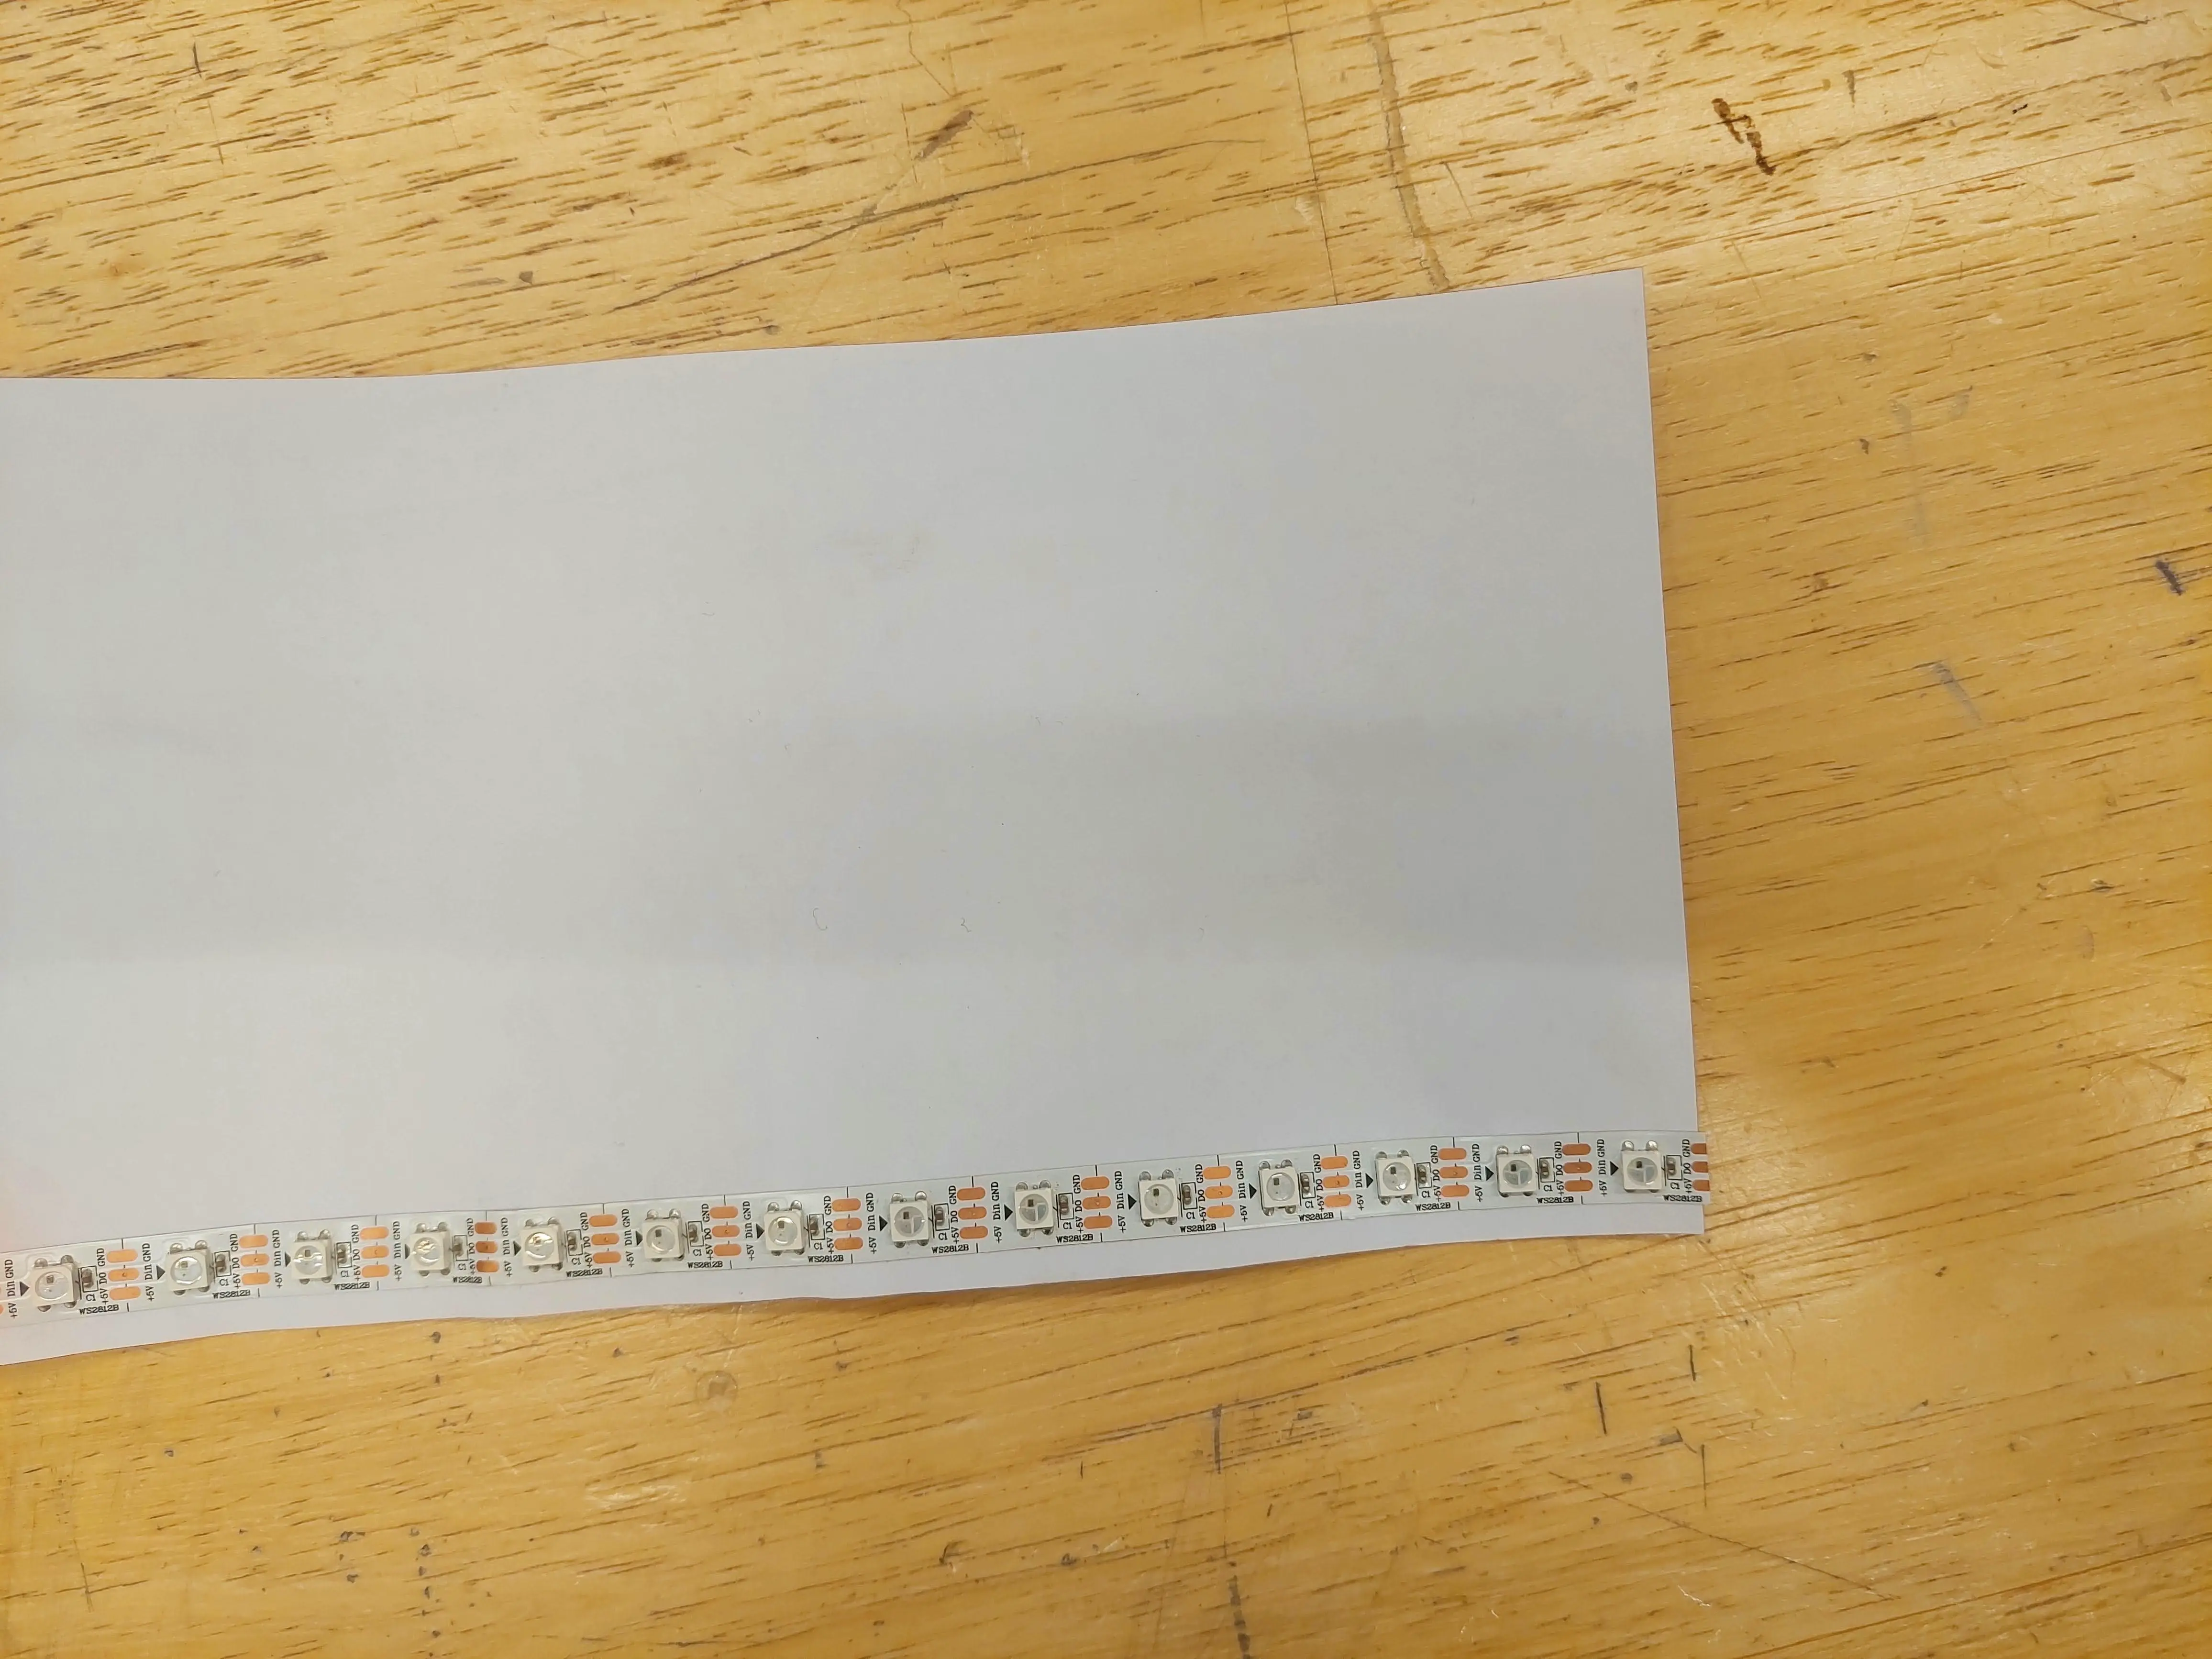
Place the LED strip about 2-3 mm from the bottom of the card and stick it down using the adhesive tape on the back of the LED strip, using hot glue to secure it if needed. This is shown in the image below:
Next, hot glue the core flute to bottom edge of the card below the LED strip being CAREFUL to not crease the card
Lastly, hot glue the black card to the outside of the white card to hide the LED strip when the lights are on.
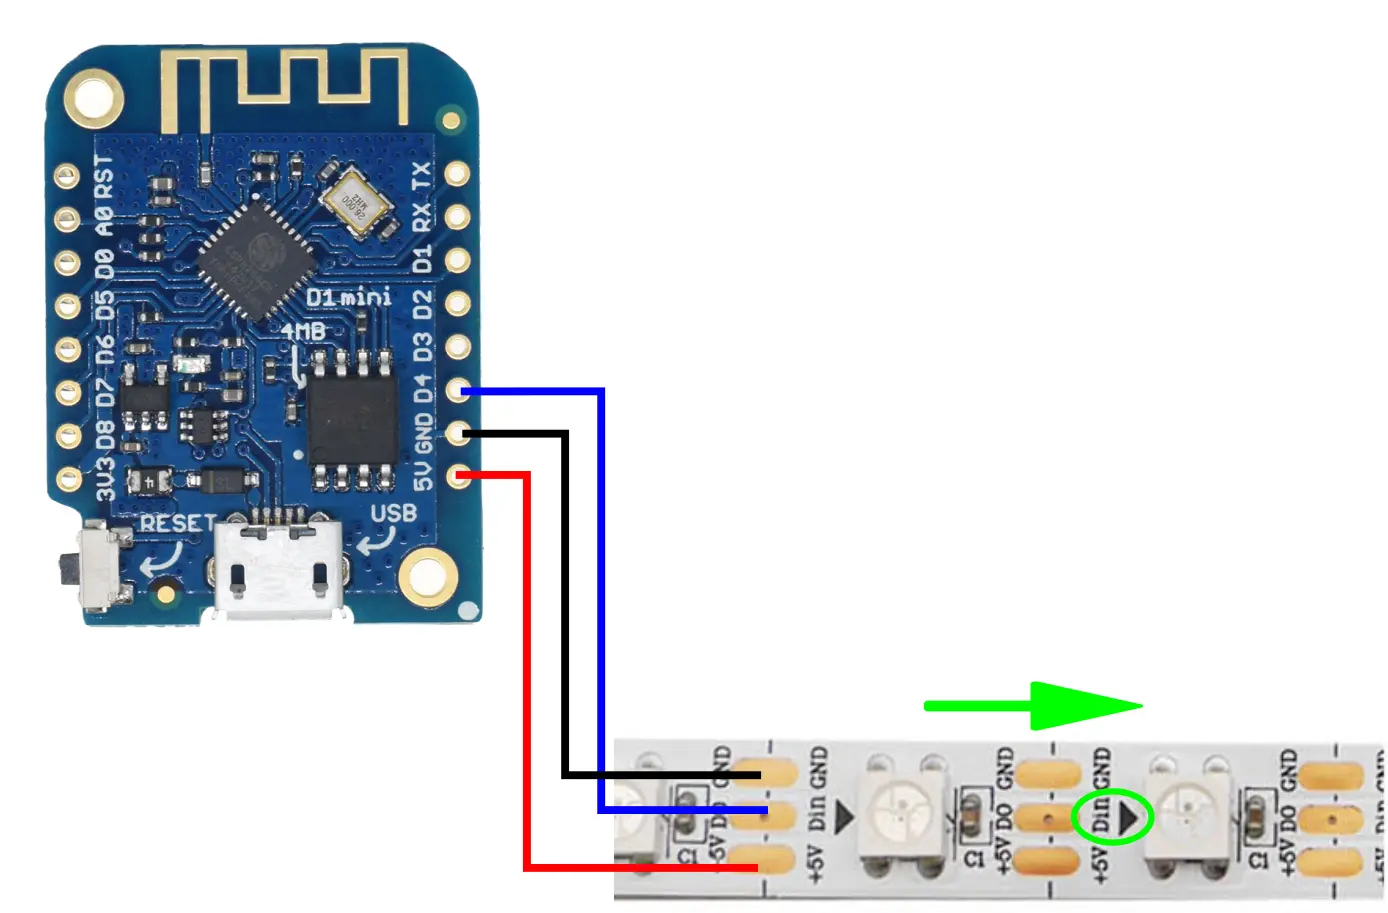
Wire the LEDS to the D4 of the ESP. Making sure that you wire in the direction of the arrow. This step is shown in the image below.
- +5V -> VIN
- GND -> GND
- DIN -> D4
Once this is done, place the ESP in the hole in the core flute, with the wire traveling to the outside. Once the programing is done, and you are sure everything is working, place the masking tape under the ESP to prevent it falling out.
We will use Sinric Pro to connect this to the internet and to Google Assistant
Start by creating a free Sinric Pro account. Although it is possible to sign up using a temporary email, it is not recommended as you might want to log in again later to add new devices or change your configurations.
then create a new light by clicking on devices and + Add Device.
then fill in a name for your circle and select Smart Light Bulb for the Device Type.
Then click next until you are on the screen which shows the details of your device. It should look like this:
Open the demo code in the Arduino IDE (Step 2.3)
copy paste each field into the config.h and add your WIFI details (name and password)
In the config file select a pattern by uncommenting (removing the //) the pattern you would like. The pattern options are at the end of this document.
Plug the ESP into your laptop and
Select LOLIN(WEMOS) D1 mini clone from the drop down menu.
Then click the upload button (right pointing arrow).
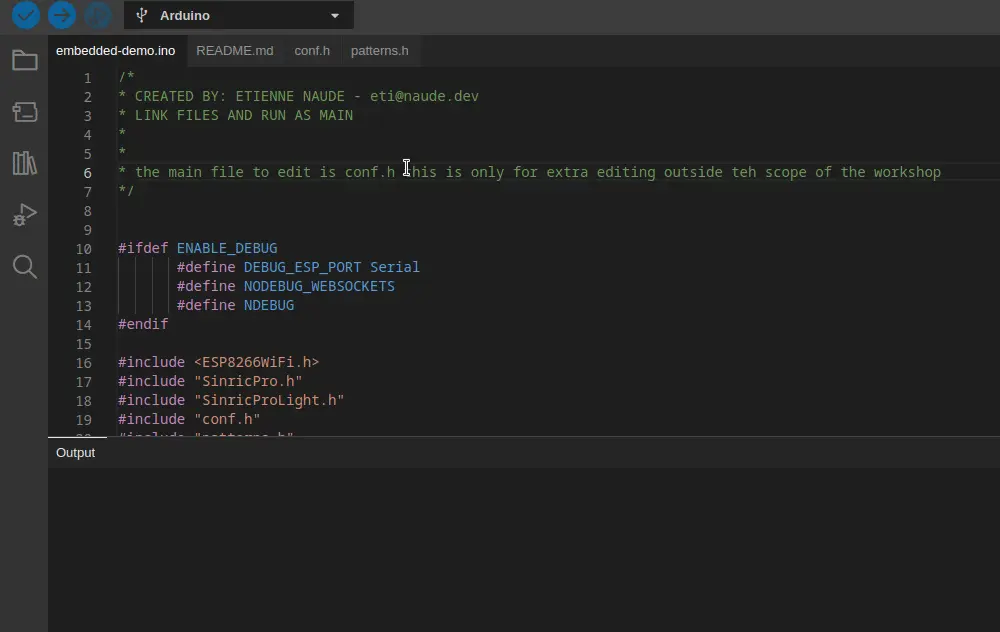
And wait for your code to compile and upload. As seen in the image below:
You can add a connection to Google Assistant via the sinric pro app. Download the app from the Google Play Store or the Apple App Store. From the app you log in and all your devices should display in a list. Then you can open the Google Home app and click + > Set up device > Works with Google > Sinric Pro in the top left corner. this allows you to link your Sinric Pro device to Google Home and control it with voice commands!
There are plenty of other col things which can be done with the technology used in this project. Here are some examples:
Many companies such as Facebook, Google, Canvas, Discord etc. Have APIs which allow you to link into their services. This means you can potentially have your lights react to certain events. For Example your lights can show green if you received a good grade on canvas and red if you received a bad grade.
I have not used all of these APIs so I am not sure the exact access you have or how to set them up but this is an example of the kinds of things you can do. And this is outside the scope of this workshop
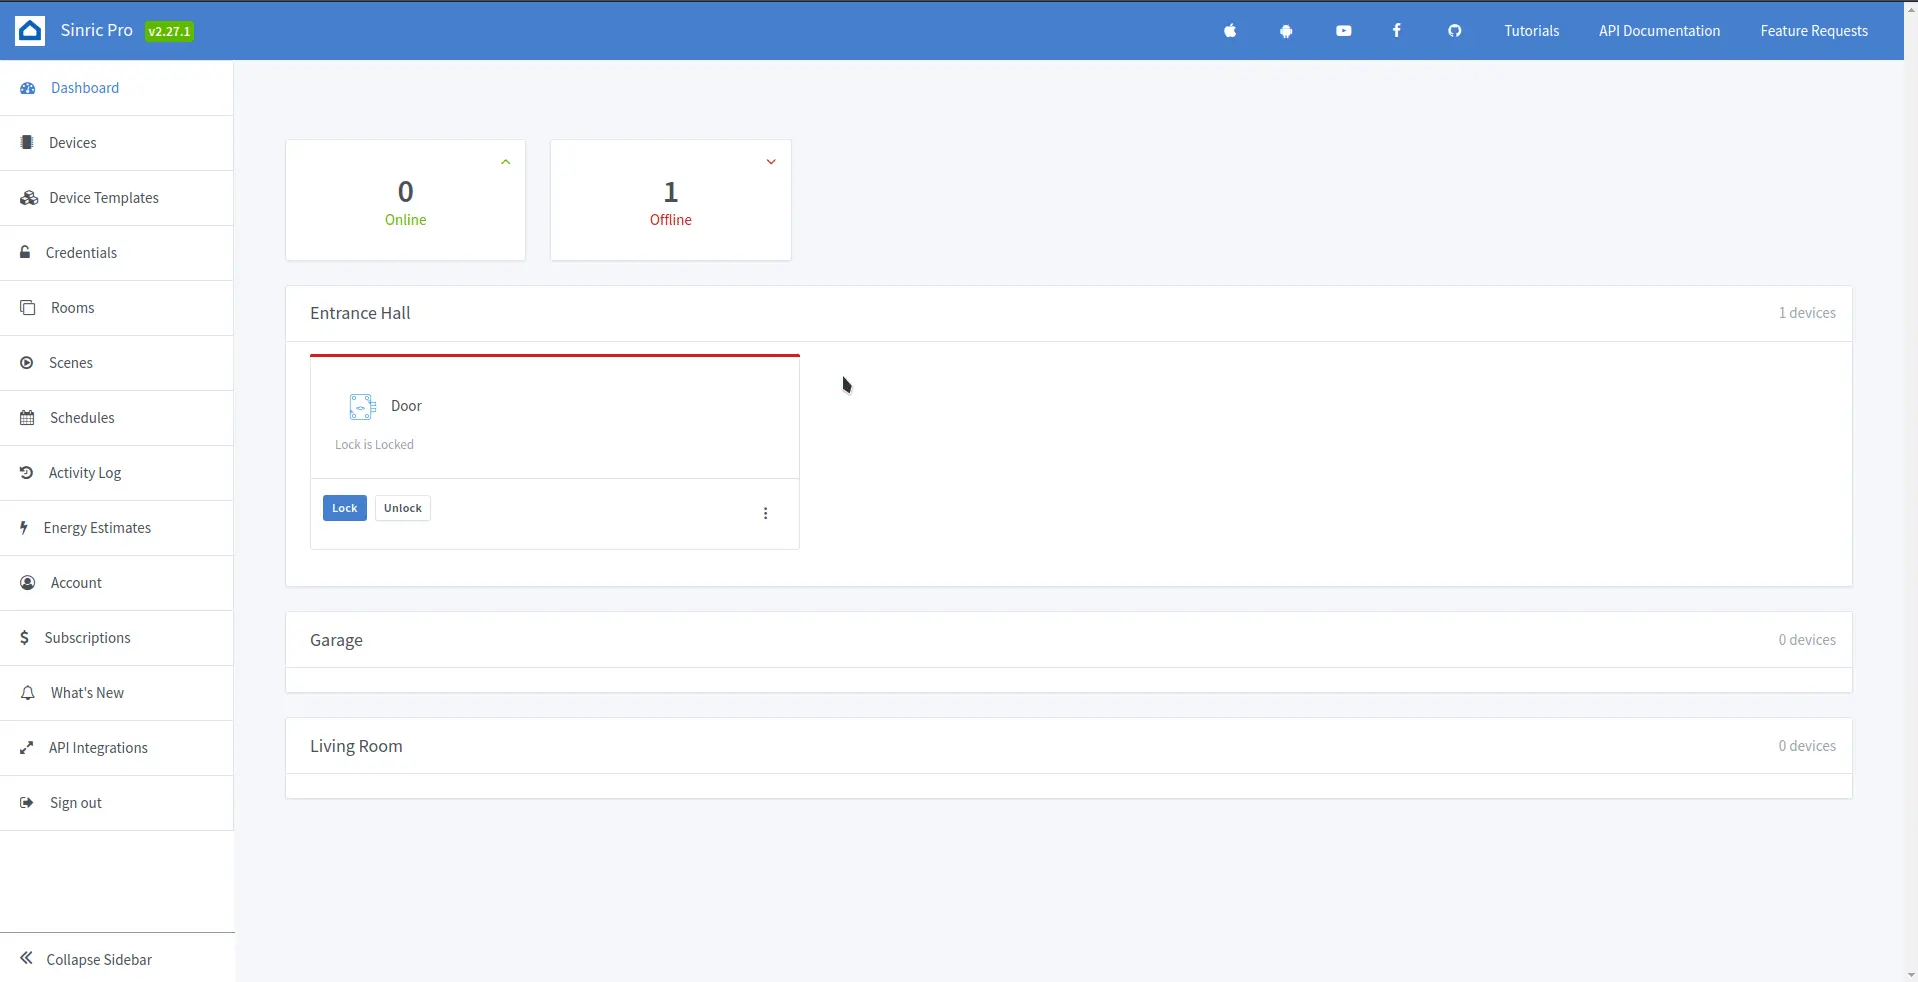
Automated front door lock
Automated garage door opener
Automated switch (eg put in on a fan, heater kettle)
Automating Air con
Collect data from sensors
Security System
Mini webserver
Automating 3D printers
Mini security cam (ESP-32 CAM)
Decor of various sorts
Automate 3d printing
Smart Speaker
What else????
There are many other pattern options make with this, each LED can take a few different colours (about 16 million) but most would look too similar to each other to see, I would recommend using bright colours that are highly saturated.
For more workshops like this please checkout either my github profile etinaude or the following clubs which made this event possible:
| Link |  |
 |
|---|---|---|
| Discord | W6QtB3Sm2U | penxcqxhyh |
| @gdsc.uoa | @make.uoa | |
| Website | GSDC | makeuoa.nz |
| Website |  |
 |
