147.182.175.39
A Node.js script that renders an HTML5-based animation into a high-quality video (supports at least 1080p60). It renders the animation in a frame-by-frame basis using Puppeteer. So, even very CPU-intensive animations can be rendered without skipping frames (unlike screen recording solutions).
It works by opening a headless browser and calls seekToFrame(frameNumber) for each frame of your animation.
When called, your web page is expected to display that frame on the screen so that a screenshot for that frame can be taken.
Each frame is then sent to ffmpeg to encode the video without needing to save temporary files to disk.
Because it works by capturing the page screenshot, it can render:
- HTML elements
- SVG elements
- Canvas
- WebGL
However, the renderer needs to be able to display a freeze frame when requested. Therefore, it does not support:
- CSS animations and transitions
- Nondeterministic animations
Features:
- Outputs high-quality MP4 file with configurable frame rate and size.
- Outputs PNG image frames with the
--pngflag. - Framework-agnostic, so you can use it with GSAP, Pixi.js, Vue.js, React.js, etc. See examples below!
- Parallizable — It can run multiple instances of headless Chrome in parallel to speed up rendering.
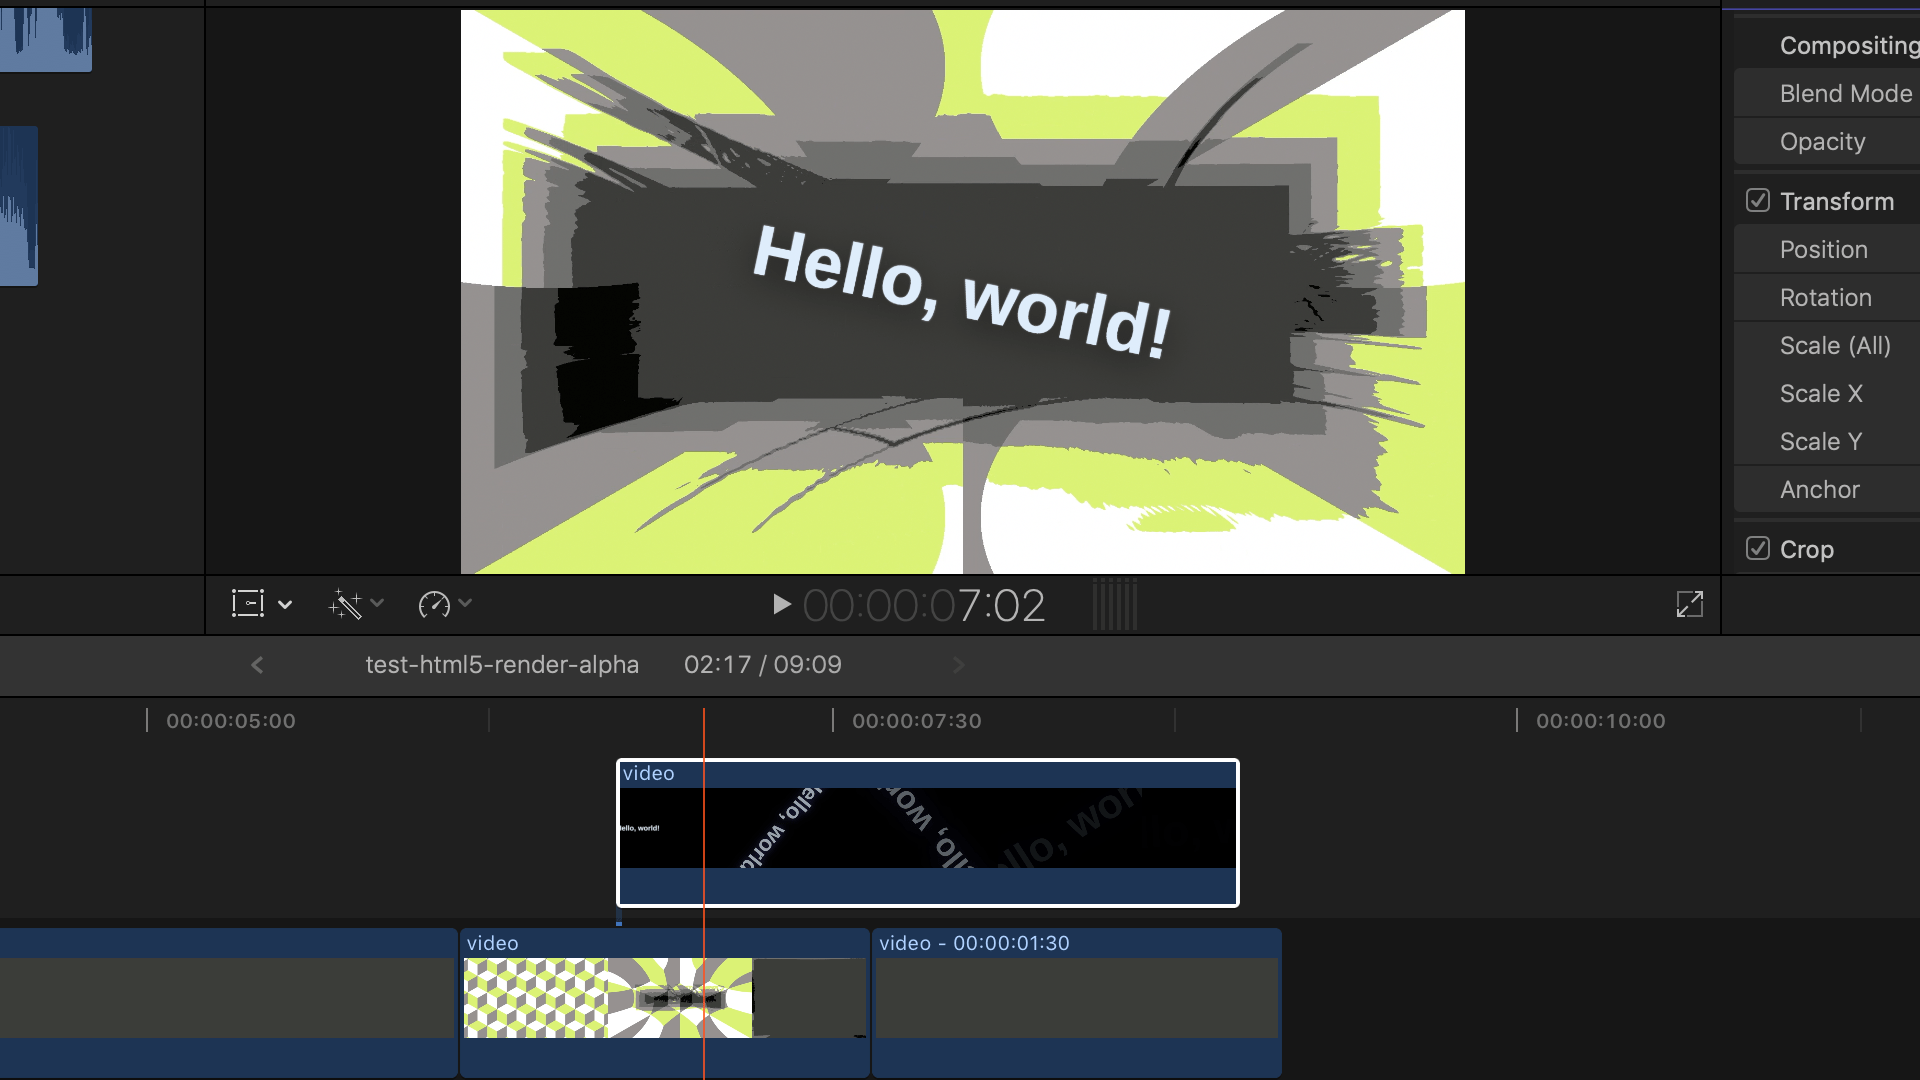
- Video with alpha channel can be rendered using the
--transparentoption. It outputs as a QuickTime Animation (.mov) file.
All videos and preview images here are generated by CircleCI on every commit.
| Image | Source code | View in browser | Result |
|---|---|---|---|
 |
examples/gsap-hello-world.html | 🌏 View | 🎬 Play (1080p60) |
| A simple but CPU-intensive Hello World example using GSAP. Shows basic usage on how to create an HTML5 webpage compatible with this renderer. | |||
 |
examples/vue-starfield.html | 🌏 View | 🎬 Play (1080p60) |
| A very CPU-intensive starfield built with Vue.js. When viewed in real-time, my Late 2013 MacBook Pro cannot render any faster than 10 fps. | |||
Your HTML5-based animation can be created using any tool, so long as the webpage has these properties:
-
The webpage should contain a
#sceneelement in the DOM, positioned attop: 0; left: 0;. The dimensions of the#sceneelement will be the video’s dimensions. You can use the provided lib/style.css as a starting point. -
The webpage should contain these global JavaScript functions:
-
getInfo()should return an object with the following properties:fpsThe video frame rate.numberOfFramesThe number of frames to render.
-
seekToFrame(frameNumber)should display the frame at the specifiedframeNumber. This function may return a promise, in this case the renderer will wait for it to resolve. Please make sure that all assets (such as images/fonts) are already loaded.If
seekToFrame()returns (or resolves to) a string begining withdata:image/png;base64,, then the renderer directly renders the PNG image instead of taking a screenshot. This can really speed up rendering by an order of magnitude.
See an example at examples/gsap-hello-world.html.
-
Install Node.js 12, Yarn and ffmpeg, then install the project dependencies with:
yarn install
To see help text, run:
node render --help
node render --url=<URL> --video=<FILE>.mp4
By default, the renderer will spawn multiple headless Chrome processes matching the number of CPU cores detected on your machine. However, more running Chrome instances means more memory consumption. This may be undesirable.
For instance, CircleCI instances have 2 vCPUs and 4 GB of RAM. However it reports as having 36 cores, leading to a lot of crashes due to out-of-memory condition.
You can control the number of headless Chrome processes using the --parallelism option:
node render --url=<URL> --video=<FILE>.mp4 --parallelism=4
You can also render individual frames as different image files using the --png option.
This can help you avoid losing your work in case you want to render a long video, in exchange for more disk usage.
node render --url=<URL> --video=<FILE>.mp4 --png=<DIR>
This will render each frame to <DIR>/frameNNNNNN.png.
Note that you will have to assemble these frames into a video file yourself.
You can use this in conjunction with --no-video to render just the image files, without the video.
You can also set the starting and ending frame numbers.
node render --url=<URL> --video=<FILE>.mp4 --start=60 --end=120
This will render the frames 60–119. Note that the ending frame is not rendered.
Use the --no-video option. Useful when used with --png.
node render --url=<URL> --no-video
Just set --end to (--start + 1) and render out a --png file.
node render --url=<URL> --png=<DIR> --start=60 --end=61
Use the --scale option to scale up or scale down the browser viewport.
node render --url=<URL> --video=<FILE>.mp4 --scale=0.5
node render --url=<URL> --video=<FILE>.mp4 --scale=2
You can also use this tool to render animations with alpha channel passing the --alpha option and outputting a .mov file.
Note that the resulting file size will be significantly larger due to codec change (QuickTime Animation codec)!
node render --url=<URL> --video=<FILE>.mov --alpha
This allows you to composite the rendered animation on top of another video file!
