Lab 6678A - Mobile App Development Using the IBM MobileFirst Platform Foundation Command Line Interface (MFP-CLI)
Download
- Click Download ZIP above or click ibm.biz/lab6678zip
Your Goal !
- During this Lab you will build a Mobile Chat App that leverages the MFP Server and NodeJS using IBM Bluemix.

1. Bluemix NodeJS Server
1.1 Deploy the NodeJS Server for the Chat Service
- Login into bluemix.net and verify that you have at least 128MB free for Cloud Foundry Apps
- Click this button
- This will deploy the nodejs branch
- Select a unique hostname for your new App, like:"mychat"
- Your app will be assigned a https unique URL like:https://mychat.mybluemix.net
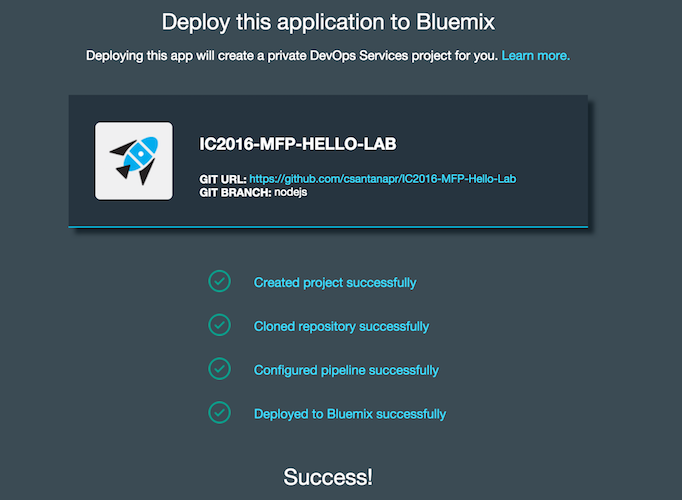
1.2 Save the url for your new Chat Service
- Click
 to see the chat app running on the browser and verify the URL like https://mychat.mybluemix.net
 - Leave the browser window open since we are going to need the URL and use the website for testing our mobile App.
1.3 MFP-CLI Installation
- Verify that your Lab workstation has the MFP-CLI installed by running the following commands in a Terminal window
    $ mfp help
    $ mfp -v
- If you don't have the MFP-CLI installed you can download the MFP-CLI from the MFP Developer Center
2. MFP Server
2.1 Start MFP Server
- Change directory to MFP backend project
$ cd MFPBackend
- Use the MFP-CLI to start the MFP Server
$ mfp start
- You can use other MFP-CLI commands to manage the MFP Server
    $ mfp status
    $ mfp stop
    $ mfp restart
2.2 Configure the MFP Adapter
-
Edit
MFPBackend/adapters/ChatService/ChatService-impl.js -
Set the variable chatUrl to the url of your new Chat Service deployed in Step 1
var chatUrl = 'https://mychat.mybluemix.net';2.3 Deploy Adapter changes
- Change directory to the adapter directory
$ cd adapters/ChatService/
- Use the MFP-CLI to push only the adapter changes
$ mfp push
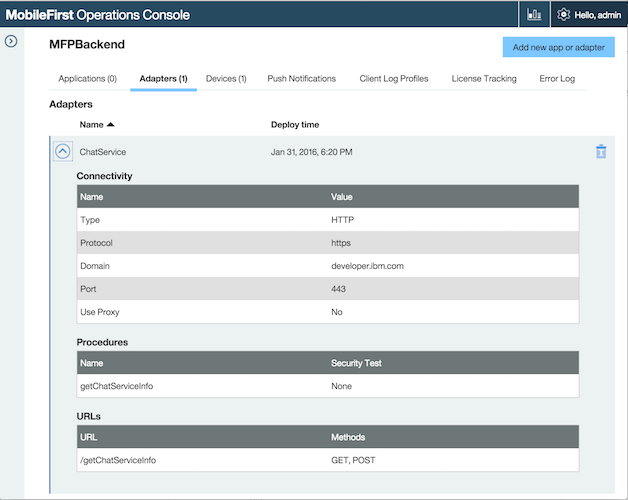
- Use the MFP-CLI to open the console and verify adapter is deployed
$ mfp console
- Test the adapter and verify that returns the correct chat url
$ mfp adapter call ChatService/getChatServiceInfo
- The command will return a response with the url of your nodejs app
    Calling GET '/MFPBackend/adapters/ChatService/getChatServiceInfo?params=[]'
    Response:
    {
      "isSuccessful": true,
      "chatUrl": "https://chatservice.mybluemix.net"
    }
3. MFP App
3.1 Setup App
- Change directory to the app directory
$ cd ../../../MFPApp
- Use the MFP-CLI to add the Cordova Platform iOS
$ mfp cordova platform add ios
3.2 Register App with MFP Server
- Use the MFP-CLI to push the app to the running MFP Server
$ mfp push
- Use the MFP-CLI to verify that the app is registered on the correct server
$ mfp server info local
- The command will return a list of adapters and apps
 Connecting to server 'local'
 Profile name: local
 URL: http://localhost:10080
 MFP version: 7.1.0.00-20160125-0742
 Is default: true
 ------------------------------------------------------------
 Runtime: MFPBackend
 Bound apps
	 IC2016Chat, v1.0.0 - Hybrid (iphone)
 Adapters
	 ChatService
   ------------------------------------------------------------
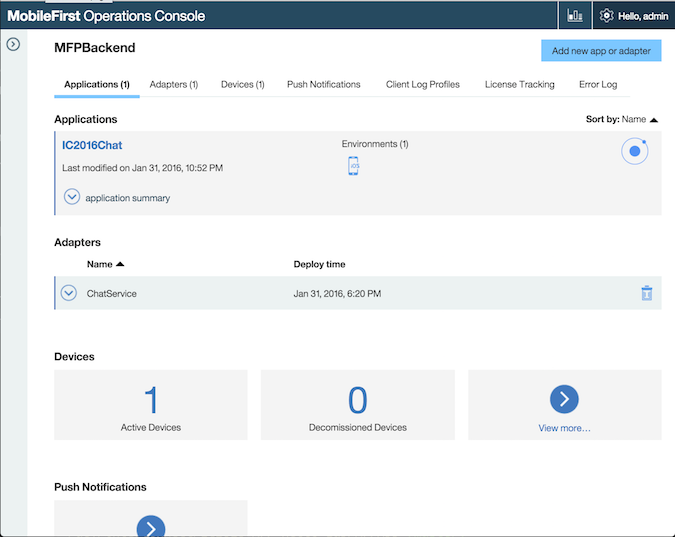
- You can also open the Console and verify that the IC2016Caht app is registered
$ mfp console
3.3 Running the App
- Preview the App on the Browser
$ mfp cordova preview --type browser
- Run the App on the Simulator using the MFP-CLI
$ mfp cordova emulate
-
When prompted select an iPhone Simulator from the list
-
To run a specific Simulator you can pass
--targetargument
$ mfp cordova emulate --target iPhone-6s-Plus
3.4 Test the App
-
Visit the Chat Service on Bluemix (i.e. https://mychat.bluemix.net)
-
Now test the chat service between the Browser and the iPhone Simulator
-
If the Keyboard doesn't show up in the Simulator, then press Command (⌘) + K
-
You can share the Bluemix URL to a friend located in any part of the world and have a conversation.
-
This demo App is not configured with Login Authentication, this is something you can easily add using MobileFirst Platform check MFP Developer Center for more information on security related topics.
4. Extra Credit (Camera access)
-
If you finish the Lab in less than 15 minutes you can go ahead and continue
-
Enable the App to send photos using the camera or photo library
4.1 Open XCode project
-
Open
MFPApp/platforms/ios/IC2016Chat.xcodeproj -
You can also open from Terminal
$ open platforms/ios/*.xcodeproj
4.2 Add the Cordova Camera Plugin
- Change directory to MFPApp if not already
$ cd MFPApp
- Use the MFP-CLI to add the camera plugin
$ mfp cordova plugin add camera
4.3 Add option to share photo
-
Edit
MFPApp/www/templates/chat.html -
Add a camera icon to call Camera Plugin as the first child of the
<form id="footer-input">
<i class="icon ion-camera" ng-click="takePicture()" ng-show="isWebView"></i>4.4 Prepare App Changes
- Use the MFP-CLI to prepare your changes
$ mfp cordova prepare
- Click Play Button in XCode to run Simulator
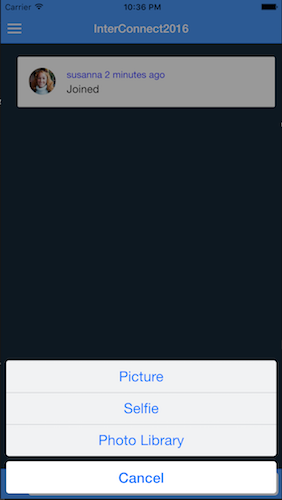
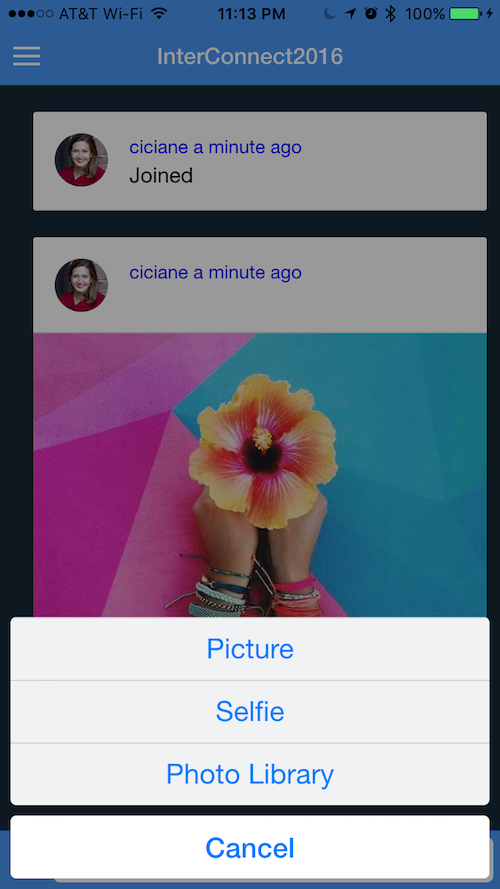
- Touch the Camera button
- Select Photo Library (Real device supports Selfie and Picture buttons)
- Select a Photo to share
- Check the other clients and see the picture you just share
5 Homework (MFP Docker on Bluemix)
- If you want to be able to run the App on your iPhone and take it for a spin, you will need to deploy the MFP Server on a public IP Address that your iPhone can reach.
- The easiest way to run MFP Server on the Cloud is using Bluemix Containers.
5.1 Run MFP Server Docker Image
-
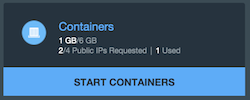
Login into Bluemix and make sure you have at least 1GB of memory and 1 Public IP Address for Containers.
-
Click Containers on your Dashboard
-
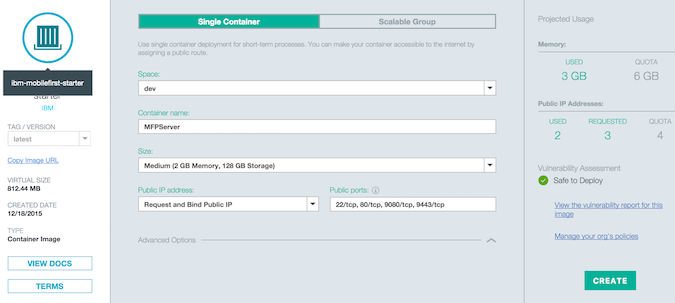
Select the ibm-mobilefirst-starter docker image
-
Enter the following minimum information:
- Container name: MFPServer
- Size: Medium 2GB
- Public IP Address: Request and Bind IP
-
Click Create
-
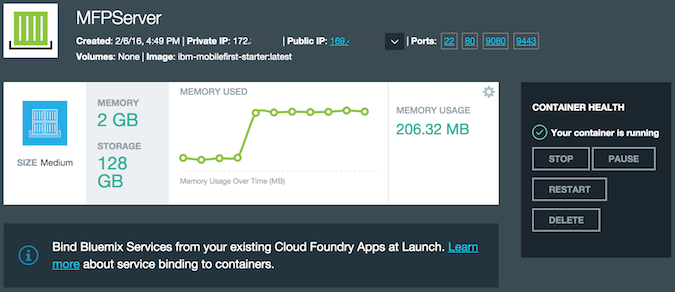
Wait for a public IP address to be assigned, and the container to be running
-
Click the public IP address to open a new Browser window
-
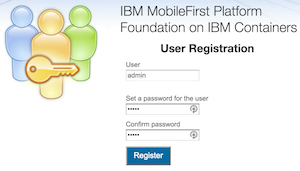
Enter a password to register the user admin for example admin and click Register
-
Save and bookmark the base URL for the MFP Server (i.e. http://169.x.x.x:9080)
-
Click Open Console to open the MFP Server Console
5.2 Upload Adapter
-
In the MFP Server Console Click Add new Adapter button at the top right
-
Browse to the location of ChatService.adapter for example Downloads/IC2016-MFP-Hello-Lab-master/MFPBackend/bin/ChatService.adapter
5.3 Add Remote MFP Server Profile
- Use the MFP-CLI to add a new server profile with the name bluemix located using the public IP address on bluemix, and the admin credentials you enter in Step 5.1
$ mfp server add bluemix -l admin -p admin -u http://169.x.x.x:9080
Notice to replace 169.x.x.x with the correct public IP address of your docker container
- Use the MFP-CLI to verify the list of server profiles
$ mfp server info
- The bluemix profile will show up
 Name     URL                       Description
 ------------------------------------------------------------
 local    http://localhost:10080    Local Dev Server [Default]
 bluemix  http://169.x.x.x:9080     Remote Server
 ------------------------------------------------------------
5.4 Register App with Remote MFP Server
- Change directory to MFPApp if not already
$ cd MFPApp
- Use the MFP-CLI to register the App with the docker container on bluemix
$ mfp push bluemix
Notice that the name of the runtime on the remote MFP Server is MobileFirstStarter, This is different from the local runtime MFPBackend on the local MFP Server
5.5 Run the App on your iPhone
- Plug your iPhone with a USB cable
- Open XCode
$ open platforms/ios/*.xcodeproj

