ezDisplay powered by VK Electronics


Schematics

Layout (TOP)

Layout (BOTTOM)

Repo structure:
example
├── ezDisplay_Badge (Arduino sample code)
└── bitmap_samples (BMP format images used for sample)
PROGRAMMING.md (Guide on how to program ezDisplay)
SETTINGUP.md (Guide on how to set up the programming environment, Attiny 85 board installation etc...)
Steps and Tools used:
-
Search for the GIF you want to display: https://icons8.com/free-animated-icons/charging-battery

-
Convert GIF to frames of images: https://ezgif.com/split
-
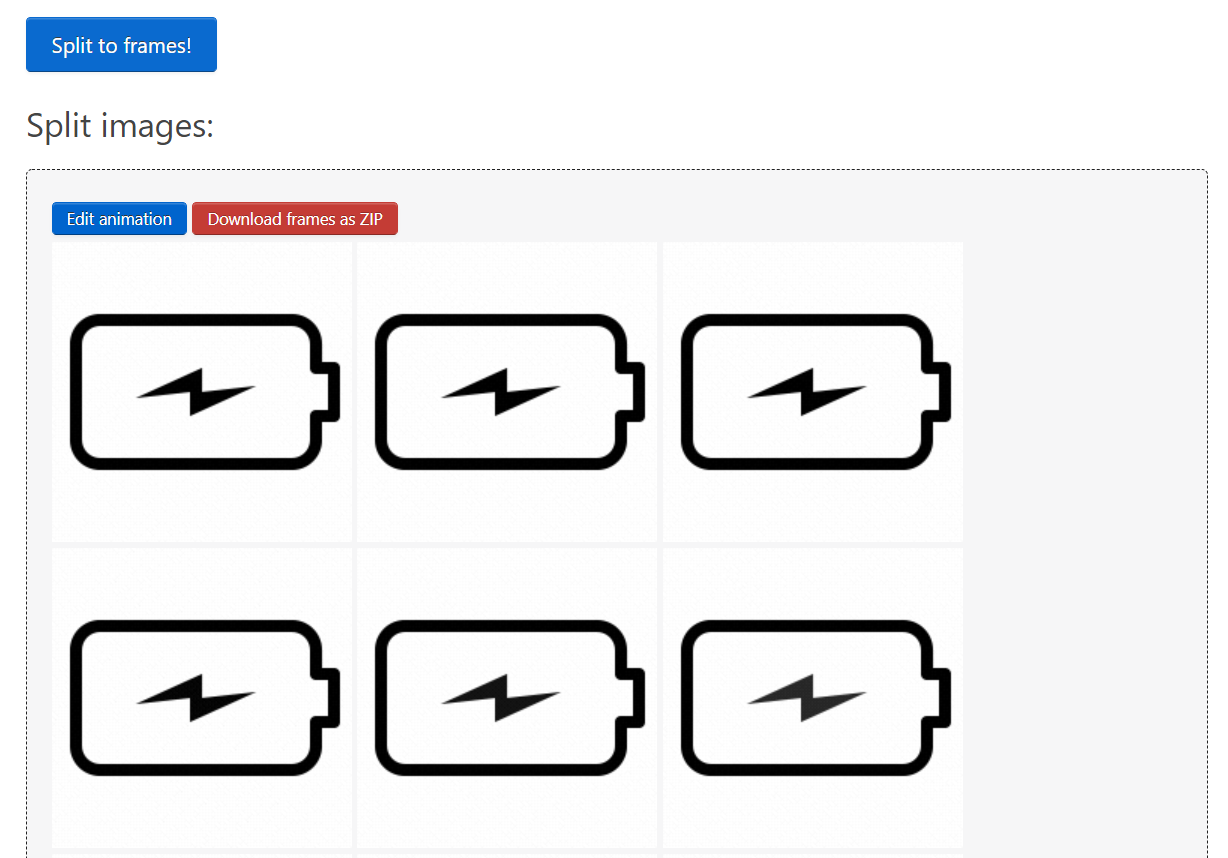
Split the downloaded GIF into the respective frames of images:
-
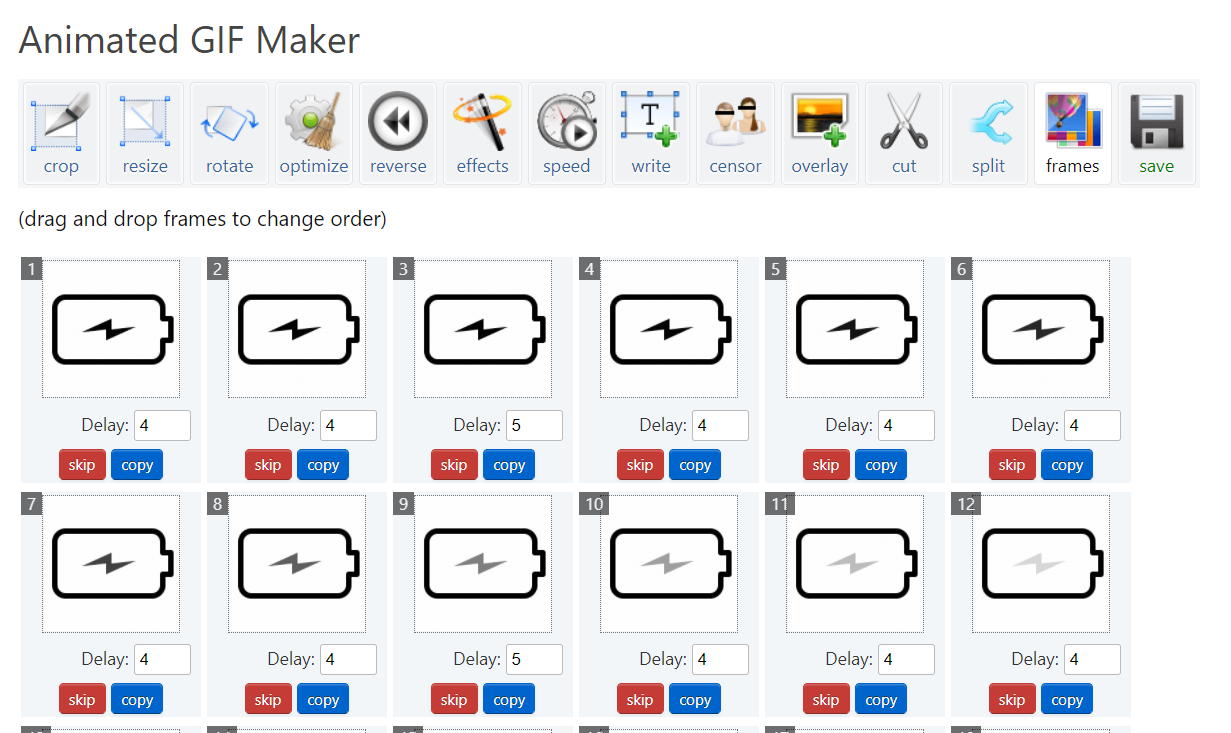
You can customize the animation using the GIF Maker:
-
-
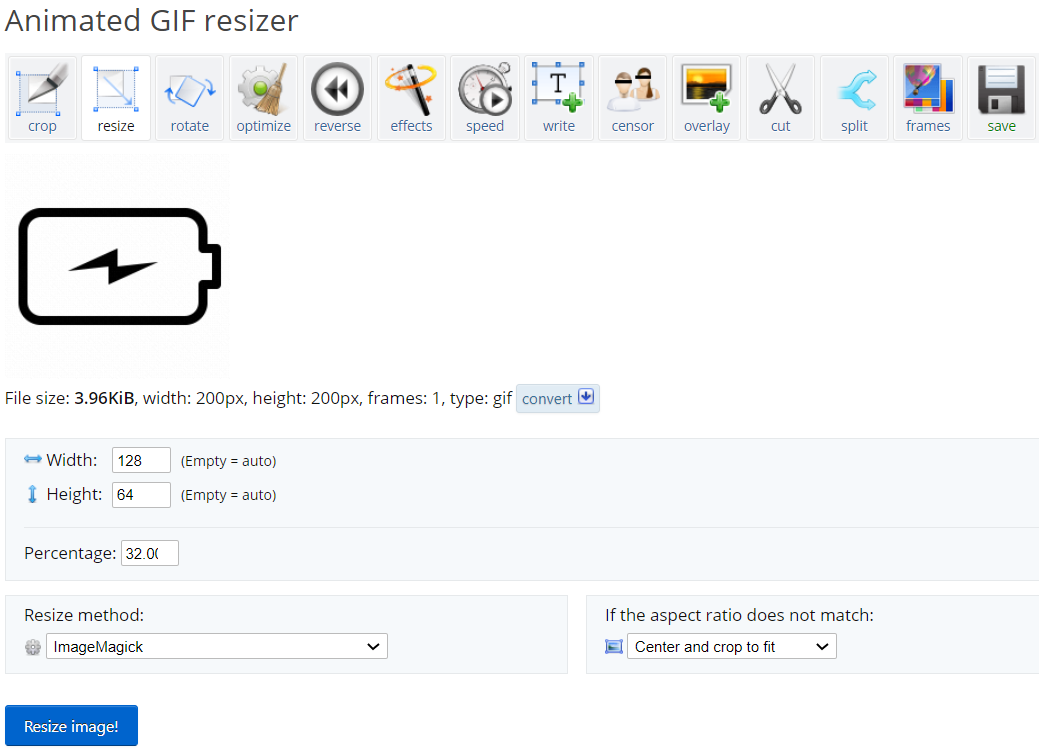
Resize the frames of images to size of OLED (128 x 64 pixels): https://ezgif.com/resize
-
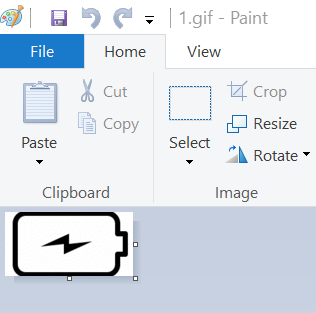
Convert image extesion to BMP: Paint software
-
Load the GIF image on Paint software
-
Choose the file extension as Monochrome BMP:

-
-
Convert the images into bytes arrays for Arduino code use: https://javl.github.io/image2cpp/
-
Load the converted BMP image and change the configurations (as your own preference - trials and errors)
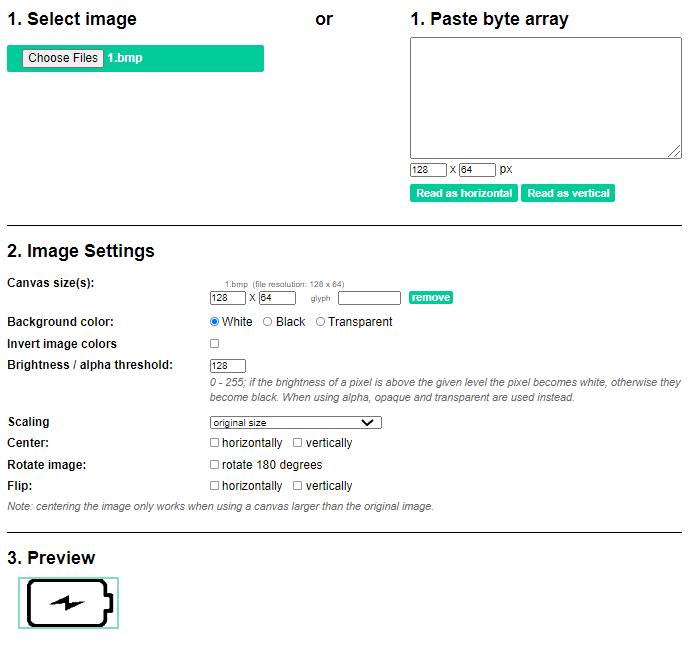
-
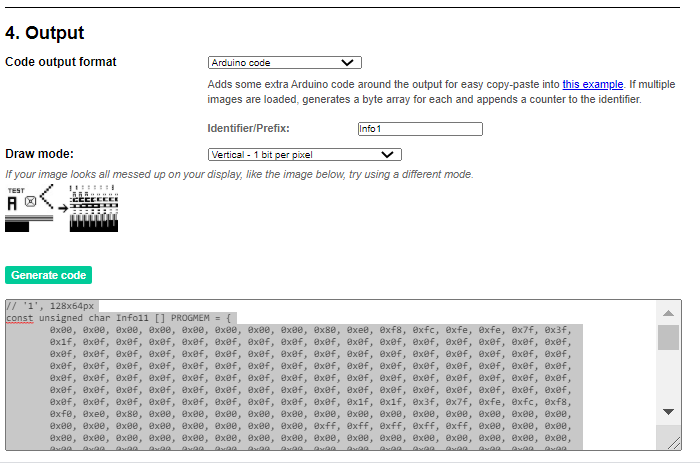
Generate the byte arrays code. One image correspond to one Identifier/Prefix:
-
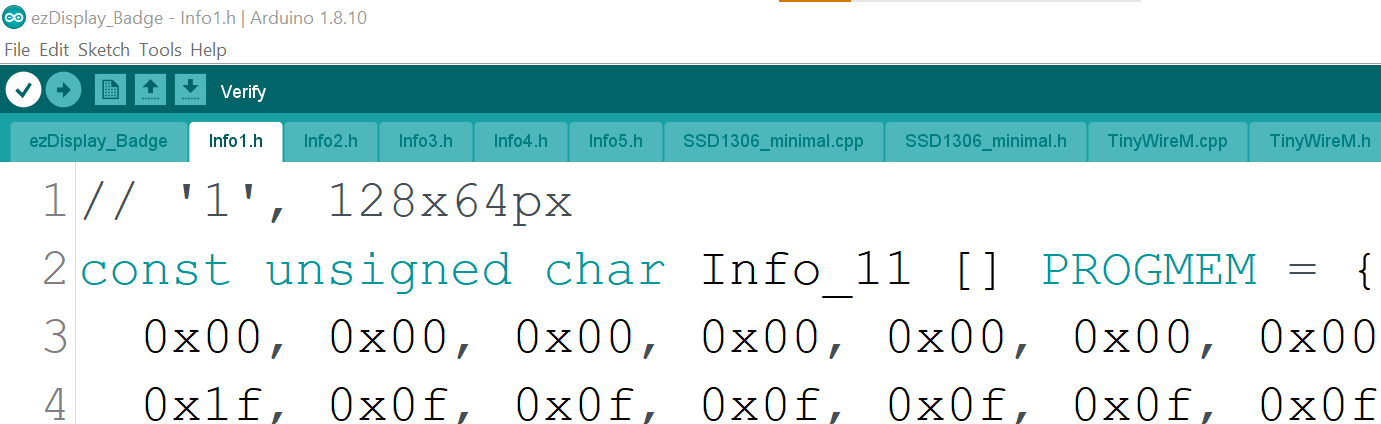
Paste the generate byte arrays code into the Arduino code (Info1.h or Info2.h or Info3.h .....) in sample folder
-
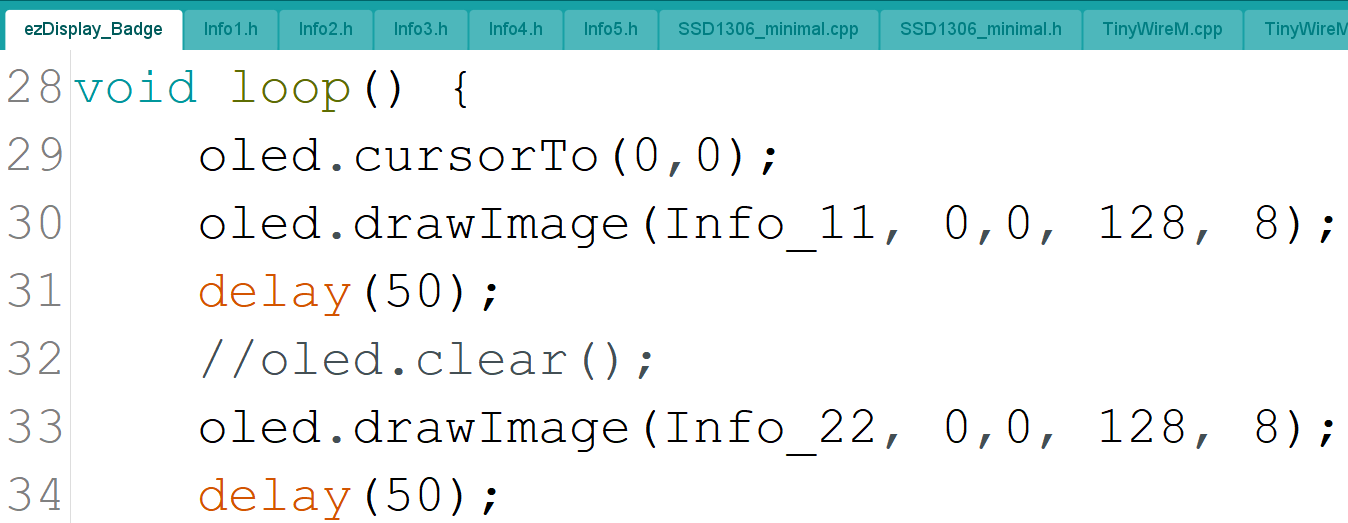
Change the sequence and name of the drawImage function on Arduino main code
-


Demo:
Product Review by Johnson Lam, Founder of KakiDIY
