This project was created to test micropython-async-websocket-client package.
It deals with micropython, ESP32S controller and clones.
Main ideas of referenced above package are:
- Create and keep alive channel with server for data exchange.
- Problems with data exchange with server doesn't affect main cotrol loop.
- There is possibility to send control signals from server to controller.
- ESP32 controller
- USB cable with data wire
- Ubuntu 22.04
- Python 3.10
- VSCode
- WiFi network
Project https://github.com/Vovaman/start_ESP32_with_micropython explains how to start.
⚠️ Use only deb-distributed version of VSCode!
File server.py realizes simple websocket server. Server created with FastAPI.
Server has simple functionality: it provides only one command for clients ws://<server>/<client_id>.
Where client_id is just random integer.
If client with client_id is already connected then this request will be rejected.
In other case a new websocket channel will be created with client client_id.
When client send some message to server then it is broadcasted to all other clients.
src folder contains files for test ESP32 project.
Project's functionality consists of two independent tasks:
- loop with LED blinking and sending SOS message to server
- loop for reading data from server.
All the steps will be executed in VSCode.
⚠️ How to work with ESP32 and VSCode see https://github.com/Vovaman/start_ESP32_with_micropython. Read this project before you continue.
Open terminal and run inside project folder:
$ pipenv installThis command will create python-environment and install all necessary packages (see Pipfile for list).
Upload firmware with micropython to your controller or use
esp32-20220618-v1.19.1.bin file in this project.
⚠️ Pay attention: the connection will be rejected by client every ten cycle to demonstrate re-handshaking.
- Define IP address of your host by running the command in terminal:
Command will list parameters for all network drivers. Find wifi driver in this list and IP address inside it configuration:
$ ip a

- Open
src/config.jsonand edit parameters for wifi network andserverparameter: insert IP-address defined at previous step. Save the file.
Upload project to your controller using Pymakr.
⚠️ We will installmicropython-async-websocket-clientat the next step, becausePymakrrefresh file system on controller while installing project.
Install into controller micropython-async-websocket-client as explained in https://pypi.org/project/micropython-async-websocket-client/.
Restart controller. It will start to blink blue LED.
Open new terminal in VSCode, enter to project environment (if VSCode didn't do it for you) and run test server:
$ uvicorn server:app --reload --workers 1 --host 0.0.0.0 --port 8000 --ws-ping-interval 10 --ws-ping-timeout 10 --log-level info
⚠️ Pay attention for 8000 port! This port is also insrc/config.json, inserverparameter.
So, controller will immediatly connect to server using some random client id:

⚠️ There is no certificates validation now. So, this is why security is partial. Waiting for new micropython's release.
- Define IP address of your host by running the command in terminal:
Command will list parameters for all network drivers. Find wifi driver in this list and IP address inside it configuration:
$ ip a

- Open
src/config.jsonand edit parameters for wifi network andserverparameter: insert IP-address defined at previous step.serverparameter has to be likewss://<server_ip>:8443/. Check for:wss, port number and slash at the end. Save the file.
Upload project to your controller using Pymakr.
⚠️ We will installmicropython-async-websocket-clientat the next step, becausePymakrrefresh file system on controller while installing project.
Install into controller micropython-async-websocket-client as explained in https://pypi.org/project/micropython-async-websocket-client/.
Restart controller. It will start to blink blue LED.
Run gen_crt.sh. It will create tls folder with certificates.
We need just two files: server.key and server.crt.
Open new terminal in VSCode, enter to project environment (if VSCode didn't do it for you) and run test server:
$ uvicorn server:app --reload --workers 1 --host 0.0.0.0 --port 8443 --ws-ping-interval 10 --ws-ping-timeout 10 --log-level info --ssl-keyfile=./tls/server.key --ssl-certfile=./tls/server.crt
⚠️ Pay attention for 8443 port! This port is also insrc/config.json, inserverparameter.
So, controller will immediatly connect to server using some random client id:

Add one more client to our websocket server using Postman.
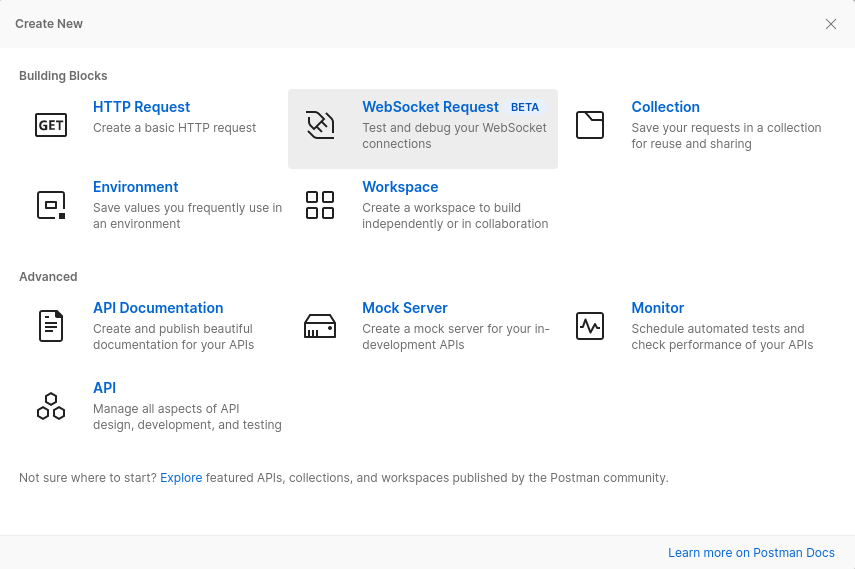
Install it and run. Create new websocket connection: run command File --> New... and choose WebSocket Request.
⚠️ Don't forget to set correct protocol:wsorwss.
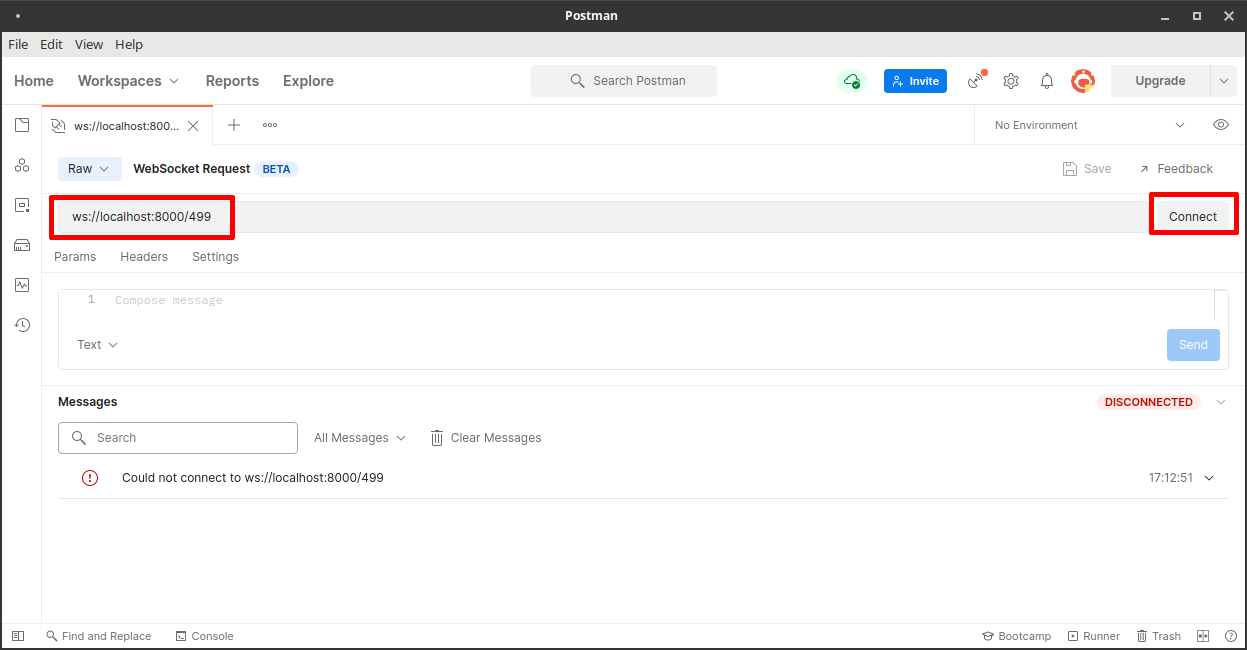
Enter address in address field and press Connect:

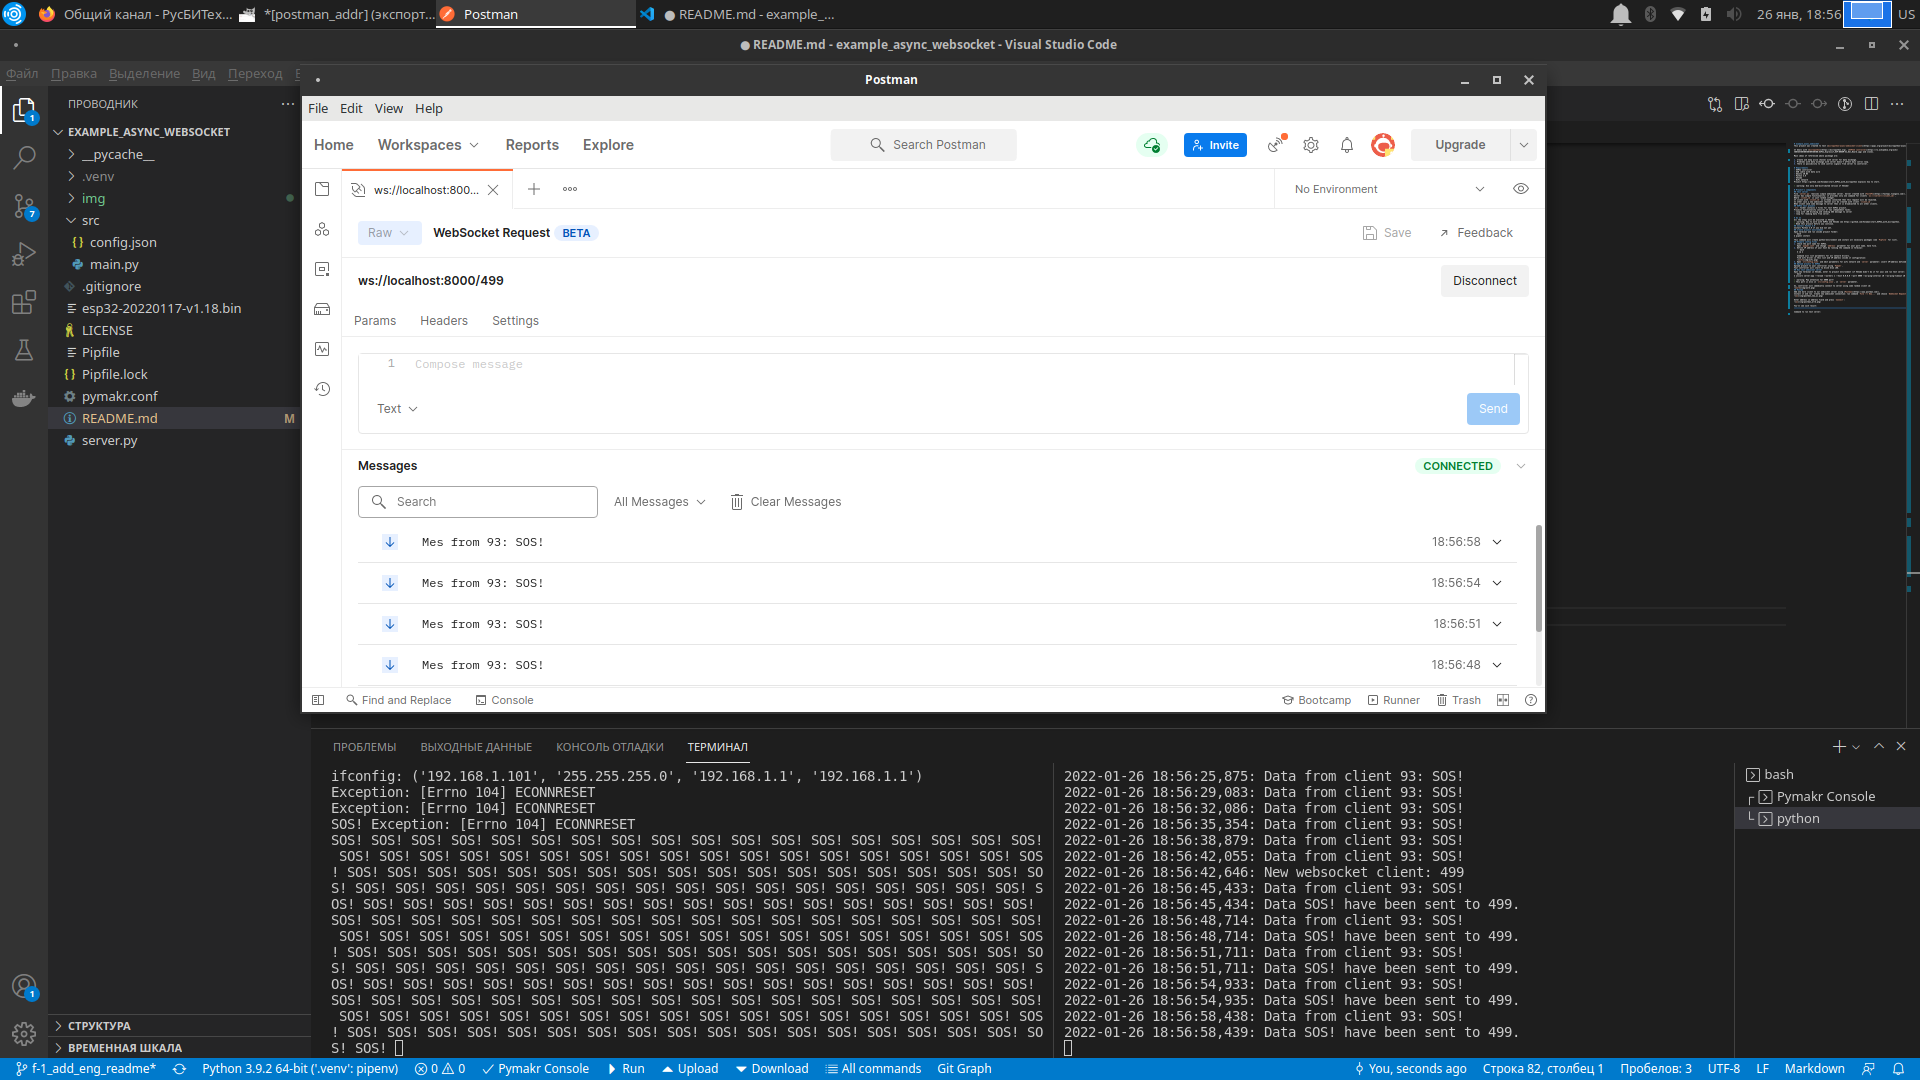
So, let's send some message from Postman: write some text in message area and press Send button:

{
    "wifi": {
        "SSID": "SSID",                      # network name
        "password": "***********",           # network password
        "attempts": 3,                       # how many times during one cycle we will try to connect to wifi
        "delay_in_msec": 200                 # delay after wifi.connect() command
    },
    "server": "ws://192.168.1.100:8000/",    # uri for test server
    "socket_delay_ms": 5                     # delay for read/write operations on socket. if you have slow wifi network, try to increase this delay
}
Ping/pong is exchange of special messages between server and client to keep alive data channel.
Parameters for ping/pong are initiated in command line for test server starting: --ws-ping-interval 10 --ws-ping-timeout 10.
If you will decrease this parameters, delay for socket disconnection will be smaller, but ping/pong signal will be sent more quickly and
workload of ESP32 can extremely increase.
⚠️ Keep in mind: due to uvicorn parameters--ws-ping-interval 10 --ws-ping-timeout 10websocket channel will be closed after 20 seconds approximately after physical disconnection.
In any case, you can configure your work environment to adopt it for your controller model and wifi parameters.
All our components are running. ESP32 do his job and stand connected to server, server recieve messages and broadcast them to all clients.
- You may make some tests:
- poweroff ESP32,
- stop server,
- send many messages from Postman quickly,
- change src/config parameters to increase or decrease delays,
- change uvicorn parameters
--ws-ping-interval 10 --ws-ping-timeout 10

