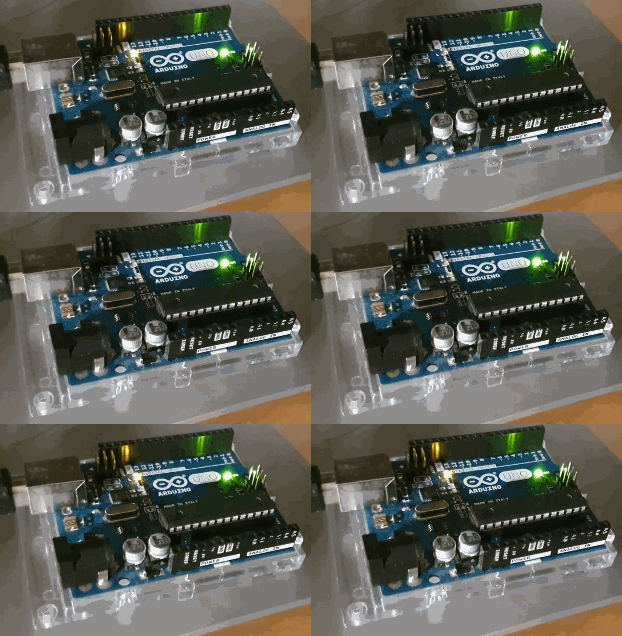
This repository contains a minimal example of building and flashing a Hello World program on the Arduino Uno (Atmega329p).
It utilizes cmake-avr as CMake cross-compilation toolchain.
First, install AVR 8-Bit Toolchain for your platform:
Then, install avrdude for use as flasher:
Make sure that both the avr toolchain bin directory and avrdude are added to
your PATH environment variable.
Additionally, set the AVR_FIND_ROOT_PATH environment variable to the avr
directory of the avr toolchain install.
If needed, you should also install Make. On Windows, https://www.mingw-w64.org/ is recommended.
Connect your Arduino Uno to your development machine and verify that the green LED marked "ON" lights up. Identify which USB port is used by the Arduino.
On Windows, you can open up the device manager and look under "Ports (COM & LPT)" (you can disconnect then reconnect the device to see which belongs to the Arduino):
To build the project, first create a build directory, then run cmake to generate the project. This repository uses a makefile based generator, to be able to use the generic-gcc-avr CMake-toolchain.
mkdir build
cmake . -B build -G "Unix Makefiles" -DCMAKE_TOOLCHAIN_FILE=./external/cmake-avr/generic-gcc-avr.cmake -DAVR_UPLOADTOOL_PORT=<usb port>
Note: on Windows this may need to be -G "MinGW Makefiles"
With the project generated, we can now build with:
cmake --build build
Once the project has been generated with a makefile, and the binary has been built, we can upload it to the Arduino.
The makefile will have a generated upload rule, that will take care of flashing the binary:
make -C build upload_HelloArduinoUno
