This is a demo of using AWS ECS, Flask and Openresty with CI/CD pipeline. The project uses a Openresty as reverse proxy to a backend Flask application. The Openresty and Flask are all run on AWS ECS.
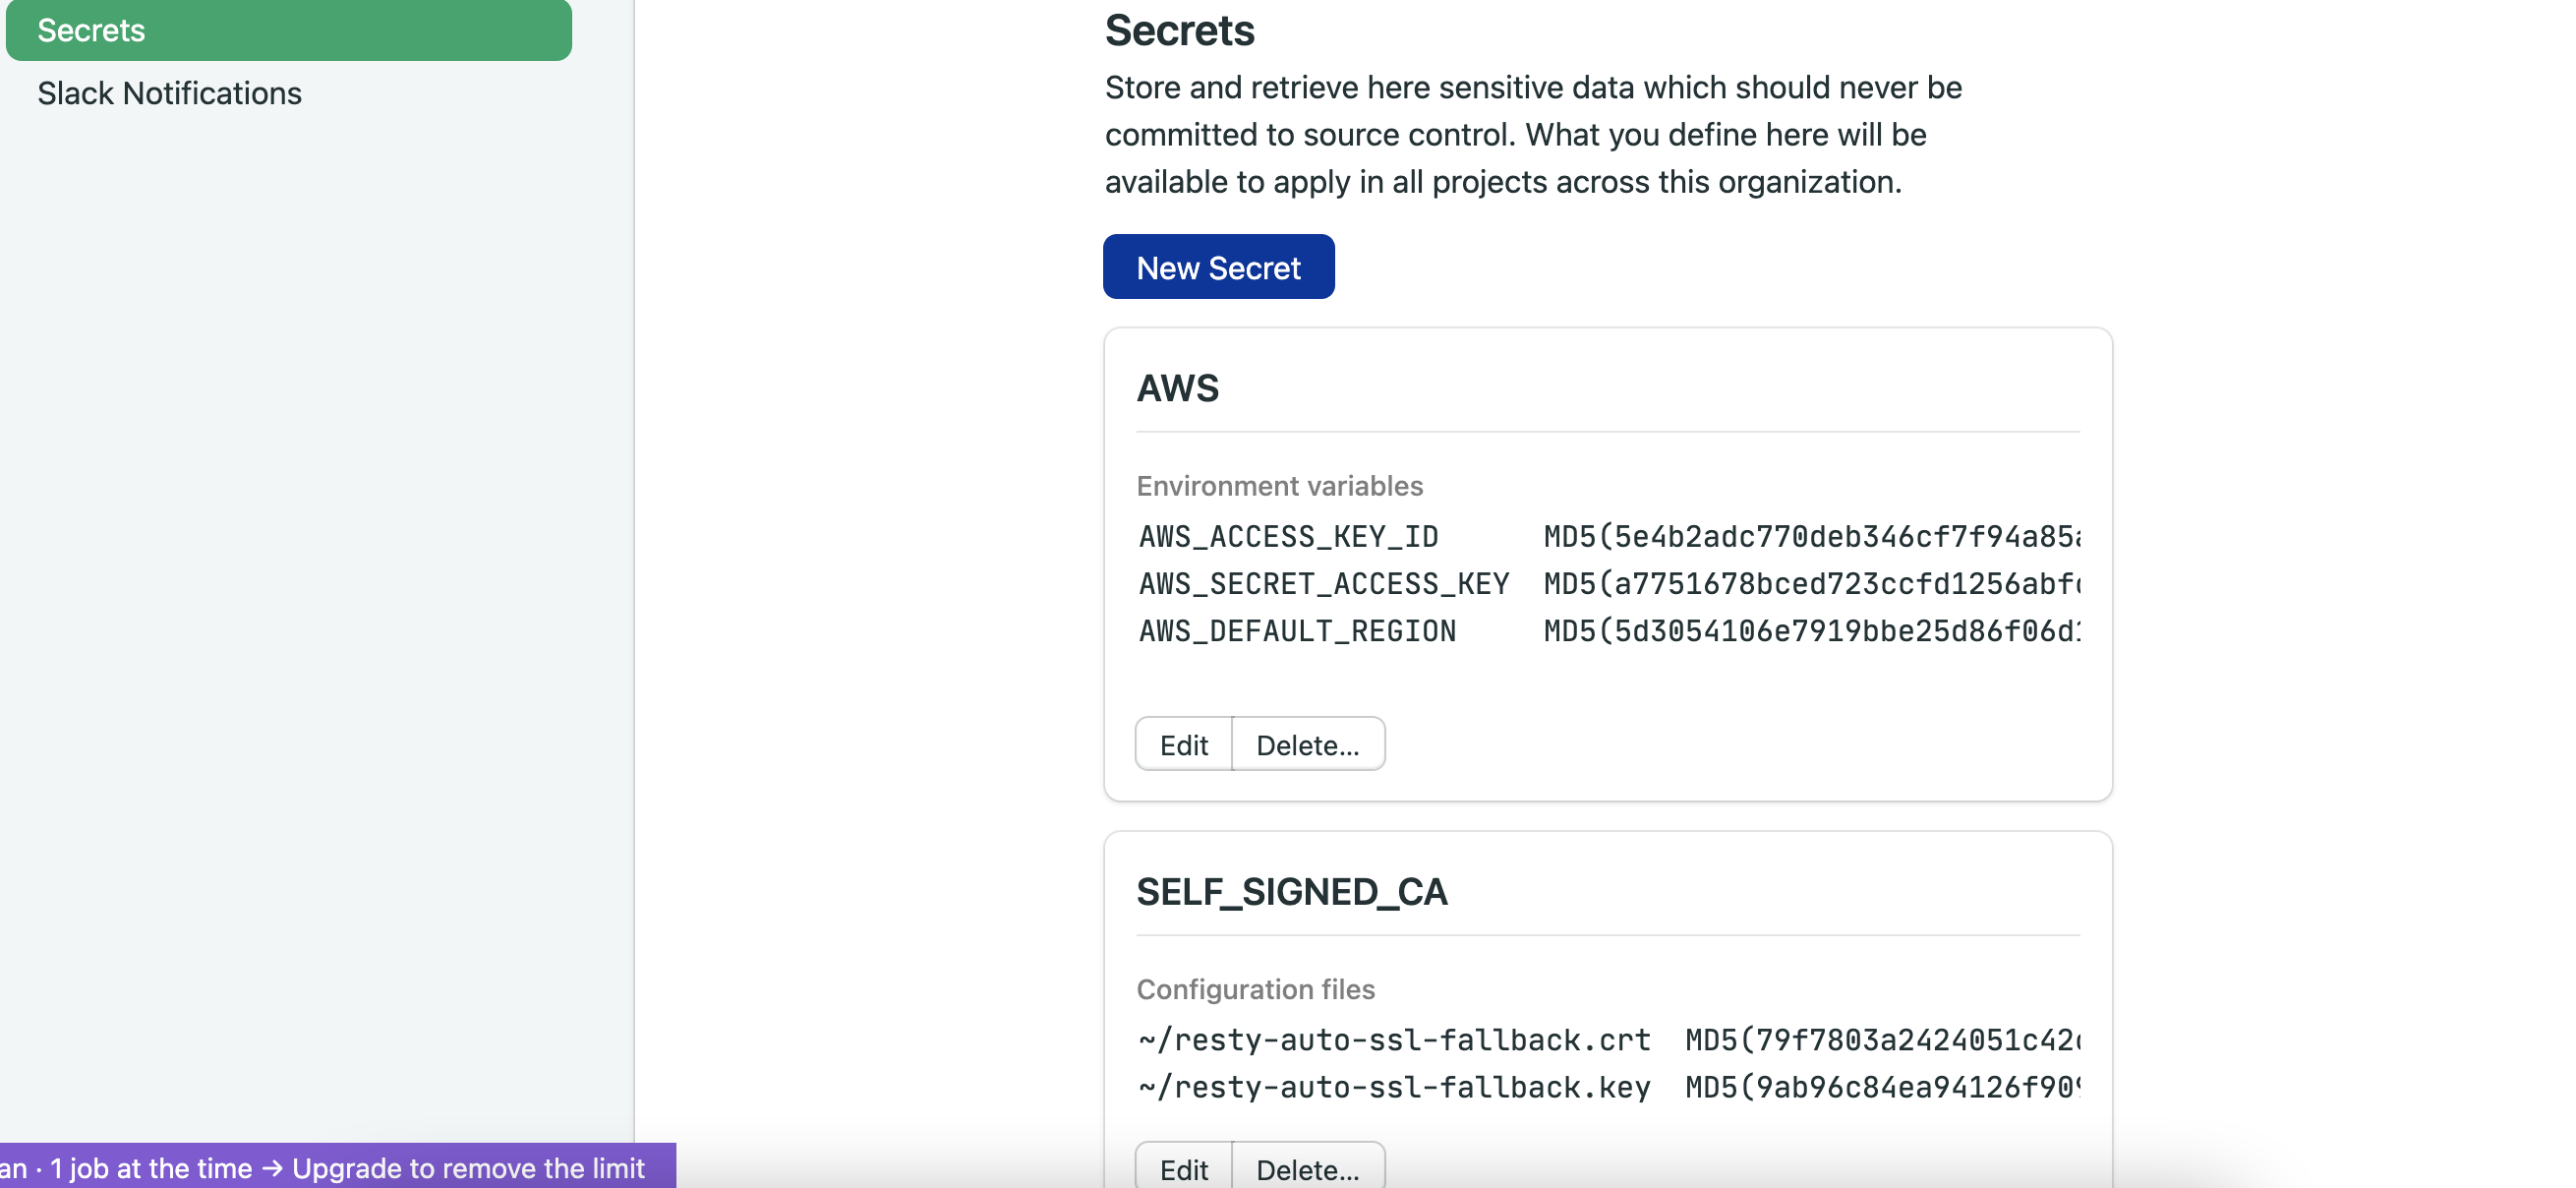
We use Semaphore CI to run our CI/CD pipeline which use Terraform. Therefore, the environment variables below are needed:
AWS_ACCESS_KEY_ID: ___
AWS_SECRET_ACCESS_KEY: ___
AWS_DEFAULT_REGION: us-east-2
We also need a fallback ssl cert for Openresty using lua-resty-auto-ssl. The Semaphore CI secrets with file type is needed:
~/resty-auto-ssl-fallback.crt
~/resty-auto-ssl-fallback.keyThere are resources needed to be manually create before running CI/CD.
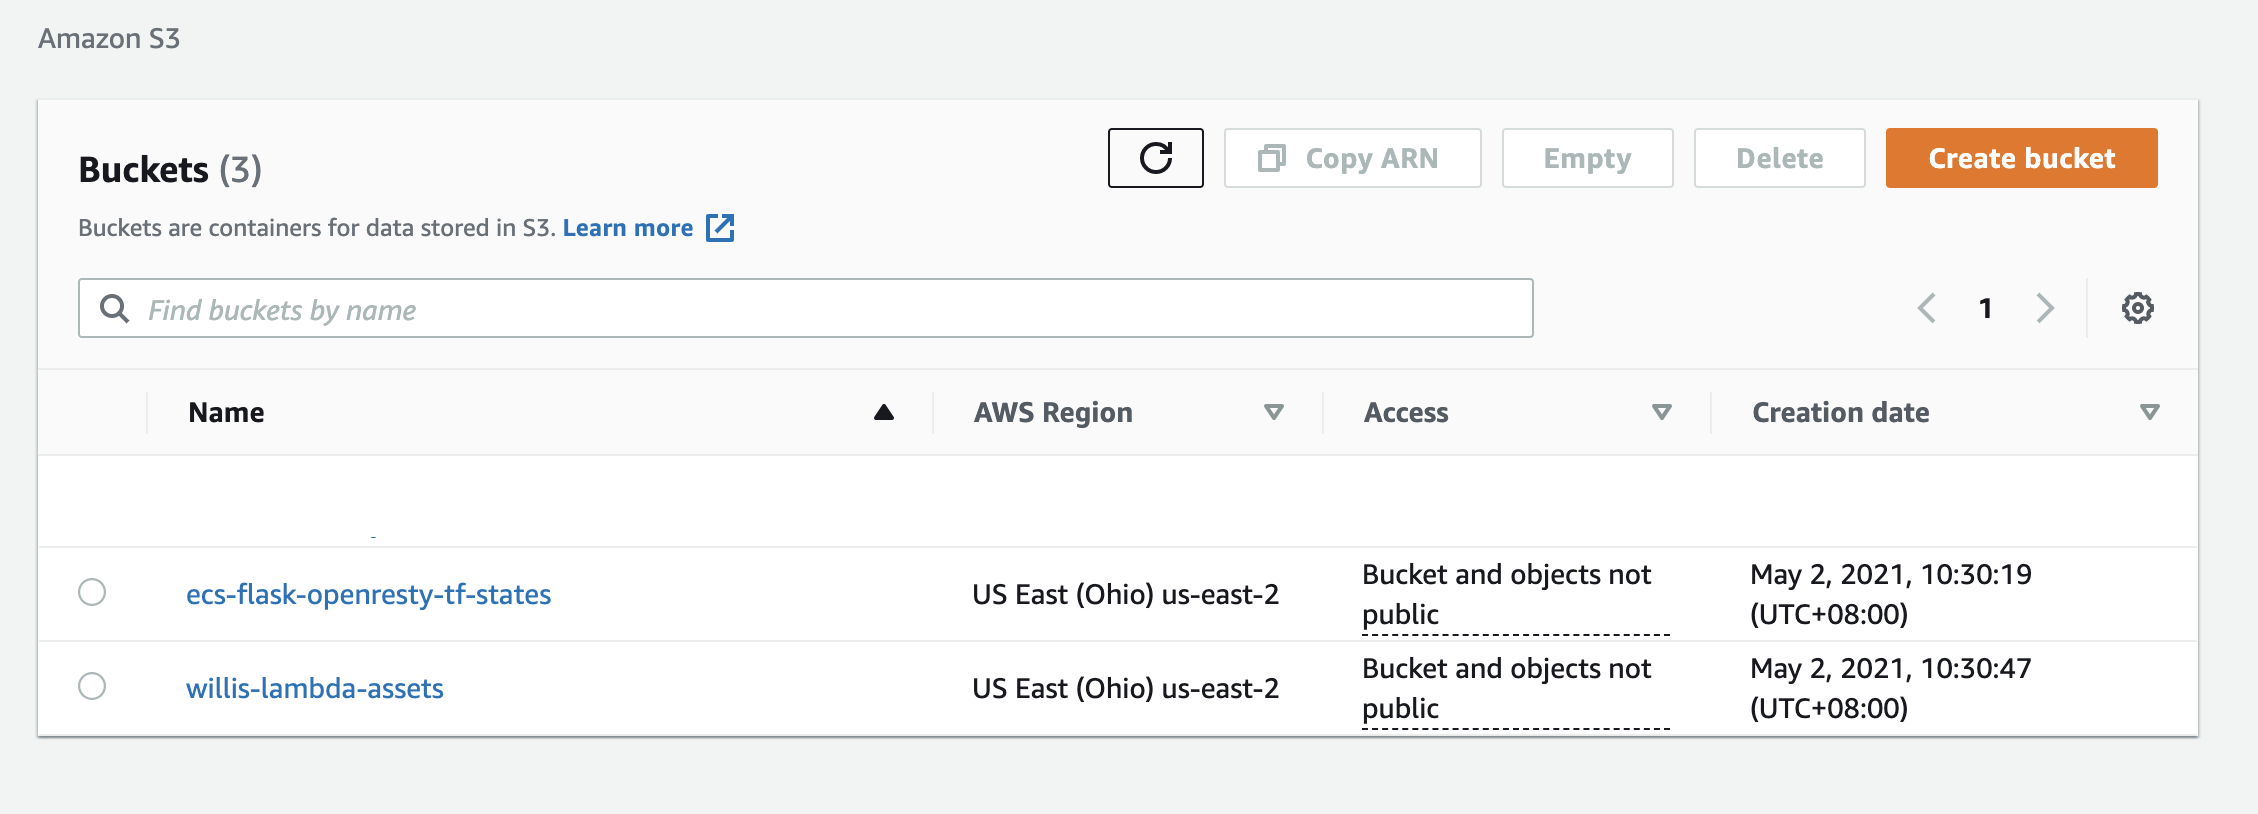
Pleaes be awared the S3 bucket name is global unique, you may need to create it with your specific name.
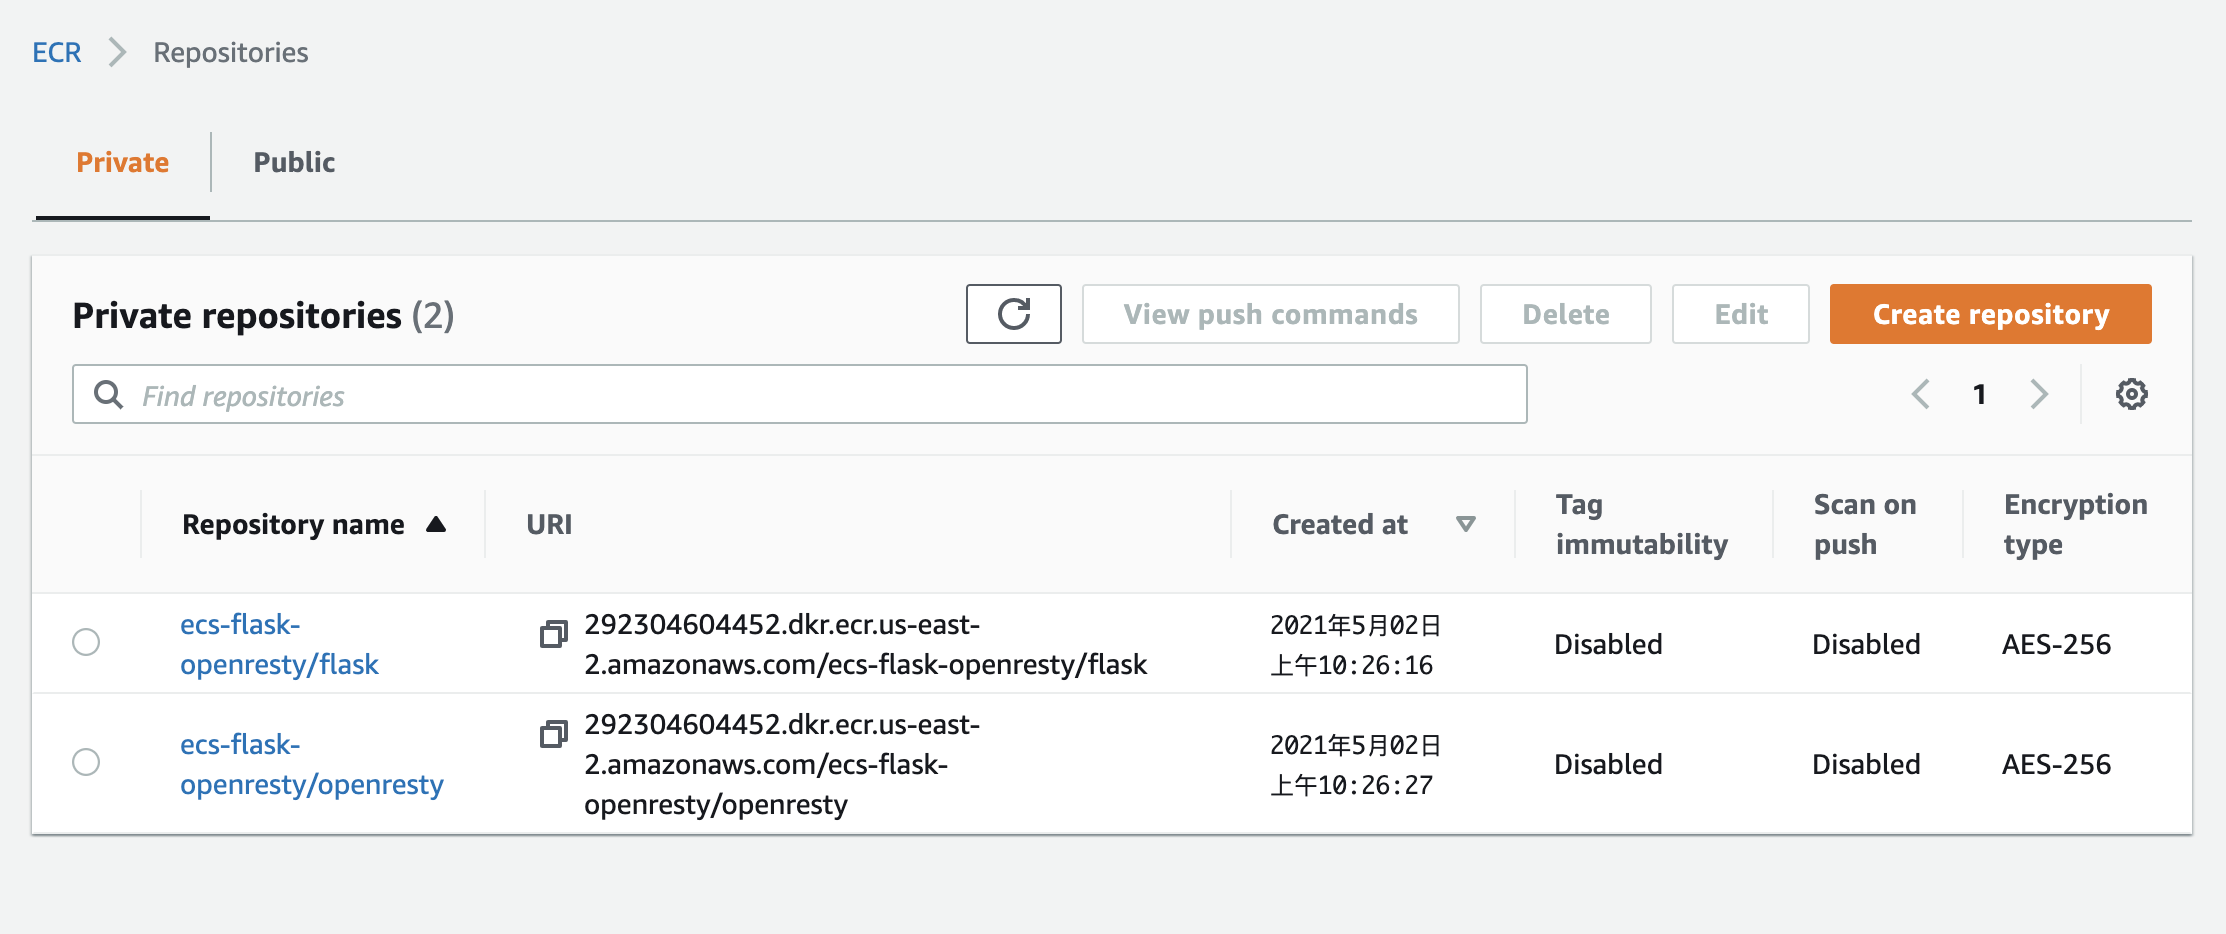
- ECR
ecs-flask-openresty/flaskandecs-flask-openresty/openresty
- S3
ecs-flask-openresty-tf-statesandwillis-lambda-assets
- EC2 Key Pairs
ecs-flask-clusterecs-openresty-cluster
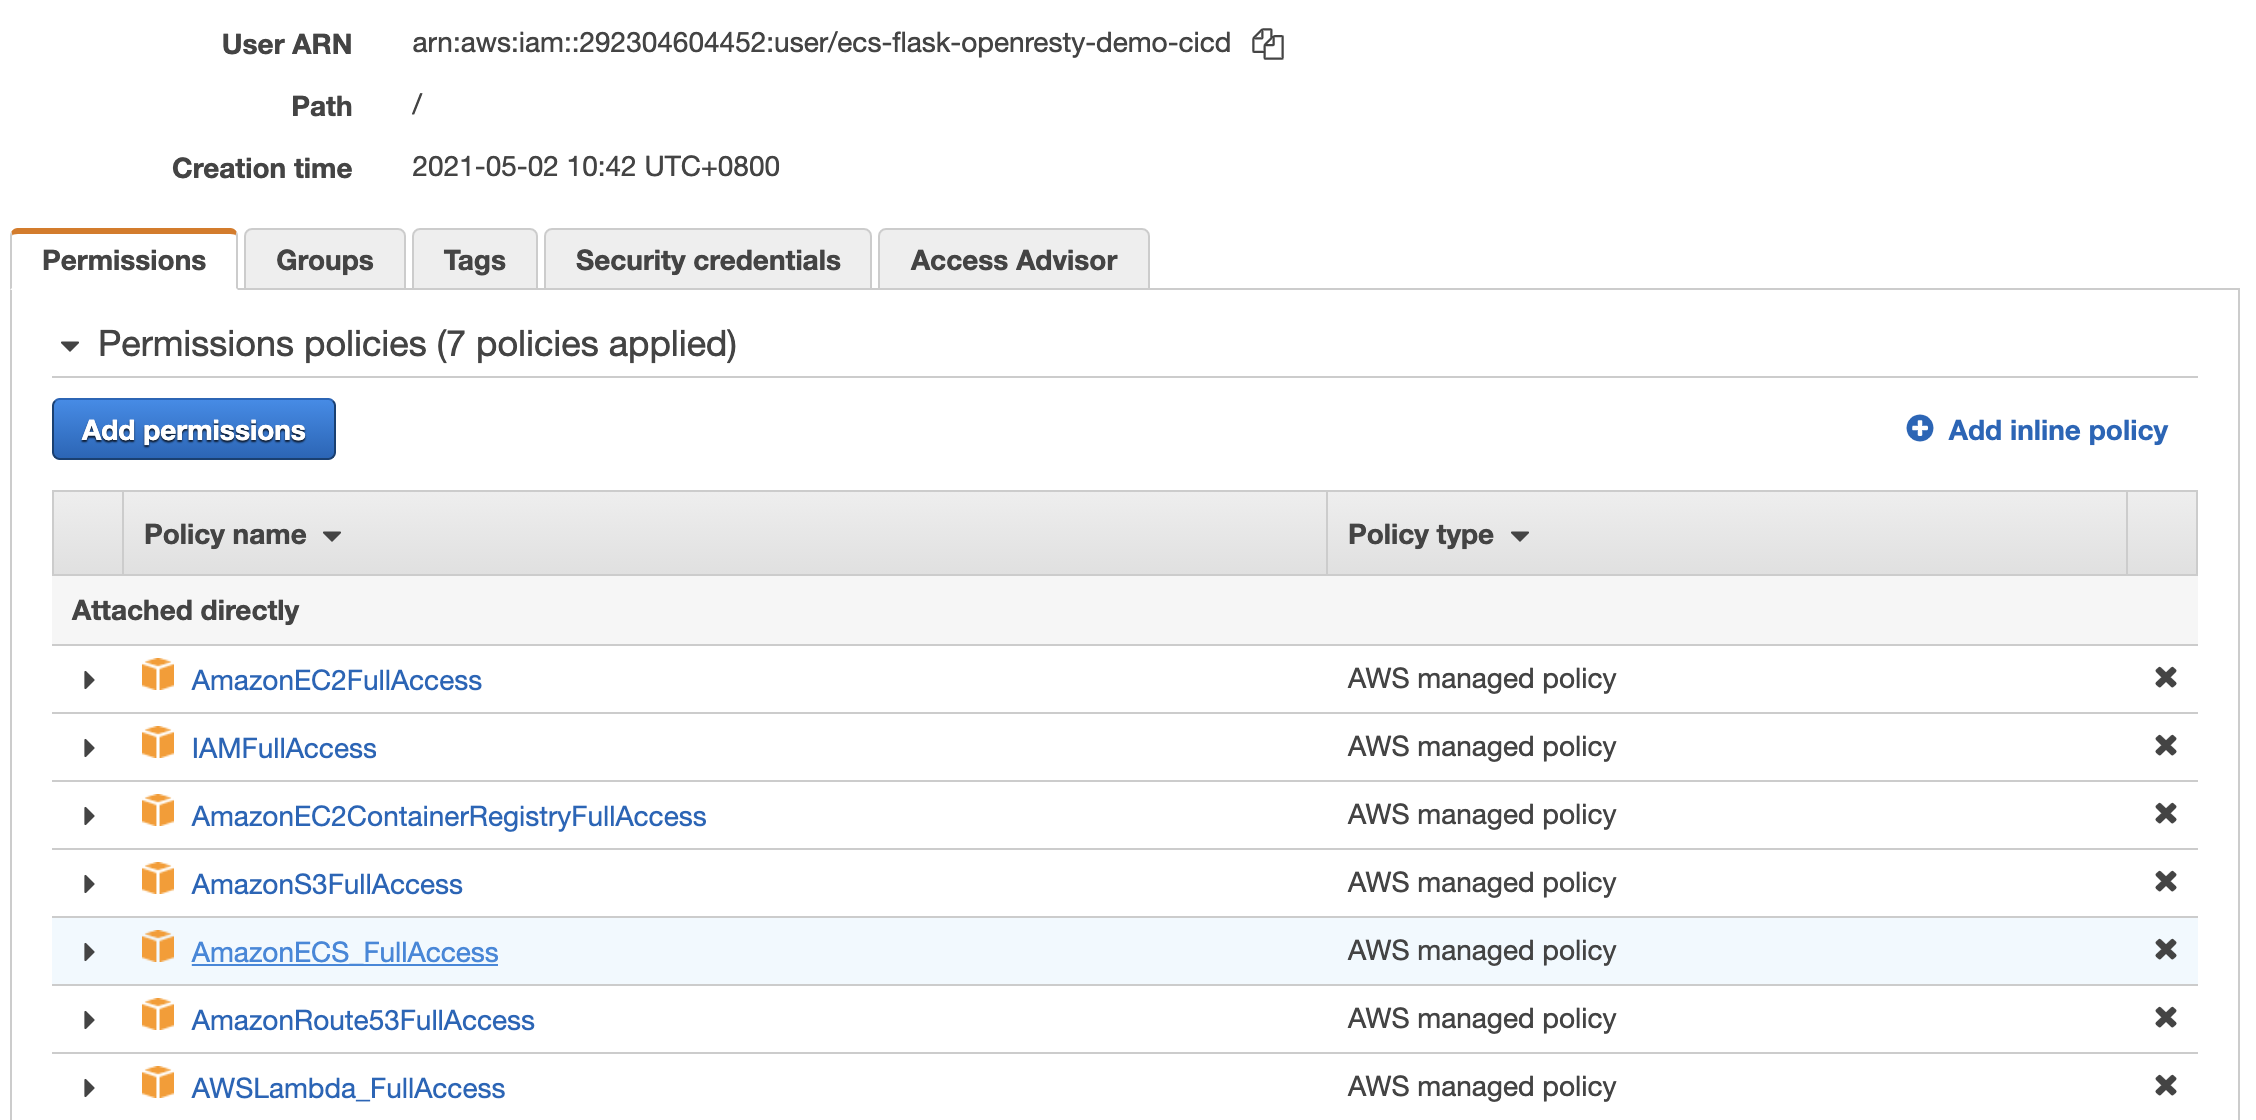
- IAM User with programmatic access
 (This is for demo propuse, restrict your CI/CD user permission is recommanded)
There are resources needed to be manually create after ran CI/CD.
- DNS domain
willischou.comand setup DNS Server to created Route53
The diagram is generated with PlantUML and C4 Model Extension
@startuml architecture-component
!includeurl https://raw.githubusercontent.com/RicardoNiepel/C4-PlantUML/release/1-0/C4_Container.puml

LAYOUT_LEFT_RIGHT

Person(person, "User", "Access flask app")
System(lets_encrypt, "Let's Encrypt(CA)")
Container(route53, "Route 53", "Service")
Boundary(ecs_openresty, "ECS Openresty") {
    Container(openresty_elb, "ELB Openresty", "Service")
    Boundary(asg_openresty, "ASG Openresty") {
        Container(openresty_instance_1, "EC2 Openresty", "Instance")
        Container(openresty_instance_2, "EC2 Openresty", "Instance")
    }
    Rel(openresty_elb, openresty_instance_1, "Route to", "HTTP:80/HTTP:443")
    Rel(openresty_elb, openresty_instance_2, "Route to", "HTTP:80/HTTP:443")
}
Boundary(ecs_flask, "ECS Flask") {
    Container(flask_alb, "ALB Flask", "Service")
    Boundary(asg_flask, "ASG Flask") {
        Container(flask_instance_1, "EC2 Flask", "Instance")
    }
    Rel(flask_alb, flask_instance_1, "Route to", "HTTP:32768-61000")
}
Rel(person, openresty_elb, "Access", "HTTP:443/HTTP:80")
Rel(person, route53, "DNS resolve", "TCP:53/UDP:53")
Rel(openresty_instance_1, flask_alb, "Route to", "HTTP:5000")
Rel(openresty_instance_1, lets_encrypt, "Ask certificate", "HTTP:443")
Rel(openresty_instance_2, flask_alb, "Route to", "HTTP:5000")
Rel(openresty_instance_2, lets_encrypt, "Ask certificate", "HTTP:443")


@enduml- Create a sempahore 2.0 account and project
- Create secrets at user(or organization or project) level, please refers "Manually create env for CI/CD" section
- Create ECR, S3 and EC2 key pairs, please refers "Manually create resource" section
- Replace the value of
ECR_REGISTRY,LAMBDA_ASSETS_S3andTERRAFORM_REMOTE_STATE_S3in.semaphore/semaphore.yml - Replace the value of
AWS_VPC_ID,AWS_SUBNET_A_ID,AWS_SUBNET_B_IDandALLOW_SSH_IPwith your own in.semaphore/semaphore.yml - Replace domain
willischou.comwith your own indeploy/aws/template/route53.tfandnginx/default.conf - Commit your changes and let the pipeline build it for you.
You will need to transpile YAML formatted Butance config (deploy/aws/template/cloud-config.yaml) into JSON Ignition file (deploy/aws/template/transpiled_config.ign) via the following command:
docker run -it --rm --volume ${PWD}:/pwd --workdir /pwd quay.io/coreos/butane:release --pretty --strict deploy/aws/template/cloud-config.yaml > deploy/aws/template/transpiled_config.ignPlease read the fedora docs for more detail:
https://docs.fedoraproject.org/en-US/fedora-coreos/producing-ign/#_configuration_process
After deployed all the resources and point your domain name DNS server to Route53, you can test the application by the curl.
curl https://www.willischou.com -vYou can destroy all the resources created by terraform by running the following commands in local.
requirements:
- gomplate https://github.com/hairyhenderson/gomplate
- terraform 0.12.18 https://releases.hashicorp.com/terraform/
cd deploy/aws
ALLOW_SSH_IP="" AWS_SUBNET_B_ID="subnet-e9ec6492" AWS_SUBNET_A_ID="subnet-5664293f" AWS_VPC_ID="vpc-2a324d43" ECR_REGISTRY="" TERRAFORM_REMOTE_STATE_S3="ecs-flask-openresty-tf-states" AWS_DEFAULT_REGION="us-east-2" SLACK_INCOMING_WEBHOOK="" DEPLOY_ENV="dev" VERSION="" gomplate --input-dir=template --output-dir=dist -V
cd dist
AWS_PROFILE="__Your profile name goes here__" terraform init
AWS_PROFILE="__Your profile name goes here__" terraform destroy

