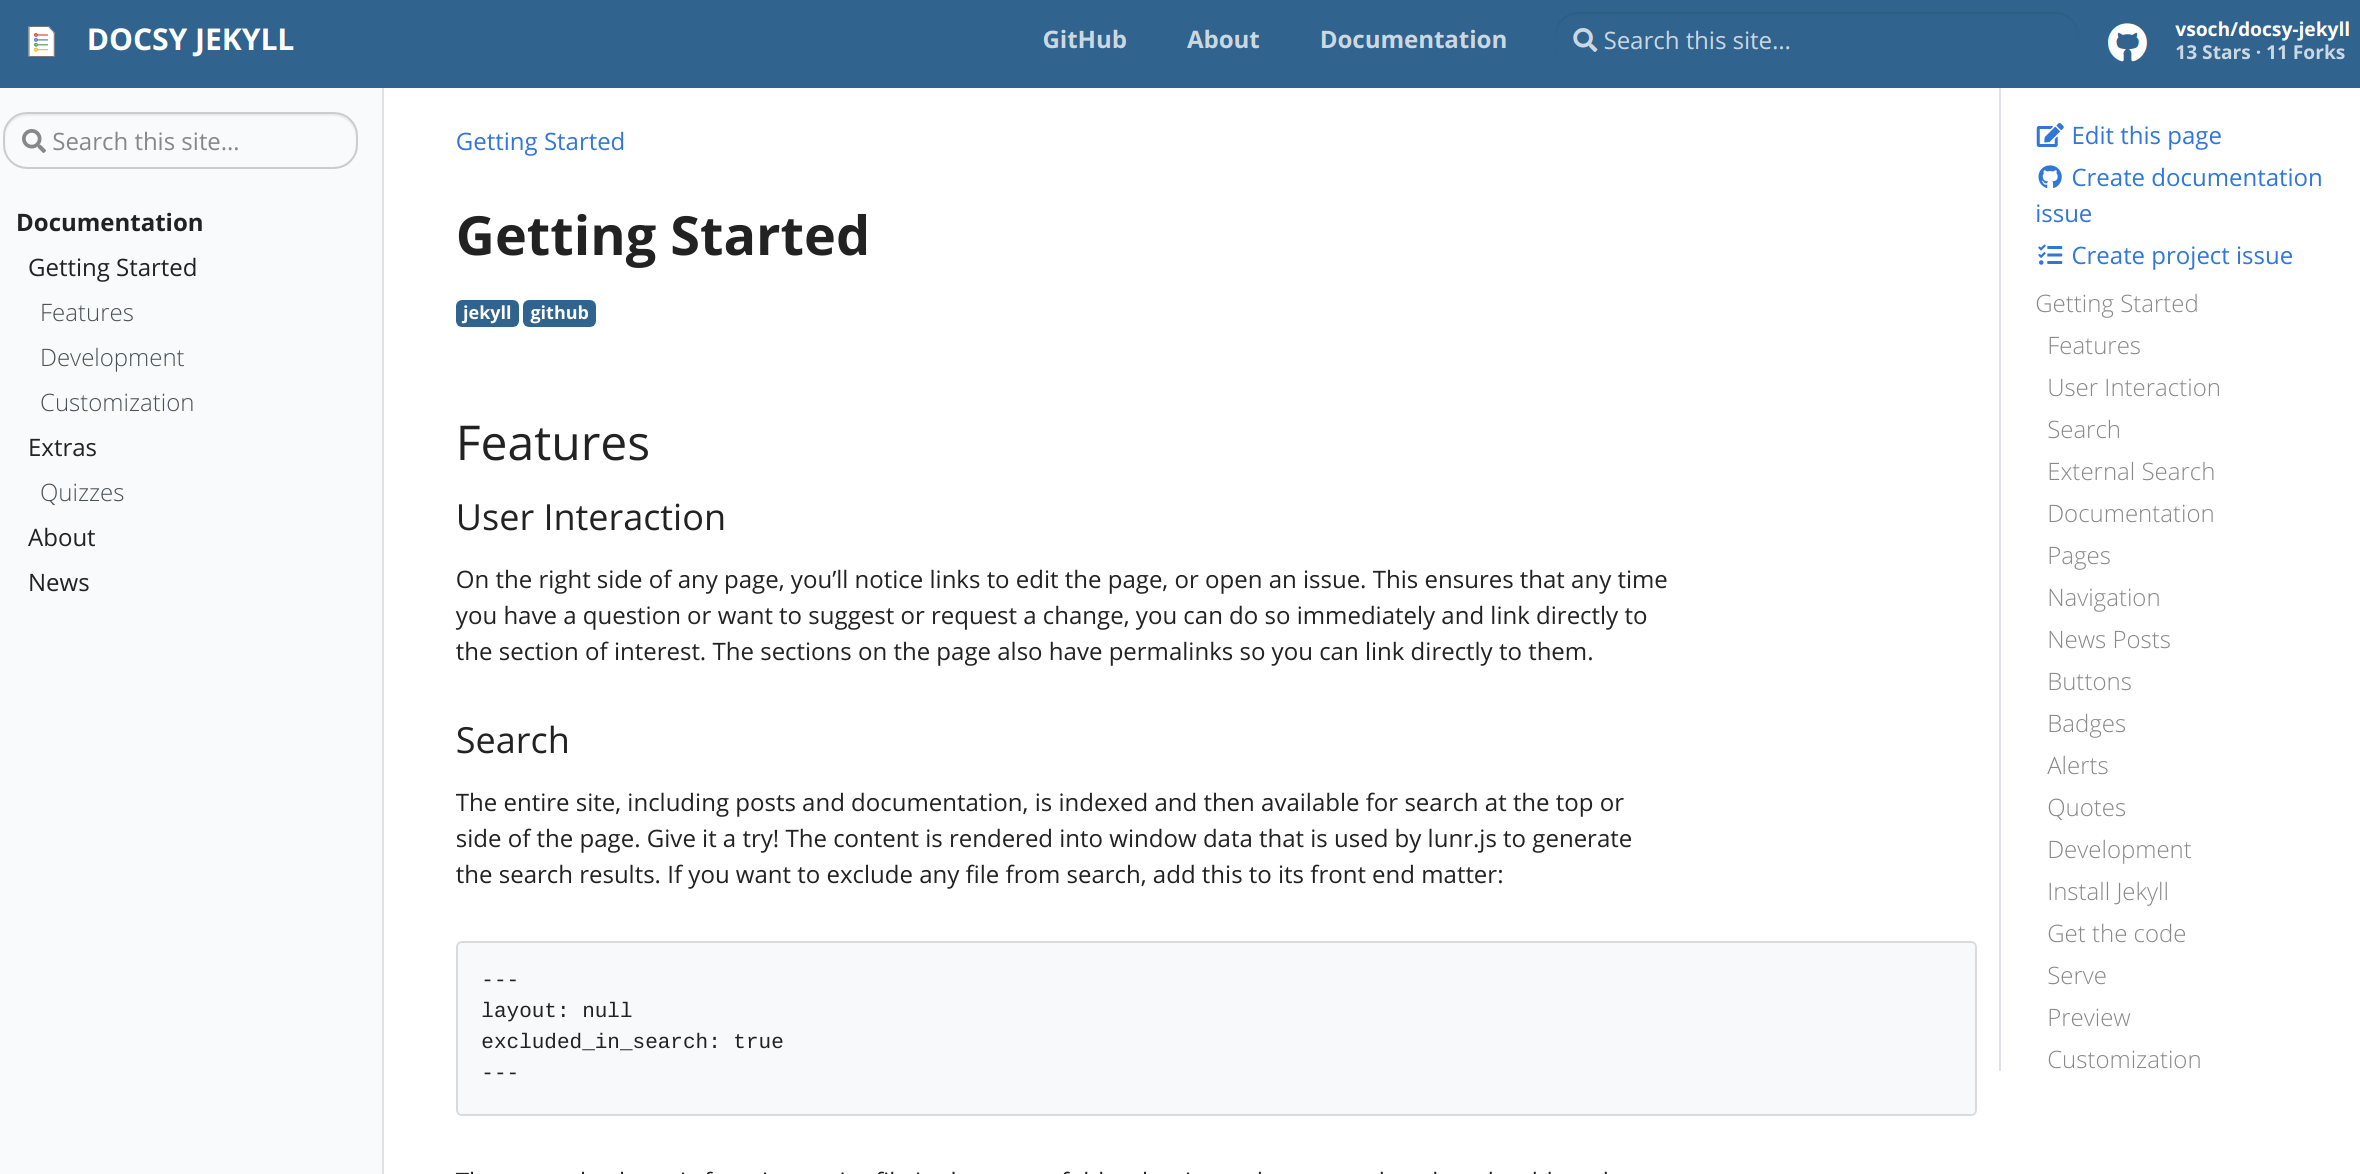
This is a starter template for a Docsy jekyll theme, based on the Beautiful Docsy that renders with Hugo. This version is intended for native deployment on GitHub pages. The original Apache License is included.
The site is intended for purely documentation, so while the front page banner is useful for business or similar, this author (@vsoch) preferred to have the main site page go directly to the Documentation view. Posts are still provided via a feed.
You can clone the repository right to where you want to host the docs:
git clone https://github.com/vsoch/docsy-jekyll.git docs
cd docsTo edit configuration values, customize the _config.yml.
To add pages, write them into the pages folder.
You define urls based on the permalink attribute in your pages,
and then add them to the navigation by adding to the content of _data/toc.myl.
The top navigation is controlled by _data/navigation.yml
Most of the configuration values in the _config.yml are self explanatory, and for more details, see the getting started page rendered on the site.
Instructions on installing Jekyll on windows (29-12-2021) (from https://jekyllrb.com/docs/installation/windows/)
- Download and install a Ruby+Devkit version from RubyInstaller Downloads (https://rubyinstaller.org/)
- Use default options for installation.
- Run the ridk install step on the last stage of the installation wizard. This is needed for installing gems with native extensions. You can find additional information regarding this in the RubyInstaller Documentation
- Open a new command prompt window (powershell is also fine, administrator mode not needed) from the start menu, so that changes to the PATH environment variable becomes effective. Install Jekyll and Bundler using: gem install jekyll bundler
- Check if Jekyll has been installed properly: jekyll -v
then open a command promt (powershell is also fine) in the repository folder (where this Readme.md file is located). (I usally go there through file explorer then SHIFT+right click on an empty spot and then "Open PowerShell window here")
- enter in the command prompt: bundle install
Depending on how you installed jekyll:
# (Recommended)
bundle exec jekyll serve
# or
jekyll serve
NOTE: If the above serve command throws an error saying require': cannot load such file -- webrick (LoadError) try to run bundle add webrick to automatically add the webrick gem to your Gemfile, or manually add gem "webrick" line to the Gemfile and then run the serve command again.
NOTE: If the above serve command throws an error saying cannot load such file -- rexml/parsers/baseparser (LoadError) add the following gems to the gemfile, gem "github-pages", "212", group: :jekyll_plugins gem "webrick" gem "jekyll", "3.9.0" gem "jekyll-feed", "0.15.1". Then run bundle install and then run the serve command again.
If you want to run docsy jekyll via a container for development (dev) or production (prod) you can use containers. This approach requires installing docker-ce and docker-compose.
Note that the docker-compose.yml file is using the jekyll/jekyll:3.8 image. If you want to make your build more reproducible, you can specify a particular version for jekyll (tag). Note that at the development time of writing this documentation, the latest was tag 4.0.0, and it had a bug that prevented the server from deploying.
If you are deploying a container to production, you should remove the line to mount the bundles directory to the host in the docker-compose.yml. Change:
    volumes:
      - "./:/srv/jekyll"
      - "./vendor/bundle:/usr/local/bundle"
      # remove "./vendor/bundle:/usr/local/bundle" volume when deploying in production
to:
    volumes:
      - "./:/srv/jekyll"
This additional volume is optimal for development so you can cache the bundle dependencies, but should be removed for production.
Once your docker-compose to download the base container and bring up the server:
docker-compose up -dYou can then open your browser to http://localhost:4000 to see the server running.
Node : changes
baseurl: ""in _config.yml when you are running in local and prod according to the requirement.
