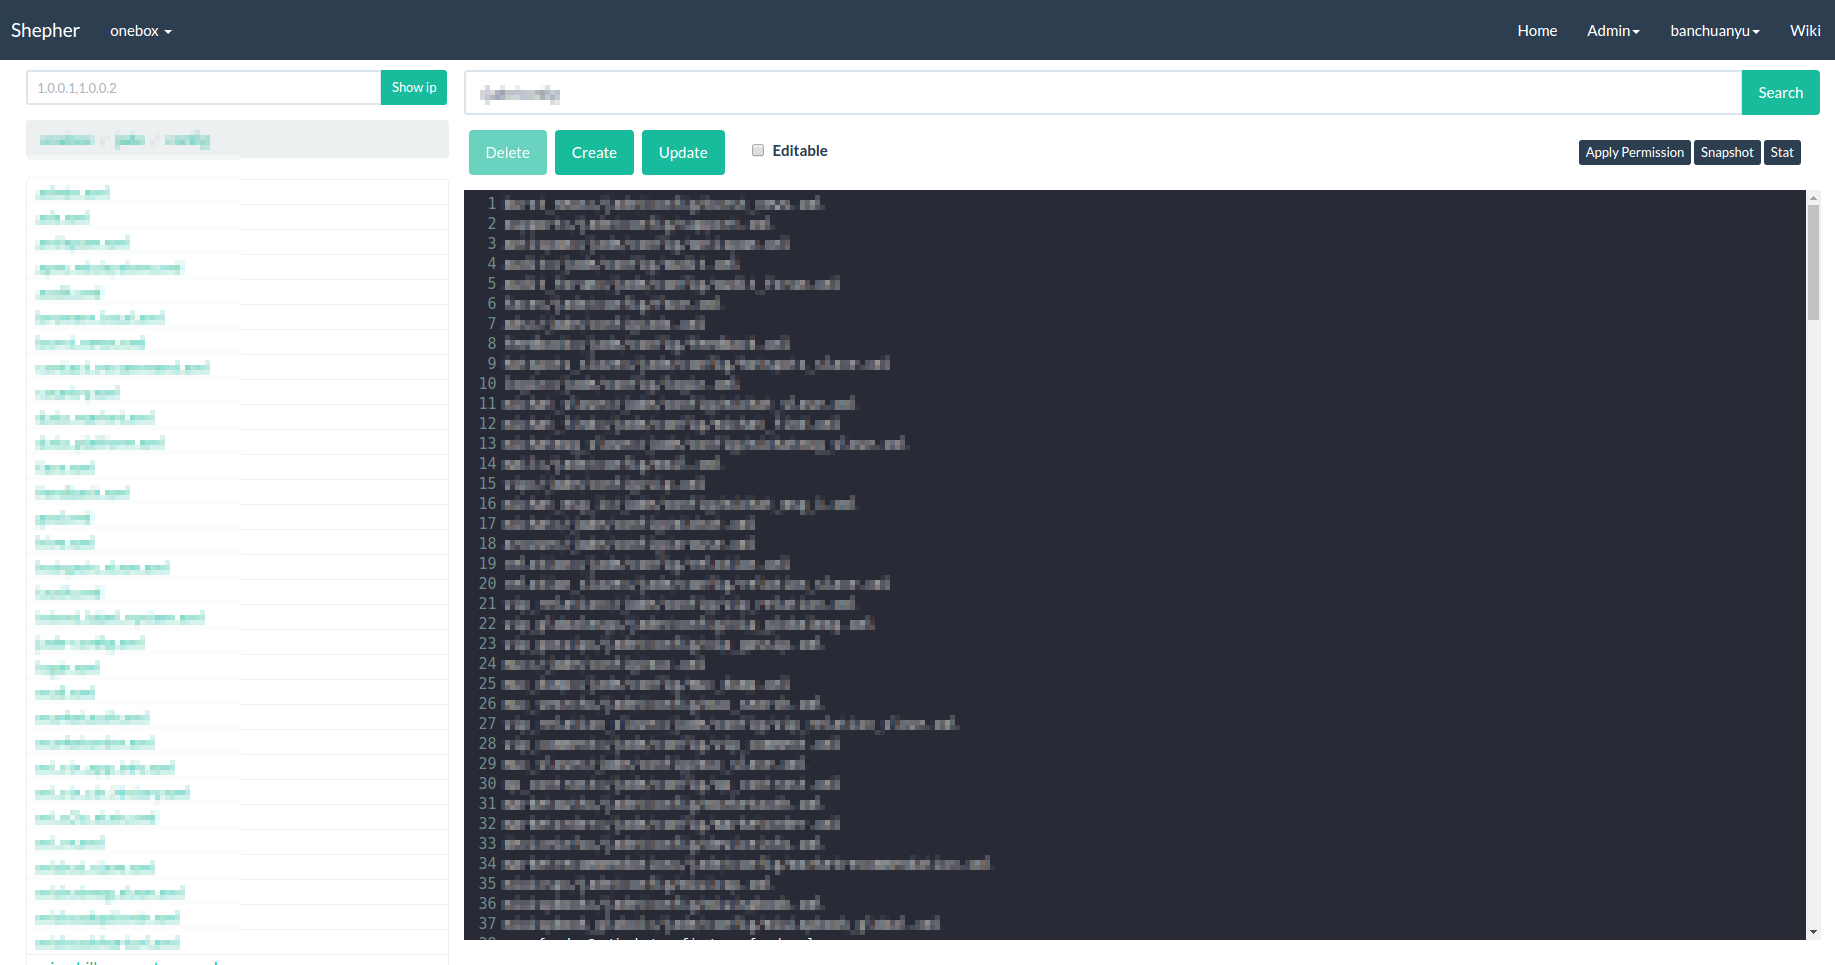
Shepher is a management tool of ZooKeeper. In Xiaomi, we use it as the configuration management center. Readme 中文版
- Visualized operation of ZooKeeper node
- Snapshot management of ZooKeeper node
- Modified Diff and Review function of ZooKeeper node
- Mail operation notification of ZooKeeper node
- CAS and LDAP integration
- Authority management, reference to Authority management instruction
| Product | Introduction | Visualized operation of nodes | Snapshot management | Node modified Diff and Review function | Node operated mail notification | CAS and LDAP log | Authority management | Cascade delete | System status monitor |
|---|---|---|---|---|---|---|---|---|---|
| Shepher | ZooKeeper management | √ | √ | √ | √ | √ | √ | ||
| TaoKeeper | ZooKeeper cluster monitor and statement | √ | |||||||
| Zkdash | ZooKeeper management | √ | √ | √ | |||||
| Disconf | ZooKeeper management | √ | √ | √ | √ | √ | √ | ||
| XDiamond | Configuration center | √ | √ | √ | √ |
- JDK 1.8
- Maven 3.2 +
- MySQL 5.6
- Modify
INSERT INTO user VALUES (1,'youradmin',now());indb/init.sql, changeyouradmininto your administrator user name - According to Parameter instruction, modify parameter configuration under the directory
shepher-web/src/main/resources. If you are using a CAS login, you need to modify the CAS-related configuration and set theserver.login.typetoCAS; If you log in with LDAP, you will need to modify the LDAP-related configuration and setserver.login.typetoLDAP
Development environment deployment includes local compilation deployment and Docker deployment, you can choose a deployment based on usage.
-
Modify parameter configuration of
conf/application*.propertiesaccording to Parameter instruction -
Local compile
$ mvn clean package
$ cd shepher-packaging/target/shepher-packaging-{version}-bin
$ ls
bin/(all the shell scripts)
conf/(configuration files)
db/init.sql
lib(required jar files)
Dockerfile
docker-compose.yml
CHANGES.txt
NOTICE.txt
README.md
README-zh.md
VERSION
Here, {version} refers to the current Shepher version.
-
Import
db/init.sqlin to MySQL -
Enter install directories
$ cd shepher-packaging/target/shepher-packaging-{version}-bin -
Run the script, start Shepher service
$ sh bin/run.sh start
-
Visit
http://localhost:8089or self definedserver.url(Reference to Parameter instruction)
MySQL and ZooKeeper will be automatic integrated when Docker deployment is used, and automatically import db/init.sql into MySQL, no self installation is needed.
-
Install Docker, take Ubuntu system for example, install docker engine and docker-compose
-
Enter install directories
$ cd shepher-packaging/target/shepher-packaging-{version}-bin -
Run the script, start Shepher service and waiting start of each container in Docker accomplish
$ sh bin/docker-run.sh start
-
Visit
http://localhost:8089or self definedserver.url(Reference to Parameter instruction)
The steps for production environment deployment is similar to local compiling deployment, but pay attention to the setting of data sources, CAS/LDAP and domain names. In addition, because each company's internal mail service is relatively closed, you need to implement your own CustomMailSender class, and set mail.sender=customMailSender in conf/application.properties, so that Shepher can use the mail service normally.
-
Import
db/init.sqlinto MySQL -
Create the file
conf/application-online.properties, and modify the configuration according to Parameter instruction -
Run the command in the Shepher root directory
$ mvn clean package
-
Copy
shepher-packaging/target/shepher-packaging-{version}-binto the production environment, and enter the directory$ cd shepher-packaging/target/shepher-packaging-{version}-bin -
Run the command below, start Shepher
$ sh bin/run.sh -c conf/application.properties,conf/application-online.properties start
-
Visit self defined
server.url(Reference to Parameter instruction)
Long Xie (@xielong), Jinliang Ou (@oujinliang), Chuanyu Ban (@banchuanyu), Chuyang Wei (@brianway), Peng Zhang (@monsters-peng), Yaoli Liu (@iloayuil)


