ChurchX is a Computer Graphics Course Project for rendering a real-life church scene based on progressive photon mapping with scatter participating medium. We focus on rendering the light beam in the church, which is one of the most impressive characteristic of a church. Here we utilize NVIDIA's OptiX ray tracing engine.
And God said, Let there be light: and there was light.
And God saw the light, and it was good; and God divided the light from the darkness.
CUDA capable devices of Compute Capability 2.0 (“Fermi”) or higher are supported on GeForce, Quadro, or Tesla class NVIDIA products. Out-of-core ray tracing of large datasets exceeding GPU memory (AKA paging) is not supported on GeForce “GT” class GPUs.
The CUDA R346 or later driver is required. For the Mac, the driver extension module supplied with CUDA 7.5 will need to be installed.
Windows 7/8/8.1/10 64-bit; Linux RHEL 4.8+ or Ubuntu 10.10+ - 64-bit; MacOS 10.9+
OptiX 3.9 has been built with CUDA 7.5, but any specified toolkit should work when compiling PTX for OptiX. If an application links against both the OptiX library and the CUDA runtime on Linux, it is recommended to use the same version of CUDA that was used to build OptiX.
Visual Studio 2008, 2010, 2012, or 2013 is required on Windows systems. gcc 4.4-4.8 have been tested on Linux. Xcode 6 has been tested on Mac OSX 10.9. See the CUDA Toolkit documentation for more information on supported compilers.
Most OptiX samples use the GLUT toolkit. Freeglut ships with the Windows OptiX distribution. GLUT is installed by default on Mac OSX. A GLUT installation is required to build samples on Linux.
- Move the ChurchX folder under the directory where you installed the OptiX.
For example
F:\NVIDIA Corporation\OptiX SDK 3.9.0\ChurchX - Start up cmake-gui from the Start Menu.
- Select the
..\NVIDIA Corporation\OptiX SDK 3.9.0\ChurchXdirectory - Create a build directory that isn't the same as the source directory. For example,
..\NVIDIA Corporation\OptiX SDK 3.9.0\ChurchX\build - Press "Configure" button and select the version of Visual Studio you wish to use. Note that the 64-bit compiles are separate from the 32-bit compiles(e.g. look for "Visual Studio 12 2013 Win64"). Leave all other options on their default. Press "OK".
- Press "Configure" again. Followed by "Generate".
- Open the OptiX-Samples.sln solution file in the build directory you created.
- Select "Build Solution" from the IDE.
- Set progressivePhotonMap as the Startup Project
- Run
- cd into the main folder and "makedir build"
- cd ./build
- cmake ../
- make Note: configure the OptiX, OptiX_primary include directory and library directory in the cmake cache if necessary.
- Add command line parameter
--game-camto move the camera with Up, Down, Left, Right, PageUp and PageDown.(recommended) The following codes can be found atChurchX/pogressivePhotonMap/ppm.cppline 53:
static const bool golden = true;
static const bool sideWall = false;
static const bool frontLightSkew = false;
static const bool loadAllWindows = true;- 2 default colors of light are available : set
goldentrue to use golden light, false to use blue one. - 2 light position are available : set
sideWalltrue to make the light beam coming from the side window, false to make the light beam coming from the front side of the church. - When
sideWallis set to be false, usefrontLightSkewto make the light skew. - If
sideWallis set to be true, make sureloadAllWindowsis set to be false. - If
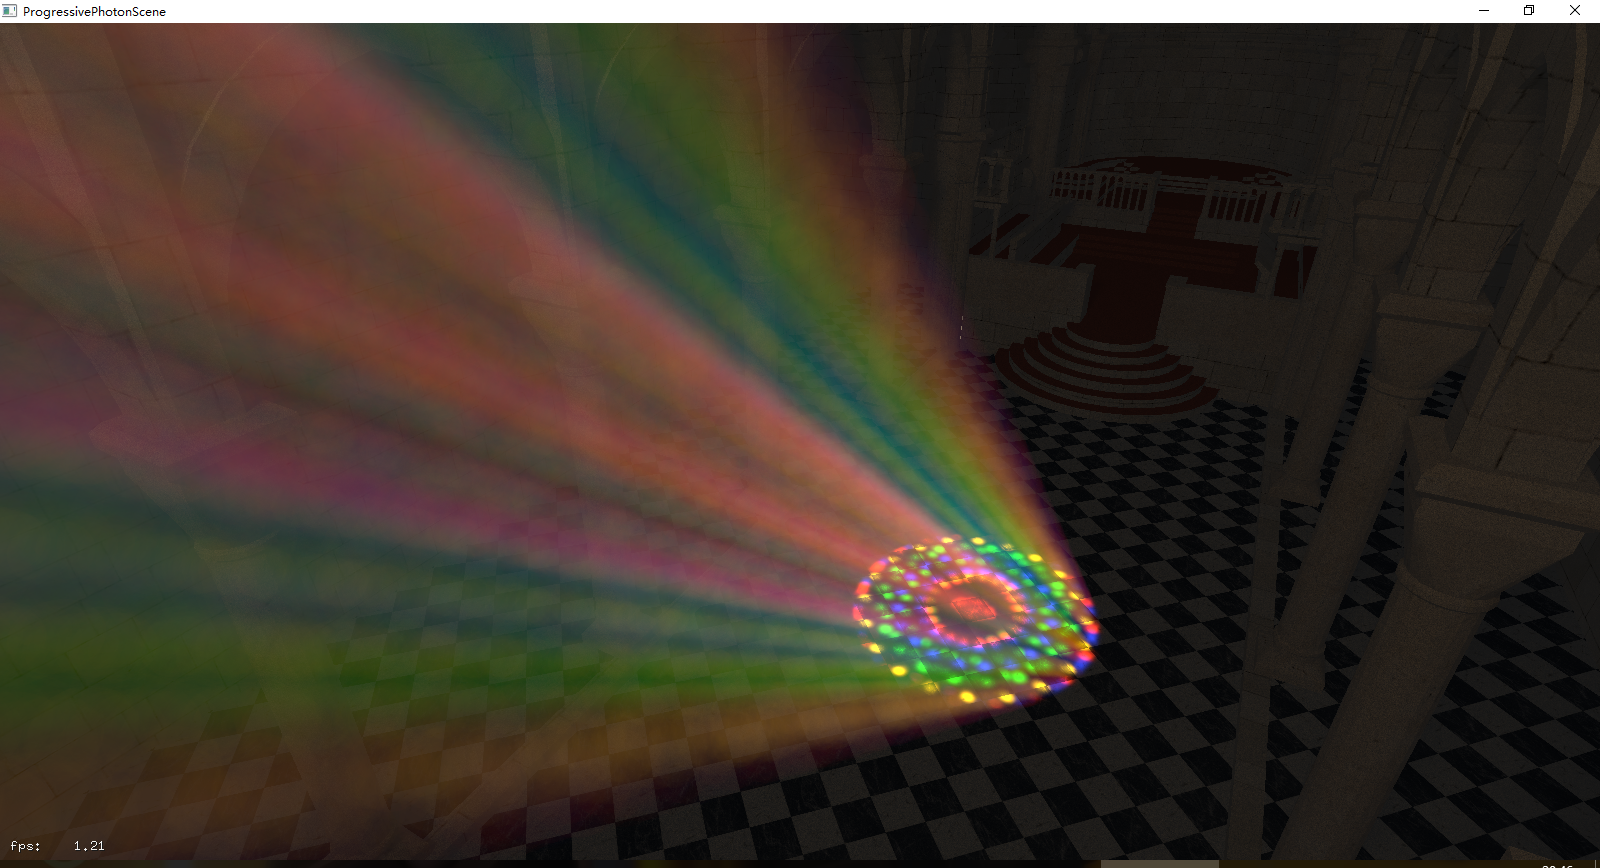
sideWallis set to be false, settingloadAllWindowsto be true will make the beam more colorful visually.
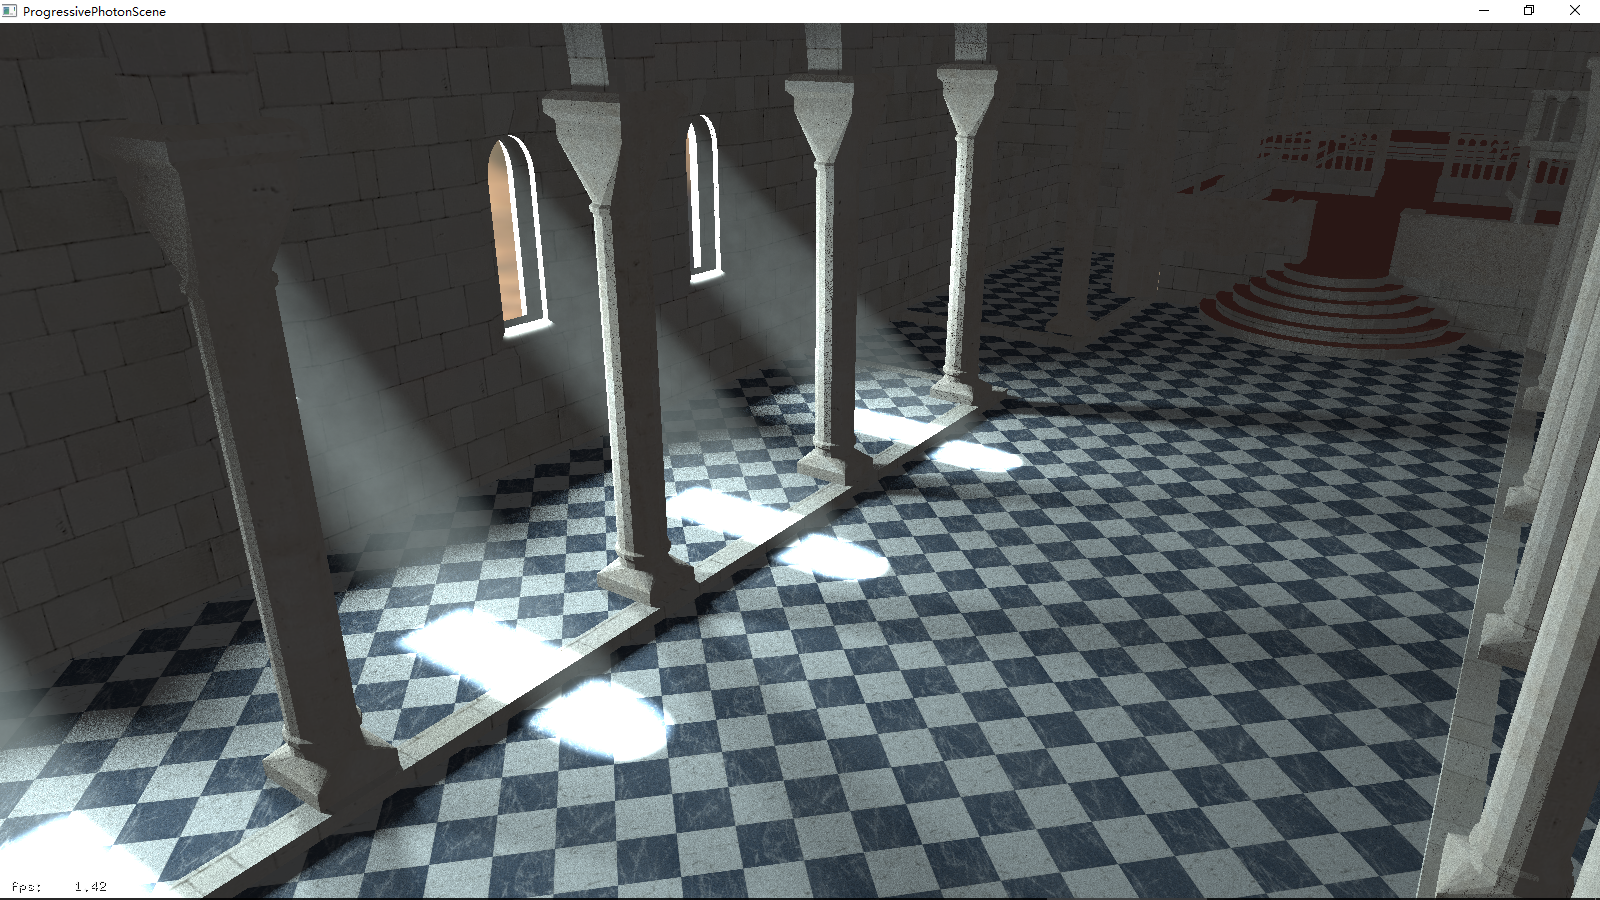
Left Side Blue Light
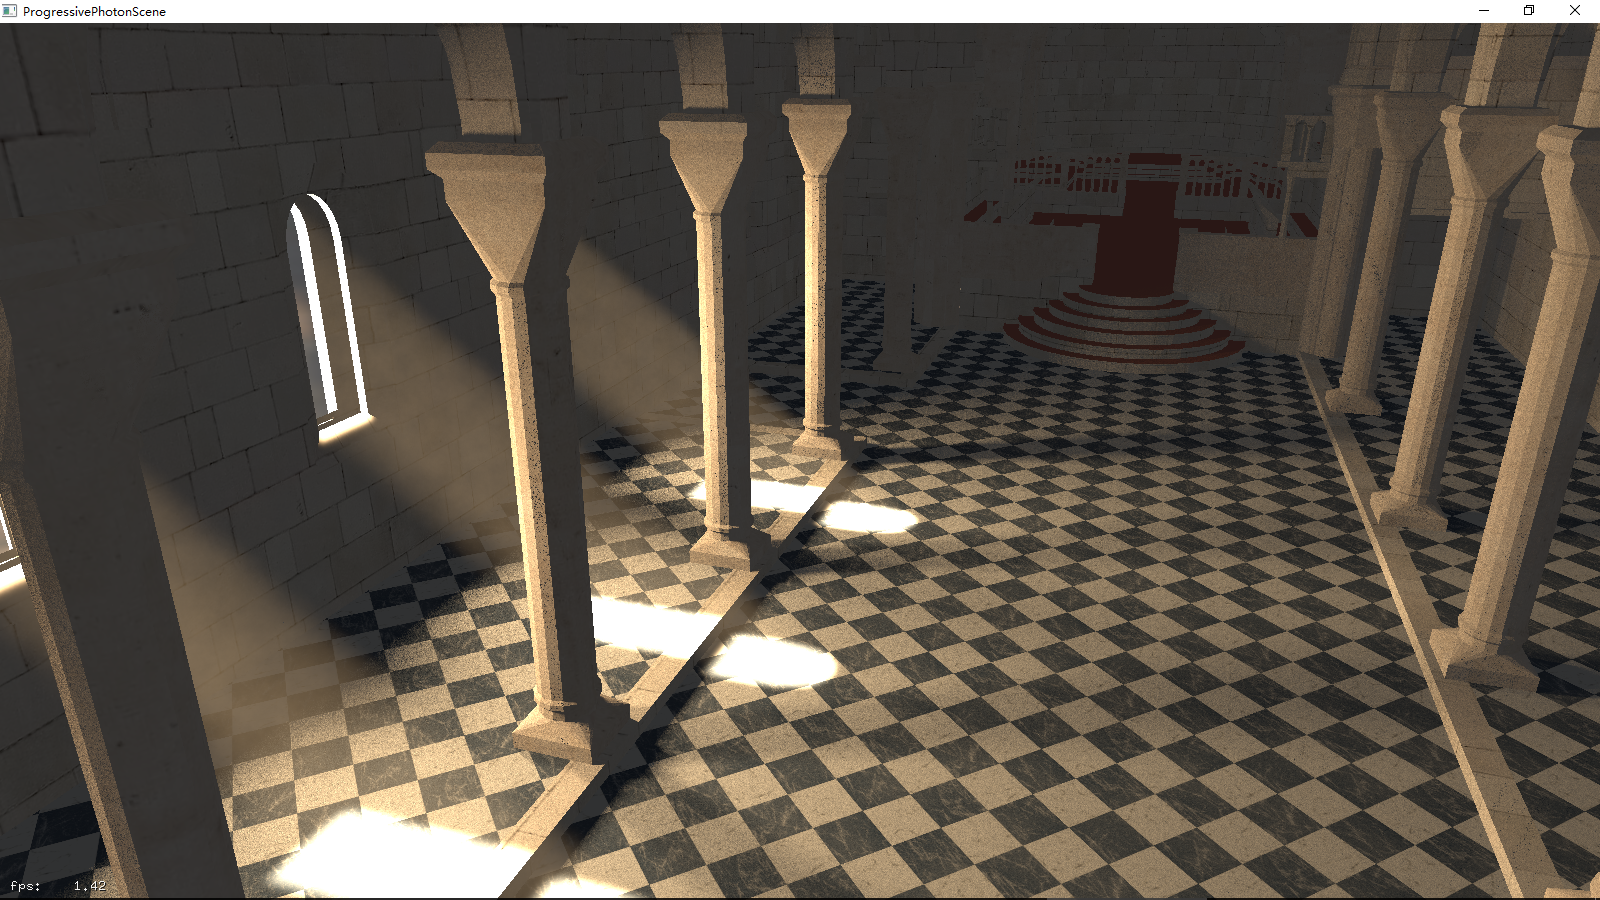
 Left Side Golden Light
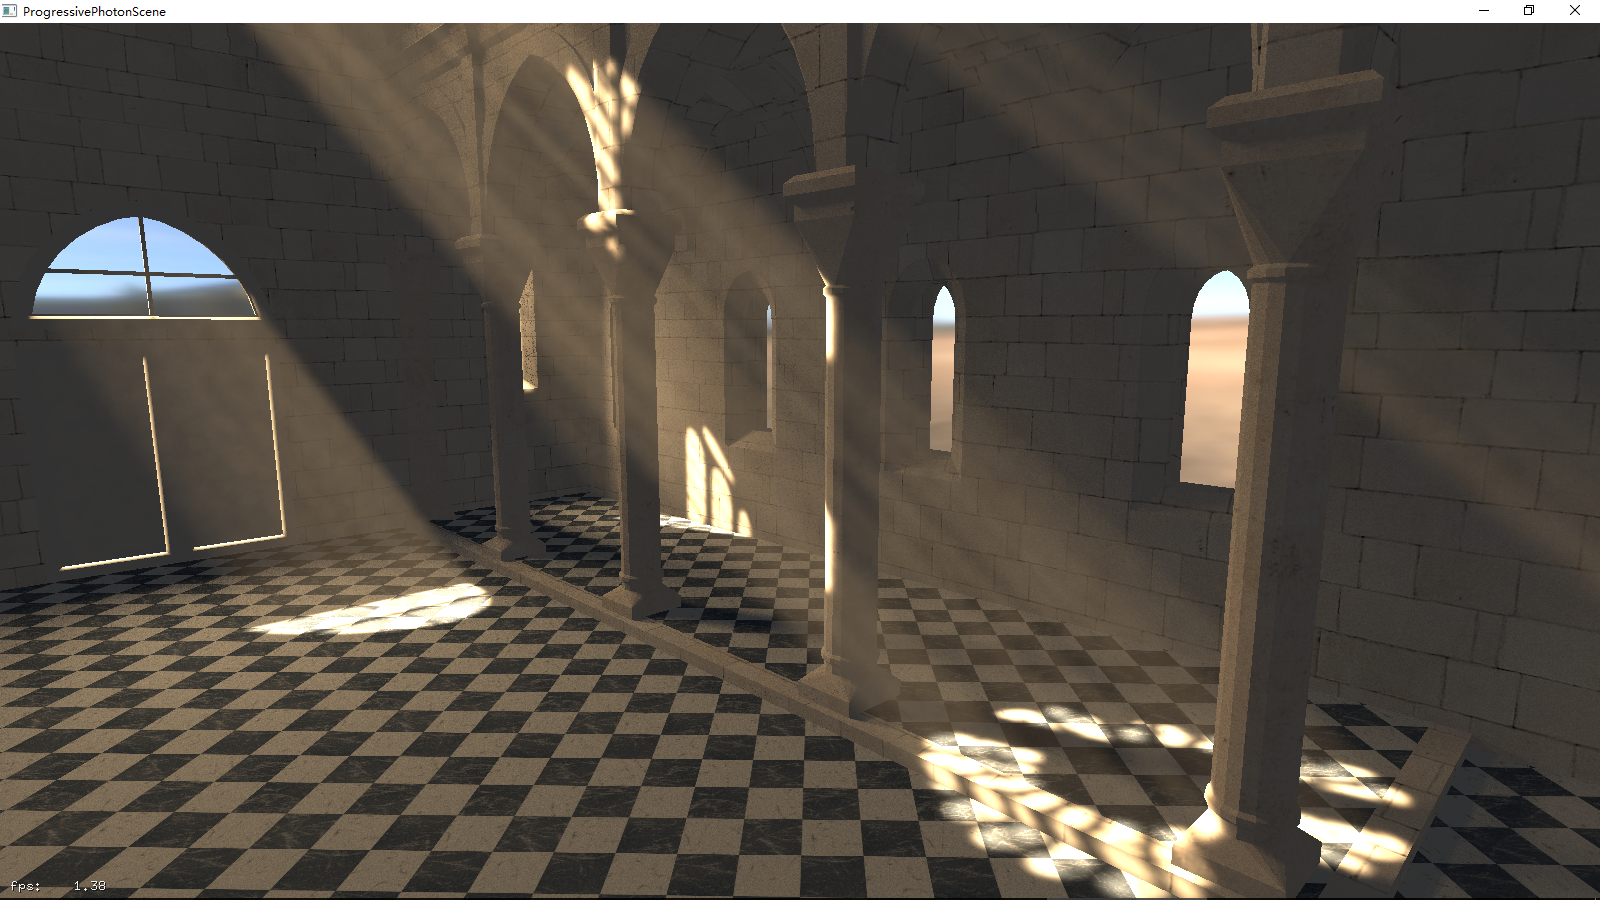
 Front side skew golden light without colorful glass
 Front side golden light with colorful glass(set
 loadAllWindows true)