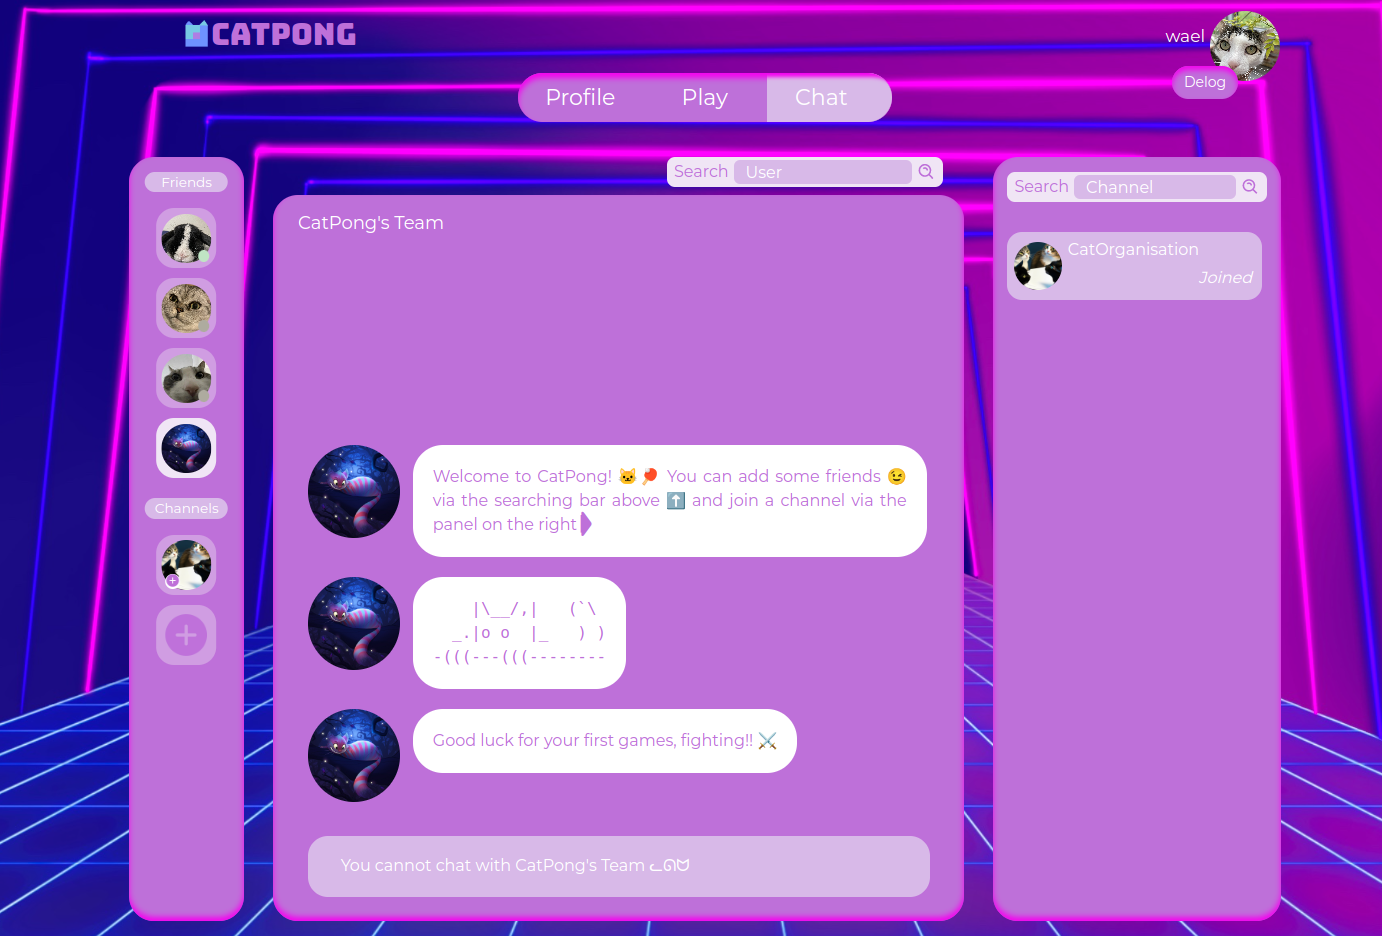
This repository contains the implementation of ft_transcendence, a project developed as part of the curriculum at 42 Paris. The aim of this project is to create a web-based version of the game "Pong" that enables users to play against each other and interact in a variety of ways.
You can access the website here.
CatPong.s.Demo.mp4
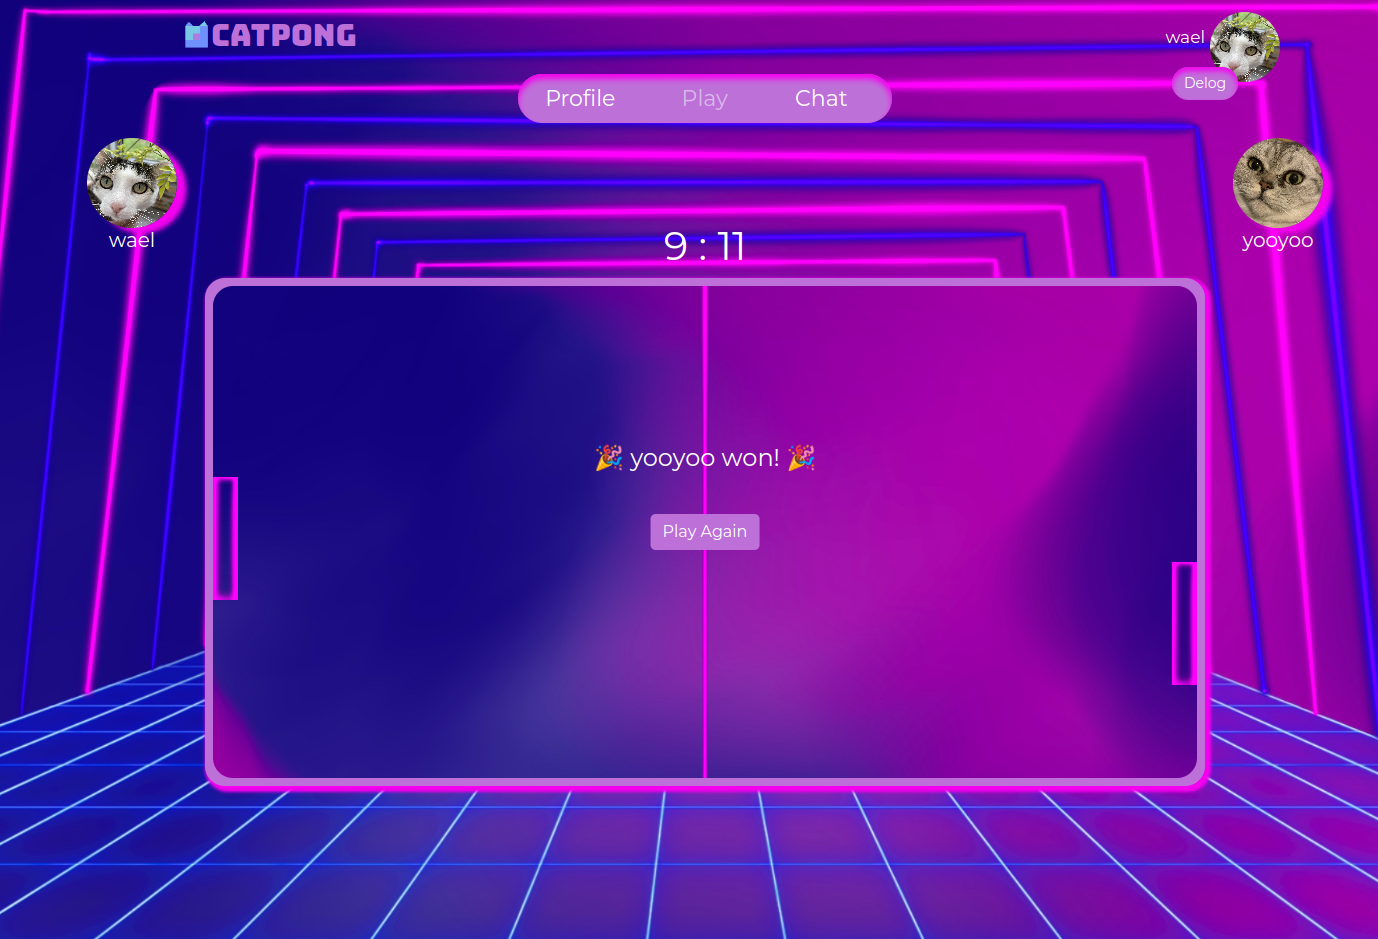
- Real-time multiplayer gameplay with WebSocket communication
- Ability to rejoin the current game if connection lost or when navigating to another page
- User account creation and authentication system (including 2FA)
- Player ranking and leaderboard
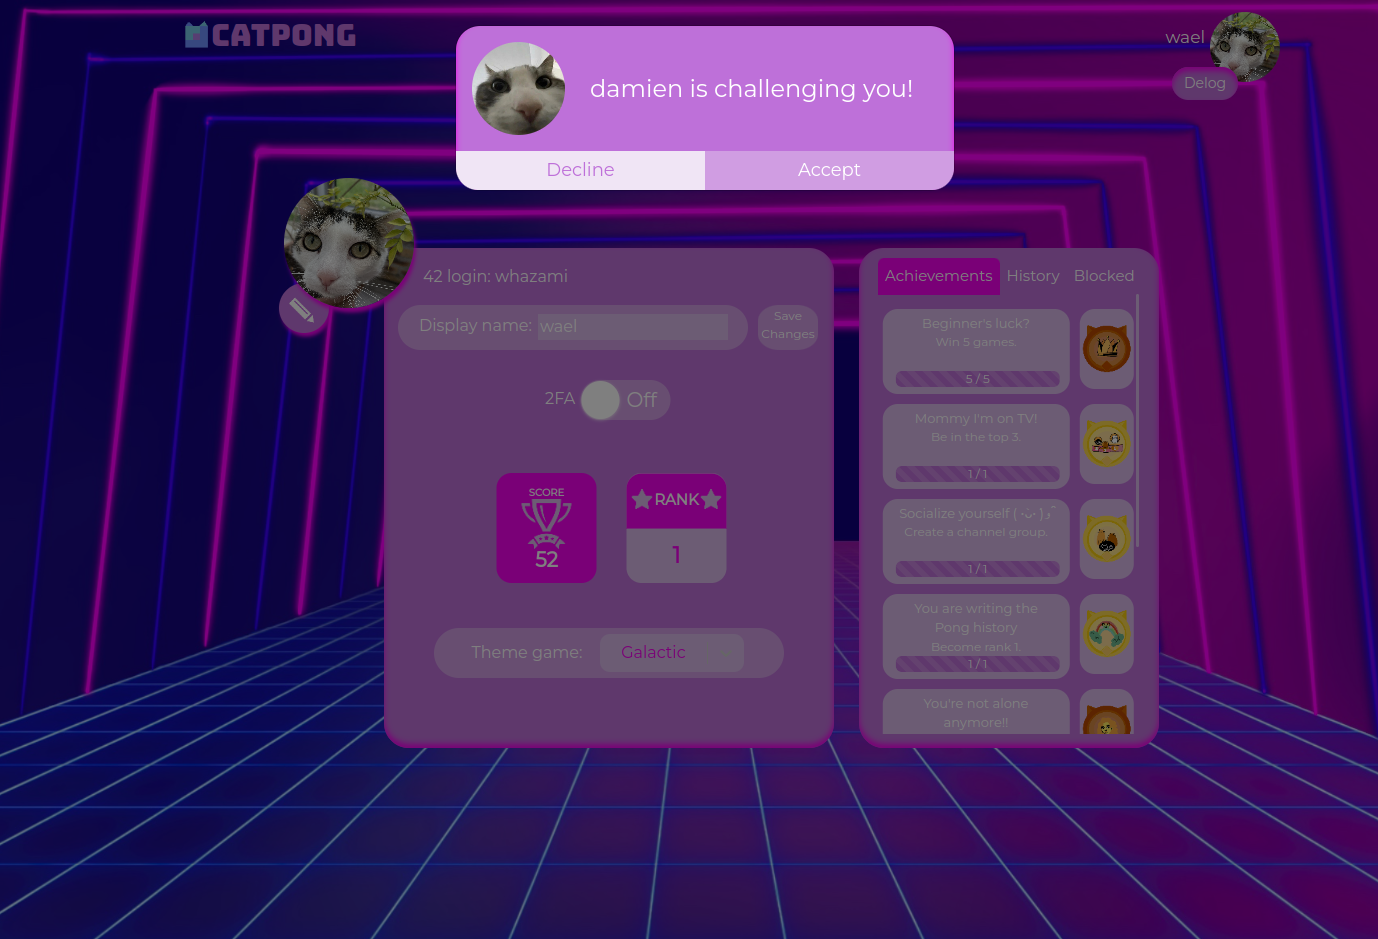
- Real-time users' status, allowing observation of their game if they are currently playing or challenging them if they are available
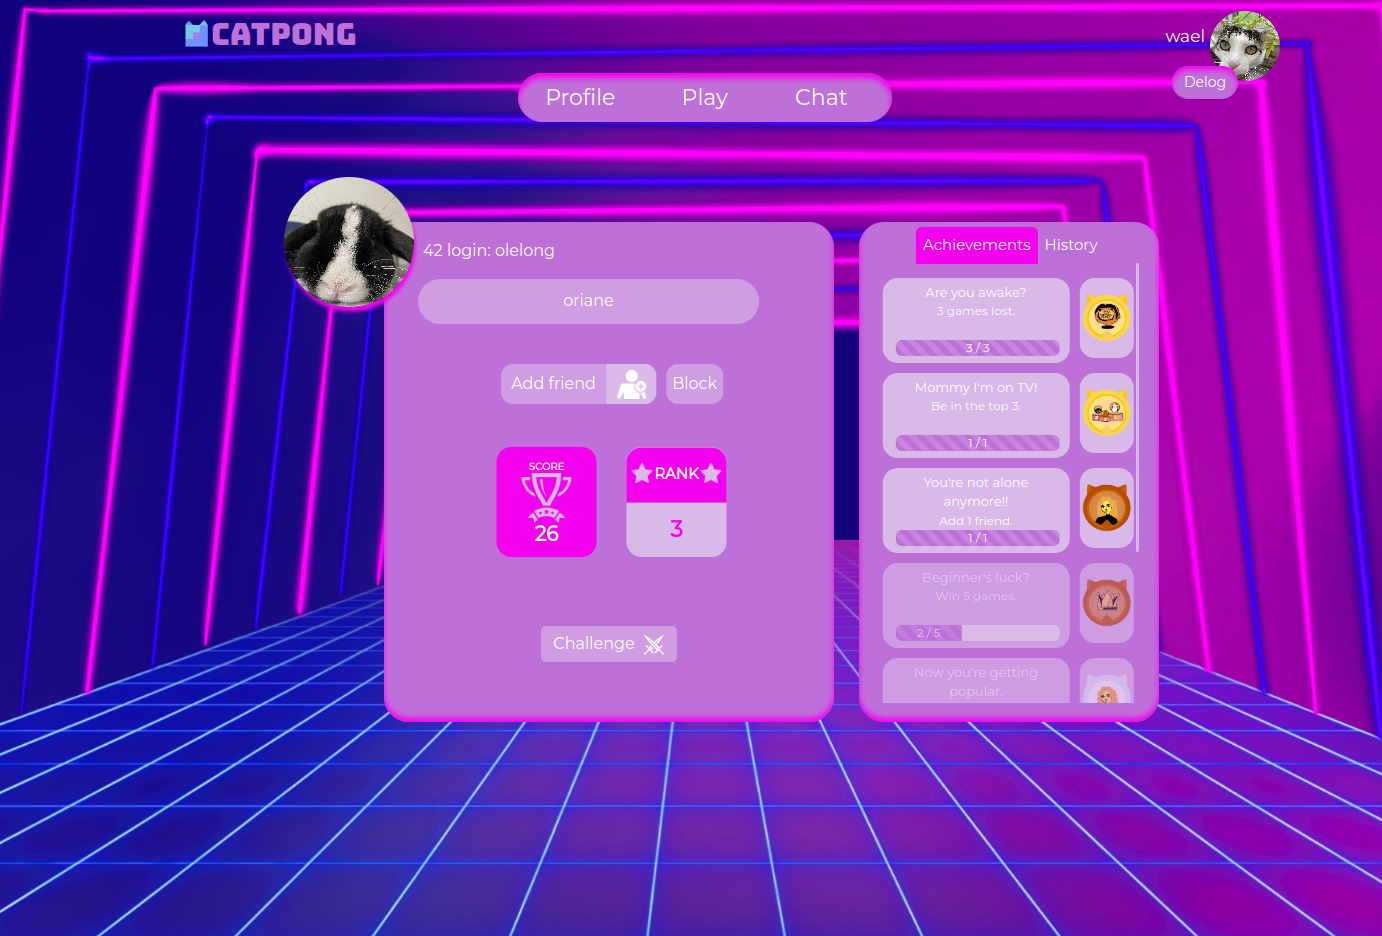
- User profiles with statistics, achievements, game theme and history
- Manage friendships and blocked users
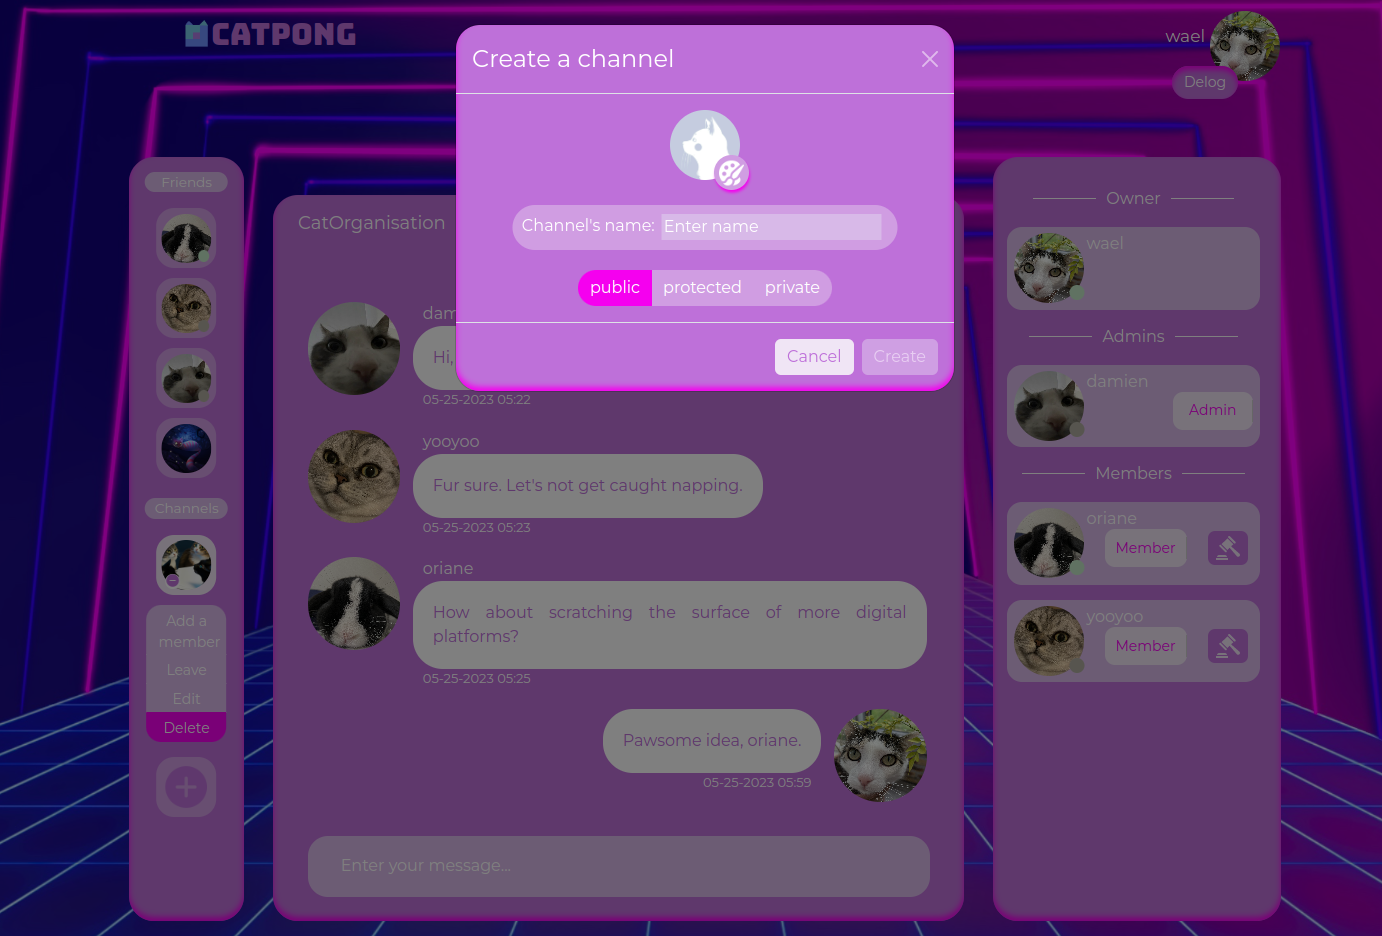
- Chat functionality (including DMs and Channels) for users to communicate
- Channels types: public, protected (join by password), private (join by invitation)
- Channels roles: owner (can sanction and manage roles), admin (can sanction), member
- Channels sanctions: mute, kick, ban
- Responsive and user-friendly interface design
- Make sure you have Docker and Docker Compose installed on your machine.
- Clone this repository to your local machine:
git clone https://github.com/CatOrganisation/ft_transcendence.git- Navigate to the cloned repository:
cd ft_transcendence- Create a .env file at the root of the repository. Note that while it is not mandatory to create an application using the 42 API, the login functionality through the 42 API will obviously not work without it:
REACT_APP_UID=YOUR_42_API_APP_UID
REACT_APP_SECRET=YOUR_42_API_APP_SECRET
REACT_APP_REDIRECT_URI=http://localhost:3000/home/play # Must be equal to the redirect URI of your 42 API app
REACT_APP_SERVER_URL=http://localhost:3001- Create another .env file in the
nestfolder:
# PostgreSQL setup (you can change these values)
POSTGRES_USER=user
POSTGRES_PASSWORD=password
POSTGRES_DB=database

DOMAIN_NAME=postgres

# Prisma
DATABASE_URL="postgresql://${POSTGRES_USER}:${POSTGRES_PASSWORD}@${DOMAIN_NAME}:5432/${POSTGRES_DB}?schema=public"

# Nest
JWT_SECRET_KEY=SECURED_RANDOM_STRING- Build and launch the services using Docker Compose:
docker compose up --build- Once the containers are up and running (you may see a message like "Compiled successfully! You can now view app in the browser." in the logs), navigate to http://localhost:3000 in your web browser.
Contributions are welcome. If you find any issues or have suggestions for improvements, please open an issue or submit a pull request (see pull-request.md for the procedure).
Note that you can test the endpoints of the API here which will directly affect the deployed version. For more information on interacting with the API, please refer to the endpoint.md and socket.md files.
Currently, the image upload functionality is not working on the deployed version due to the absence of a cloud storage service, like Google Cloud Storage or Amazon S3. However, if you wish to reactivate this feature on your local project, you can adjust the file size limit in srcs/requirements/nest/server/src/image/image.module.ts (in dev branch).
To do so, modify this line:
fileSize: 0 * 1024 * 1024,to the desired file size in megabytes (e.g. 8Mb):
fileSize: 8 * 1024 * 1024,This project is licensed under the MIT License - see the LICENSE file for details.
