The goals / steps of this project are the following:
- Compute the camera calibration matrix and distortion coefficients given a set of chessboard images.
- Apply a distortion correction to raw images.
- Use color transforms, gradients, etc., to create a thresholded binary image.
- Apply a perspective transform to rectify binary image ("birds-eye view").
- Detect lane pixels and fit to find the lane boundary.
- Determine the curvature of the lane and vehicle position with respect to center.
- Warp the detected lane boundaries back onto the original image.
- Output visual display of the lane boundaries and numerical estimation of lane curvature and vehicle position.
Everything is in the Avanced-Lane-Finding notebook in the project. I start by undistorting the images after
the calibration step. Then I start testing out the different color spaces and visualize them to create binary images.
I visualize every step before finally creating the pipeline for the video.
This in the first step I tackled in the project.
I start by preparing "object points", which will be the (x, y, z) coordinates of the chessboard corners in the world.
Here I am assuming the chessboard is fixed on the (x, y) plane at z=0, such that the object points are the same
for each calibration image. Thus, objp is just a replicated array of coordinates, and objpoints will be
appended with a copy of it every time I successfully detect all chessboard corners in a test image. imgpoints
will be appended with the (x, y) pixel position of each of the corners in the image plane with each
successful chessboard detection.
I then used the output objpoints and imgpoints to compute the camera calibration and distortion coefficients using the cv2.calibrateCamera() function. I applied this distortion correction to the test image using the cv2.undistort() function and obtained this result:
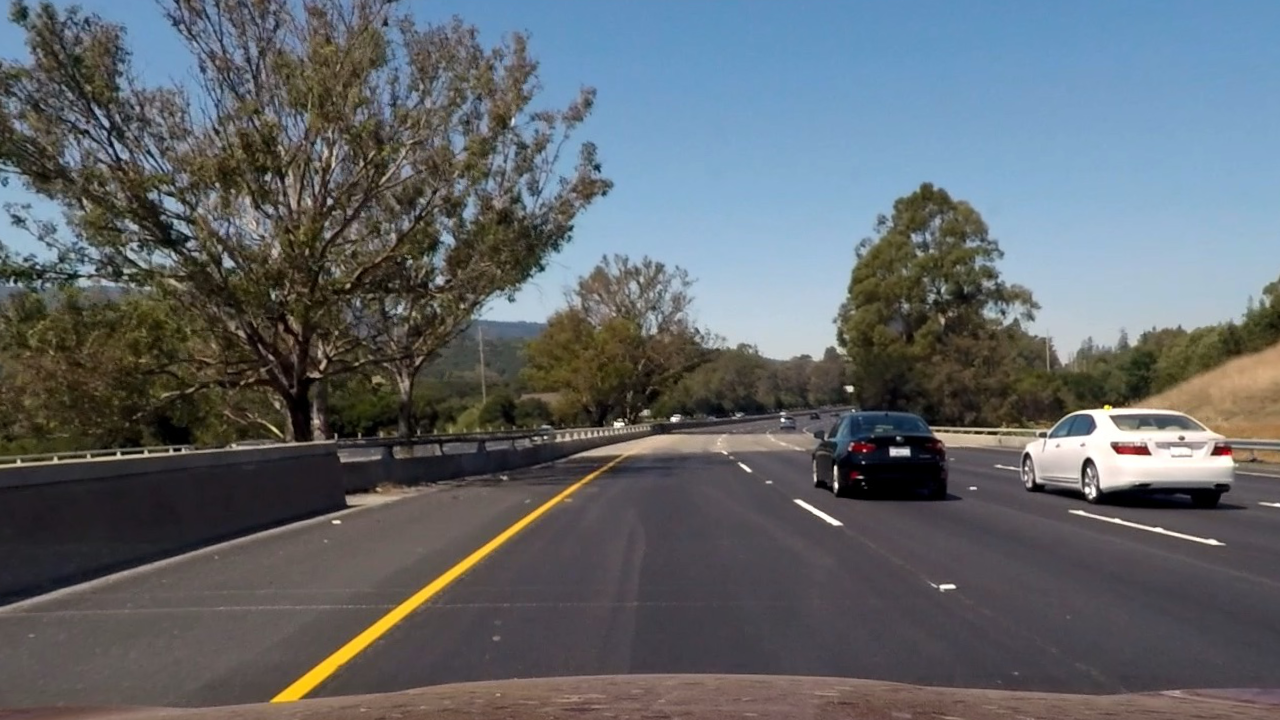
First tested went though development of pipeline on test images.
Undistorted images using calibration and distortion coefficients created by the camera calibration step.
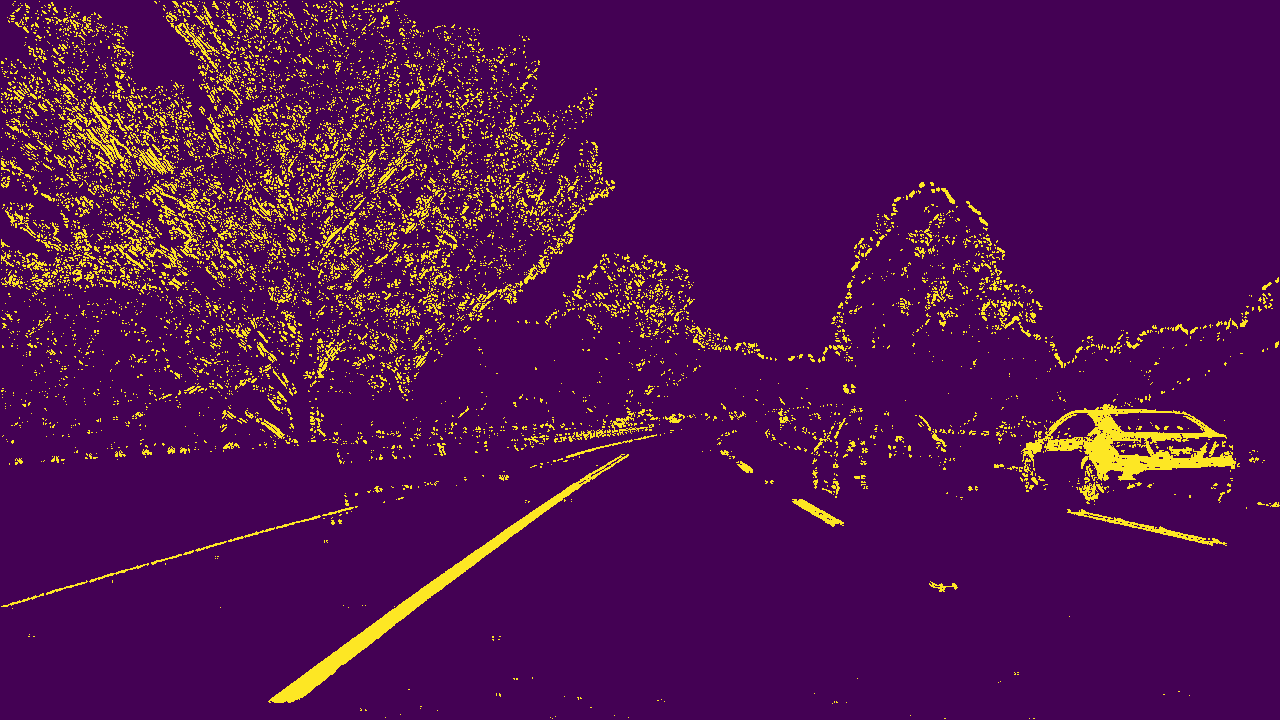
I used a combination of color and gradient thresholds to generate a binary image. In my notebook I visualized x, y, direction, and magnitude gradient thresholds. Then visualized RGB and HLS Color thresholds.
Using a combination of x amd y gradient thresholds and the saturation channel from the HLS color space.
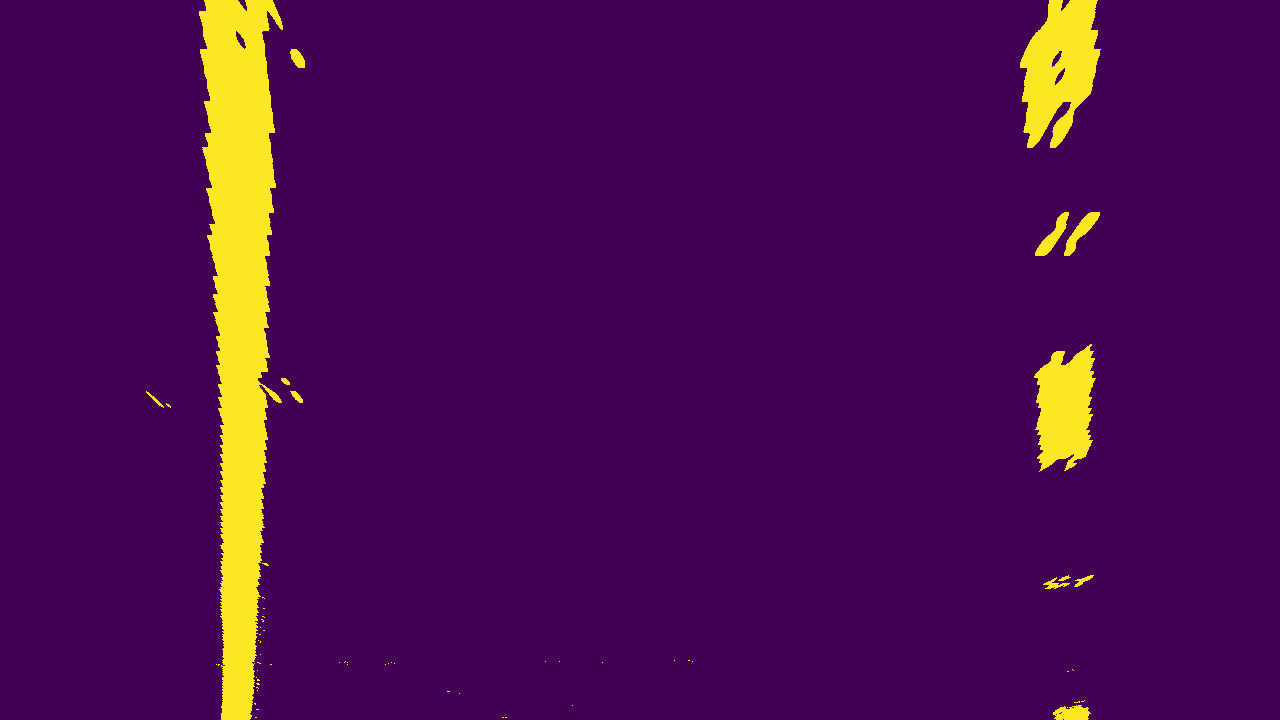
This is the meat of the project. I have a warp() function the warps the binary image to give a birds eye view of the
lane lines. The warp() function takes the binary image with source src and destination dst points.
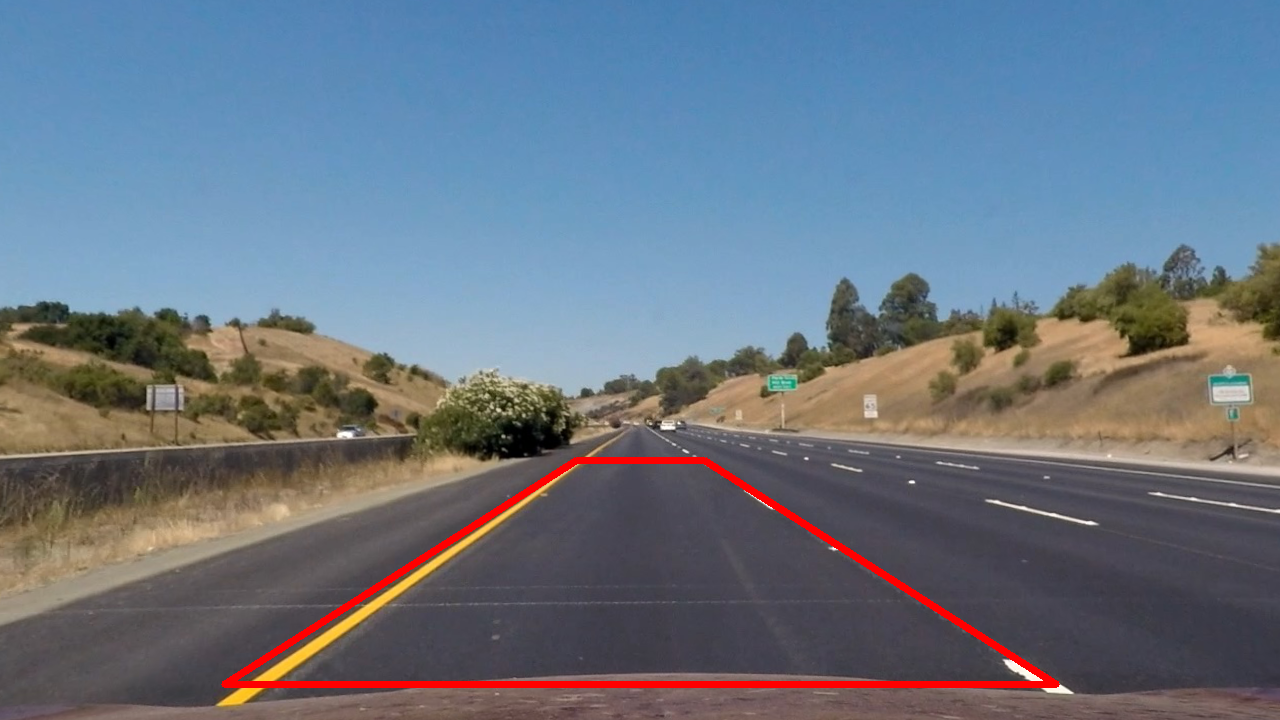
To determine the source points I used an image from a straight road and marked 4 visible corners of the lane that I wanted to see in the birds eye. Because of the perspective of the lens this would polygon will be a Trapezoid.
Destination was simple, were I wanted to warp to. This should make a square. I used an offset from the right and left so that I could view the curves.
To validate my source points were correct the straight lane lines should be parallel.
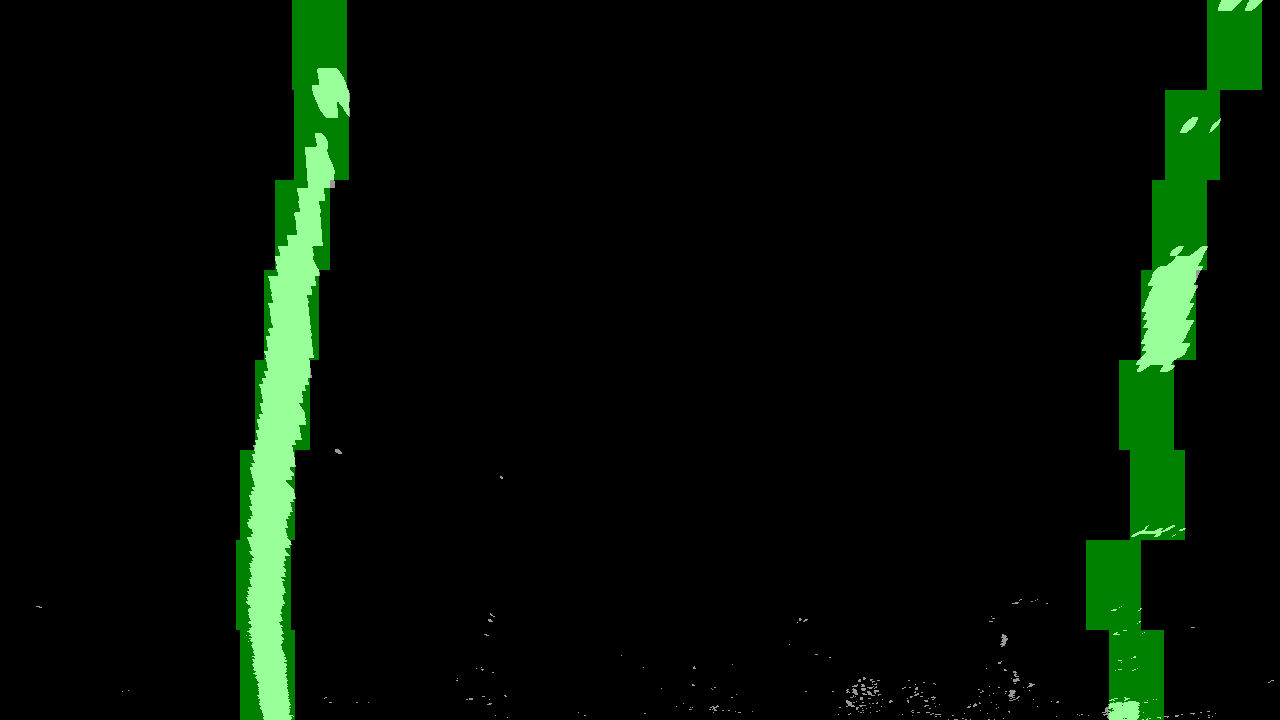
Used a convolutional sliding window for each half of the warped image to find groups of matching pixels. Visualized results by overlaying the windows on the warped image.
First step was to define a mapping from pixels meters in the x and y directions. Using that scale, fit a polynomial, then the calculated the radius with the following formula:
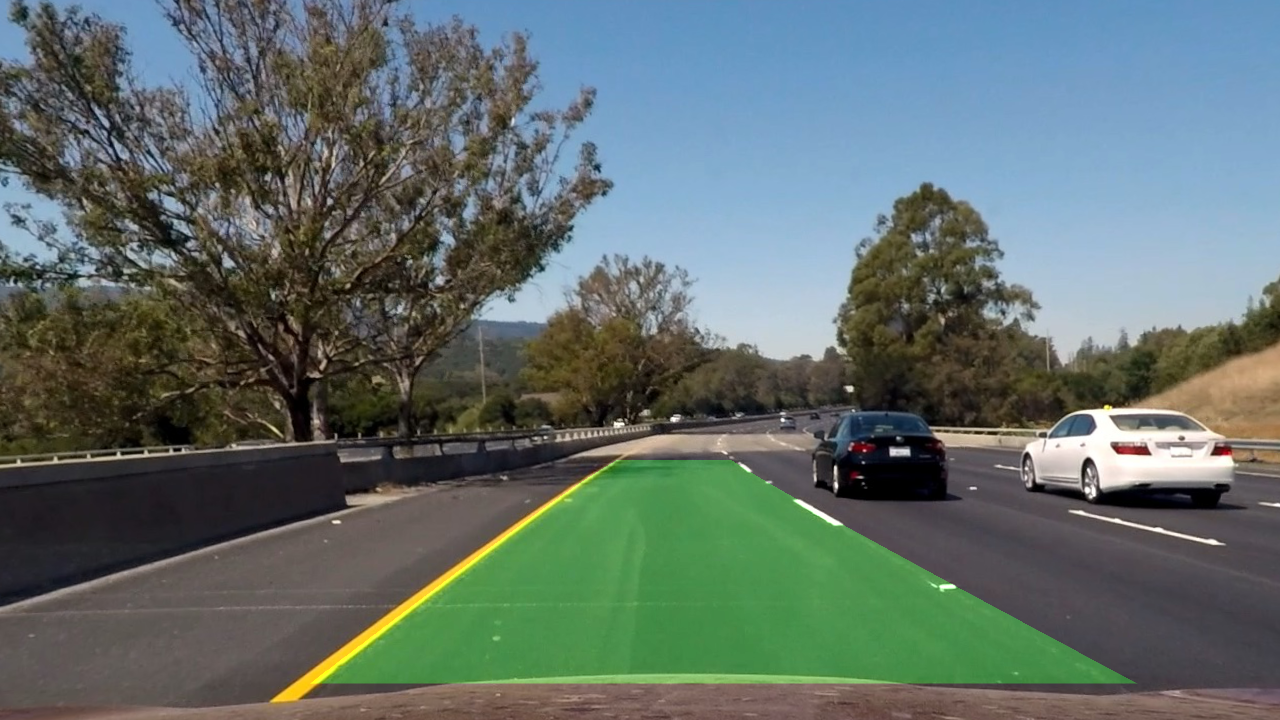
Using fitted lanes generated in previous steps, filled in lane, unwarped and overlayed on original undistorted image:
Used the functions developed in the previous sections for the single image and created a new function that only takes a single image as input. This allows the moviepy library to pump a raw undistorted image though the pipline.
Here's a Final Project Video
Some of the challenges that I faced was getting the source points right for warping the image and the correct thresholds.
Some of the lane lines were dirty and caused large gaps in the lines. Some sections of the road are very light and tend to cause a flicker in the lane following.
