Dockerfile ported by Adafruit from the work of @jcmvbkbc
Please follow the next steps:
- Download or clone this repo, and then build the docker image:
clone https://github.com/hpsaturn/esp32s3-linux.git && cd esp32s3-linux
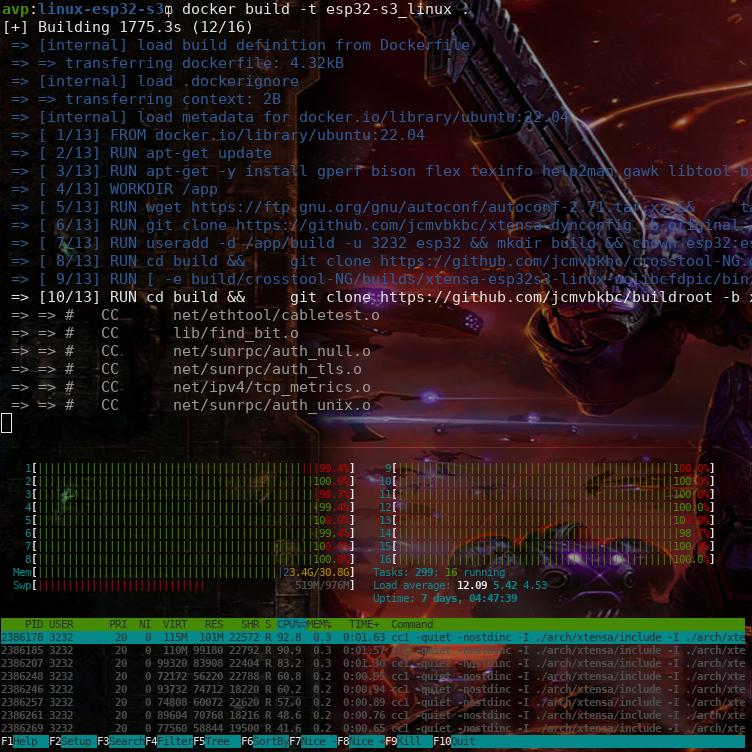
docker build -t esp32-s3_linux .
This step takes around ~35 minutes and needs ~20Gb:
- Run a container in a terminal
docker run --name esp32s3build -it esp32-s3_linux- In a second termintal, copy the binaries
docker cp esp32s3build:/app/build/release/ bin_files- Stop the container
docker stop esp32s3build You must have two tools installed in your system, ESPTool and Espressif IDF. After that please upload the binaries using:
python esptool.py --chip esp32s3 -p YOUR-PORT-HERE -b 921600 --before=default_reset --after=hard_reset write_flash 0x0 bootloader.bin 0x10000 network_adapter.bin 0x8000 partition-table.binparttool.py write_partition --partition-name linux --input xipImageparttool.py write_partition --partition-name rootfs --input rootfs.cramfsAnd the etc partition:¨ (skip it if you preserver your settings)
parttool.py write_partition --partition-name etc --input build-buildroot-esp32s3/images/etc.jffs2Alternative following this Adafruit guide.
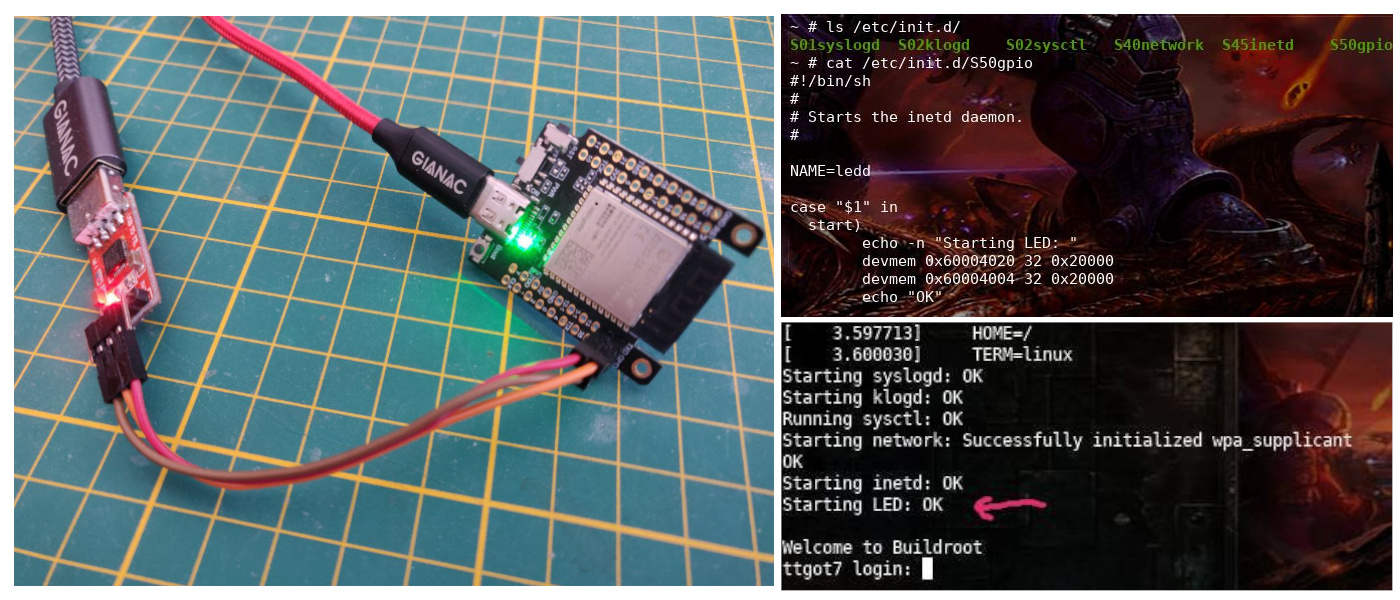
For run in a TTGO T7 S3 (LilyGO board), you should have a FTDI connection to the UART like is showed in the photo:
esp32s3linux.mp4
Only add your credentials on /etc/wpa_supplicant.conf using vi editor or from the command line, like this:
cat > /etc/wpa_supplicant.conf <<EOF
network={
        ssid="YOUR-SSID-HERE"
        psk="YOUR-SSID-PASSWORD-HERE"
}
EOF
then, reboot it and your able to connect to it via SSH.
echo -n 'earlycon=esp32s3acm,mmio32,0x60038000 console=ttyACM1 debug rw root=mtd:rootfs no_hash_pointers' > /etc/cmdlinedevmem 0x60004020 32 2 # (output enable for gpio1)
devmem 0x60004004 32 2 # (drive gpio1 high)For other GPIO be careful the syntax and the addressing, for instance for the LilyGO TTGO T7S3 board and its LED, the GPIO is the IO17, then you should be pass the number in hexadecimal, like this:
devmem 0x60004020 32 0x20000 # (ouput enable for GPIO 17)
devmem 0x60004004 32 0x20000 # (set GPIO 17 high)
Also you can enable the LED on the startup in a simple inet.d service:
More info in the technical document of the ESP32S3.
Maybe the best way to development is not using this guide, because is more easy modify the files and make code contributions from your local machine. For this reason you should have running the official script in your machine.
Also with this script you could have faster updates because it supports some skip parameters like this:
keep_toolchain=y keep_rootfs=y keep_buildroot=y keep_bootloader=y keep_etc=y ./rebuild-esp32s3-linux.sh- Migrate to the last script version with build parameters
- Freezing repositories to specific commit
- Add provisioning stuff
Main script and initial idea: @jcmvbkbc


