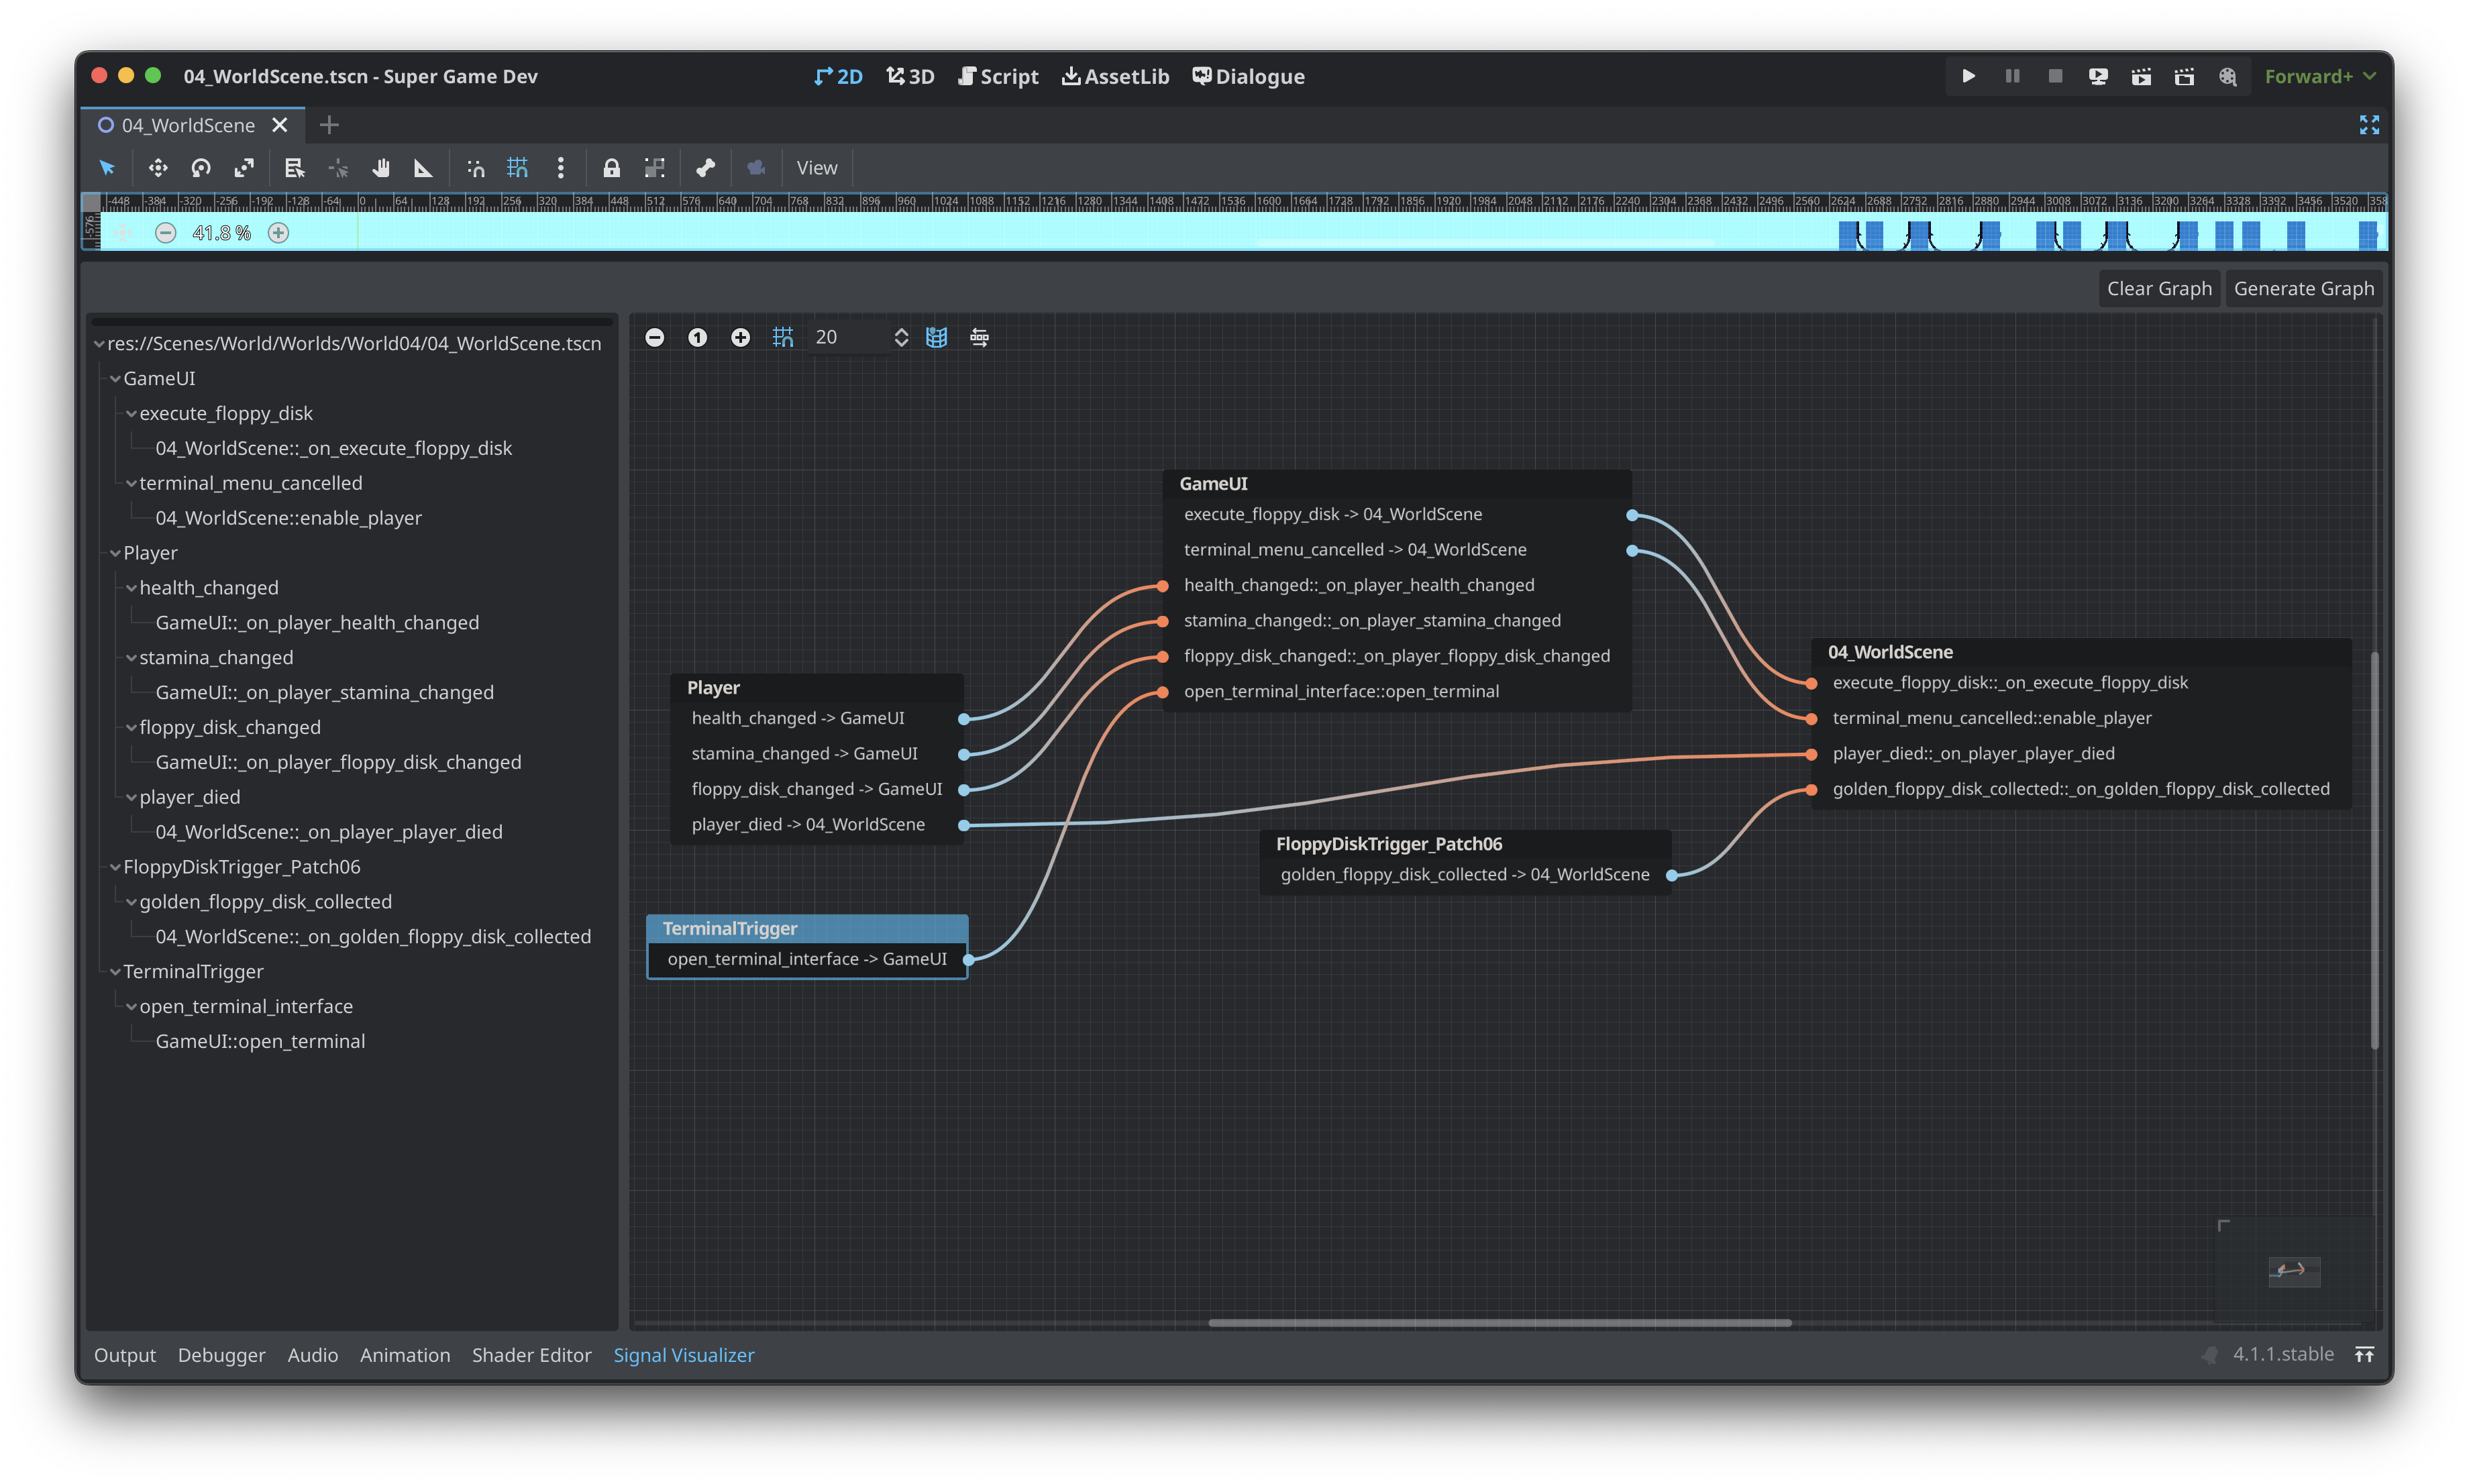
A plugin for Godot 4.x. SignalVisualizer displays the current scene's signals and connections in a easy to read graph and tree dock.
The SignalVisualizer plugin can be installed from source or the Godot Asset Library.
- In Godot's AssetLib tab, search for SignalVisualizer
- Download & Install
Godot Asset Library: SignalVisualizer
- Download the repo
- Copy the
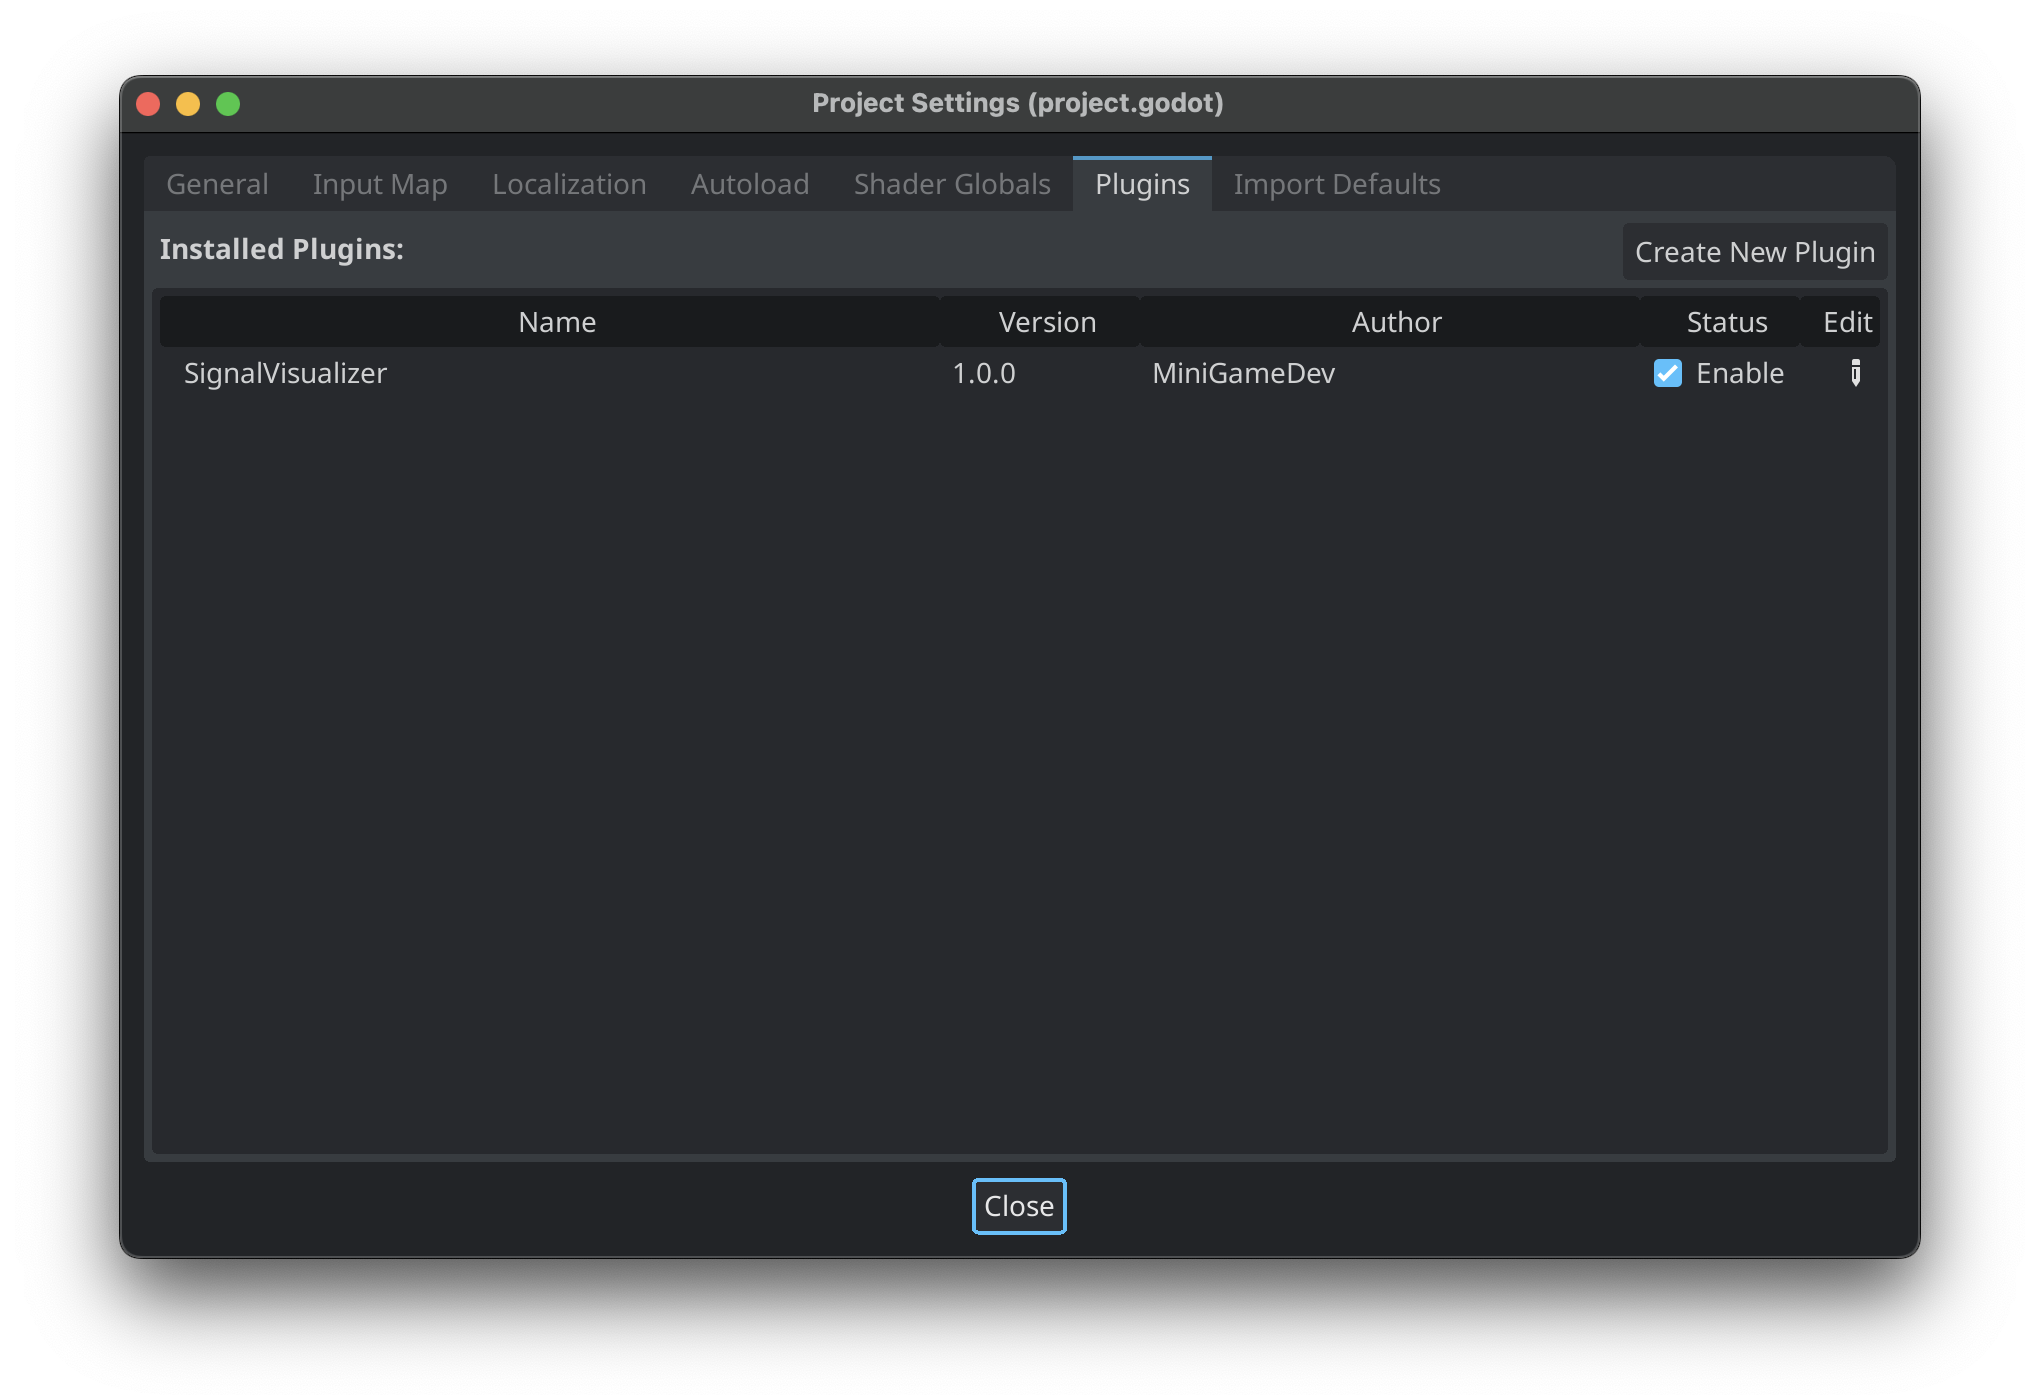
addons/SignalVisualizerdirectory to your project'sres://addons/directory. - Enable the plugin under Project Settings -> Plugins
- The
Signal Visualizertab will display in the bottom dock region.
- The
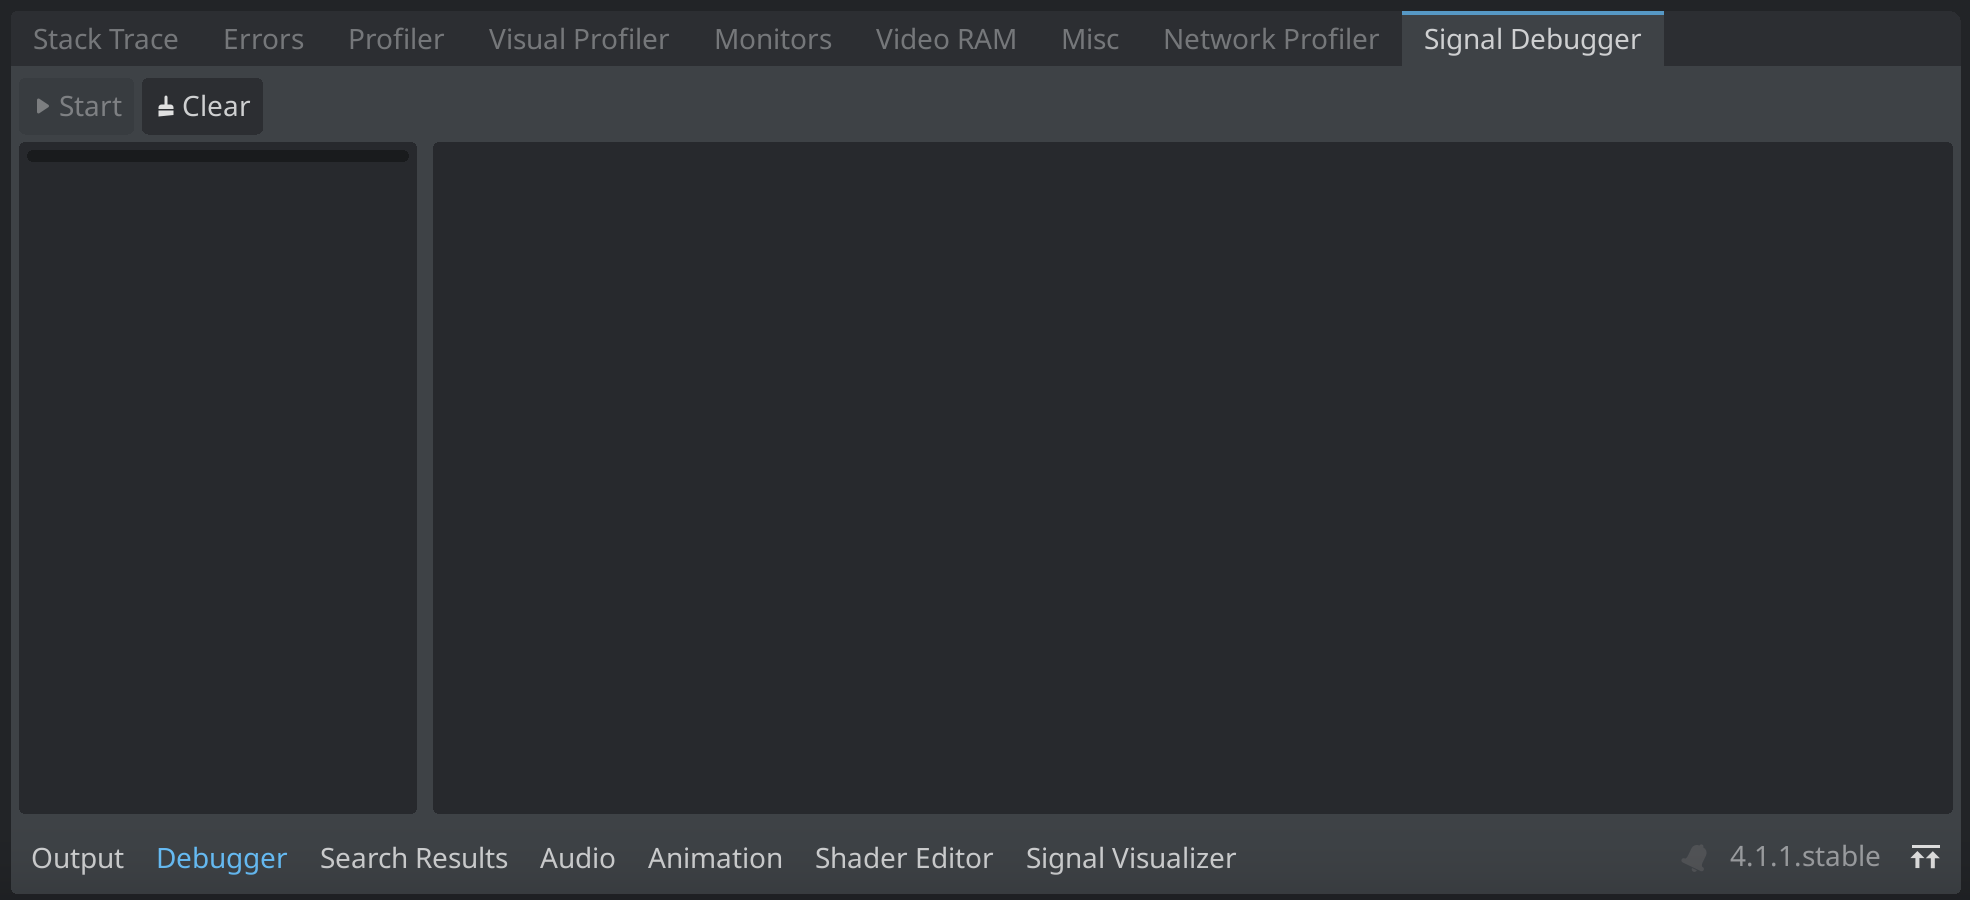
Signal Debuggertab will display as a new panel in the Debugger dock.
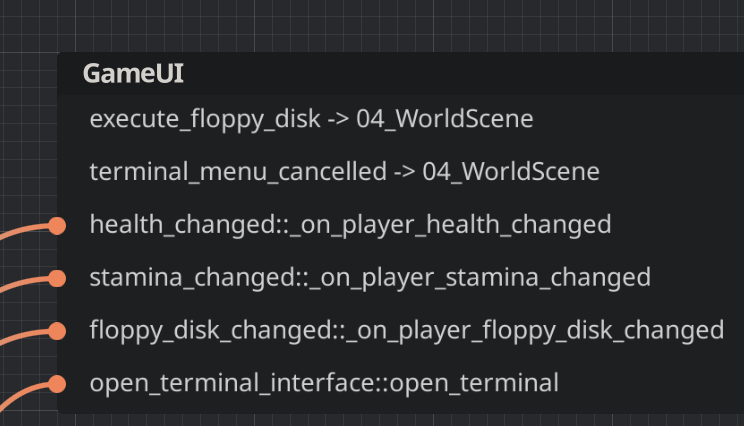
Signal Visualizer will create a signal graph by mapping the signals in the current scene in the Godot editor. The bottom dock uses the built-in GraphEdit and Tree nodes to display the signal graph. Only signals with the flag of CONNECT_PERSIST will be displayed in the signal graph. In addition, all nodes that begin with @ in the name will be ignored.
- With your scene open in the editor, open the bottom dock.
- In Signal Visualizer's top toolbar, click "Generate Graph"
The "Arrange Nodes" toggle enables and disables automatic node arrangement when generating the graph. When enabled, GraphEdit's arrange_nodes() function will be called once all graph nodes are generated.
The "Signal Details" toggle enables and disables expanded formatting described below. When disabled, only the signal's name and corresponding function will be displayed in the graph nodes connections.
The "Open" button that displays next to a signal's connected function will open the corresponding source file at the function's line number.
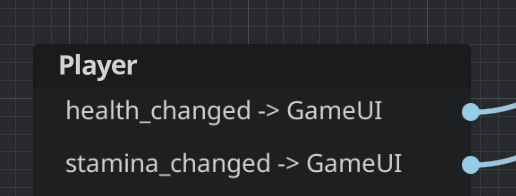
In the signal graph and tree, the format is as follows:
Signal -> Connected Node
Signal::Callable Method
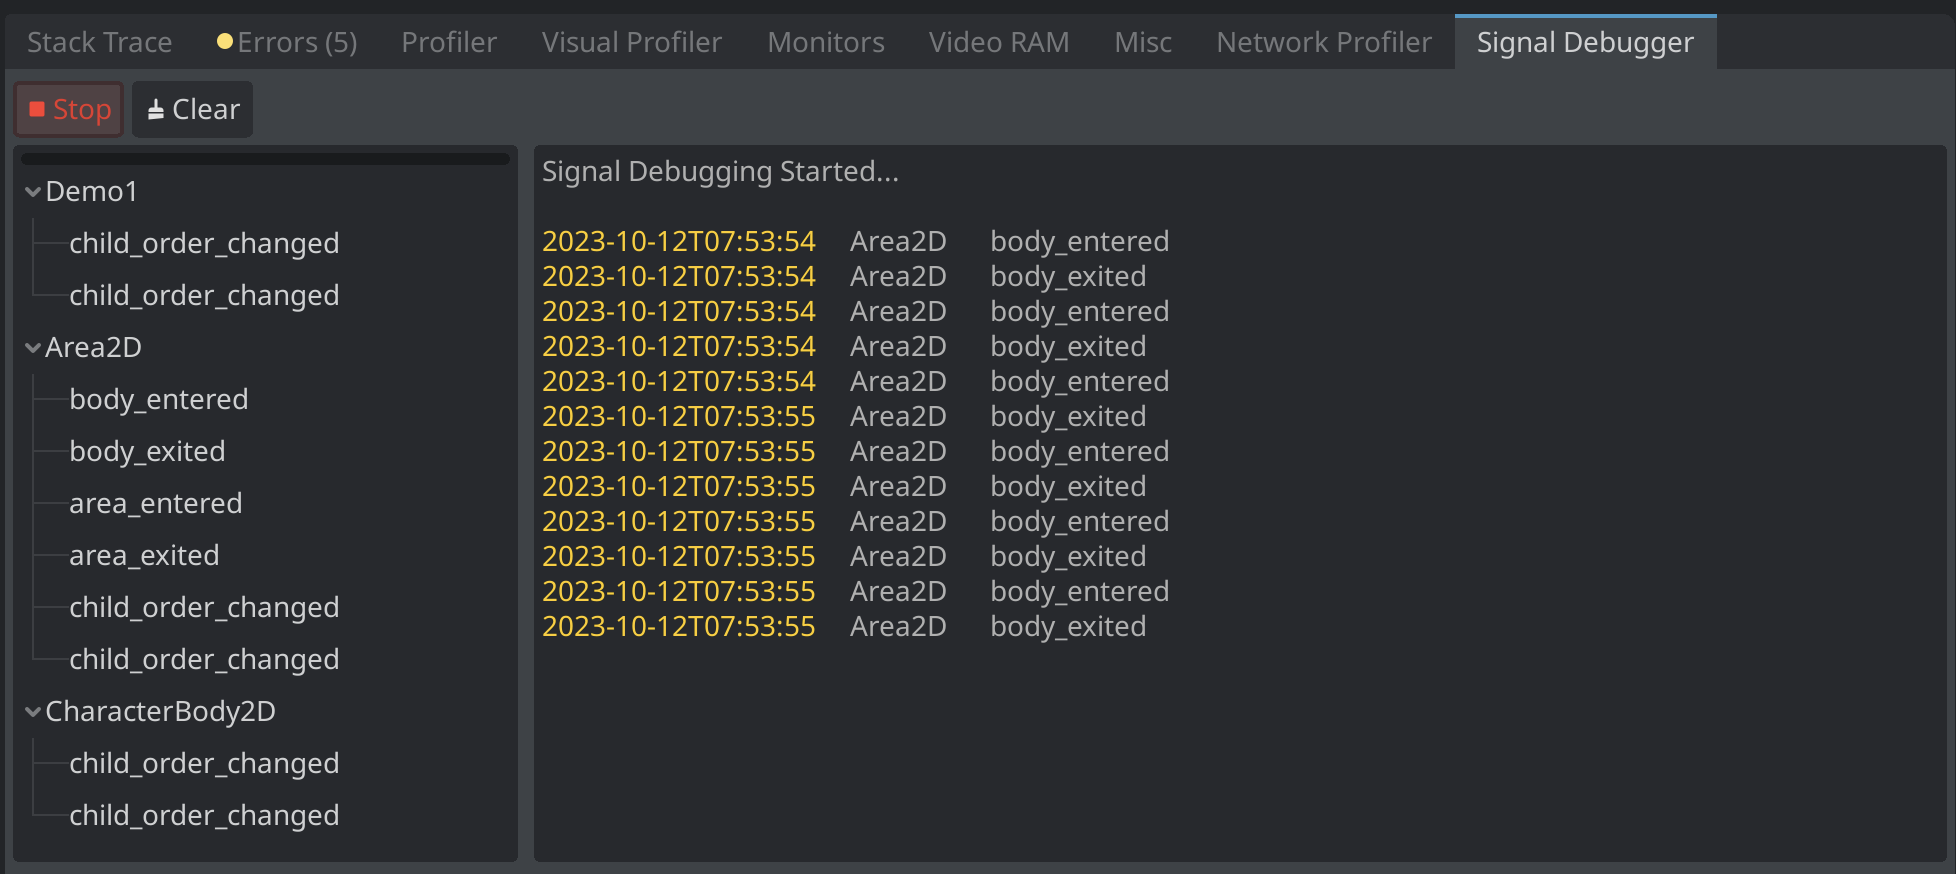
The Signal Debugger connects to a running scene instance to allow for automatic logging of signals. This alleviates the need to add print statements to your own code when debugging signals.
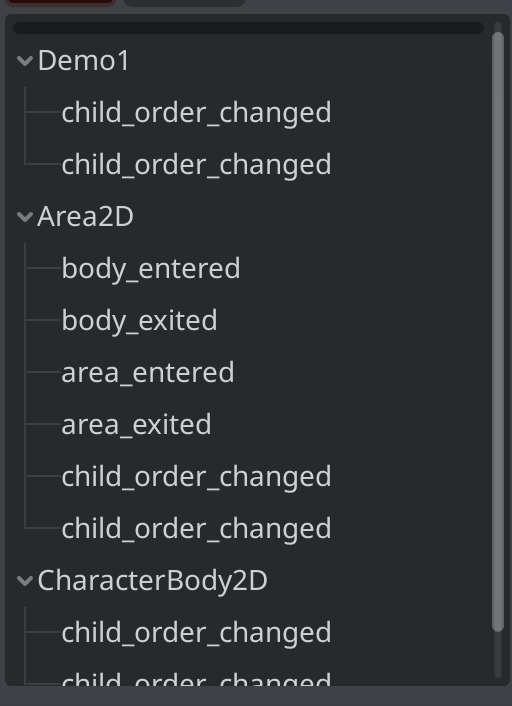
The Signal Debugger panel has two main components. The first is the signal tree. Similar to Signal Visualizer, all relevant scene signals are displayed in the tree.
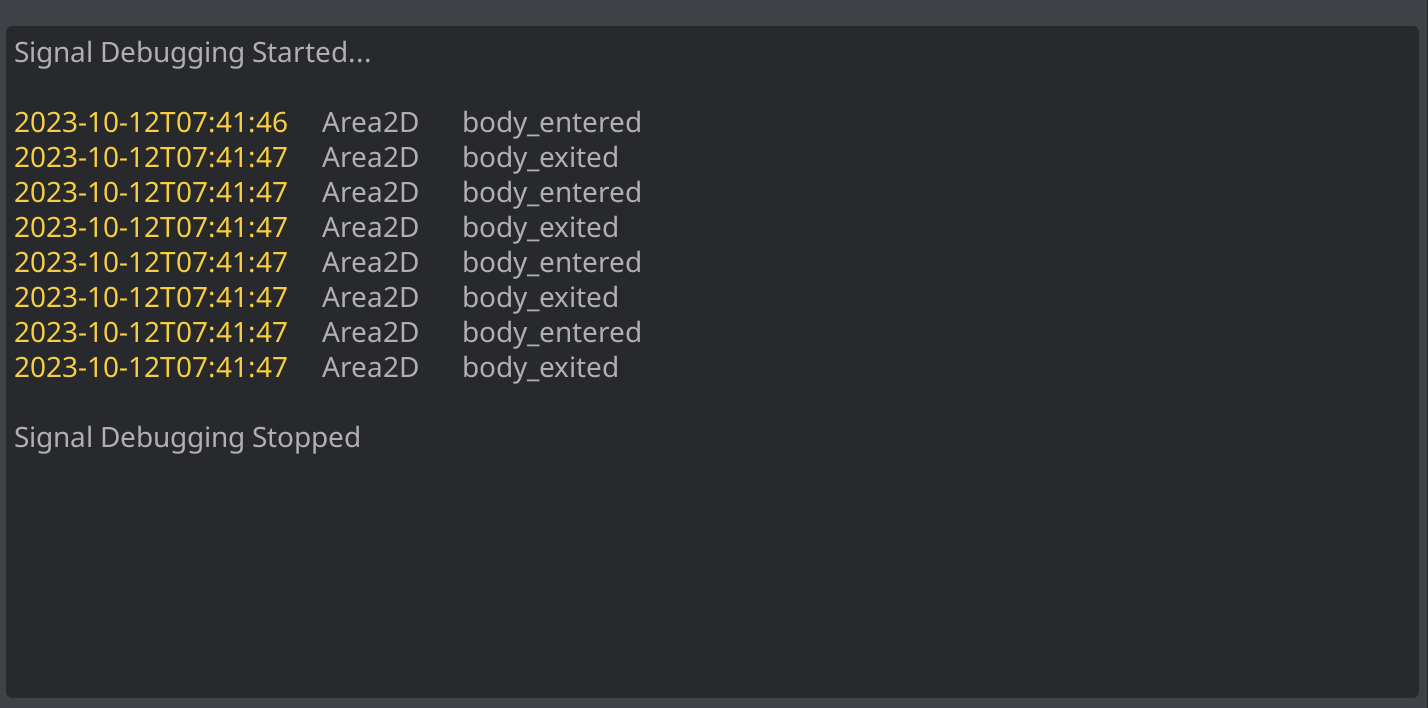
The second main component is the signal log output. This is the main body of the Signal Debugger panel and contains all log messages for signals that have been triggered in the scene.
With your game scene running, navigate to the Signal Debugger panel under the Debugger dock item. Click the Start button to begin signal logging. With the Signal Debugger started, the scene's signal tree will appear and a started message will appear in the signal log output. All relavant signals will log the following:
- Timestamp
- Node that fired the signal
- Signal Name
Clicking Stop will stop signal debugging, disconnecting from all relavant signals in the current game scene. Closing the current game scene will disconnect and stop debugging as well.
If you like this plugin, please consider donating. 😁
If you encounter any of the following issues, please log a bug on the issues tab.
In the event, Godot freezes and crashes when clicking "Generate Graph", please toggle "Arrange Nodes" off and try again.


