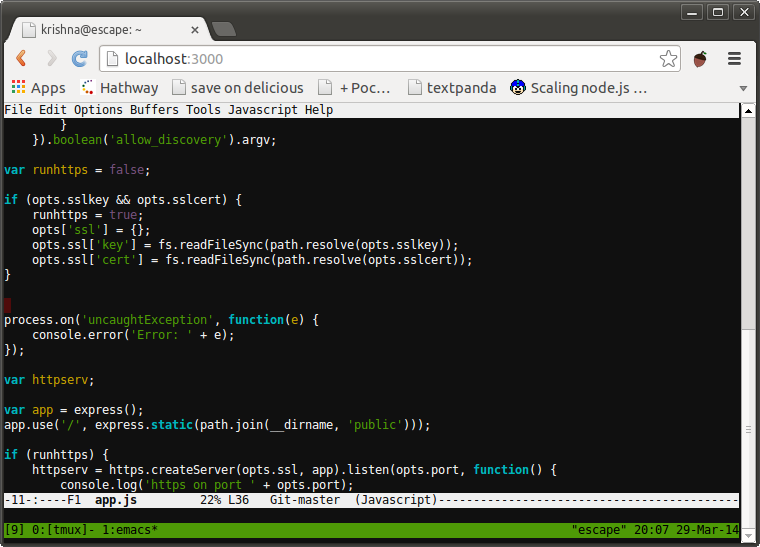
Terminal access in browser over http/https
Terminal over HTTP and https. WeTTy is an alternative to ajaxterm and anyterm but much better than them because WeTTy uses xterm.js which is a full fledged implementation of terminal emulation written entirely in JavaScript. WeTTy uses websockets rather then Ajax and hence better response time.
- node >=14
- make
- python
- build-essential
yarn global add wetty$ wetty --help
Options:
--help, -h Print help message [boolean]
--version Show version number [boolean]
--conf config file to load config from [string]
--ssl-key path to SSL key [string]
--ssl-cert path to SSL certificate [string]
--ssh-host ssh server host [string]
--ssh-port ssh server port [number]
--ssh-user ssh user [string]
--title window title [string]
--ssh-auth defaults to "password", you can use "publickey,password"
instead [string]
--ssh-pass ssh password [string]
--ssh-key path to an optional client private key (connection will be
password-less and insecure!) [string]
--ssh-config Specifies an alternative ssh configuration file. For further
details see "-F" option in ssh(1) [string]
--force-ssh Connecting through ssh even if running as root [boolean]
--known-hosts path to known hosts file [string]
--base, -b base path to wetty [string]
--port, -p wetty listen port [number]
--host wetty listen host [string]
--command, -c command to run in shell [string]
--allow-iframe Allow wetty to be embedded in an iframe, defaults to allowing
same origin [boolean]Open your browser on http://yourserver:3000/wetty and you will prompted to
login. Or go to http://yourserver:3000/wetty/ssh/<username> to specify the
user beforehand.
If you run it as root it will launch /bin/login (where you can specify the
user name), else it will launch ssh and connect by default to localhost. The
SSH connection can be forced using the --force-ssh option.
If instead you wish to connect to a remote host you can specify the --ssh-host
option, the SSH port using the --ssh-port option and the SSH user using the
--ssh-user option.
Check out the Flags docs for a full list of flags
To use wetty as a docker container, a docker image is available on docker hub. To run this image, use
docker run --rm -p 3000:3000 wettyoss/wetty --ssh-host=<YOUR-IP>and you will be able to open a ssh session to the host given by YOUR-IP under
the URL http://localhost:3000/wetty.
It is recommended to drive wetty behind a reverse proxy to have HTTPS security and possibly Let’s Encrypt support. Popular containers to achieve this are nginx-proxy and traefik. For traefik there is an example docker-compose file in the containers directory.
Check out the docs
WeTTy supports all browsers that xterm.js supports.
👤 Cian Butler butlerx@notthe.cloud
- Twitter: @cianbutlerx
- Github: @butlerx
Contributions, issues and feature requests are welcome!
Feel free to check
issues page.
Please read the development docs for installing from source and running is dev node
Thanks goes to these wonderful people (emoji key):
This project follows the all-contributors specification. Contributions of any kind welcome!
Give a ⭐️ if this project helped you!
Copyright © 2019
Cian Butler butlerx@notthe.cloud.
This
project is MIT licensed.


