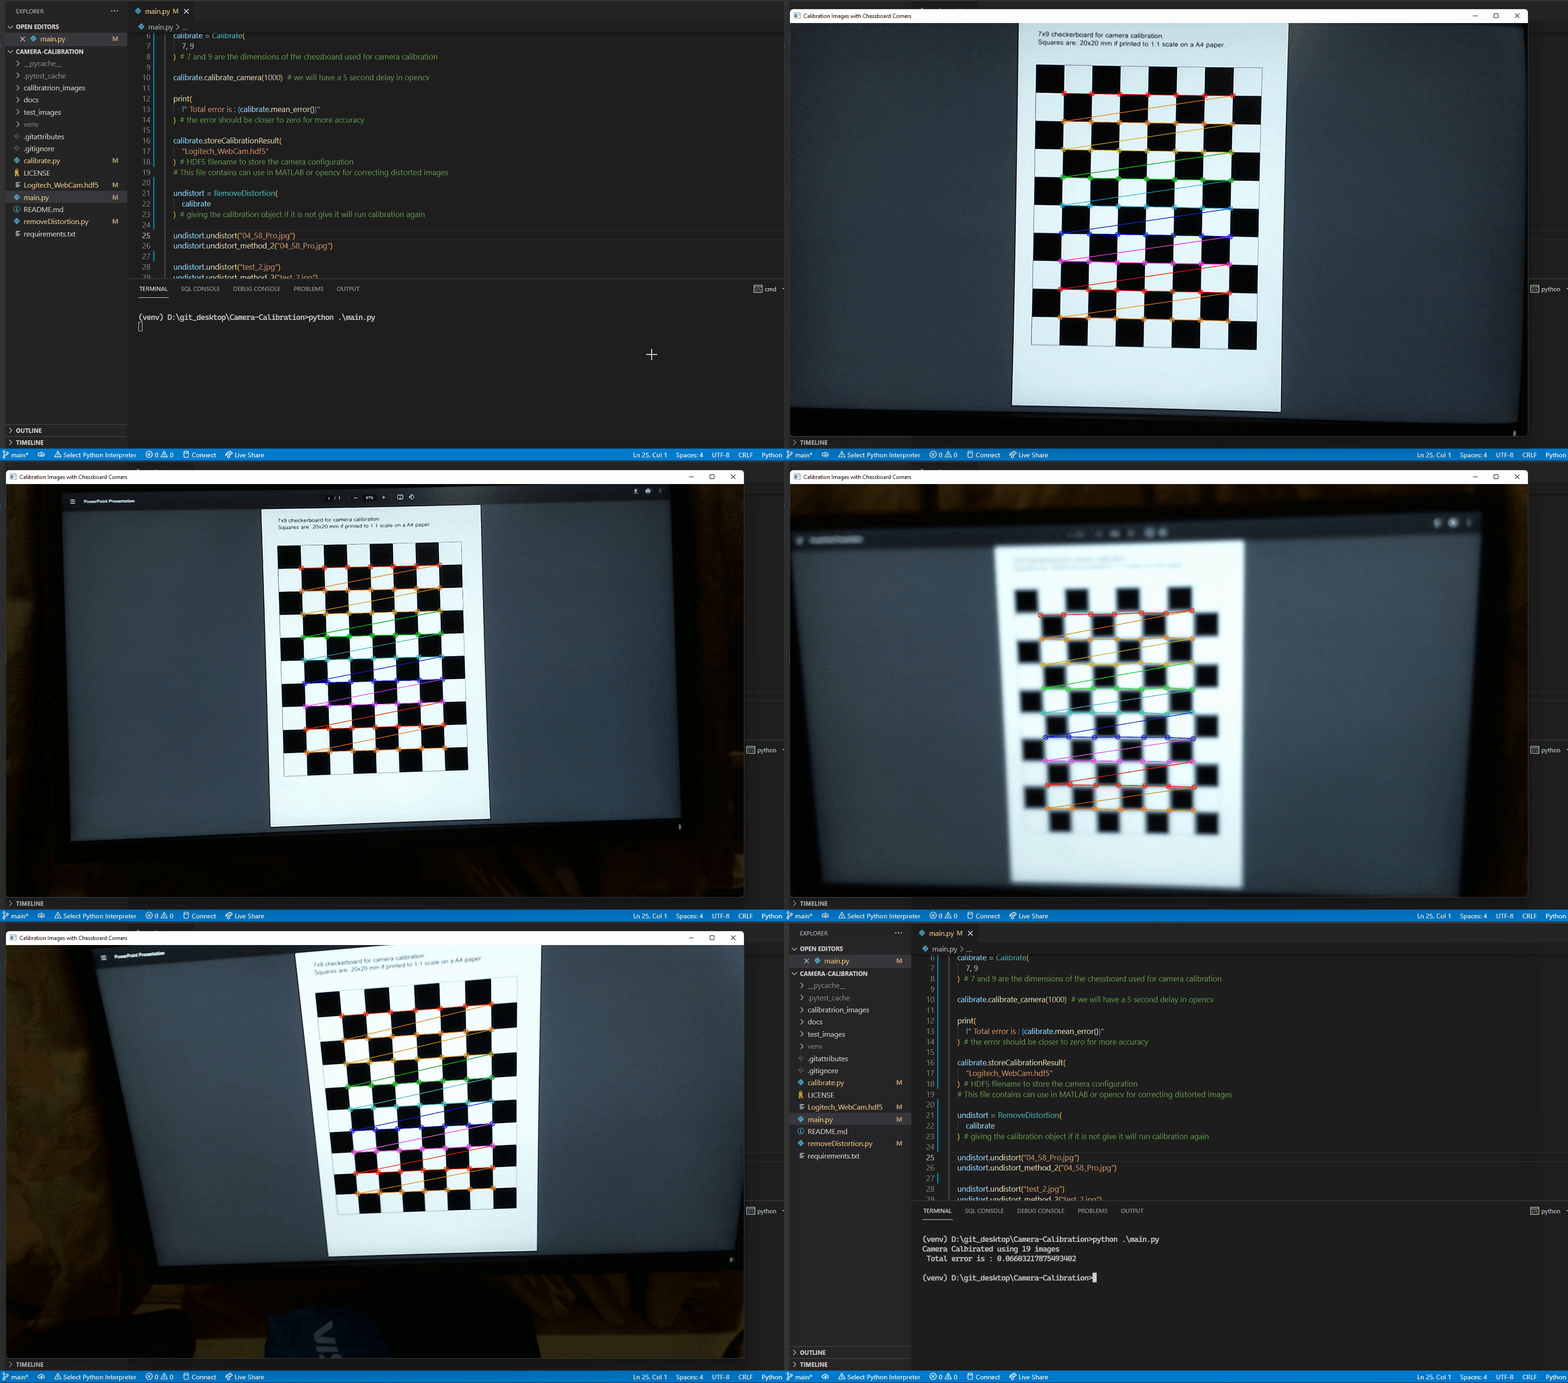
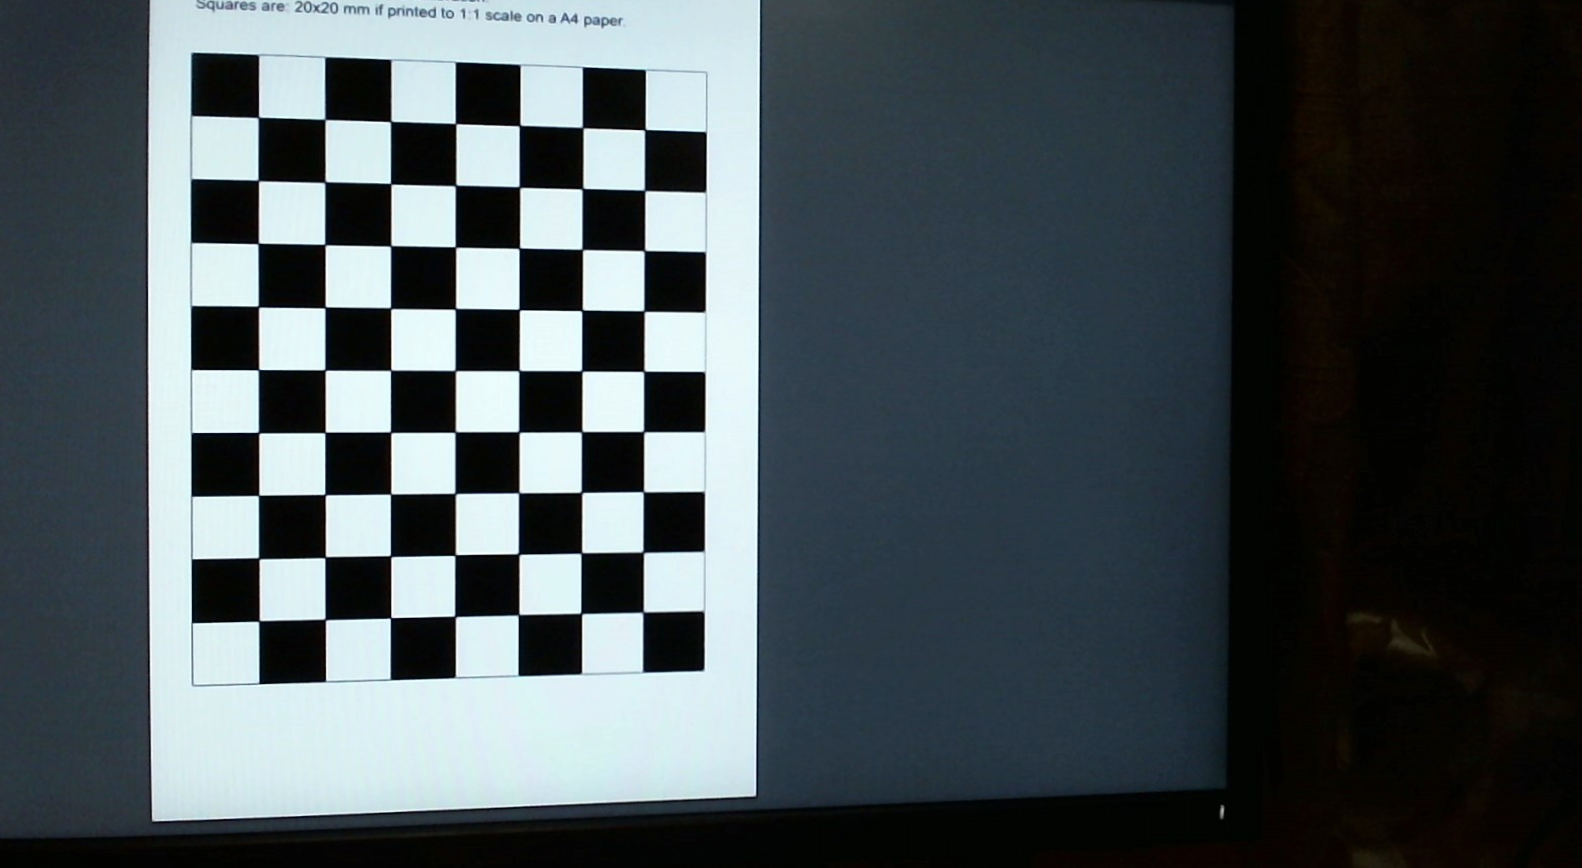
The above image shows the calibration in action . I have used a 7*9 chessboard image for calibration .
-
Create a virtual environment
Windows
python -m venv .\venv
venv\Scripts\activate.bat
macOS & Linux
python -m venv ./venv source venv/bin/activate -
Install the project dependencies with the following command.
pip install -r requirements.txt-
Run the project
python .\main.py
The calibration images can be stored at calibration_images
For testing the distortion we can put the files in test_images and type the file name in main.py .The output of the corrected images are stored as filename_undistorted.png and filename_undistorted_method_2.png .
To check the difference between them we can use the difference function in removeDistortion.py which saves the files as filenamesubtract.png
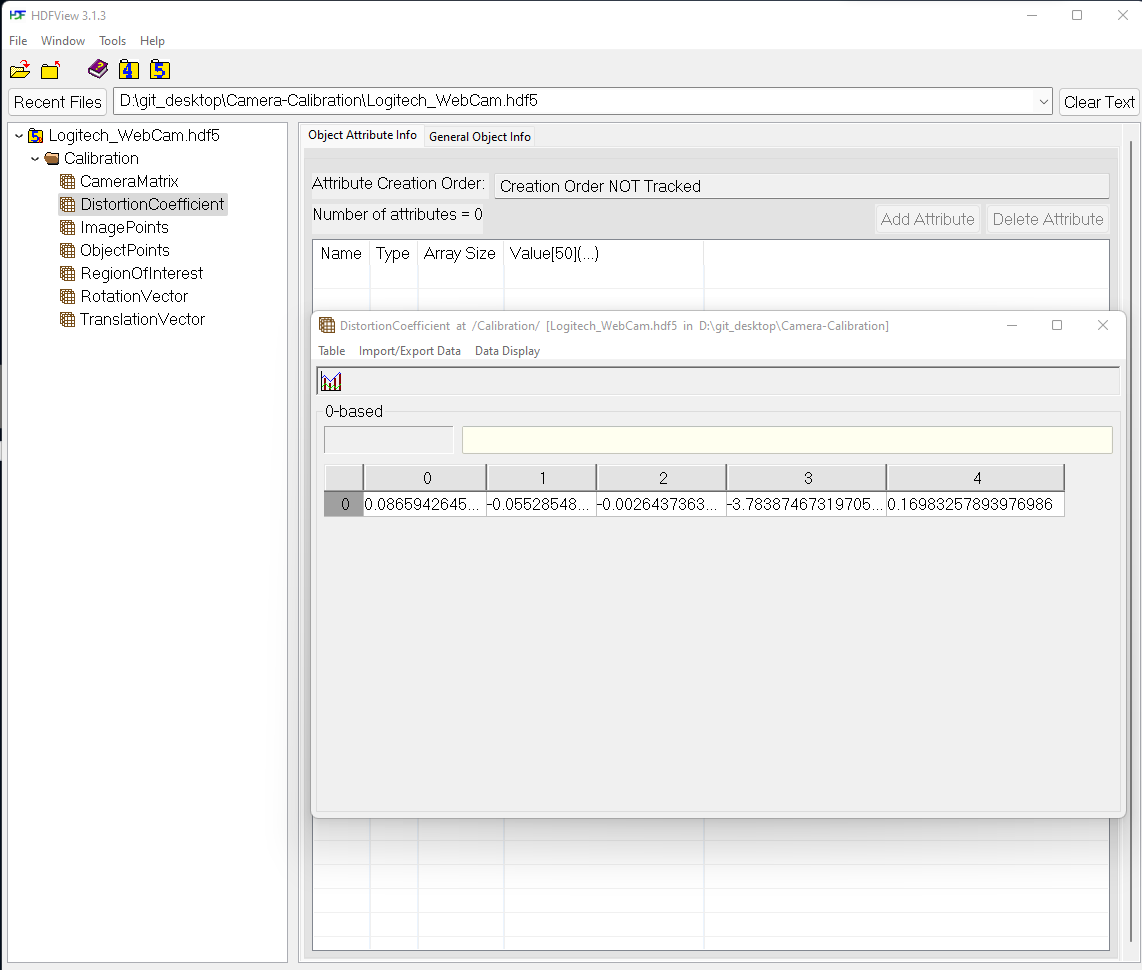
Camera configurations are stored as HDF5 file , we can view the contents of the file using HDFView.
Here is a screenshot of the HDF5 file.


