Homework 1 for Image Synthesis Technology, Autumn 2021
张心亮,2021244024
python=3.6
matplotlib
numpy
Anaconda3 base environment is recommanded. Just the base environment is enough.
The basic layer like Linear layer and activate function layer are defined in basic_layer.py. The network is predifined in models.py. Here is an example of defining a fully connected network in your code.
model = Network()
model.add(Linear('fc1', 1, 256, 0.001))
model.add(Tanh('tanh1'))
model.add(Linear('fc2', 256, 256, 0.001))
model.add(Tanh('tanh2'))
model.add(Linear('fc3', 256, 128, 0.001))
model.add(Tanh('tanh3'))
model.add(Linear('fc4',128,1,0.001))
model.train()
All the configures of the network and training strategy is defined in config.yml
Firstly, generate the dataset. Run the command: python generate_data.py and the file "a1b2c2d2.csv" will be generated in the current folder.
Then run python mydnn.py --log_dir 2_layer_log_tanh --data a1b2c2d2.csv, and the training and testing results of FCN-S-t will be saved in folder 2_layer_log_tanh
The training and testing code is mydnn.py, the network is set to FCN-S-t in default.
Firstly prepare the MNIST dataset in current folder. The folder is recommanded to organised as :
- MNIST
    ├─t10k-images.idx3-ubyte
    ├─t10k-labels.idx1-ubyte
    ├─train-images.idx3-ubyte
    └─train-labels.idx1-ubyte
The training and testing code is my_mnist.py. Run directly python my_mnist.py --data MNIST --log_dir ./mnist_log/3_layer_tanh_sigmoid. in default, the network is FCN-B-t.
Then the training and testing results of FCN-B-t on Task 2 is generated in mnist_log\3_layer_tanh_sigmoid
 FCN-S-r |
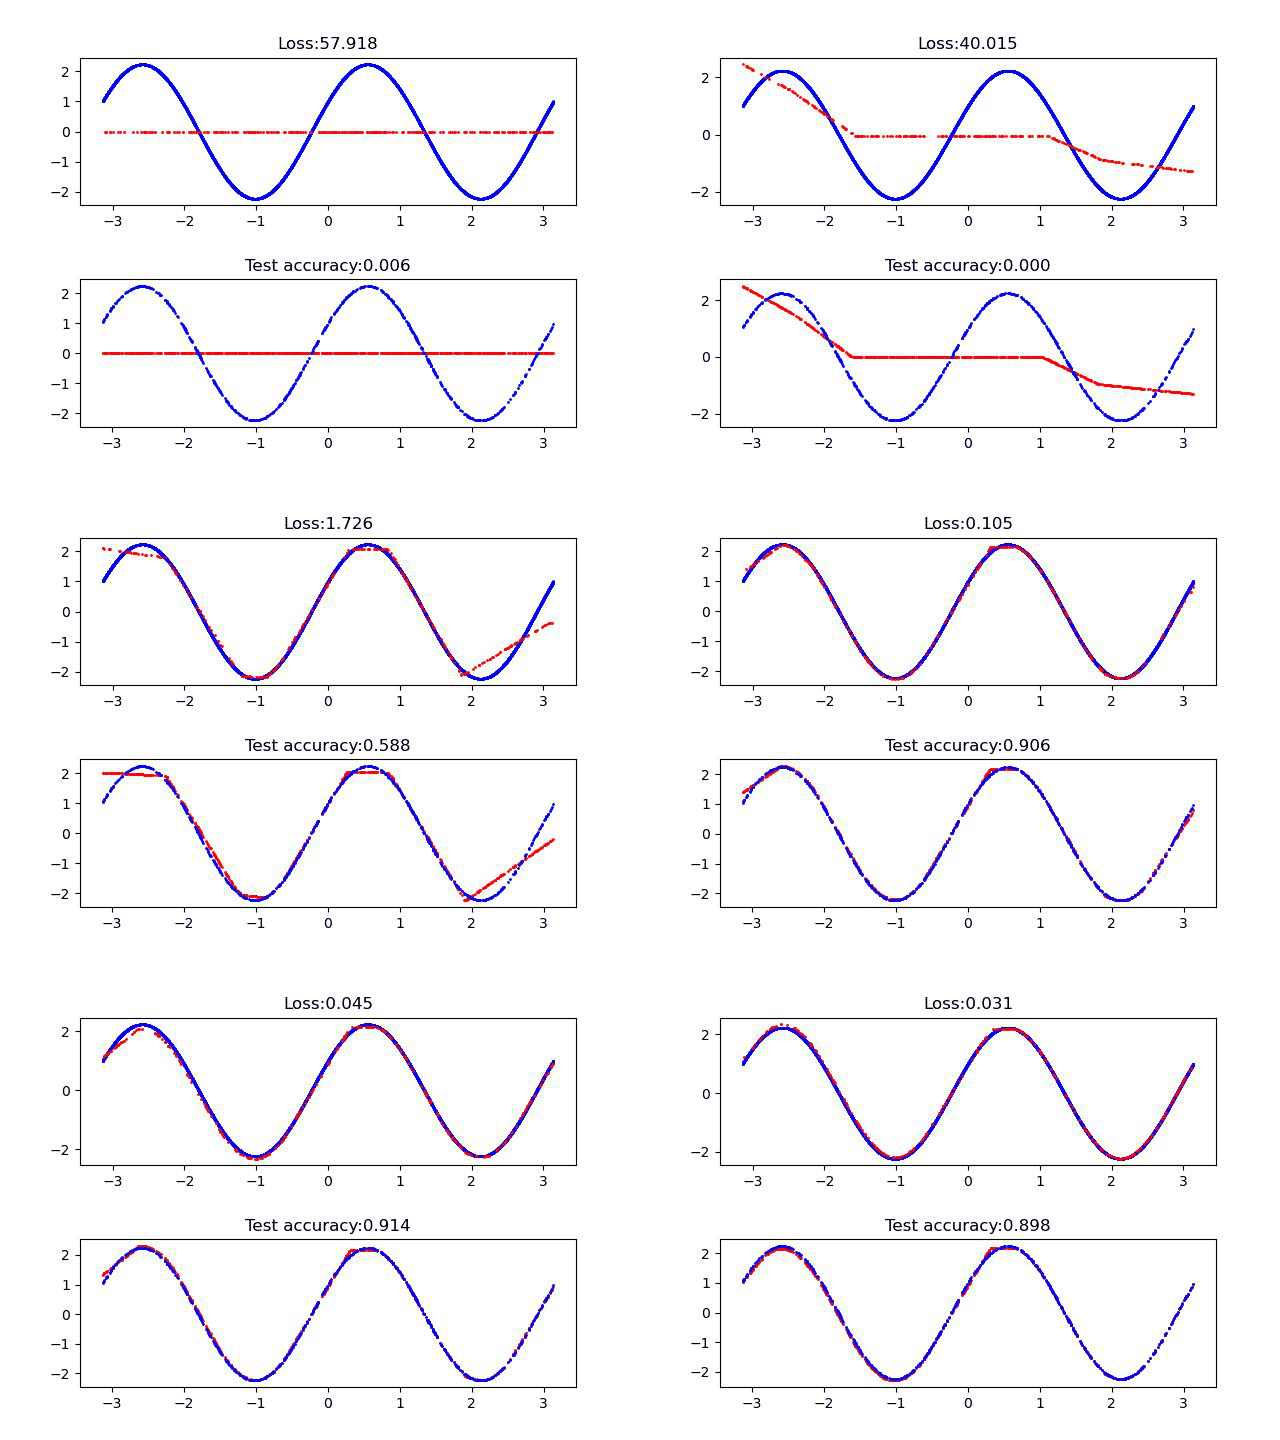 FCN-B-r |
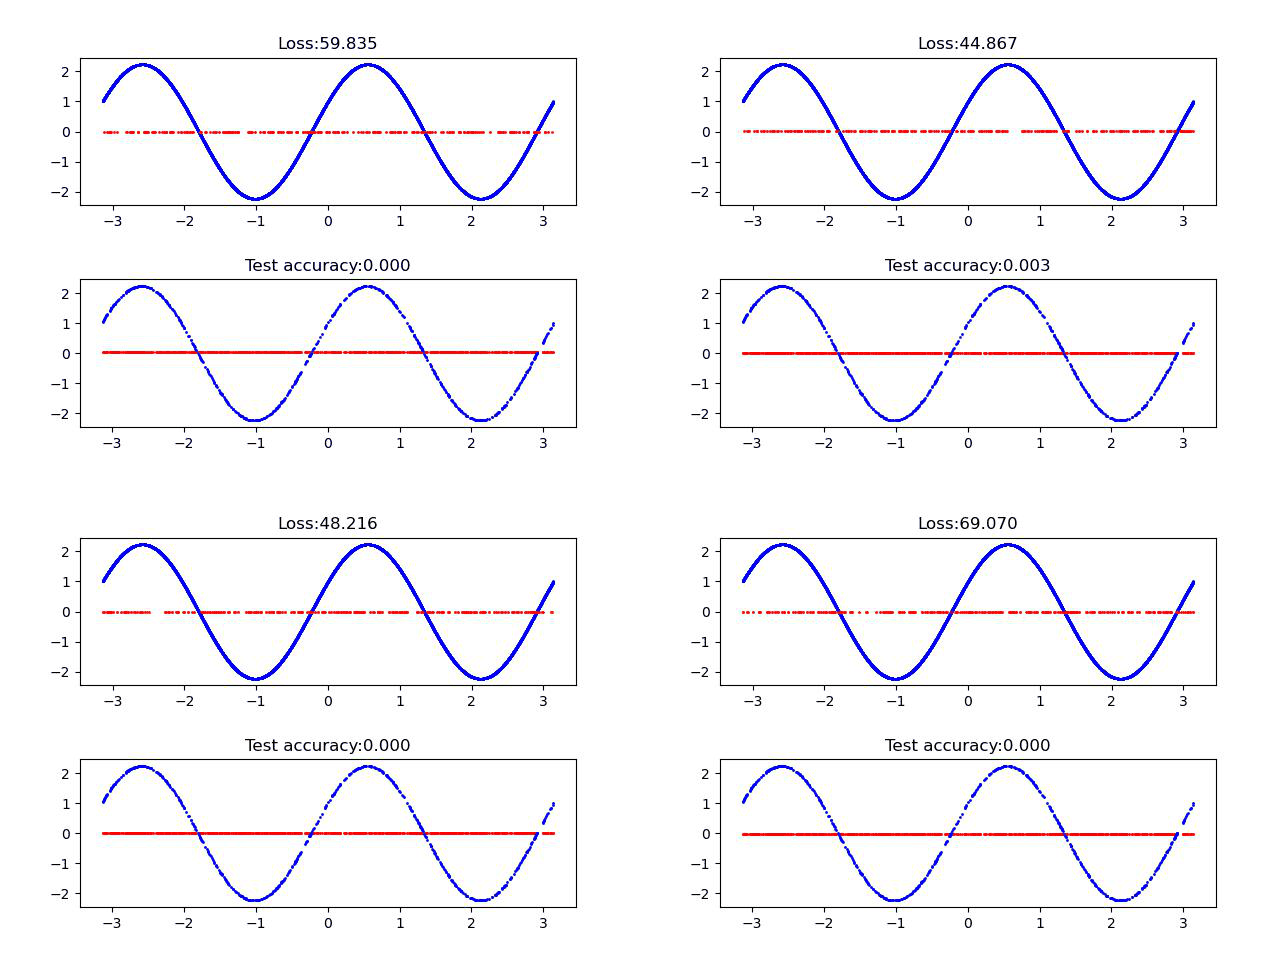 FCN-L-r |
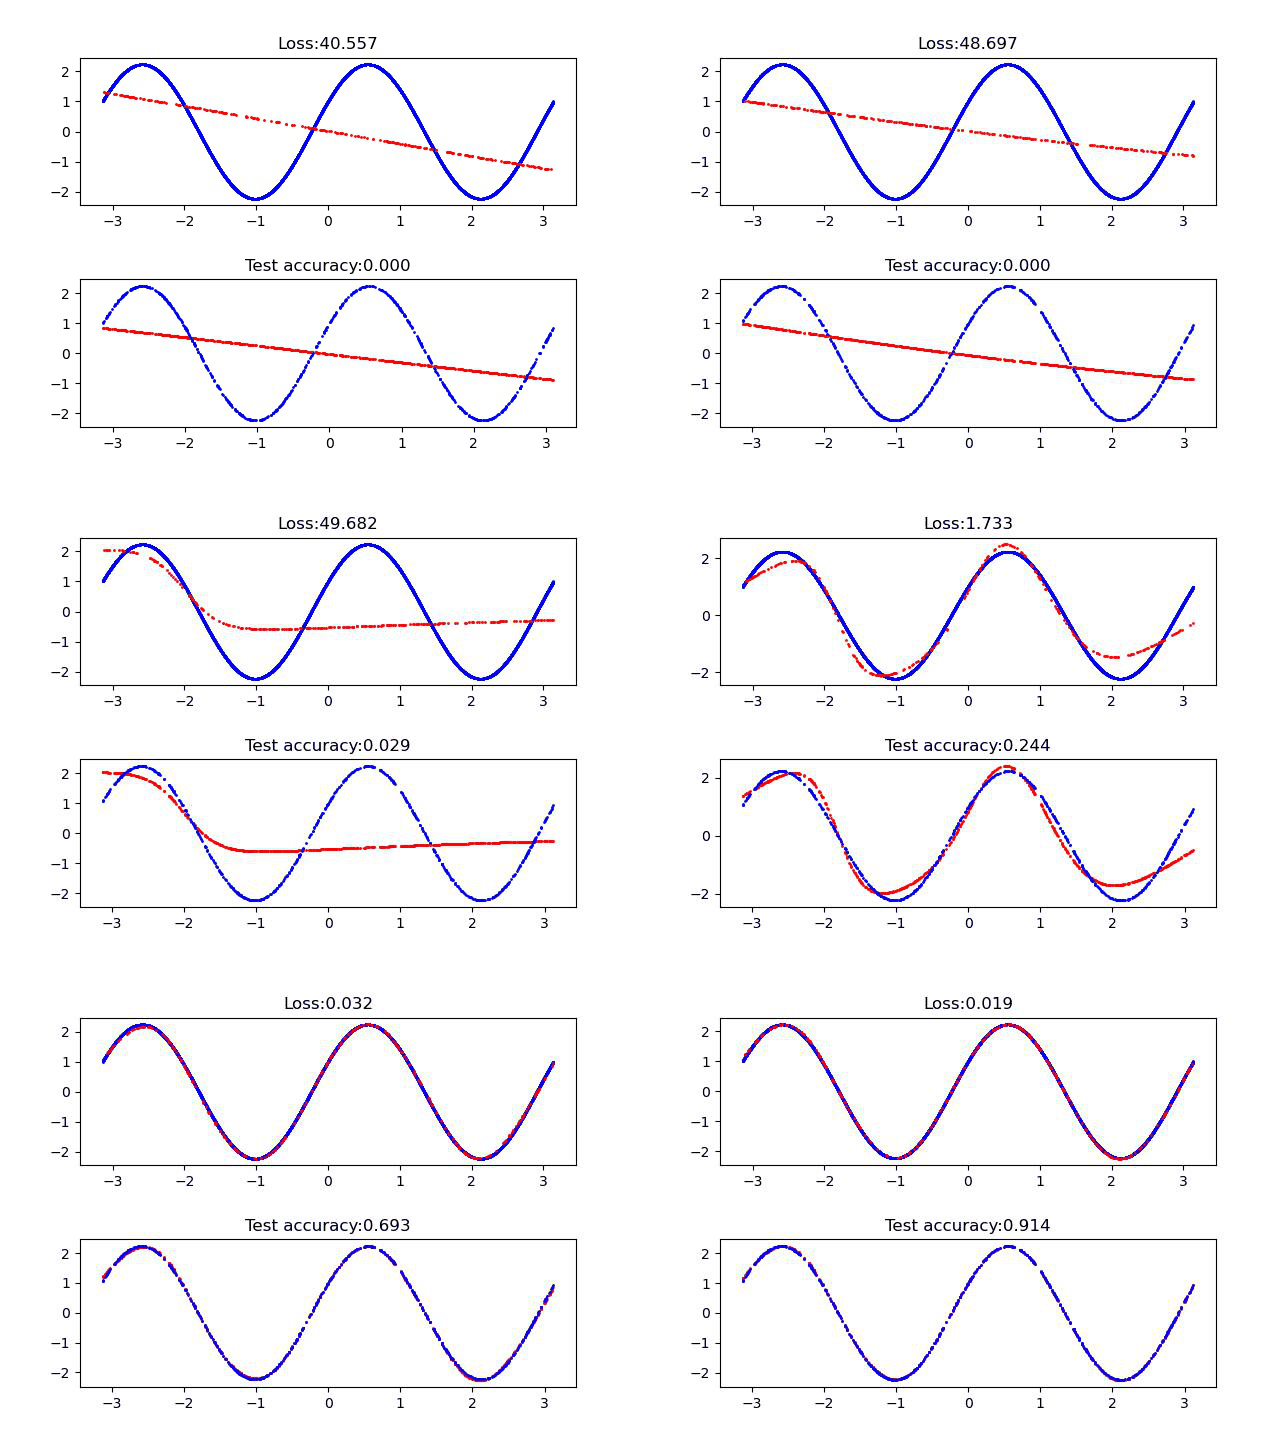 FCN-S-t |
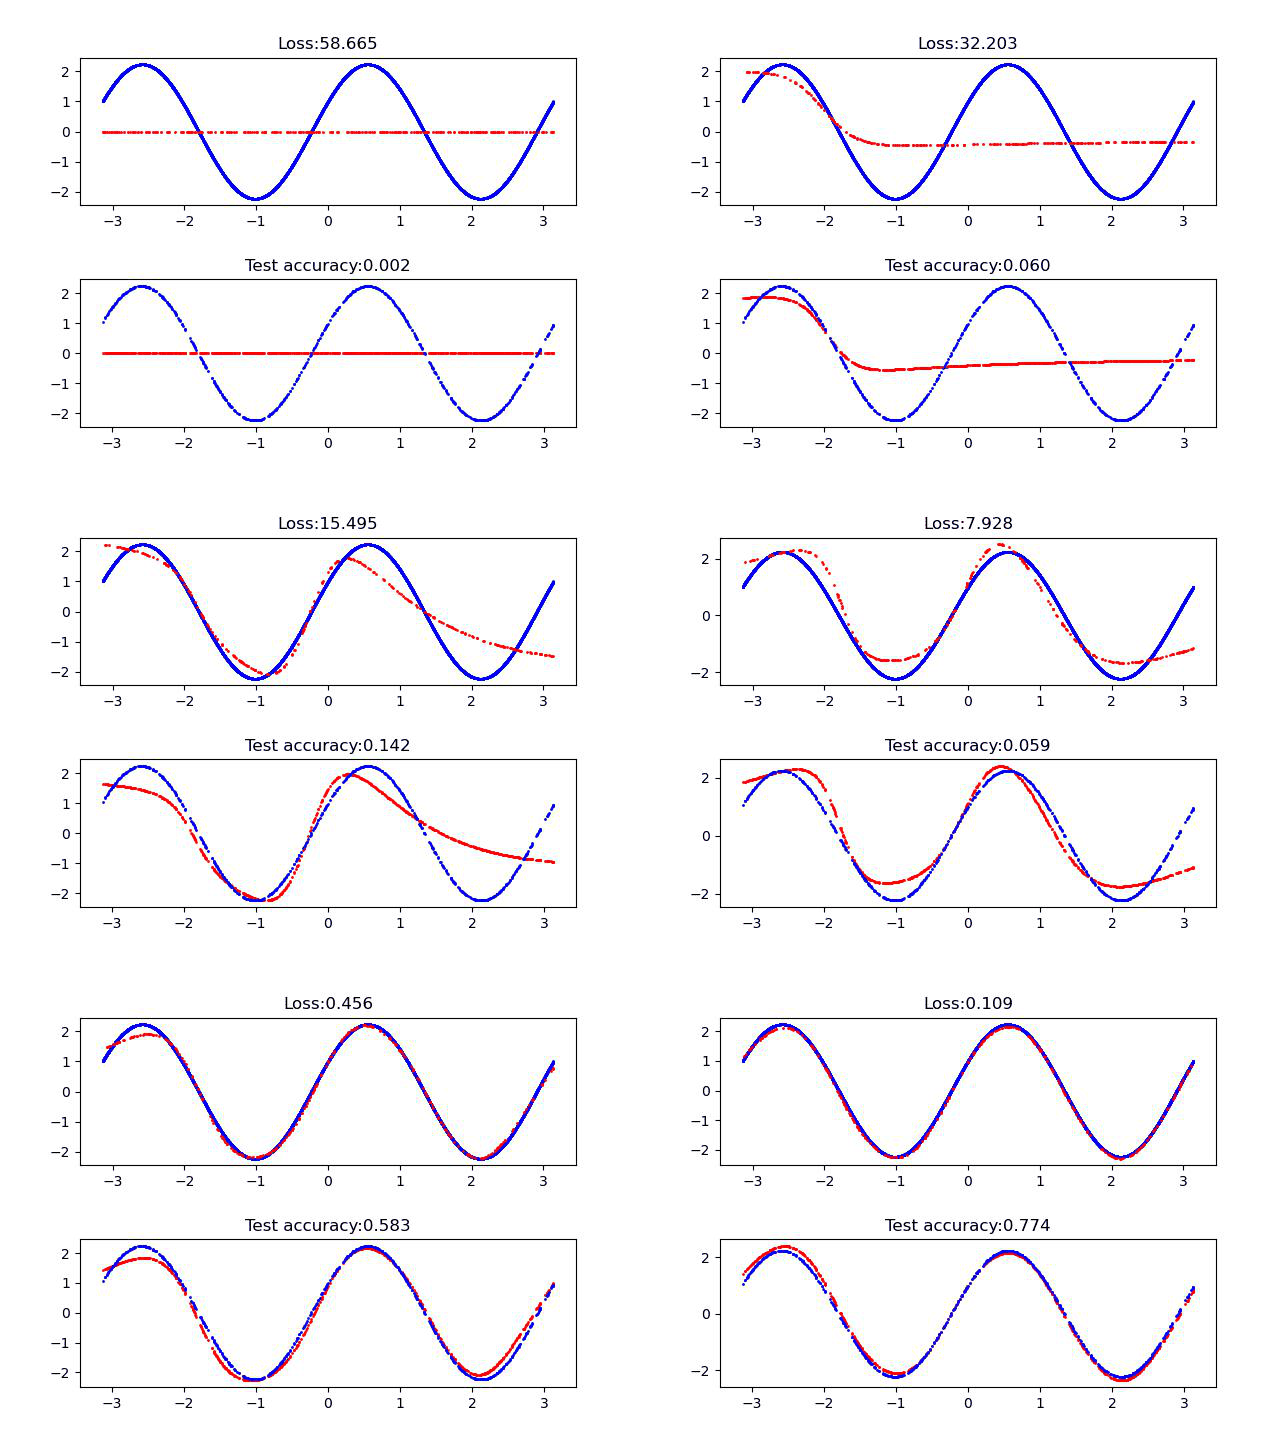 FCN-B-t |
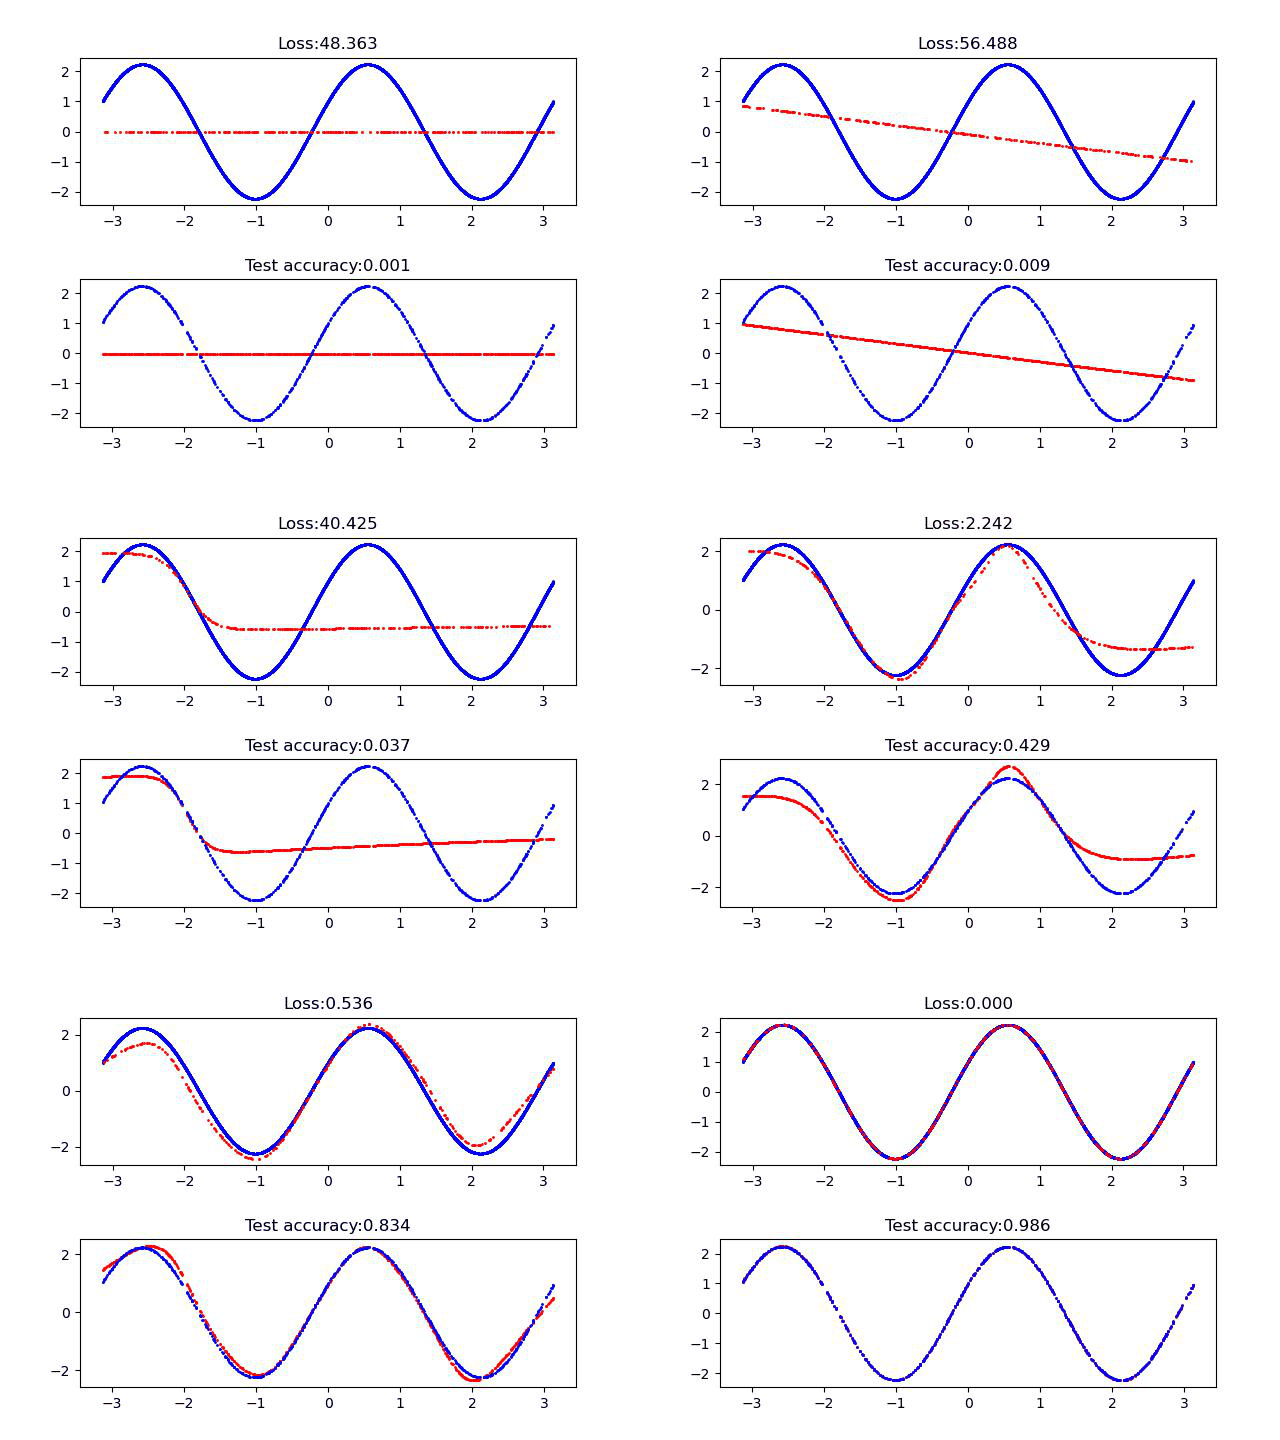 FCN-L-t |