A website designed to automate cooking reciepes for ingredients the user has in their fridge at the current momement. View the frontend of the site live here ➡️ CookMyFridge. View the backend of the site live here ➡️ CookMyFridge-Backend.
This project was developed as part of CSC 307 Intro to Software Engineering instructed by Professor BJ Klingenberg. Technologies used in this project are React on the frontend, Node.js and Express on the backend, and MongoDB for the database. Development took place over three sprints (two weeks each). We went through the entire software development lifecycle from planning and design to implementation and deployment. We also implemented CI/CD with Github Actions and Azure.
Key Features:
- CI/CD Pipelines
- Ability to register accounts
- Ability to save recipes you like
- Ability to search for recipes based on inputted ingredients and dietary restrictions
- Hashed passwords with Bcrypt
- Recipe cards with drop down menus of steps and summary of recipe
- Ability to rate recipes and review other user reviews.
The CookMyFridge team consists of 5 Cal Poly students. The team members are listed below:
Here is all you need to know to setup this repo on your local machine to start developing!
- Clone this repository
git clone https://github.com/luisdavidgarcia/CookMyFridge.git - Change directories into the
/react-frontendsubfolder - Install yarn with your OS package manager (apt install, brew, pacman)
- Run
yarn installin the react-frontend subfolder of the repository - Change directories to
/backendsubfolder - Run
npm iin the backend subfolder of the repository - Install IDE Extensions
- Enable format on save in your IDE
- Click the settings button in the bottom left
- Search "formatter" and set your default formatter to Prettier
- Search "format on save" and click the checkbox
- Reach out to an existing developer for environment variables
- Verify by running
npm startin the react-frontend folder andnpm run devin the backend folder
- .github Github Actions CI/CD
- backend Root folder for backend API -
index.jsTop level file- models Schema definitions for data
- controllers Express endpoint definitions and controllers
- tests All test cases for functions
- react-frontend Root folder for React app
Here are all of the steps you should follow whenever contributing to this repo!
- Before you start making changes, always make sure you're on the main branch, then
git pullandnpm ion both frontend and backend to make sure your code is up to date - Create a branch with the name relating to the change you will make
git checkout -b <name-of-branch> - Make changes to the code
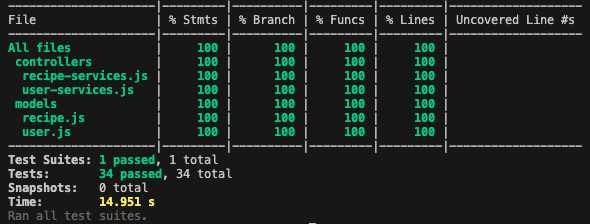
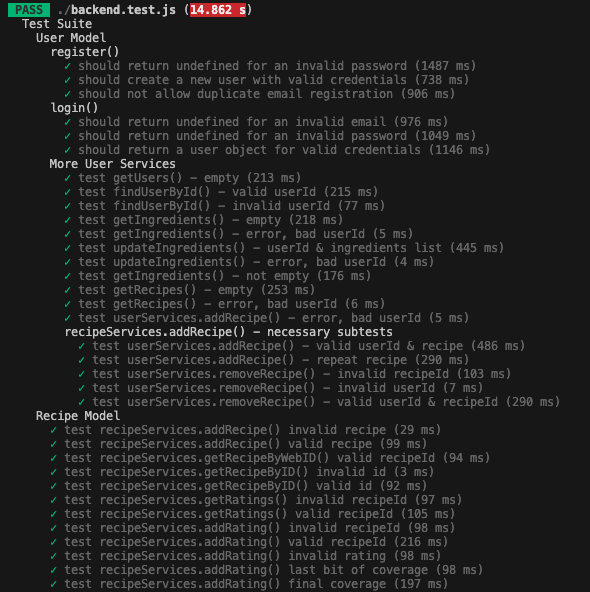
npm run testin the backend and react-frontend subfolder to ensure code standards. (runningnpx prettier --write .will fix most of the styling errors)
When interacting with Git/GitHub, feel free to use the command line, VSCode extension, or Github desktop. These steps assume you have already made a branch using git checkout -b <branch-name> and you have made all neccessary code changes for the provided task.
- View diffs of each file you changed using the VSCode Github extension (3rd icon on far left bar of VSCode) or GitHub Desktop
git add .(to stage all files) orgit add <file-name>(to stage specific file)git commit -m " <description>"orgit committo get a message promptgit push -u origin <name-of-branch>- Check the Github Actions page to ensure all workflows are successful
- Go to the Pull Requests tab on this repo
- Find your PR, and provide a description of your change, steps to test it, and any other notes
- Link your PR to the corresponding Issue
- Request a reviewer to check your code
- Once approved, your code is ready to be merged in 🎉
- UI Prototype on Figma Last updated 05/02/23
- Class Diagram Last updated 06/08/23
- Old Class Diagram Last updated 05/10/23
- Project Board Last updated 06/08/23
- Deployed Backend Last updated 06/08/23

