This tutorial explains how to Dockerize a React application with Node.js, Postgres and Nginx. It provides step-by-step instructions on setting up the back-end, front-end, and Nginx server, along with Dockerfiles and a docker-compose.yml file for containerization.
Ensure that Docker and Node.js are installed on your computer. The version I used for Node was 18.13.0 and for Docker was 20.10.24.
We will create a simple application that communicates with a database and exposes routes to the front-end.
Let's start creating a new folder called Project. Inside the Project folder, create a folder called node. Initialize a Node.js application inside the node folder using the following command:
npm init -y
This command will generate a package.json file where we can add project dependencies.
-
Express: A Node.js web application framework used to handle client requests to specific endpoints. For more information, refer to the Express Documentation.
-
Node-Postgres: A client for Node.js used to establish a connection with the PostgreSQL database. For more information, refer to the Node Postgres Documentation.
-
Nodemon: A tool that automatically restarts the Node.js application when file changes are detected. For more information, refer to the Nodemon Documentation.
To install these dependencies, navigate to the node folder and run the following command:
npm install express pg nodemon
This command will install all the required dependencies. The package manager downloads the packages and their dependencies and stores them in the node_modules folder. This folder contains all the dependencies and their sub-dependencies that our project requires to run.
Create an index.js file, it will be our main file. Add the following codes inside it. Start importing the required packages inside the file:
import pg from 'pg';
import express from 'express';
import bodyParser from 'body-parser';
Establish a connection with the PostgreSQL database using node-postgres:
const { Client } = pg;

const client = new Client({
  user: 'postgres',
  host: 'db',
  database: 'postgres',
  password: '1234',
  port: 5432,
});

client.connect();
Create the users table:
const createTable = async () => {
  await client.query(`CREATE TABLE IF NOT EXISTS users
  (id serial PRIMARY KEY, name VARCHAR (255) UNIQUE NOT NULL,
  email VARCHAR (255) UNIQUE NOT NULL, age INT NOT NULL);`)
};

createTable();
Use Express and the middleware to parse the POST method:
const app = express();
app.use(express.json());
app.use(express.urlencoded({ extended: true }));
Add a Hello World route:
app.get('/api', (req, res) => res.send('Hello World!'));Create a GET method to retrieve all users from the users table:
app.get('/api/all', async (req, res) => {
  try {
    const response = await client.query(`SELECT * FROM users`);

    if(response){
      res.status(200).send(response.rows);
    }

  } catch (error) {
    res.status(500).send('Error');
    console.log(error);
  }
});
Create a POST method to insert users into the users table:
app.post('/api/form', async (req, res) => {
  try {
    const name  = req.body.name;
    const email = req.body.email;
    const age   = req.body.age;

    const response = await client.query(`INSERT INTO users(name, email, age) VALUES ('${name}', '${email}', ${age});`);

    if(response){
      res.status(200).send(req.body);
    }
  } catch (error) {
    res.status(500).send('Error');
    console.log(error);
  }
});
Finally, add a port that will expose the API when the server is running. Here, we expose it on port 3000.
app.listen(3000, () => console.log(`App running on port 3000.`));There are many other ways of doing and improving the code. We could handle errors better, improve the architecture with controllers, services, repositories and remove secret values from the code. However, as we are not focusing on these aspects, this is going to be our back-end as simple as possible.
In the package.json file, inside the script section, add:
"start": "nodemon index.js"And at the end of file, add:
"type": "module"The package.json file should look like this:
{
 "name": "node",
 "version": "1.0.0",
 "description": "",
 "main": "index.js",
 "scripts": {
   "test": "echo \"Error: no test specified\" && exit 1",
   "start": "nodemon index.js"
 },
 "keywords": [],
 "author": "",
 "license": "ISC",
 "dependencies": {
   "express": "^4.18.2",
   "nodemon": "^2.0.22",
   "pg": "^8.11.0"
 },
 "type": "module"
}
Now, to start the application, you can run npm start inside the node folder. However, it will crash because we still don't have the database running. So, in order to avoid this error, just comment out the following lines:
//client.connect();
...
//createTable();
Now run npm start inside the node folder and access the hello world route (http://localhost:3000/api) in the browser to see if it is working.
After testing, uncomment the previous code!!!
client.connect();
...
createTable();Let’s write the front-end logic to process the API endpoints defined above. Inside the Project directory run the following code. The code will create a new react folder automatically and also a new react project.
npm create vite react -- --template reactI chose Vite tool to create the project. it is a lightweight tool that takes up 31 MB of dependencies, which will save time in starting a new project.tra Vite Documentation.
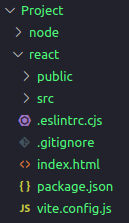
You will end up with the following structure:
-
Axios: A promise-based HTTP Client for node.js. For more information, refer to the Axios Documentation.
-
React Router: A routing library for React applications. It provides a set of components and utilities that allow you to define and manage the routing functionality in your React application. For more information, refer to the React Router Documentation.
To install all the dependencies, go inside the react folder and run the following code:
npm install axios react-router-dom
To run the application, you can execute:
npm run dev
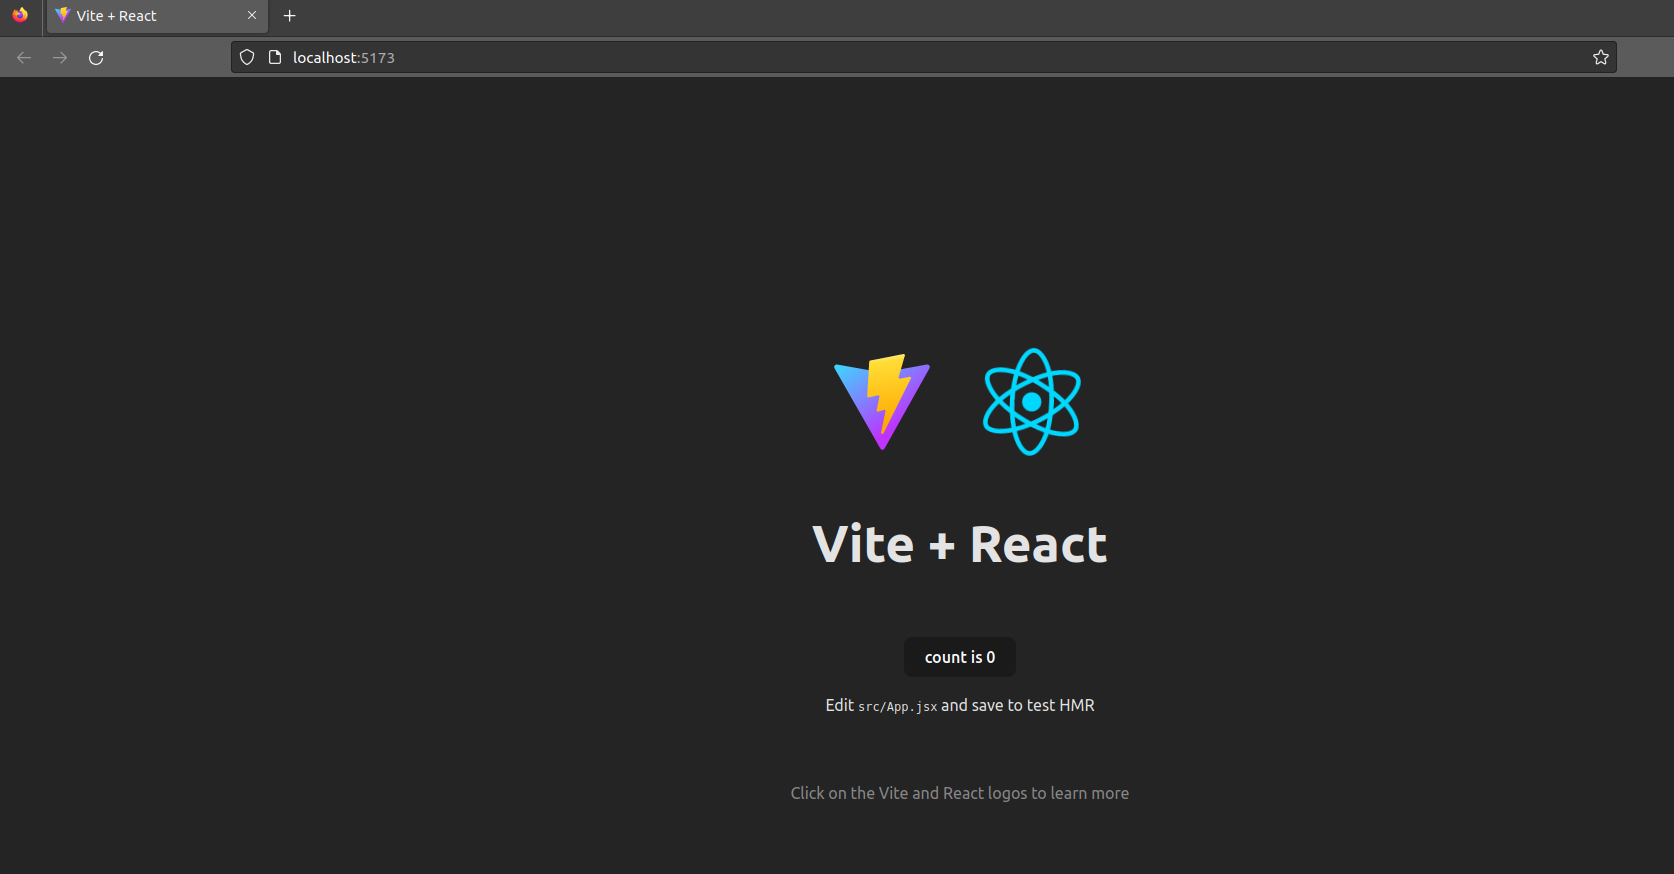
Accessing the browser at http://localhost:5173, you will get the following page:
First, let's replace the contents of the App.jsx file with the following code:
import ReactDOM from "react-dom/client";
import { BrowserRouter, Routes, Route } from "react-router-dom";
import Layout from "./components/Layout";
import Home from "./components/Home";
import PostUser from "./components/PostUser";
import GetAllUser from "./components/GetAllUser";

export default function App() {
  return (
    <BrowserRouter>
      <Routes>
        <Route path="/" element={<Layout />}>
        <Route index element={<Home />} />
        <Route path="post" element={<PostUser />} />
        <Route path="get" element={<GetAllUser />} />
        </Route>
      </Routes>
    </BrowserRouter>
  );
}

const root = ReactDOM.createRoot(document.getElementById('root'));
root.render(<App />);
The App file manages the routing and renders the specific component at the specific endpoint. For example, at the path="/get" it will return the component GetAllUser, which is responsible for retrieving all the users from our database.
Now let's create the application components. Create a folder named components inside the src folder and create the following four files:
- GetAllUser.jsx
- Home.jsx
- Layout.jsx
- PostUser.jsx
GetAllUser.jsx
import axios from "axios";
import { useEffect, useState } from "react";

const GetAllUser = () => {

  const [users, setAllUser] = useState();

  useEffect(() => {
    axios
      .get("http://localhost:8000/api/all")
      .then((response) => setAllUser(response.data))
      .catch((err) => {
        console.error(err);
      });
  }, []);

    return (
      <>
        <h1>All Users</h1>
        <ul>
        {users && users.map(user =>
          <li key={user.id}>
            <h3>ID: {user.id} </h3>
            name: {user.name} <br></br>
            age: {user.age} <br></br>
            email: {user.email} <br></br>
          </li>
        )}
        </ul>

      </>
      );
  };

  export default GetAllUser;
Home.jsx
const Home = () => {
    return <h1>Home</h1>;
  };

  export default Home;
Layout.jsx
import { Outlet, Link } from "react-router-dom";

const Layout = () => {
  return (
    <>
      <nav>
        <ul>
          <li>
            <Link to="/">Home</Link>
          </li>
          <li>
            <Link to="/post">Post User</Link>
          </li>
          <li>
            <Link to="/get">Get All User</Link>
          </li>
        </ul>
      </nav>

      <Outlet />
    </>
  )
};

export default Layout;
PostUser.jsx
import axios from "axios";
import { useState } from "react";

const PostUser = () => {

    const [user, setUser] = useState({
      name: '',
      age: '',
      email: '',
    })

    const createUser = async () => {
      await axios
      .post("http://localhost:8000/api/form",
      user,
      {
        headers: {
          'Content-Type': 'application/x-www-form-urlencoded'
        }
      })
      .then((response) => {
        setUser({
          name: '',
          age: '',
          email: '',
        })
        console.log(response)
        return alert("User Created: " + `${JSON.stringify(response.data, null,4)}`);
        })
      .catch((err) => {
        return alert(err);
      });
    }

    const onChangeForm = (e) => {
      if (e.target.name === 'name') {
        setUser({...user, name: e.target.value});
      } else if (e.target.name === 'age') {
        setUser({...user, age: e.target.value});
      } else if (e.target.name === 'email') {
        setUser({...user, email: e.target.value});
      }
  }

    return (
      <div >
          <div>
              <div>
              <h1>Create User</h1>
              <form>
                  <div>
                      <div>
                          <label>Name</label>
                          <input
                            type="text"
                            value={user.name}
                            onChange={(e) => onChangeForm(e)}
                            name="name"
                            id="name"
                            placeholder="Name"
                          />
                      </div>
                      <div>
                          <label>Age</label>
                          <input
                            type="text"
                            value={user.age}
                            onChange={(e) => onChangeForm(e)}
                            name="age"
                            id="age"
                            placeholder="Age"
                          />
                      </div>
                  </div>
                  <div>
                      <div>
                          <label htmlFor="exampleInputEmail1">Email</label>
                          <input
                            type="text"
                            value={user.email}
                            onChange={(e) => onChangeForm(e)}
                            name="email" id="email"
                            placeholder="Email"
                          />
                      </div>
                  </div>
                  <button type="button" onClick= {()=>createUser()}>Create</button>
              </form>
              </div>
          </div>
      </div>
      );
  };

  export default PostUser;
On the index.css file, the line 29 should be removed:
place-items: center;After removing that line, you can run the command npm run dev to start the application. Once the application is running, you can access it at http://localhost:5173.
Finally, we have to change a server option in Vite, to listen on all addresses, go to the vite.config.js and change the file to the following:
import { defineConfig } from 'vite'
import react from '@vitejs/plugin-react'

// https://vitejs.dev/config/
export default defineConfig({
  plugins: [react()],
  server: {
    host: true,
    //port: 5173, When not running with docker compose, this is the port which will be used in docker
  }
})Nginx can be used as a reverse proxy server to handle requests from clients and forward them to the appropriate back-end server.
To configure Nginx as a reverse proxy, navigate to the project's root directory and create an nginx folder. Inside this folder, create a file named default.conf and add the following configurations:
upstream front-end {
    server front-end:5173;
}

upstream back-end {
    server back-end:3000;
}

server {
    listen 80;

    location / {
        proxy_pass http://front-end;
    }

    location /sockjs-node {
        proxy_pass http://front-end;
        proxy_http_version 1.1;
        proxy_set_header Upgrade $http_upgrade;
        proxy_set_header Connection "Upgrade";
    }

    location /api {
        rewrite /back-end/(.*) /$1 break;
        proxy_pass http://back-end;
    }
}
The upstream directive defines groups of servers that can be referenced by the proxy_pass directive. In this case, we have defined two upstreams: front-end for the React front-end server and back-end for the Node.js back-end server.
The server block listens on port 80 and contains the configuration for handling requests.
The location / block proxies requests to the front-end server using proxy_pass http://front-end;.
The location /sockjs-node block handles WebSocket connections and passes them to the front-end server.
The location /api block handles requests to the back-end API by rewriting the URL and passing them to the back-end server using proxy_pass http://back-end;.
In the react folder, create a new file Dockerfile. Add the following code to the file:
FROM node:alpine

WORKDIR /usr/src/app

COPY . .

RUN npm install

EXPOSE 5173
The FROM keyworld is used in a Dockerfile to specify the base image that will be used to build a new Docker image. In this case, we are using the node:alpine image as the base.
The WORKDIR instruction sets the working directory for any subsequent RUN, CMD, ENTRYPOINT, COPY, and ADD instructions.
The COPY . . instruction copies all the files from the local computer to the /usr/src/app directory in the Docker image.
The RUN npm install command installs the required dependencies for the React application.
The EXPOSE instruction specifies that the containerized application will listen on port 5173 for incoming connections.
Create a file named Dockerfile in the node folder of the project and add the following code:
FROM node:alpine

WORKDIR /usr/src/app

COPY . .

RUN npm install

EXPOSE 3000
This Dockerfile is similar to the front-end Dockerfile. It sets the working directory, copies the files, installs the dependencies, and exposes port 3000 for the back-end application.
Create a Dockerfile inside the nginx folder and add the following code to pull the Nginx image and copy the default.conf file:
FROM nginx
COPY ./default.conf /etc/nginx/conf.d/default.confNow that we have finished configuring the client, server API linked to the Nginx server, and verified that everything is in order, it's time to consolidate everything by using the docker-compose.yml file. This file will not only bring all the components together but also handle the setup for our database.
To begin, go to the root directory, specifically the Project folder, and create a file named docker-compose.yml.
version: '3'

services:

  back-end:
    build:
      context: node
    container_name: back-end
    working_dir: /usr/src/app
    networks:
      - node-network
    volumes:
      - ./node:/usr/src/app
      - /usr/src/app/node_modules
    tty: true
    ports:
      - "3000:3000"
    command: npm run start
    depends_on:
       - db

  front-end:
    build:
      context: react
    container_name: front-end
    working_dir: /usr/src/app
    networks:
      - node-network
    volumes:
      - ./react:/usr/src/app
      - /usr/src/app/node_modules
    tty: true
    ports:
      - "5173:5173"
    command: npm run dev

  db:
    image: postgres
    container_name: db
    restart: always
    tty: true
    volumes:
      - ./data:/var/lib/postgresql/data
    environment:
      - POSTGRES_PASSWORD=1234
    ports:
      - "5432:5432"
    networks:
      - node-network

  nginx:
    build:
      context: nginx
    container_name: nginx
    restart: always
    tty: true
    ports:
      - "8000:80"
    networks:
      - node-network
    depends_on:
       - back-end
       - front-end


networks:
  node-network:
driver: bridge To run the fully containerized application, follow these steps:
Open the root directory in your terminal or command prompt.
Execute the following command to run the docker-compose.yml file:
docker-compose up --build
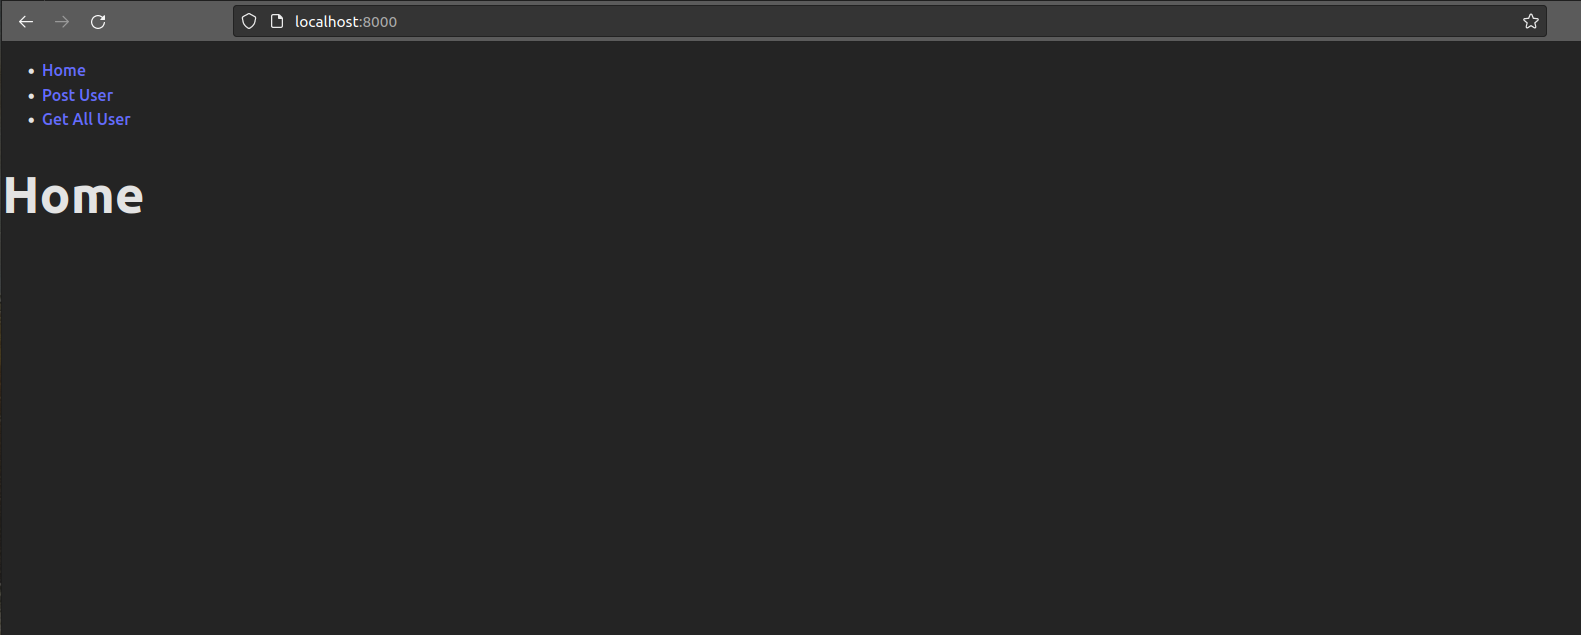
Once the containers are up and running, you can access the application by visiting http://localhost:8000/ in your web browser. The Nginx will redirect to the react application.
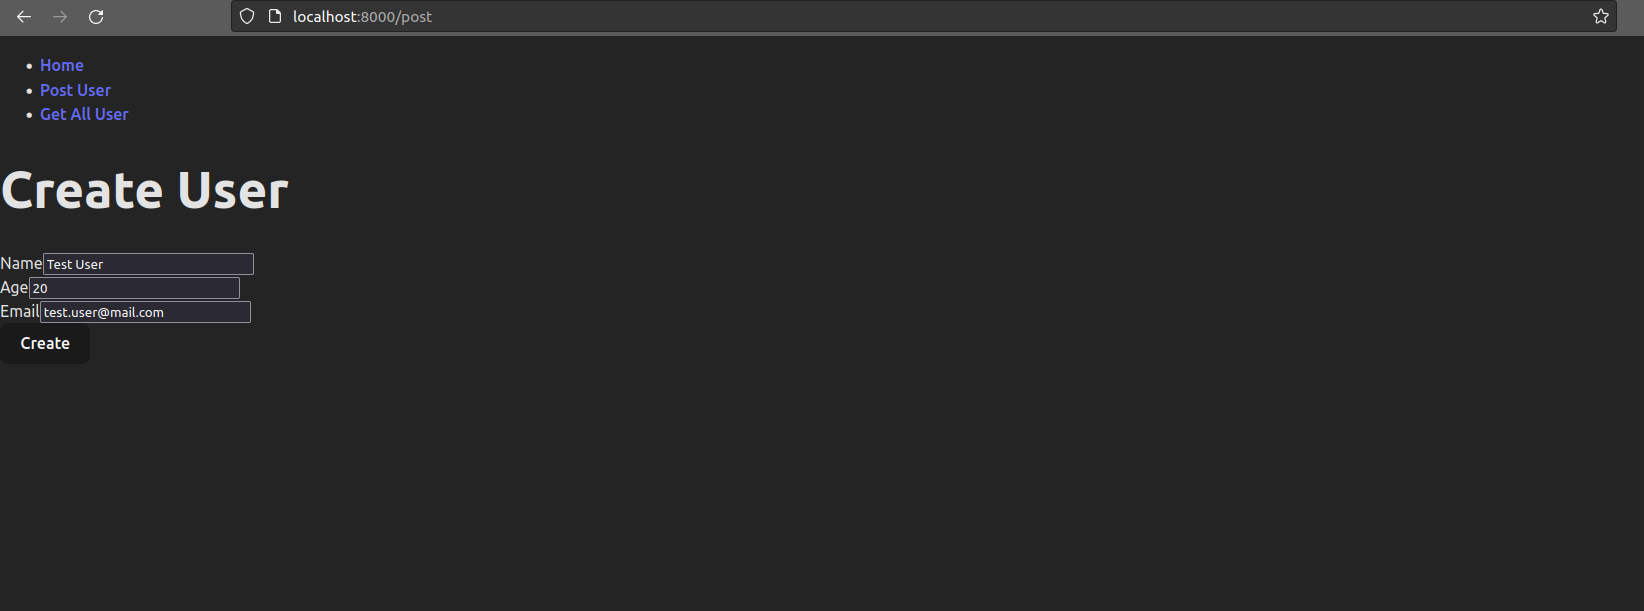
If you choose the "Post User" option, you will be directed to http://localhost:8000/post. Here, you can create a new user, which will be recorded in our running Postgres database.
In summary, the process involves the front-end sending a request to Nginx, which proxies the request to the back-end. Since it has the /api route, Nginx acts as a proxy and forwards the request to the back-end. The back-end processes the request, saves data into the database, and generates a response. The response is then sent back to the front-end through Nginx.
Let's create an example:
Please note that if you attempt to create a user using string characters in the age field, an error will be returned because we defined the table with the constraint age INT NOT NULL.
If everything goes well, after creating the user, you can navigate to the "Get all user" option, which will direct you to http://localhost:8000/get. Here, you will see the user you just created:
After running docker-compose up --build, you may notice that a new folder named data is created in the root directory. This folder is where the Postgres data is stored, ensuring that you don't lose the data you created when the containers are removed.
Congratulations! You have successfully run the fully containerized application and interacted with the user creation and retrieval functionalities.
.png)


