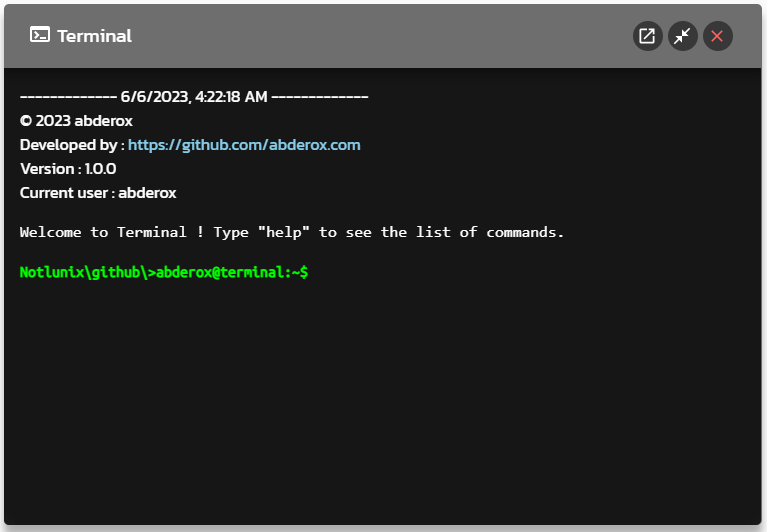
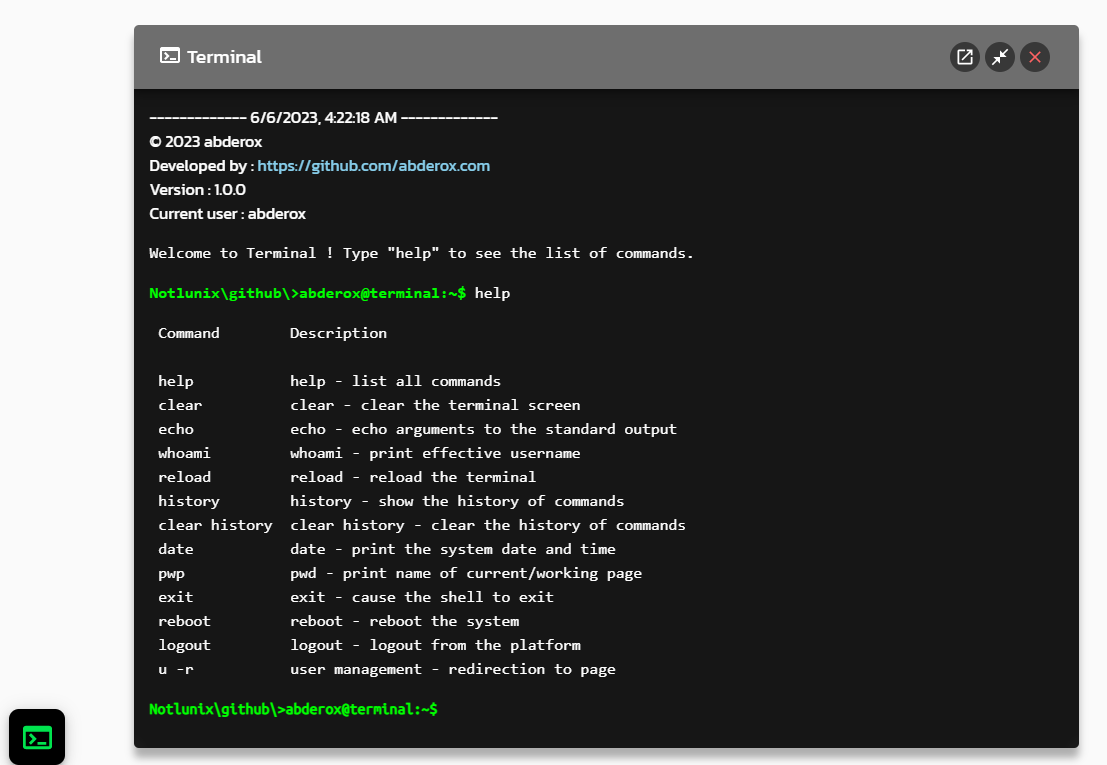
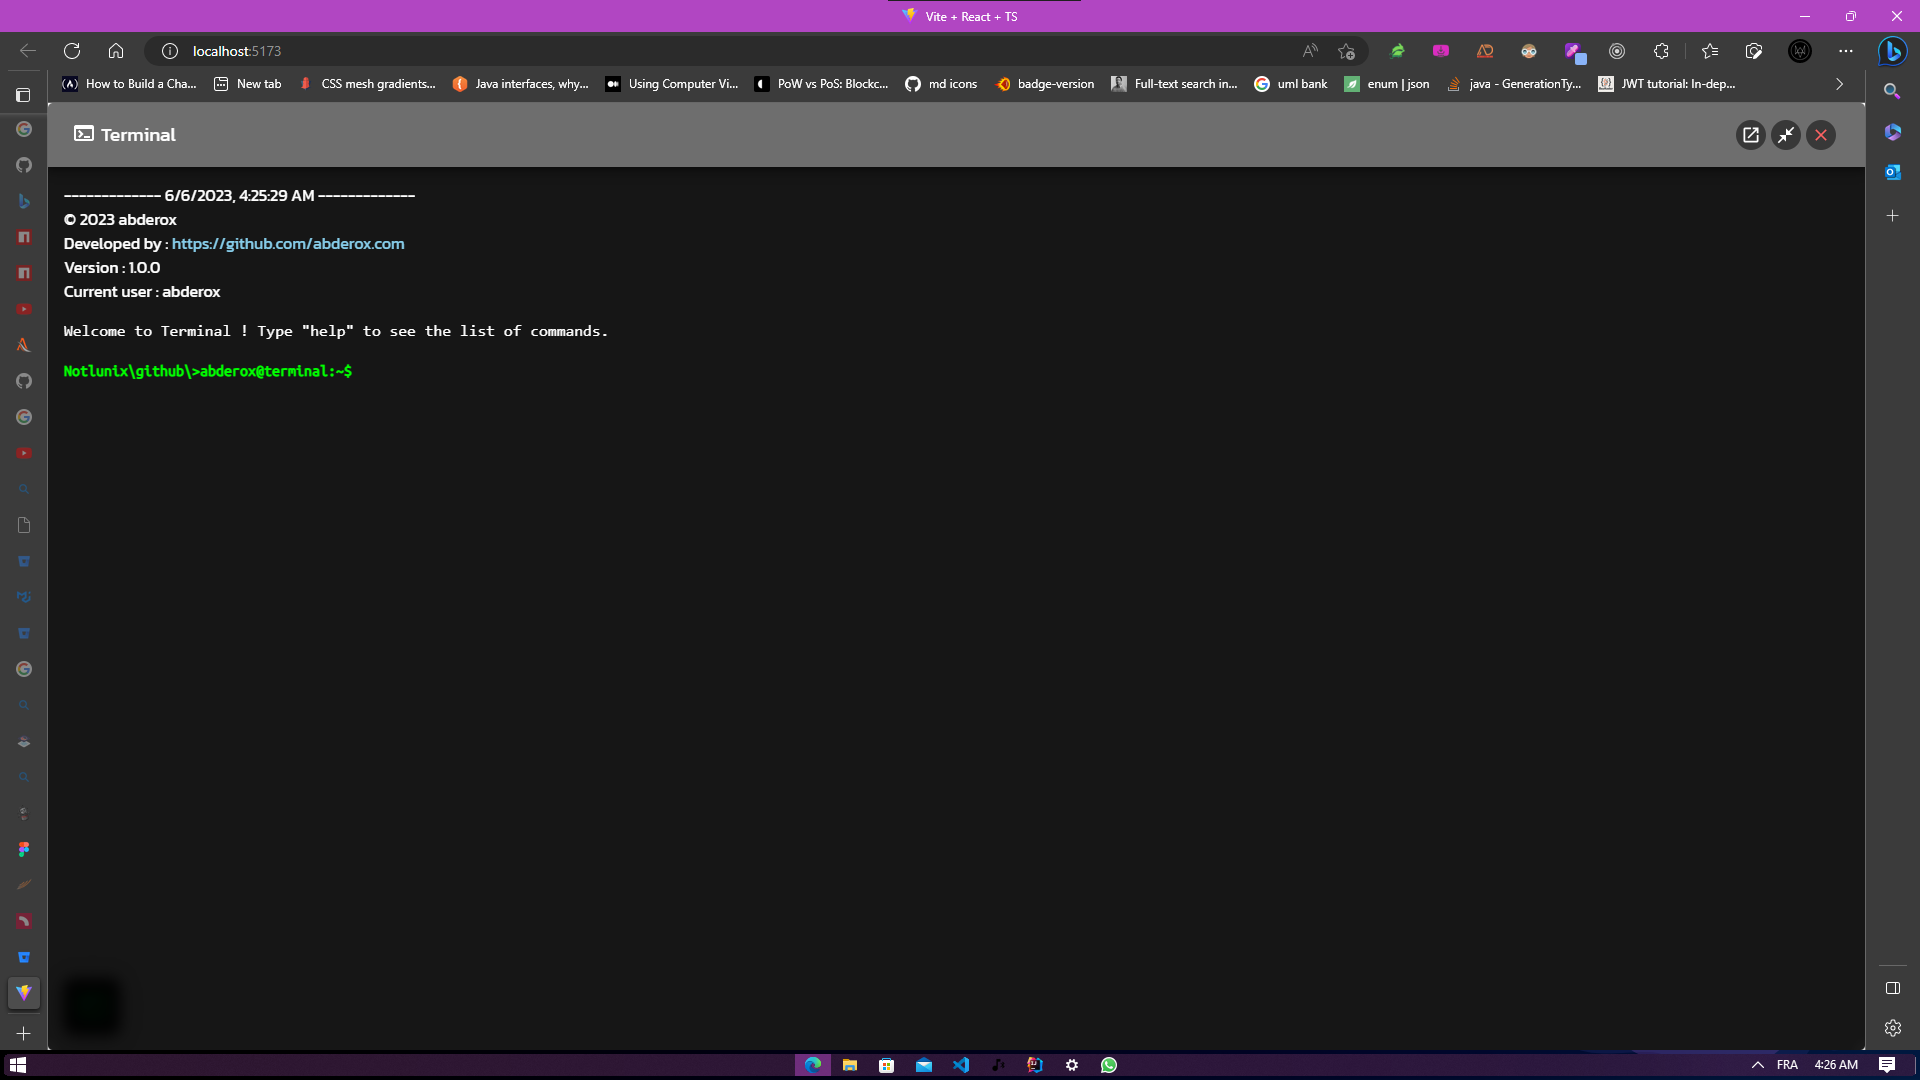
Have you ever come across a terminal component in PrimeFaces React components and wondered how to create a similar one using Material-UI (MUI) and React 18? I had the same curiosity, and I decided to build my own reusable terminal component. Although the code might not be perfect, it is understandable and can serve as a starting point for further customization and integration with server-side logic. In this article, I will guide you through the process of building a drag-and-resizable terminal component using MUI and React 18.
To begin, let's take a look at the basic features and requirements for our terminal component.
Terminal component is a reusable component that allows you to interact with the system. It provides a user interface similar to a command-line terminal, where you can enter commands and see the output.
Try it on Sandbox here
- Drag and resize: The terminal component can be dragged and resized on the screen.
- Command history: It keeps track of the entered commands and allows navigating through the history using the arrow keys.
- Command execution: The component executes the entered commands and displays the output.
- Basic commands: It supports a set of basic commands such as
help,clear,echo,whoami,reload, and more. - Customizable: You can customize the terminal by adding more commands and actions.
Before we begin, ensure that you have the following installed:
Now, let's dive into building our reusable terminal component.
To create our terminal component, follow these steps:
- Step 1: Set Up a React Project using Create React App or Vite
npx create-react-app my-terminal-component --template typescriptnpm init vite@latest my-terminal-component -- --template react-ts- Step 2: Install Material-UI Navigate to your project directory and install Material-UI and its dependencies using the following command:
cd my-terminal-component
npm install
npm install @mui/material @emotion/react @emotion/styled @mui/icons-material- Step 3: Create the Terminal Component Create a new file called Terminal.tsx in the src directory and add the code by hitting the following link: Terminal.tsx
- Step 4: Add the Terminal Component to Desired Page or Component
import Terminal from './Terminal';

import {useState} from 'react'
import Terminal from "./Components/terminal/Terminal";
import TerminalOutlinedIcon from "@mui/icons-material/TerminalOutlined";

function App() {
    const [isOpened, setIsOpened] = useState<boolean>(false);

    function animateTerminal() {
        const terminalContainer = document.getElementById('terminal');
        if (terminalContainer) {
            if (isOpened) {
                terminalContainer.classList.add('scale-out');
                setTimeout(() => {
                    terminalContainer.style.display = 'none';
                }, 600);
                terminalContainer.classList.remove('scale-in');
            } else {
                terminalContainer.classList.add('scale-in');
                terminalContainer.style.display = 'block';
                terminalContainer.classList.remove('scale-out');
            }
        }
    }

    const rebootTerminal = () => {
        const terminalContainer = document.getElementById('terminal');
        if (terminalContainer) {
            terminalContainer.classList.add('scale-out');
            terminalContainer.style.display = 'none';
            setIsOpened(false);
            setTimeout(() => {
                terminalContainer.style.display = 'block';
                terminalContainer.classList.add('scale-in');
                terminalContainer.classList.remove('scale-out');
                setIsOpened(true);
            }, 1000);
        }
    }

    const handleOpen = () => {
        animateTerminal();
        setIsOpened(!isOpened);
    }
    const handleClose = () => {
        animateTerminal();
        setIsOpened(false);
    }

    return (
        <Parent >
                        <Terminal
                            title={"Terminal"}
                            handleClose={handleClose}
                            rebootTerminal={rebootTerminal}
                        />
        </Parent>
    )
}

export default App
You can copy css code from here
And the theme from here
- Step 5: Run the Project
npm startAlternatively, you can try it from here or clone the repo from here then run the following commands:
npm installnpm run devimport Terminal from 'NotUnix-Terminal';
// Inside your React component
const MyComponent = () => {
const handleClose = () => {
// Handle close event
};
const rebootTerminal = () => {
// Handle reboot event
};
return (
<Terminal
title="My Terminal"
handleClose={handleClose}
rebootTerminal={rebootTerminal}
/>
);
};title(optional): The title to be displayed in the terminal. Default is "My Terminal".handleClose(optional): A callback function to be called when the terminal is closed.rebootTerminal(optional): A callback function to be called when the terminal is rebooted.
The provided code is a basic implementation of a reusable terminal component using MUI (Material-UI) and React 18. Here is a description of each piece of code:
TerminalPropsinterface: It defines the props expected by theTerminalcomponent.Terminalcomponent: It is a functional component that renders the terminal UI. It manages state variables such as position, input value, output value, message, date, history, initial command, width, height, and more.handleMaximizeandhandleMinimize: These functions handle the maximize and minimize actions of the terminal.handleCloseClick: This function is called when the close button is clicked, and it calls thehandleClosecallback if provided.handleCommand: This function handles the command entered by the user and performs the corresponding actions.handleInputChangeandhandleEnterKeyPress: These functions handle the input change and the Enter key press events, respectively.handleResize: This function handles the resize of the terminal by stretching the edges. It updates the width and height state variables.handleMouseDown: This function handles the draggability of the terminal. It updates the position state variable based on the mouse movement.
handleLogoutandreboot: These functions simulate logout and reboot actions by updating the state variables.redirectToPageandlisteUserPermissions: These functions handle redirection to a page and list user permissions, respectively.
You can add more examples to the terminal by adding more commands and corresponding actions.
Here is a description of important pieces of code:
const handleInputChange = (event: React.ChangeEvent<HTMLInputElement>) => {
    setInputValue(event.target.value);
};
This function handles the input change event and updates the input value state variable.
// ...
const handleEnterKeyPress = (event: React.KeyboardEvent<HTMLInputElement>) => {
    if (event.key === 'Enter') {
        setHistory((prevHistory) => [...prevHistory, inputValue]);
        setHistoryIndex(history.length);
        handleCommand(inputValue);
        setInputValue('');
    } else if (event.key === 'Tab') {
        event.preventDefault();
        mapCommands.forEach((_, key) => {
            if (key.startsWith(inputValue)) {
                setInputValue(key);
            }
        })
    } else if (event.key === 'ArrowUp') {
        event.preventDefault();
        if (history.length > 0) {
            setHistoryIndex((prevHistoryIndex) => {
                if (prevHistoryIndex === 0) {
                    return prevHistoryIndex;
                }
                return prevHistoryIndex - 1;
            })
            setInputValue(history[historyIndex]);
        }
    } else if (event.key === 'ArrowDown') {
        event.preventDefault();
        if (history.length > 0) {
            setHistoryIndex((prevHistoryIndex) => {
                if (prevHistoryIndex === history.length - 1) {
                    return prevHistoryIndex;
                }
                return prevHistoryIndex + 1;
            })
            setInputValue(history[historyIndex]);
        }
    }
};
The handleEnterKeyPress function is triggered when a key is pressed while the input field is focused in the terminal. It handles different key events and performs specific actions based on the pressed key:
Enter: It adds the entered command to the history and calls the handleCommand function to execute the command.Tab: It autocompletes the command if possible.ArrowUp: It navigates to the previous command in the history.ArrowDown: It navigates to the next command in the history.
const handleCommand = (command: string) => {
    const [commandName, ...args] = command.split(' ');
    const commandHandler = mapCommands.get(commandName);
    if (commandHandler) {
        commandHandler(args);
    } else {
        setOutputValue(`Command not found: ${commandName}`);
    }
};
the handleCommand function is called when the user enters a command in the terminal. It splits the command into the command name and arguments and calls the corresponding command handler function if it exists. Otherwise, it displays an error message.
 const handleResize = (
    direction: "bottom" | "right" | "top" | "left",
    event: React.MouseEvent<HTMLDivElement>
) => {
    event.preventDefault();
    const startX = event.clientX;
    const startY = event.clientY;
    const handleMouseMove = (event: MouseEvent) => {
        const deltaX = event.clientX - startX;
        const deltaY = event.clientY - startY;

        if (direction === 'right') {
            setWidth(width + deltaX > 600 ? width + deltaX : 600);
        } else if (direction === 'bottom') {
            setHeight(height + deltaY > 400 ? height + deltaY : 400);
        } else if (direction === 'top') {
            setHeight(height - deltaY > 400 ? height - deltaY : 400);
        } else if (direction === 'left') {
            setWidth(width - deltaX > 600 ? width - deltaX : 600);
        }

    };
    const handleMouseUp = () => {
        document.removeEventListener('mousemove', handleMouseMove);
        document.removeEventListener('mouseup', handleMouseUp);
    };

    document.addEventListener('mousemove', handleMouseMove);
    document.addEventListener('mouseup', handleMouseUp);
};
The handleResize function is called when the user drags the corners of the terminal. It updates the width and height state variables based on the mouse movement.
const handleMouseDown = (event: React.MouseEvent<HTMLDivElement, MouseEvent>) => {
    event.preventDefault();
    const startX = event.pageX;
    const startY = event.pageY;
    const startLeft = left;
    const startTop = top;
    const handleMouseMove = (event: MouseEvent) => {
        const newLeft = startLeft + event.pageX - startX;
        const newTop = startTop + event.pageY - startY;
        setLeft(newLeft);
        setTop(newTop);
    };
    const handleMouseUp = () => {
        document.removeEventListener('mousemove', handleMouseMove);
        document.removeEventListener('mouseup', handleMouseUp);
    };
    document.addEventListener('mousemove', handleMouseMove);
    document.addEventListener('mouseup', handleMouseUp);
};
The handleMouseDown function is called when the user drags the terminal. It updates the position state variables based on the mouse movement.
Please note that the code provided may not be production-ready and may require further modifications and improvements to suit your specific needs.


