ESP32 Water Monitoring System is an IoT based Liquid Level Monitoring system that has the mechanism to keep the user alerted in case of liquid overflow or when tank depletes. The water tanks can be fixed with ultrasonic sensors that is placed over the container. Ultrasonic sensor is used to measure, compare container depth and liquid level.
The status of the system could be monitored by an LCD screen or a web page that provides a brilliant graphical representation. Colors are used to depict various scenarios with respect to the amount of liquid in the tanks or containers
note that this is just the version 1.0 of this project so more added featutres are on the way
The IoT(Hardware) components required are:
- ESP32 Development Board Buy
- LCD Screen Buy
- Wifi Modem Buy
- Ultra Sonic Sensor Buy
- 5V Power Supply Buy
- 5V Relay Buy
- Jumper Wires Buy
- First you need to install the Arduino IDE software
- You can download it from Here
-
Now you need to Add the ESP32 boards to the Arduino IDE in the menu bar, select File> Preferences then Enter the following into the “Additional Board Manager URLs” field:
https://raw.githubusercontent.com/espressif/arduino-esp32/gh-pages/package_esp32_index.json -
You would need to downlaod and install the following libraries using the following steps:
-
Now in the Arduino IDE add the downloaded libraries by navigating to Sketch > Include Library > Add . ZIP Library
- Download the Github .ZIP file of this project.
- Now extract that .ZIP file and open the CODE.ino file.
- Select the DOIT ESP32 DEVKIT V1 (or a similar ESP32 board) with Tools > Board , then click on the appropriate PORT.
- Now change these variables with what you have:
#define  TH  50 // Write Here The Maximum Height Of The Water Inside The Water Tank In cm (Total Capacity In cm) Note:The Maximum sensor distance is rated at 400-500cm)

#define  IGH  20 // Witre Here The Ignored Height Above The Water Tank In cm (Distance Between The Sensor And The 100% Of Water Level)

#define  TC  1600 // Write Here The Total Capacity Of The Water Tank In Liters

const  char* ssid = "SSID"; // Write your SSID here

const  char* password = "PASSWORD"; // Write your PASSWORD here
- Now connect your components like shown in the following image:

- Upload the sketch by pressing CTRL+U inside the Arduino IDE.
- After it being compiled and uploaded, go to the Serial Monitor (CTRL+SHIFT+M) and copy the local ip shown then paste it in the search bar of your browser
example: Local IP 192.168.43.155
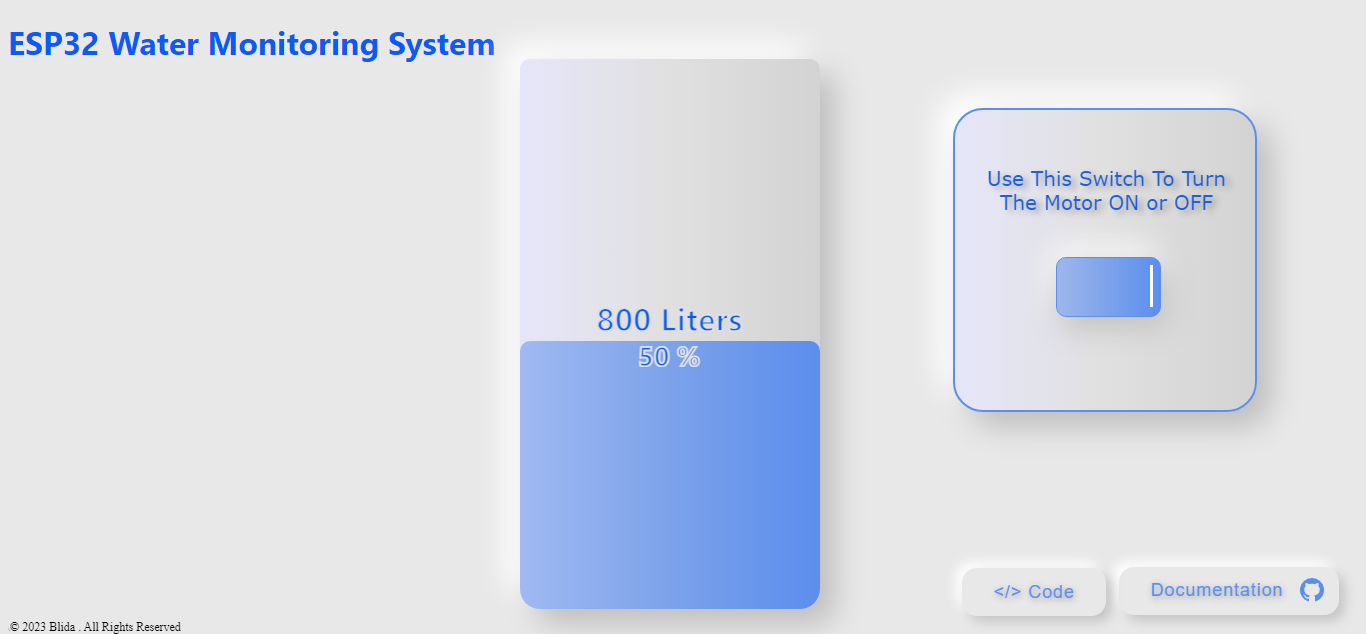
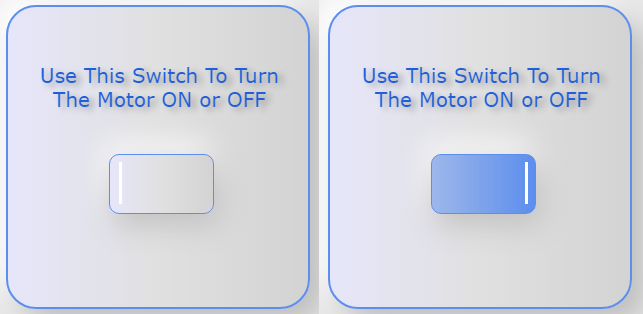
- A page like this will be shown to you and it got the live state of the water level with an additional switch to toggle the water pump (aka motor) on or off:

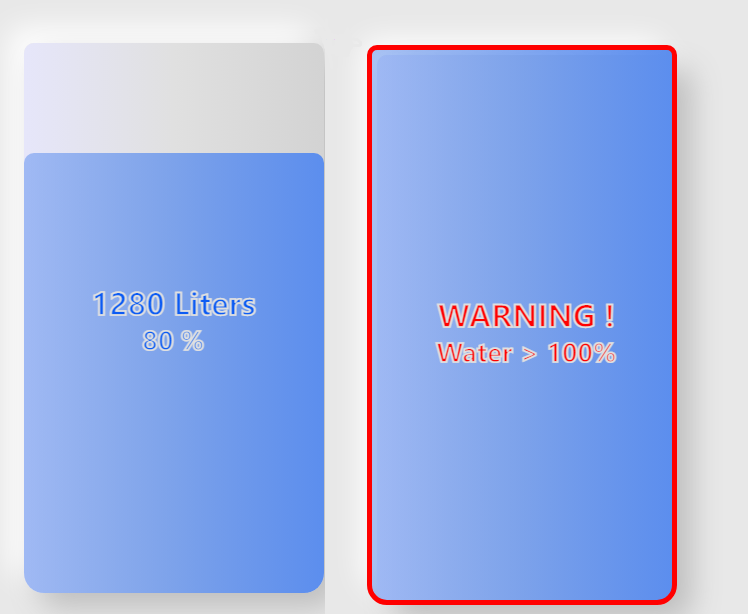
- And Here Are The Different States:


- And Here Is The Link For The Full Code Used In This Project
-
Write clear meaningful git commit messages (Do read this).
-
Make sure your PR's description contains GitHub's special keyword references that automatically close the related issue when the PR is merged. (Check this for more info)
-
When you make very very minor changes to a PR of yours (like for example fixing a text in button, minor changes requested by reviewers) make sure you squash your commits afterward so that you don't have an absurd number of commits for a very small fix. (Learn how to squash at here)
-
When you're submitting a PR for a UI-related issue, it would be really awesome if you add a screenshot of your change or a link to a deployment where it can be tested out along with your PR. It makes it very easy for the reviewers and you'll also get reviews quicker.
-
Always create PR to
developbranch.

